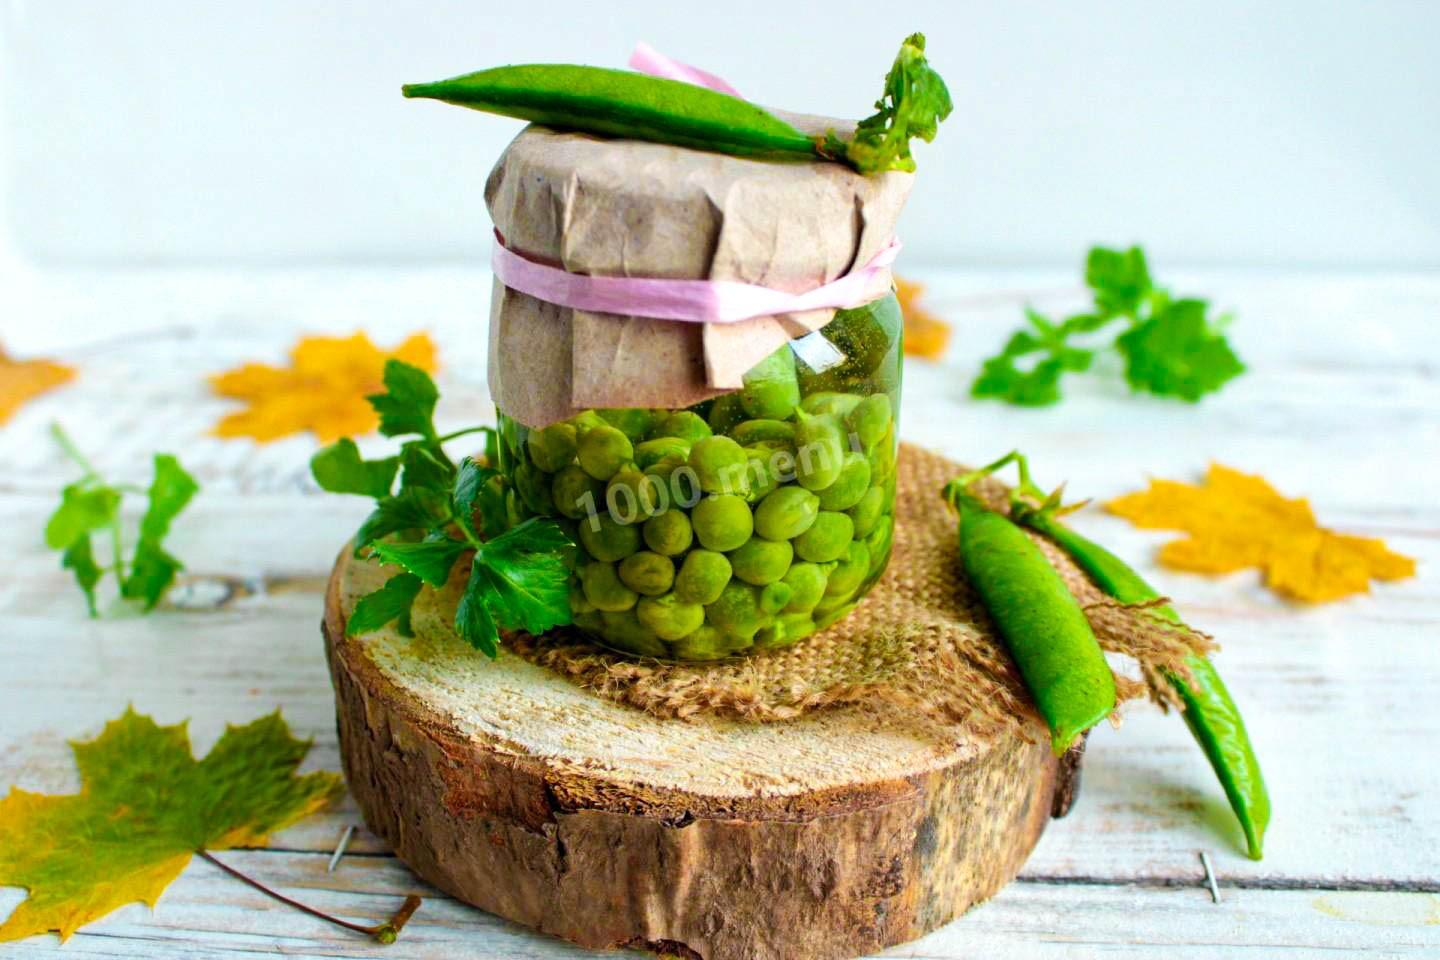
Canning green peas for winter
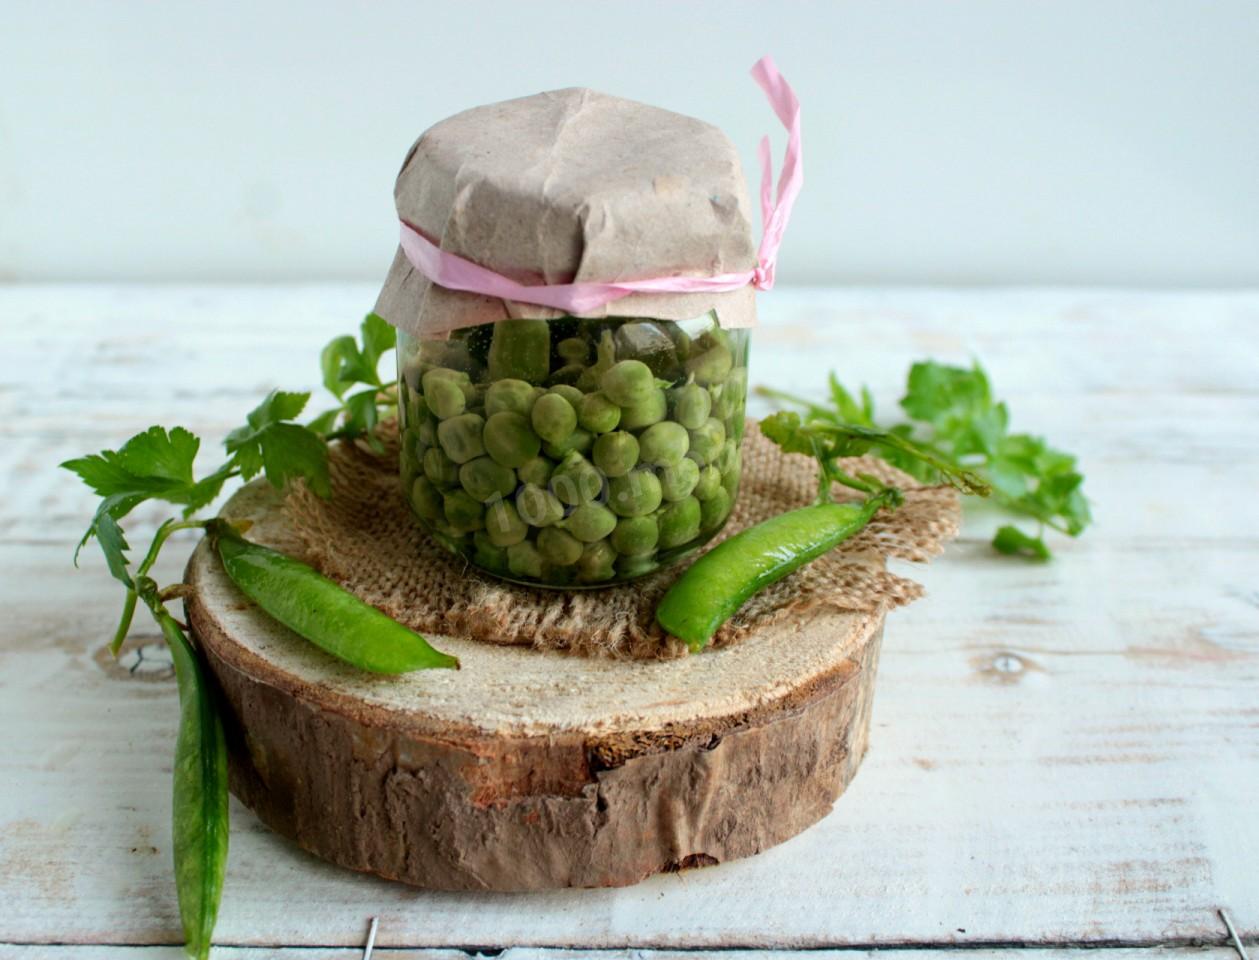
A very simple, practical, wholesome home preserve! Canning green peas for winter by this recipe couldn't be easier! Few ingredients, quick to make — no fussing for half a day. And you can use them just like any store-bought peas: in salads, appetizers, and soups!

Cooking method
-
Step 1:
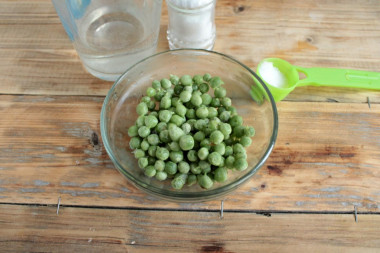
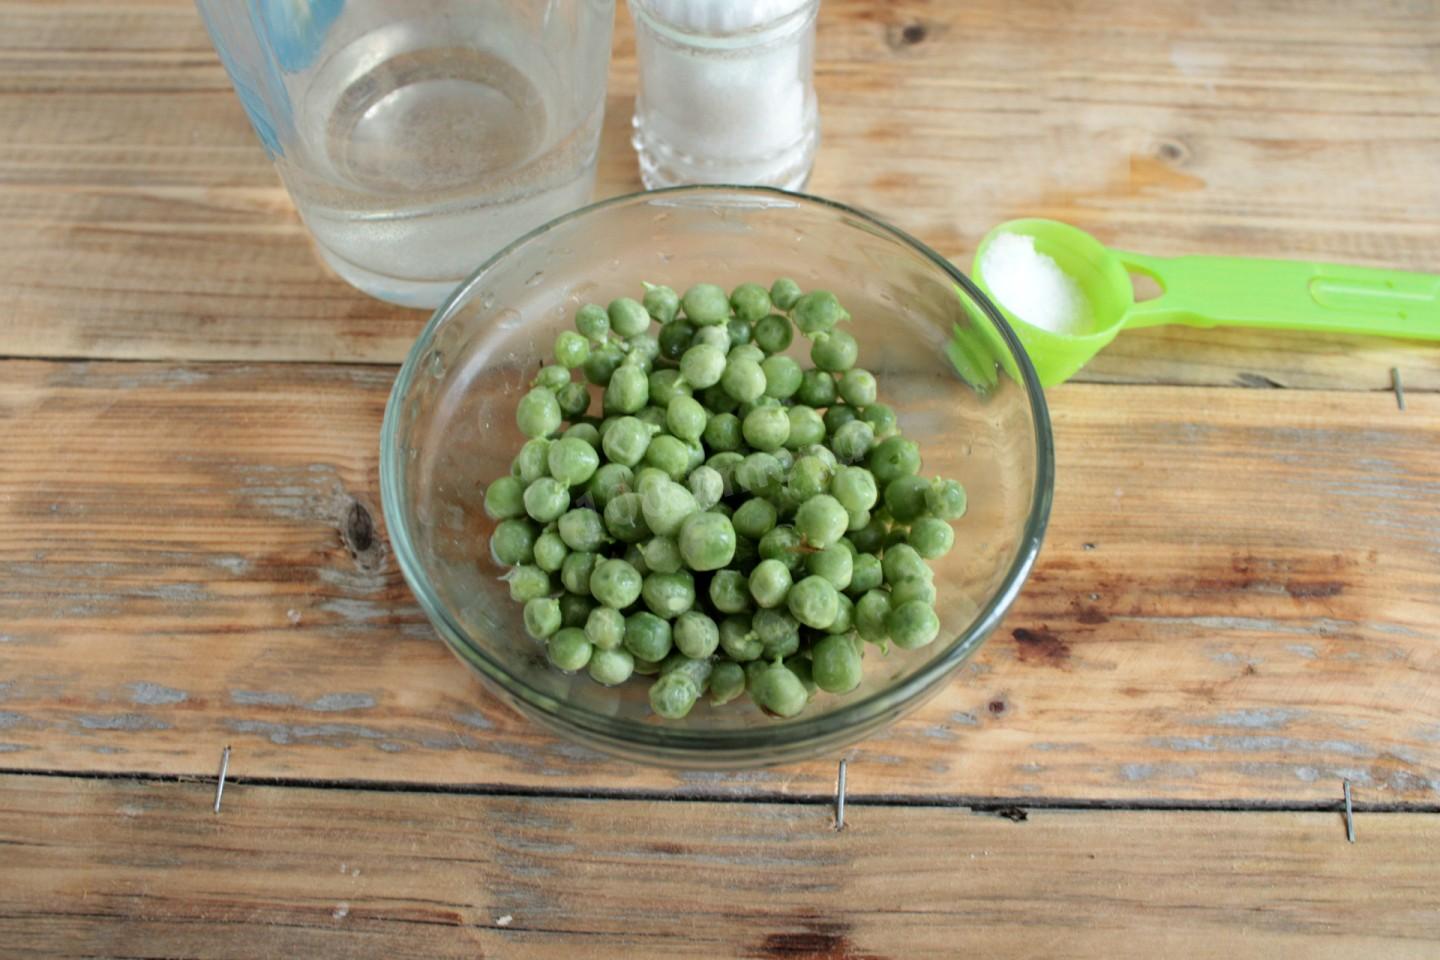
How do you can green peas for winter? Gather the ingredients on the list. The peas for canning should be at the milk stage — still young, juicy, and sweet. It's also a good idea to sort them by size so the jars look nice, but that's up to you.
-
Step 2:
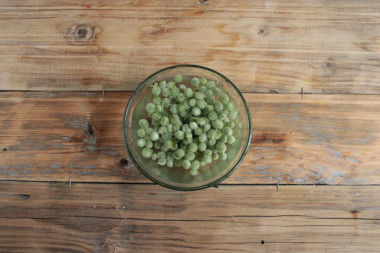
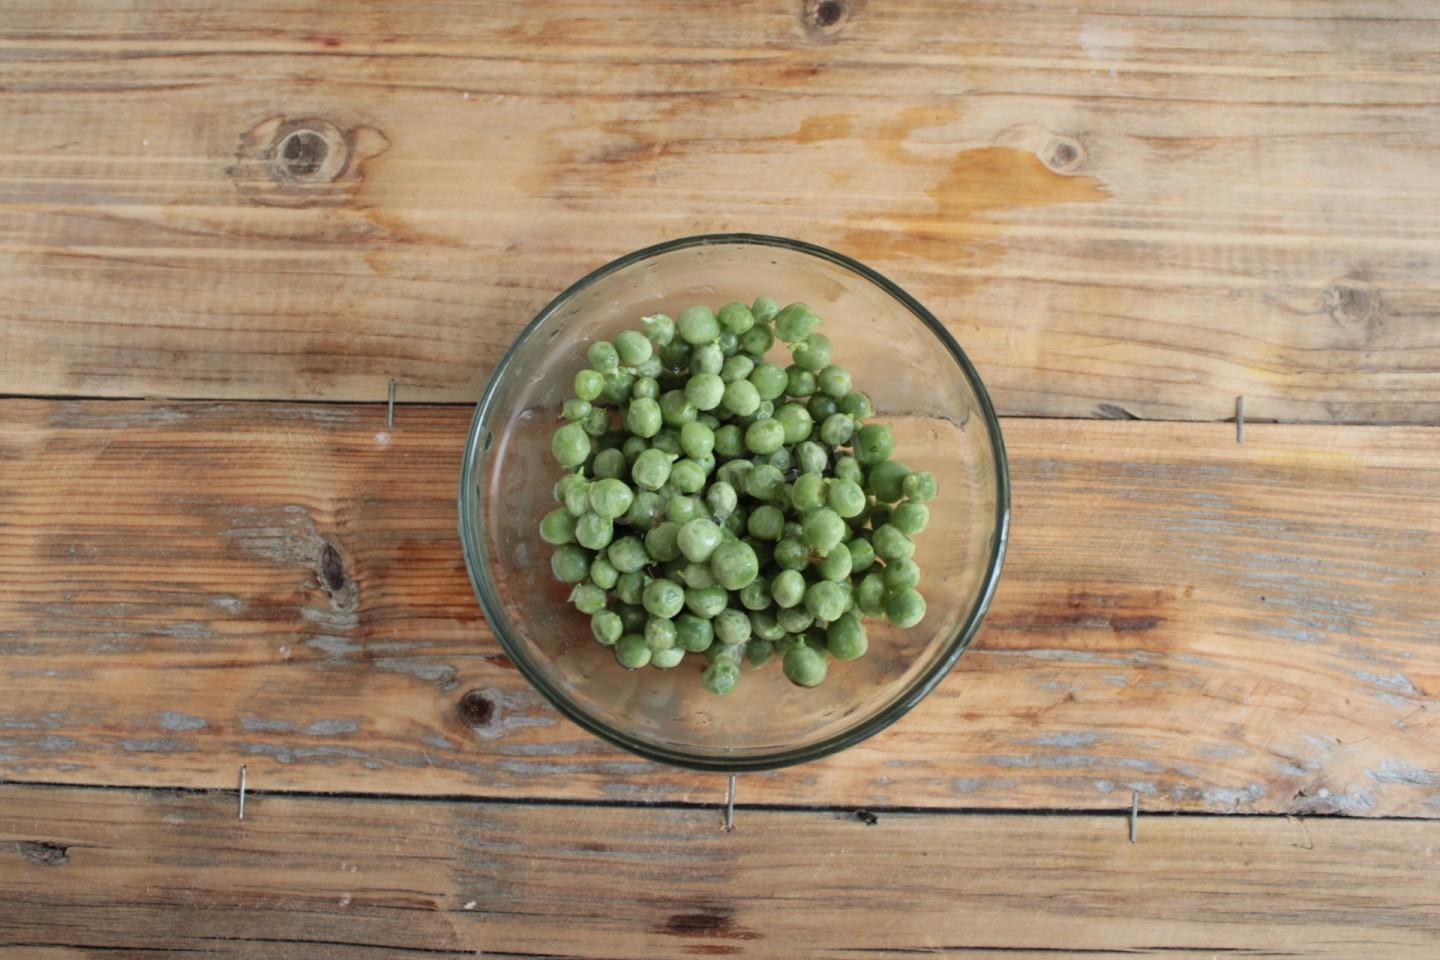
Open the pea pods and take out the peas, picking out any bad ones. Rinse the peas in water.
-
Step 3:
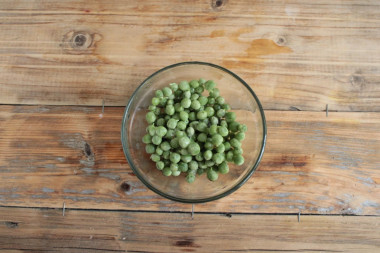
Tip the peas into a colander to let the water drain off completely.
-
Step 4:
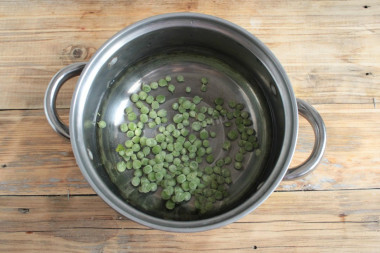
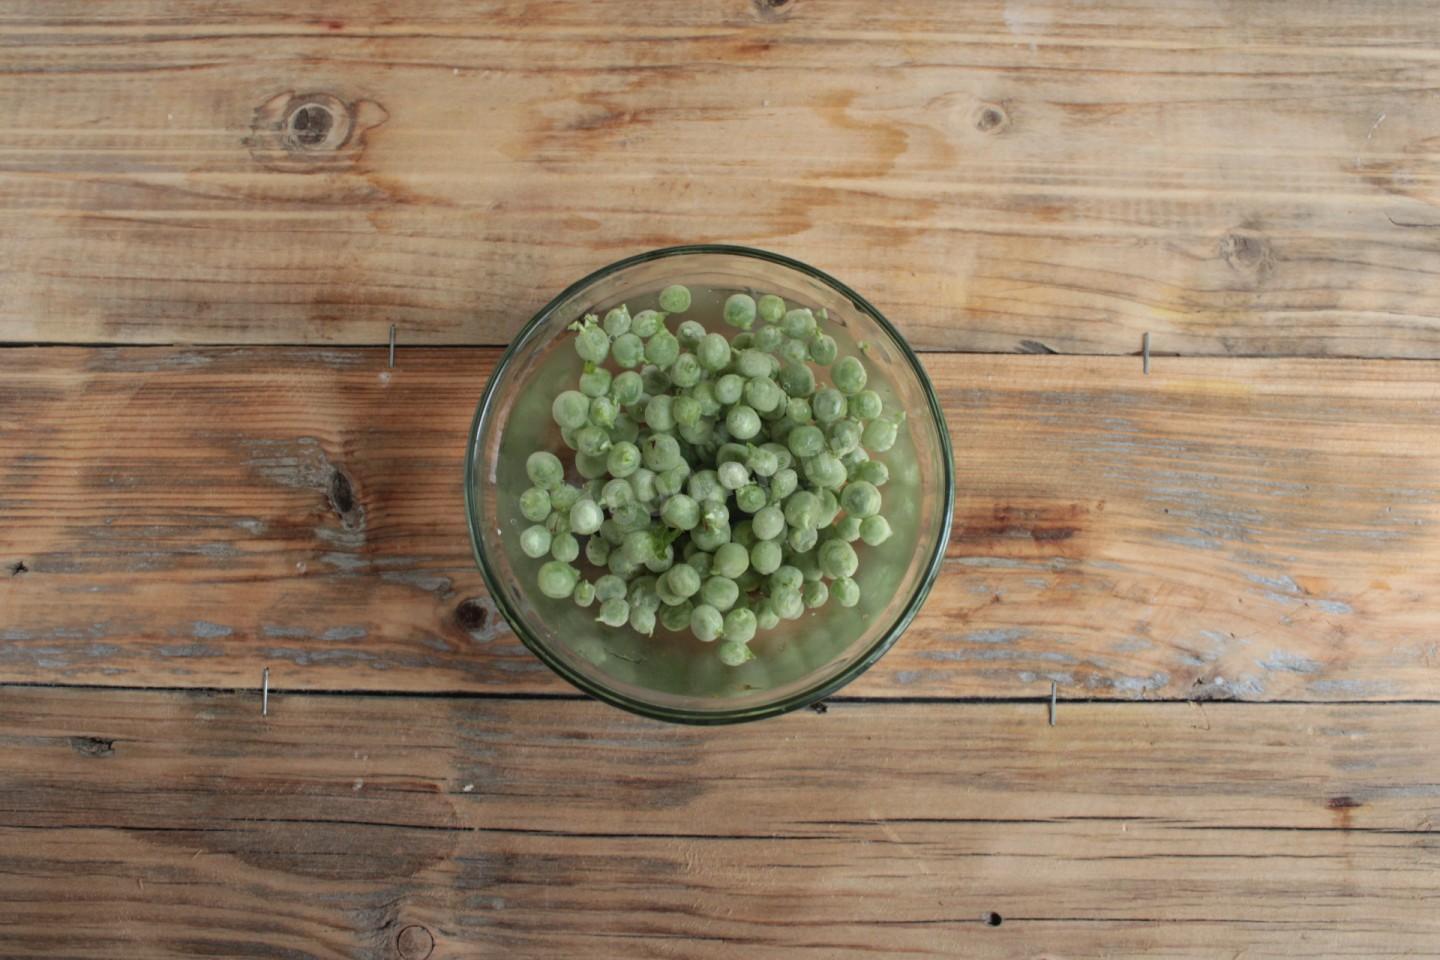
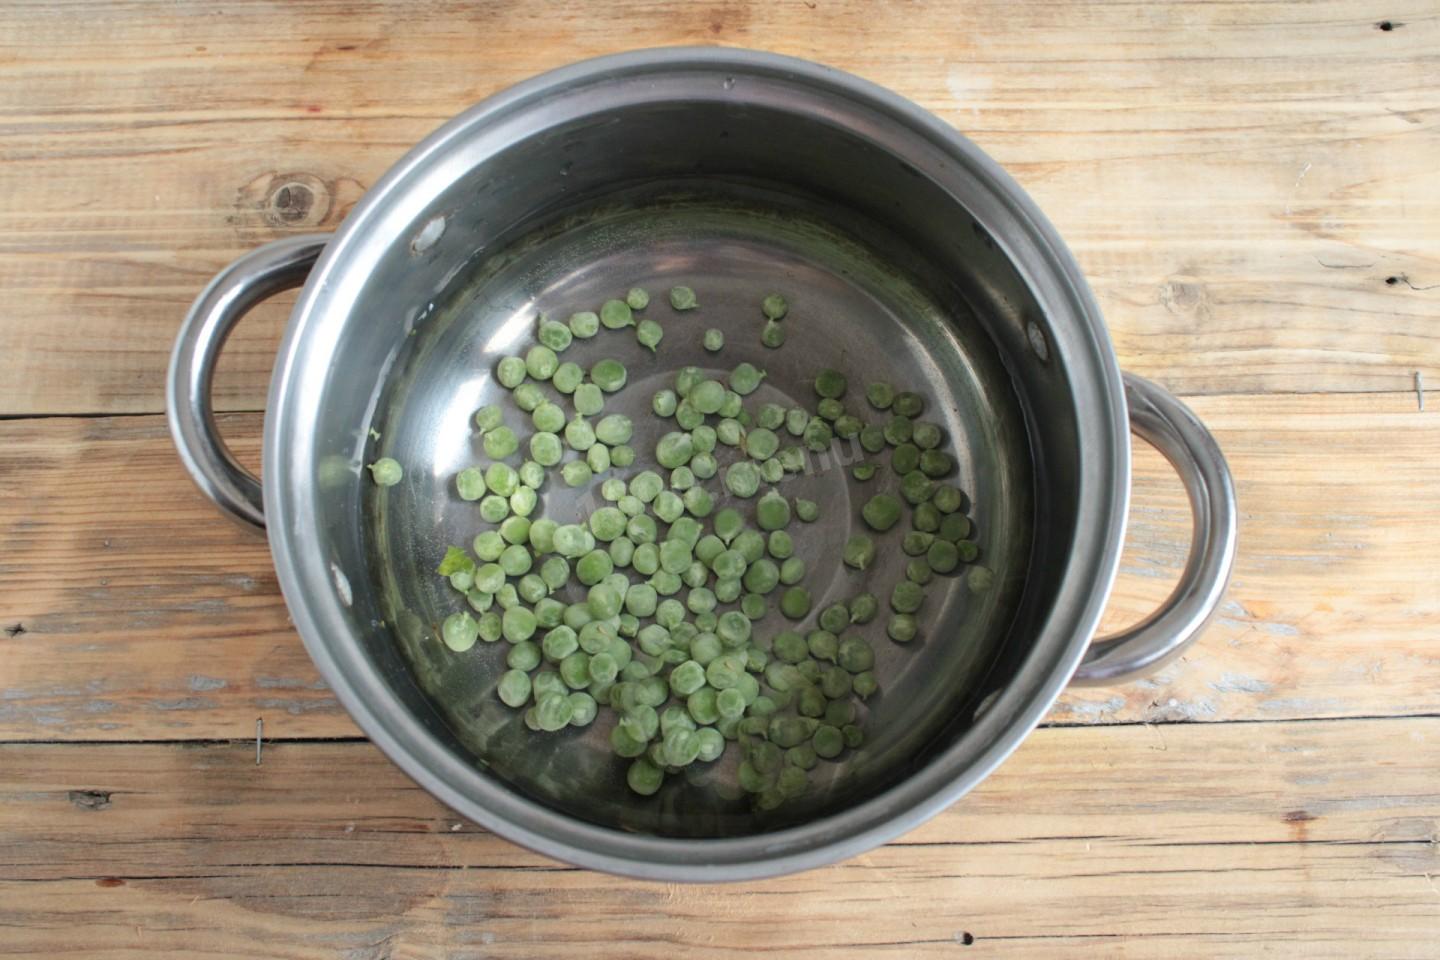
Put the peas in an enameled pot and cover them with cold water so it sits 2 to 3 fingers above them. Set the pot on the stove over medium heat. When the water comes to a boil, foam will start to form on the surface — skim it off. Along with it, you remove any remaining debris in the peas. Blanch the peas for 5 minutes. Then drain the water and tip the peas back into the colander.
-
Step 5:
Make the brine. Pour clean water into an enameled pot and add the sugar and salt. Set the pot on the heat and bring the brine to a boil, stirring with a spoon so the dry ingredients fully dissolve. Once the brine boils, pour in the vinegar and turn off the heat.
-
Step 6:
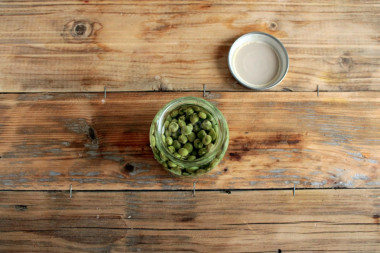
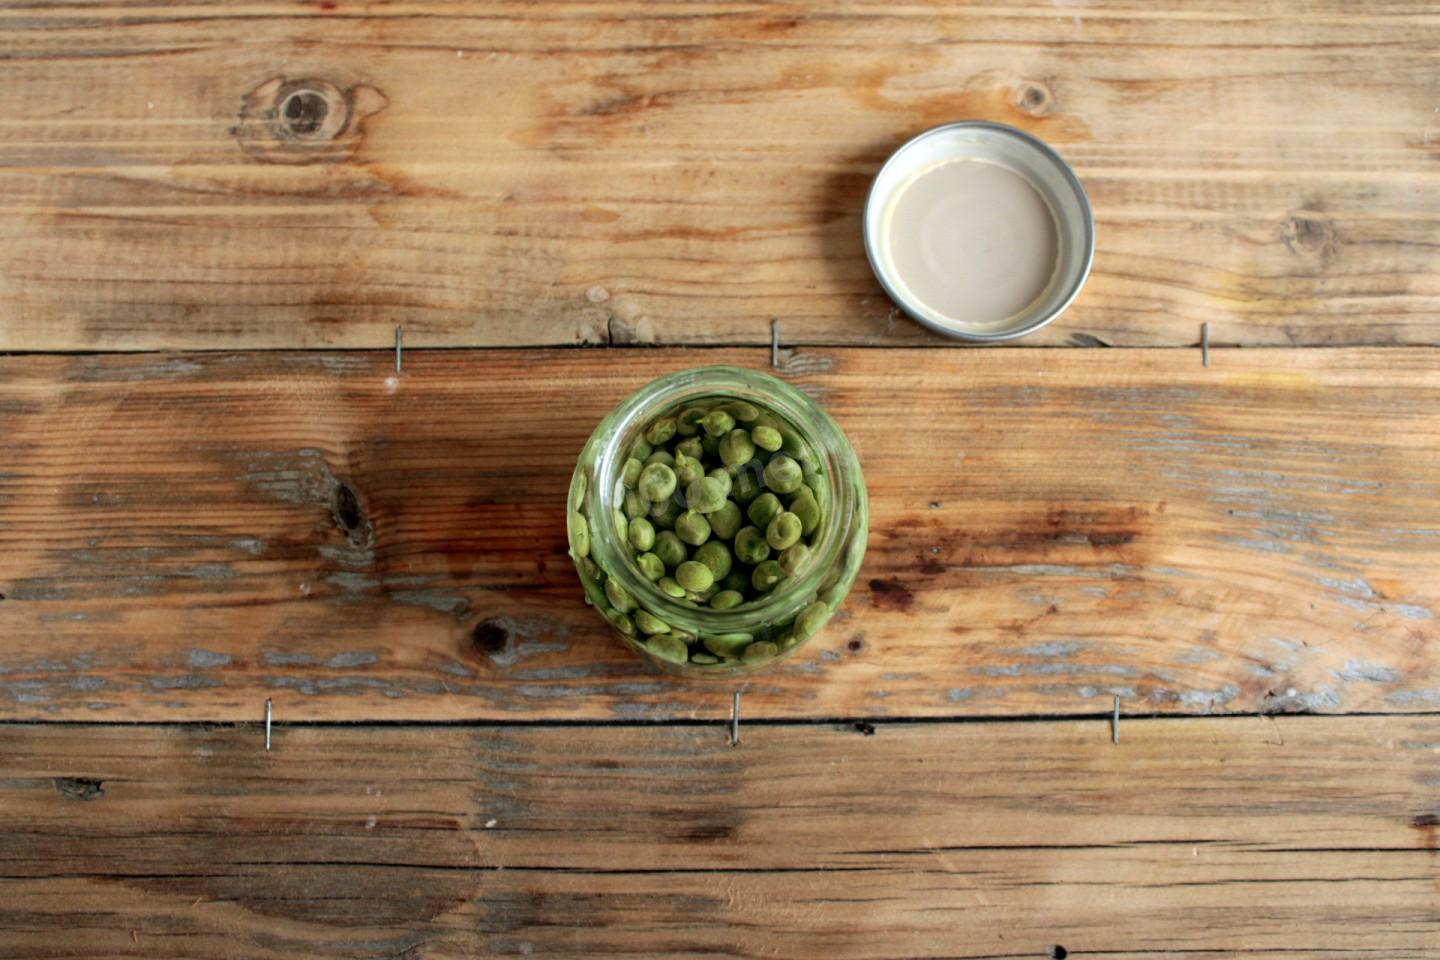
Pack the peas into the sterilized jars you prepared earlier. Don't fill the jars all the way to the rim — leave a gap of a few centimeters, about a finger's width. Pour the boiling brine over the peas, up to the shoulder of each jar, cover them with lids, and sterilize them in a pot of water for 10 minutes. Be sure to put a cloth on the bottom of the pot so the glass jars don't crack.
-
Step 7:
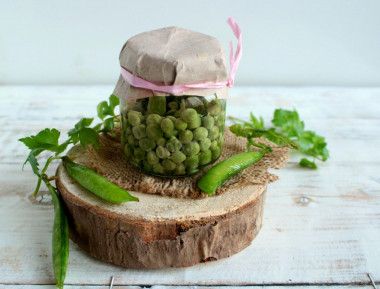
Seal the hot jars with lids and let them cool upside down under a towel. Then put them away in the pantry to store, or use them right away to make a dish. Enjoy!
- Canned peas aren't just tasty and a popular ingredient in many dishes — they're good for you, too. They're rich in nutrients like carotene; vitamins A, C, H, and the B group; and minerals like phosphorus, magnesium, iron, and chlorine. They also contain inositol, which helps prevent fatty liver. Many people think canned peas have no nutritional value, that it's all lost to heat processing. Some vitamins are indeed partly destroyed, but most are retained. For example, canning preserves about 20% of the vitamin C, 66% of the vitamin B1, and even 90% of the vitamin B2. That said, for this food to truly benefit your body, you need to follow a few rules for eating it. Canned peas keep for no more than 24 hours after the jar is opened. They shouldn't be combined with bread, sweet foods, potatoes, or grains, or washed down with sweet tea, and it's best not to eat them after midday so they don't cause gas in the gut.
- To make sure your summer stores will please you all through the cold season, read the basic rules, secrets, and tips on putting up food for winter.
- For cooking, it's best to use filtered or bottled water with a neutral taste. If you use tap water, keep in mind it can give the dish an unpleasant off-flavor.
Caloric content of the products possible in the composition of the dish
- Granulated sugar - 398 kcal/100g
- Sugar - 398 kcal/100g
- Green peas fresh - 280 kcal/100g
- Canned green peas - 55 kcal/100g
- Salt - 0 kcal/100g
- Water - 0 kcal/100g
- Table vinegar - 11 kcal/100g