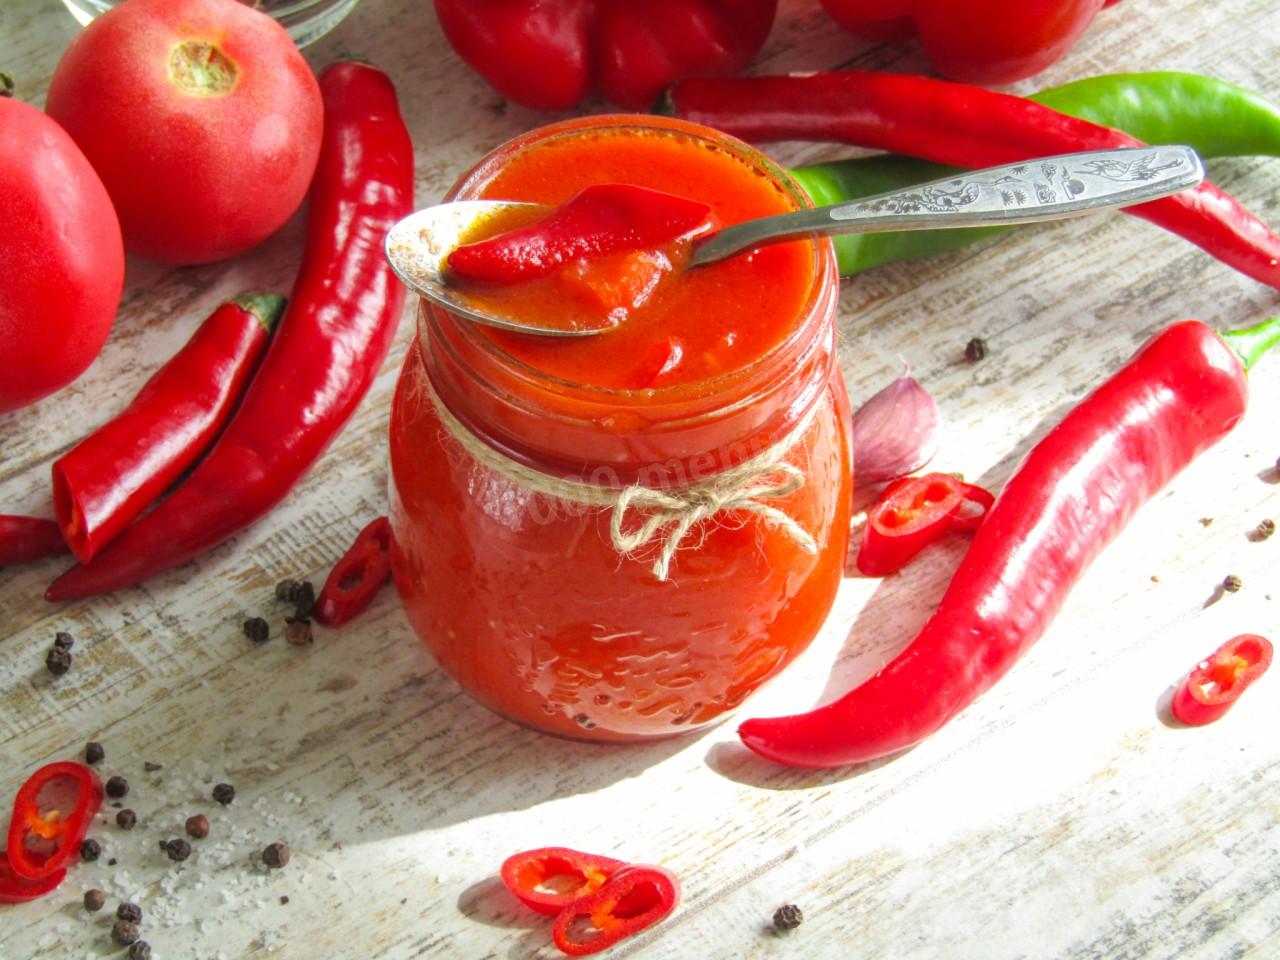
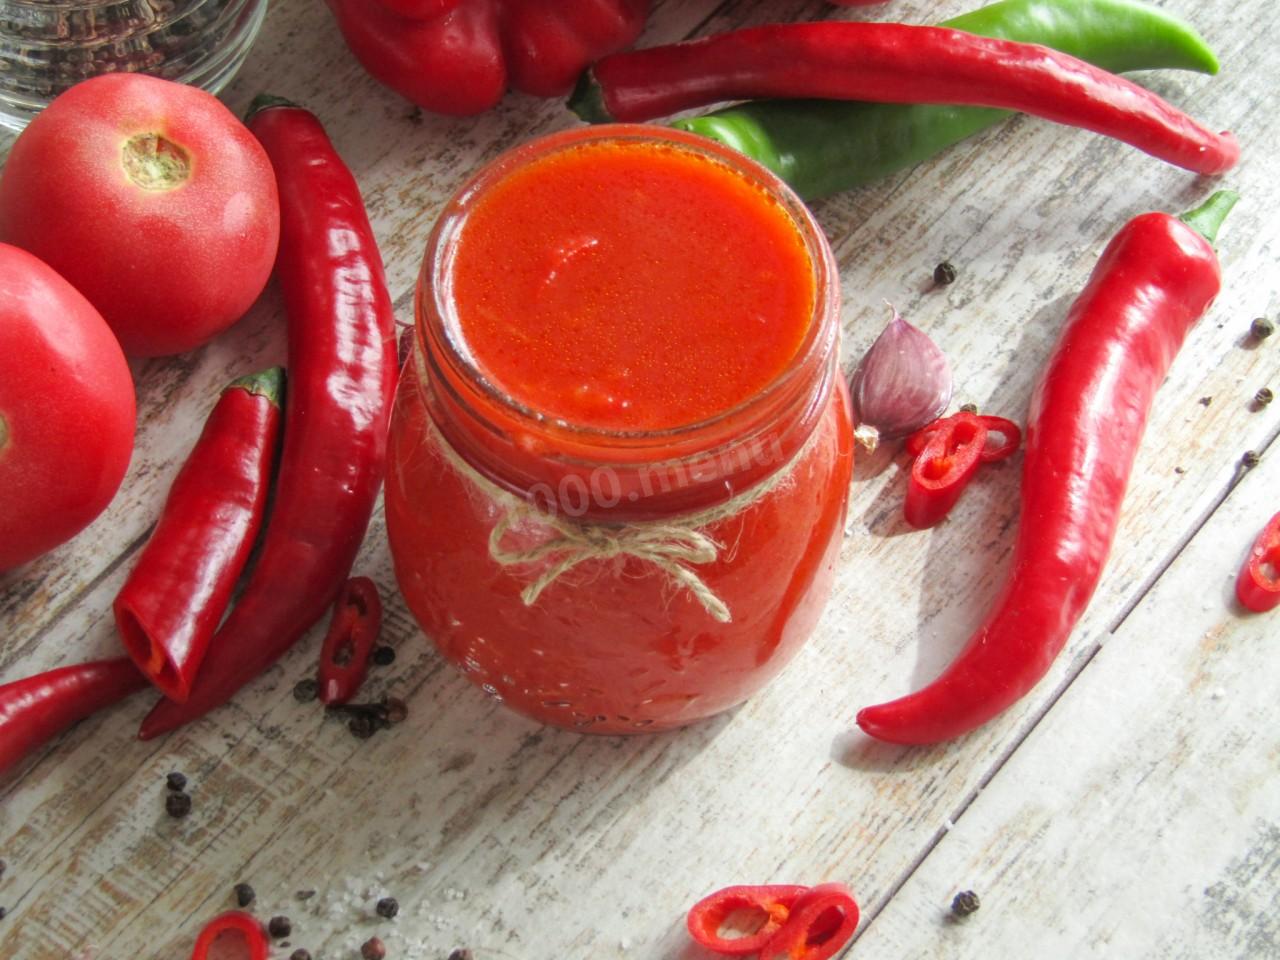
Homemade Chili Ketchup for Winter
A tomato sauce with a touch of sweetness and a spicy finish. Made this way, chili ketchup comes out delicious and wholesome — it's homemade, with no harmful additives or preservatives. You can dial the salt, sugar, and heat up or down to suit your taste.




Cooking method
-
Step 1:
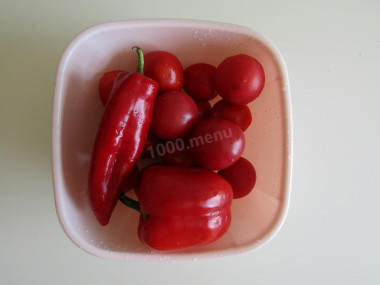
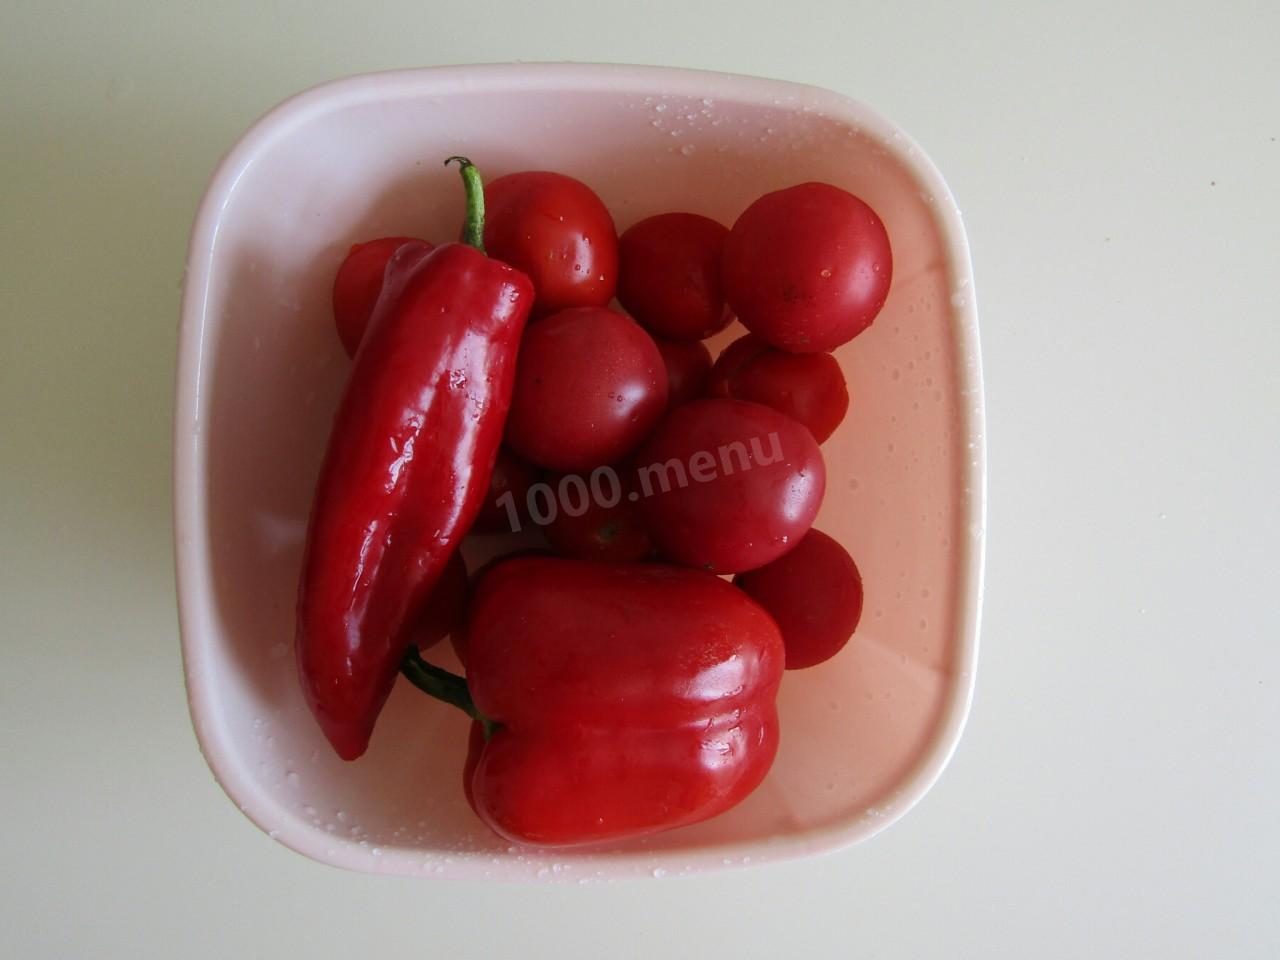
How do you make chili ketchup for the winter? Choose ripe, juicy tomatoes. It's a good idea to taste the chili pepper first to see how hot it really is. Wash the vegetables well.
-
Step 2:
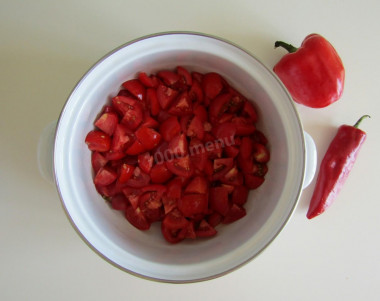
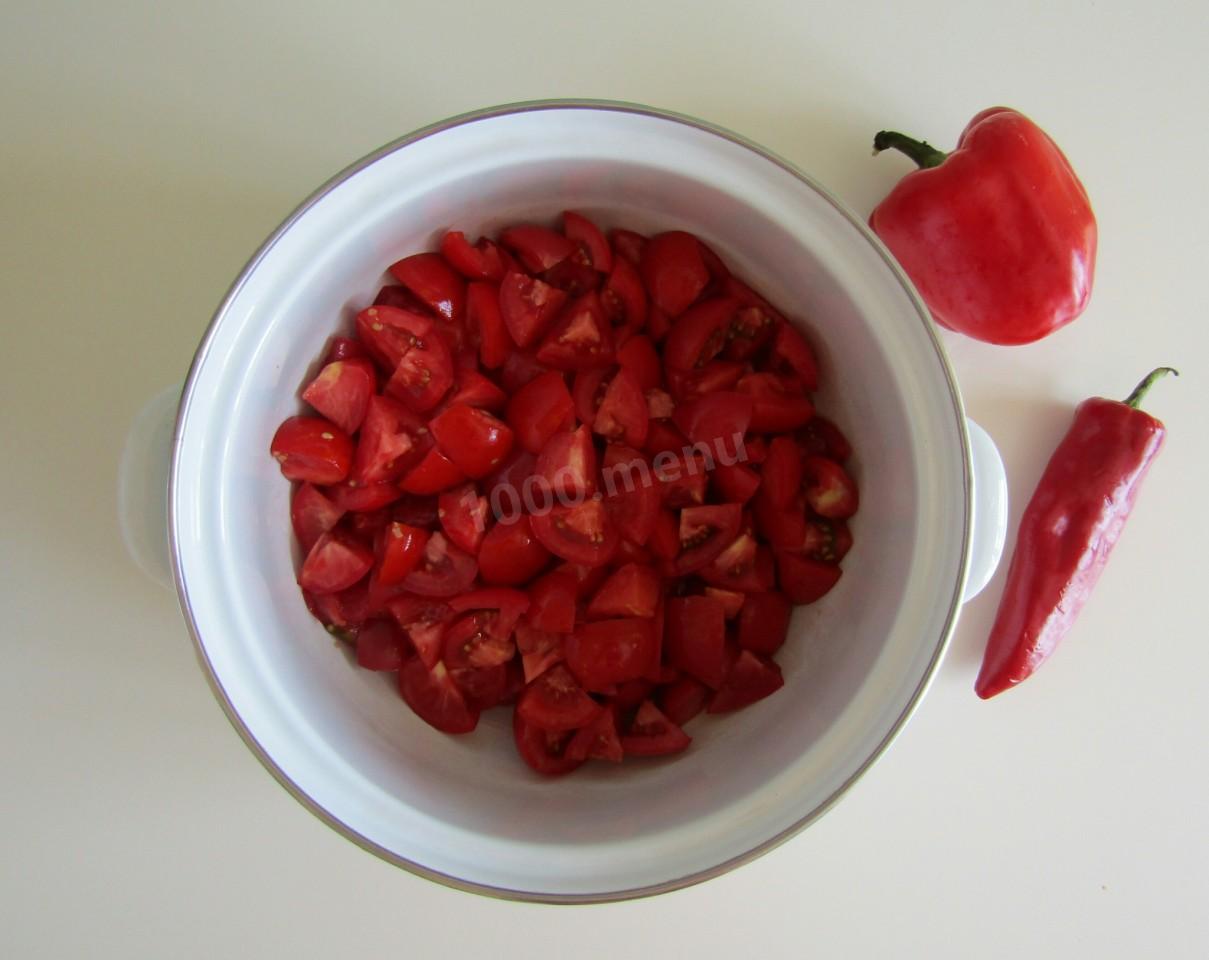
Pour the olive oil into a heavy-bottomed pot and heat it. Cut the tomatoes into quarters and add them to the pot. Stir in the sugar and salt. Cover and simmer for ten minutes.
-
Step 3:
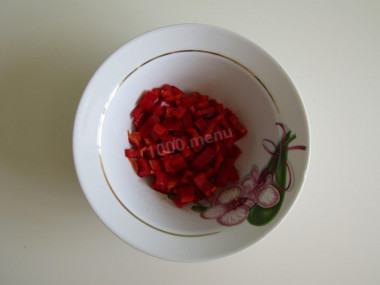
Remove the ribs and seeds from the chili pepper, chop it finely, and add it to the tomatoes. Simmer until everything breaks down into a purée. I simmered it for about an hour and a half over low heat, stirring occasionally. Then let it cool a little and blend it smooth with an immersion blender. Return it to the heat.
-
Step 4:
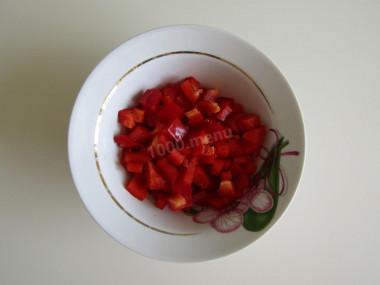
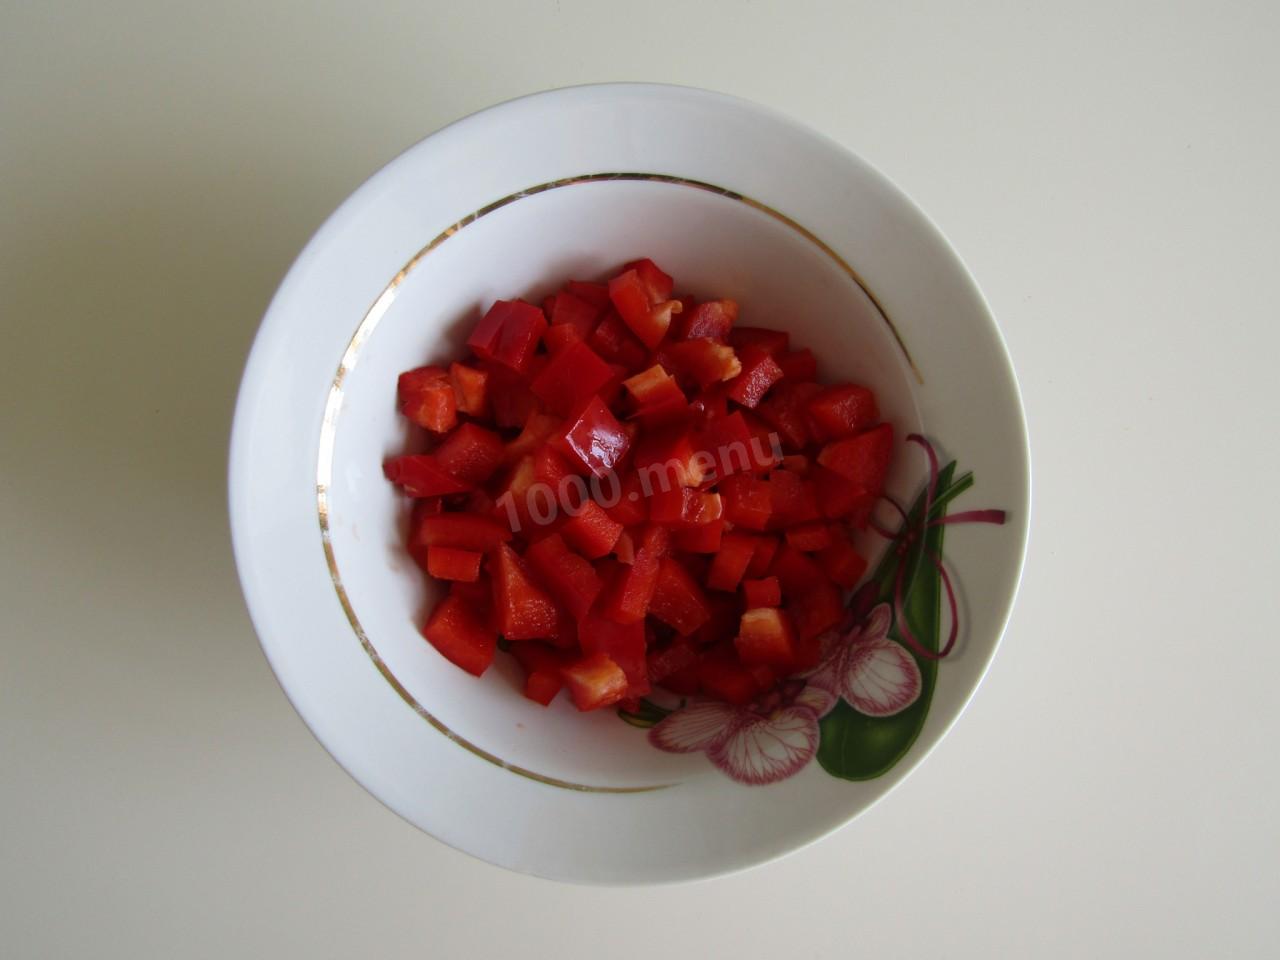
Remove the ribs and seeds from the bell pepper, cut it into small cubes, and add it to the tomatoes in the pot.
-
Step 5:
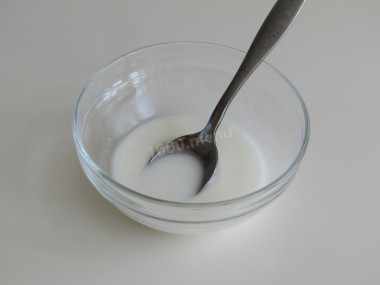
Stir the starch into a little cold water until dissolved.
-
Step 6:
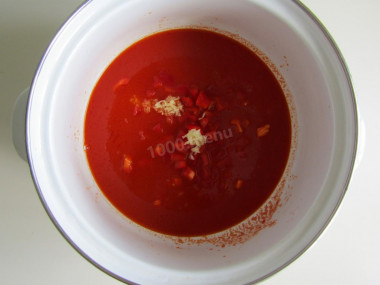
Add the minced garlic to the ketchup and simmer for 5 minutes, then pour in the starch mixture in a thin stream and simmer for another 2 minutes.
-
Step 7:
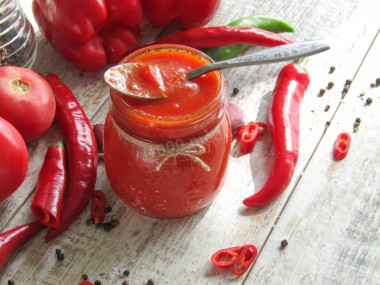
Sterilize the jars however you like. I prefer to do it in the oven: I set the jars in a cold oven, turn it to 350°F (180°C), and set a timer for 20 minutes. Pour the hot ketchup into the sterilized jars, seal with sterilized lids, cover with a towel, and leave until completely cool. Then store it somewhere cool — a cellar or the refrigerator. Your chili ketchup for the winter is ready! Enjoy, and happy canning!



- This homemade chili ketchup turns out really tasty and pleasantly spicy — my family and I loved it! If you like more heat, add another chili pepper. The one thing I might change next time is to blend it once more at step 6 for a smoother texture. You could also push it through a sieve to get rid of the seeds and thin skins, though that's optional. From the amounts given, I got two half-liter (about 1-pint) jars of chili ketchup.
- For how to figure out how many jars you'll need, why jars sometimes burst and how to prevent it, plus tips and tricks, see our article on canning.
- Every oil is only good up to a certain temperature — its smoke point — beyond which it starts to burn and form harmful compounds, including carcinogens. For how to gauge the right frying temperature, which oils are best, and which to avoid entirely, see our guide.
- Since everyone's tolerance for salt, sweetness, bitterness, heat, and acidity is different, always add spices and seasonings to your own taste. If you're trying a seasoning for the first time, remember that some are especially easy to overdo — chili pepper, for one.
Caloric content of the products possible in the composition of the dish
- Tomatoes - 23 kcal/100g
- Sweet pepper - 27 kcal/100g
- Garlic - 143 kcal/100g
- Granulated sugar - 398 kcal/100g
- Sugar - 398 kcal/100g
- Starch - 320 kcal/100g
- Salt - 0 kcal/100g
- Olive oil - 913 kcal/100g
- Chili pepper - 40 kcal/100g