Classic medovik honey cake with condensed milk and butter
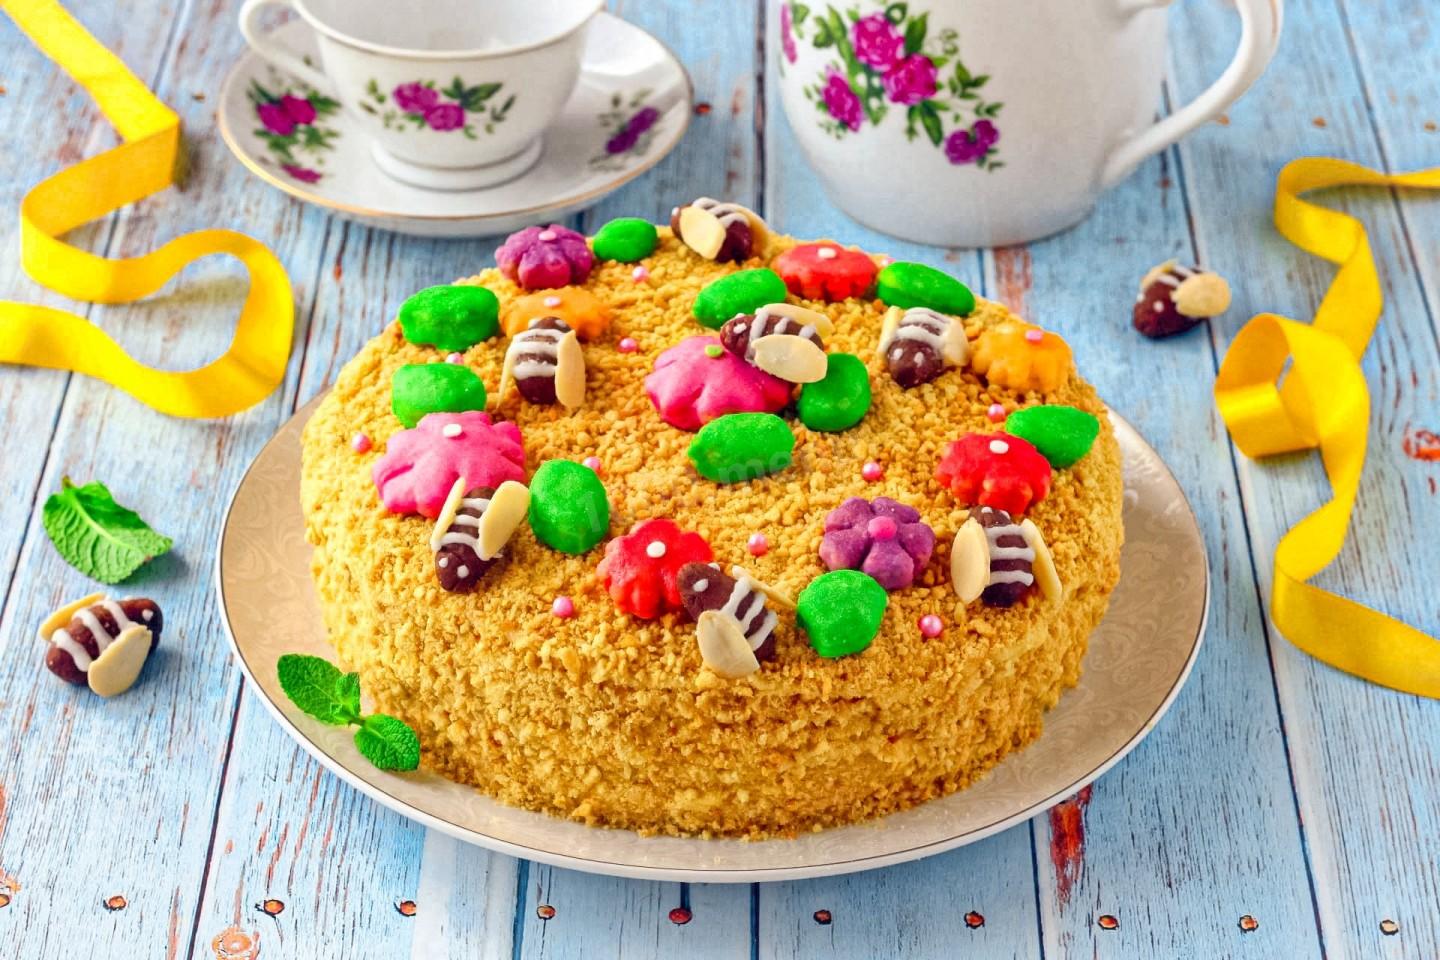
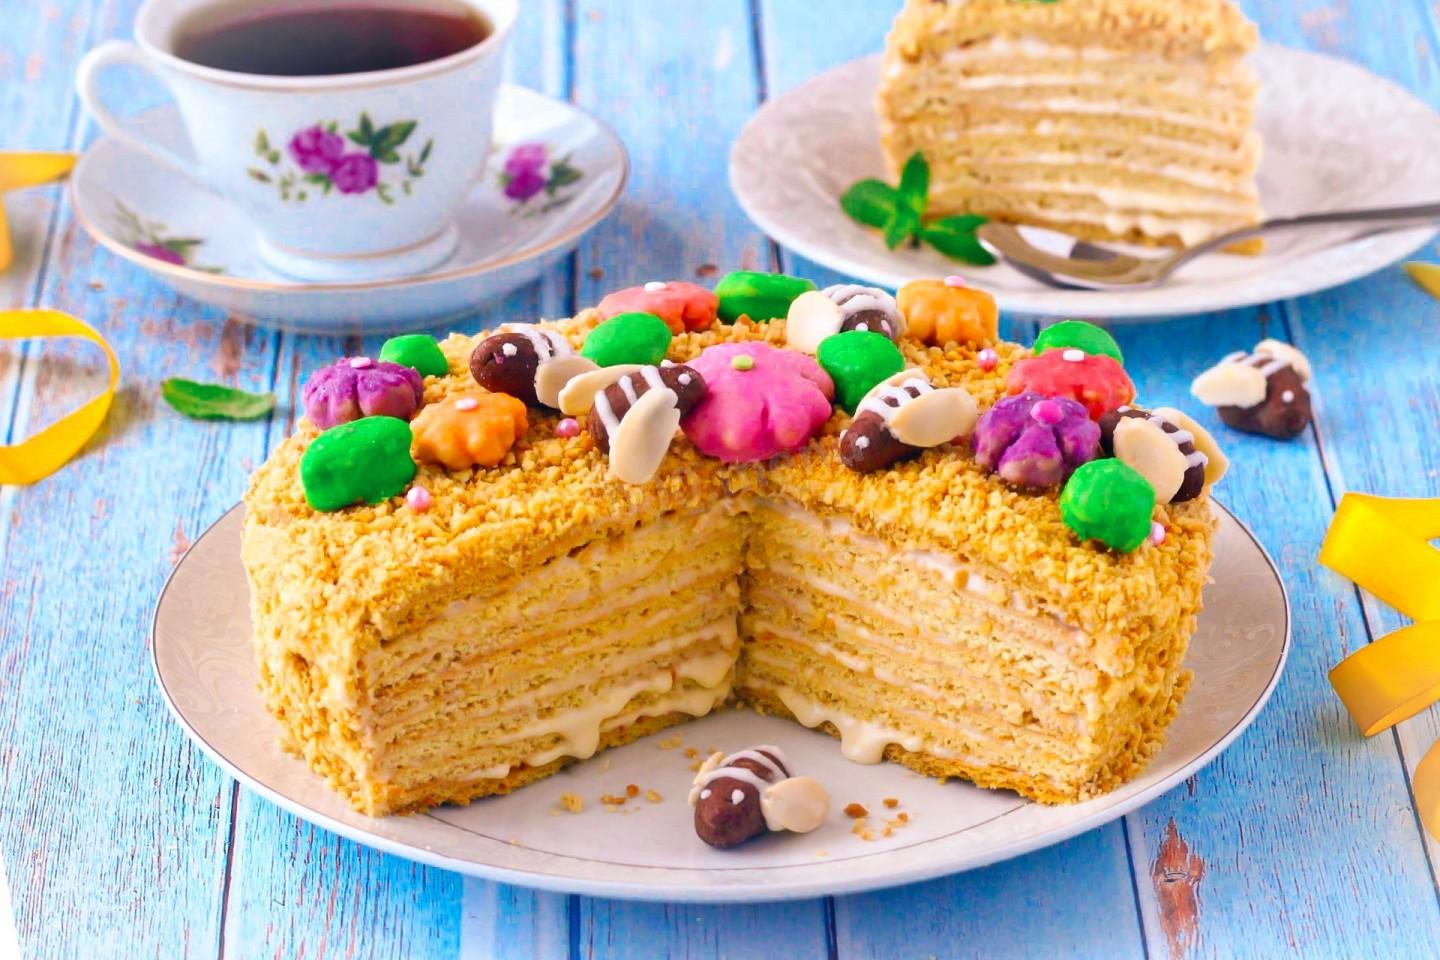
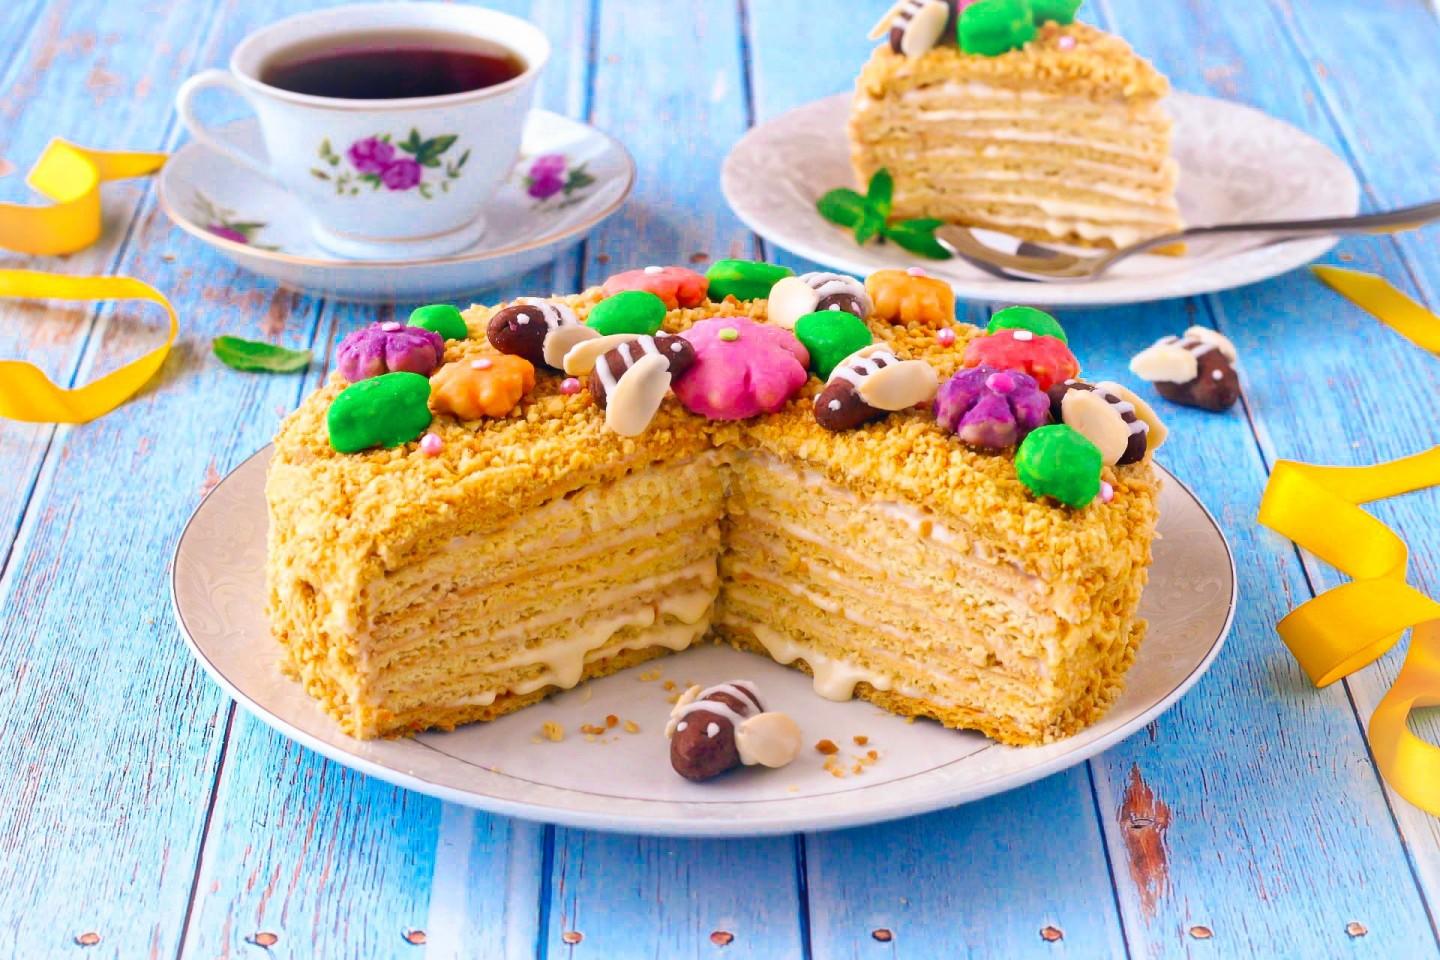
Very tasty, light, tender, soft, and melt-in-your-mouth! This medovik with condensed milk and butter is made the classic way, from a cooked honey batter. The cake layers come out as thin as can be, and once they soak up the rich cream the cake turns wonderfully tender. Highly recommended for anyone with a sweet tooth!
Cooking method
-
Step 1:
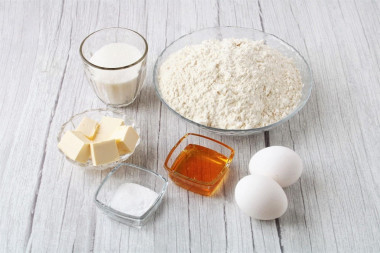
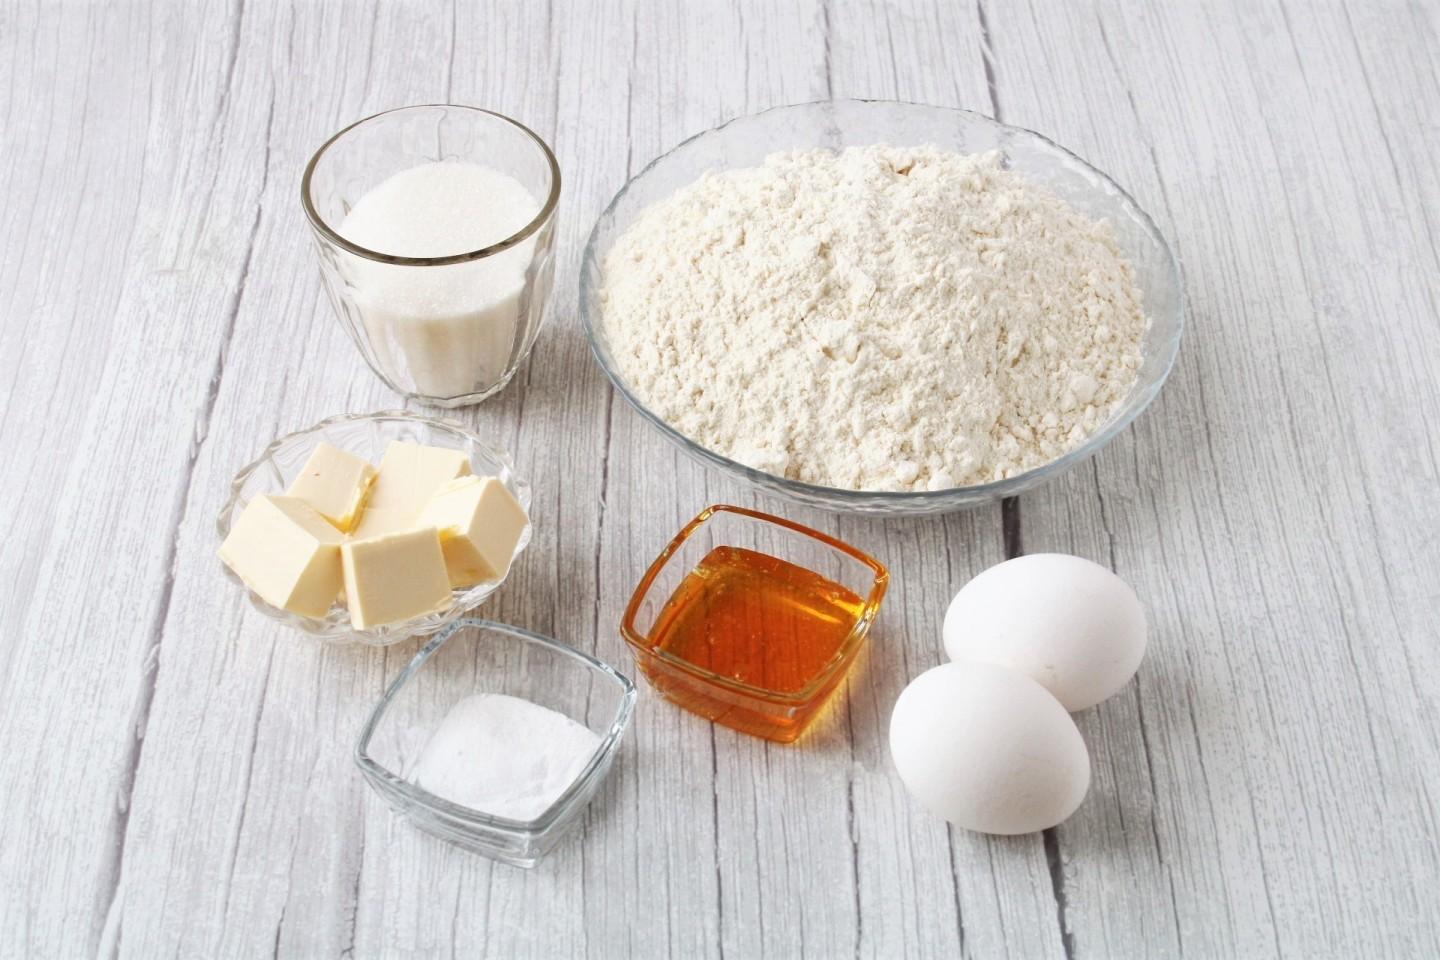
How do you make a classic medovik with condensed milk and butter? Measure out the ingredients for the batter. The honey can be liquid or set.
-
Step 2:
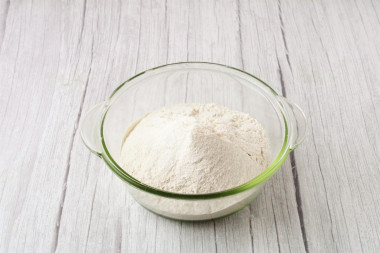
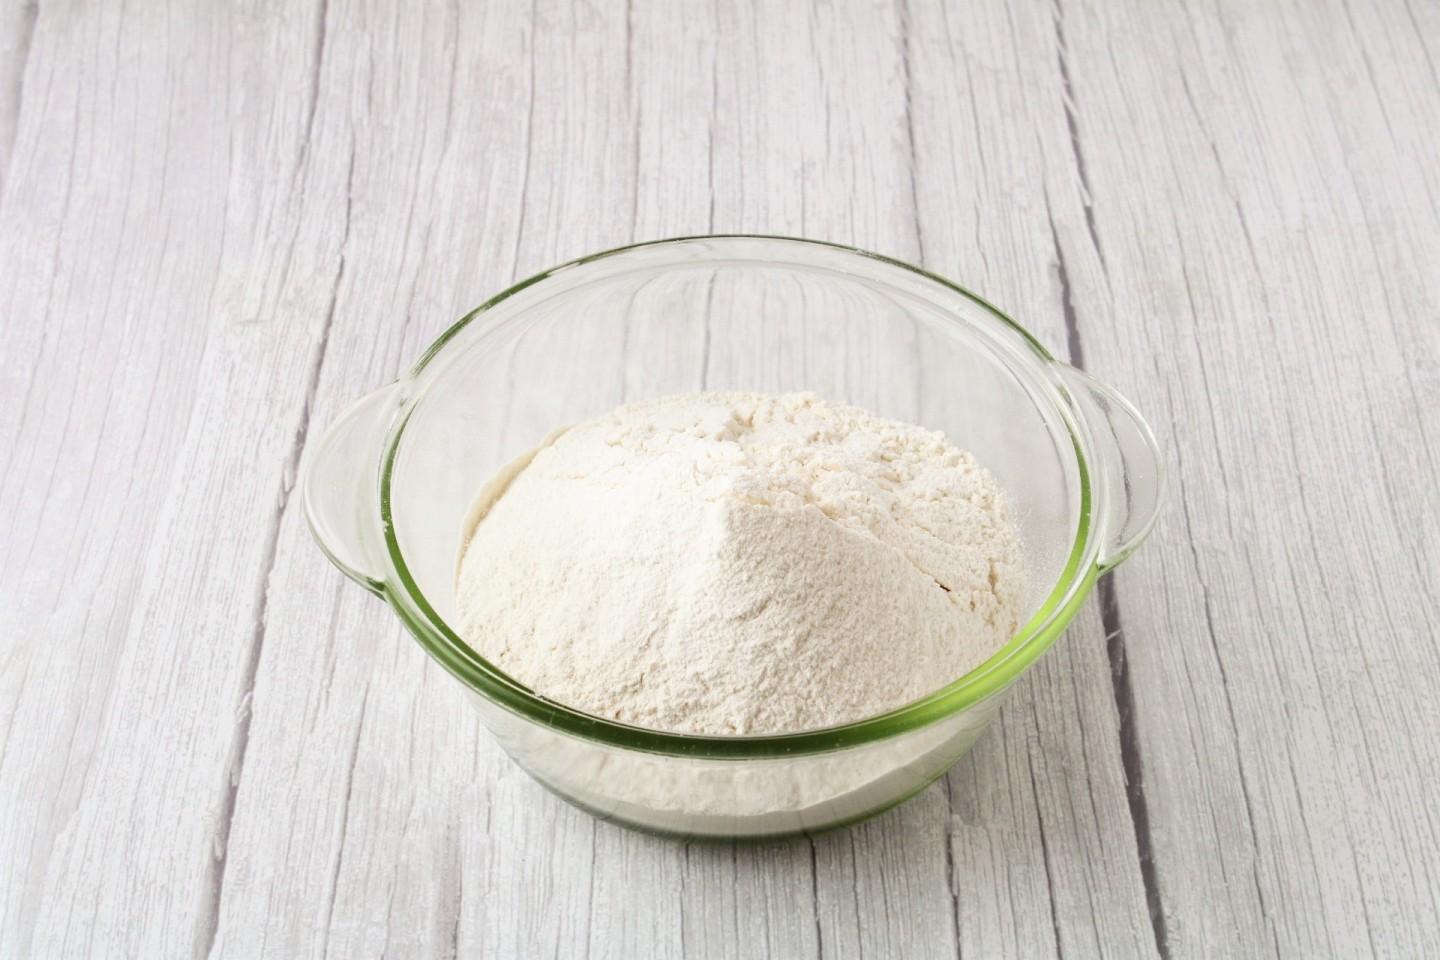
Sift the flour into a wide bowl. It gets aerated, so the layers rise well during baking.
-
Step 3:
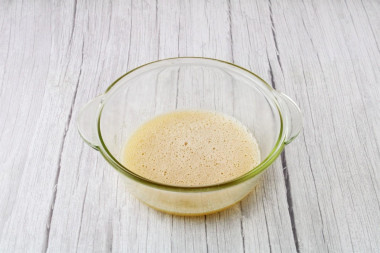
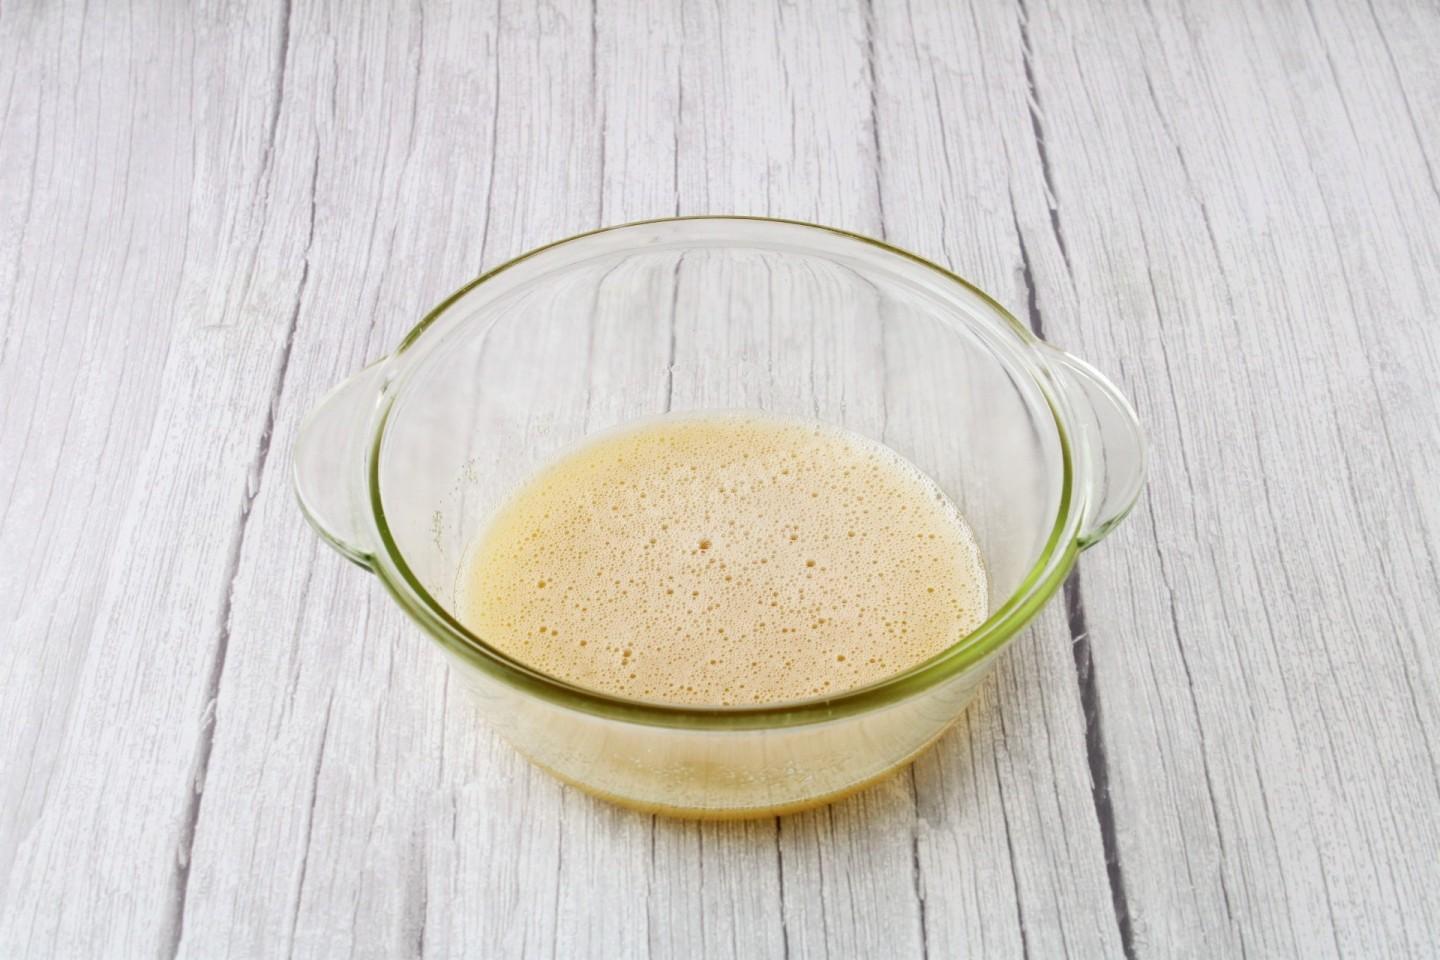
We'll make the classic cooked honey batter in a double boiler. Take a small saucepan or a heatproof glass bowl. Whisk the eggs with the sugar until smooth.
-
Step 4:
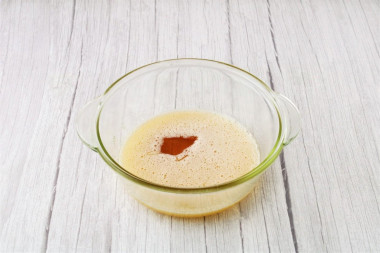
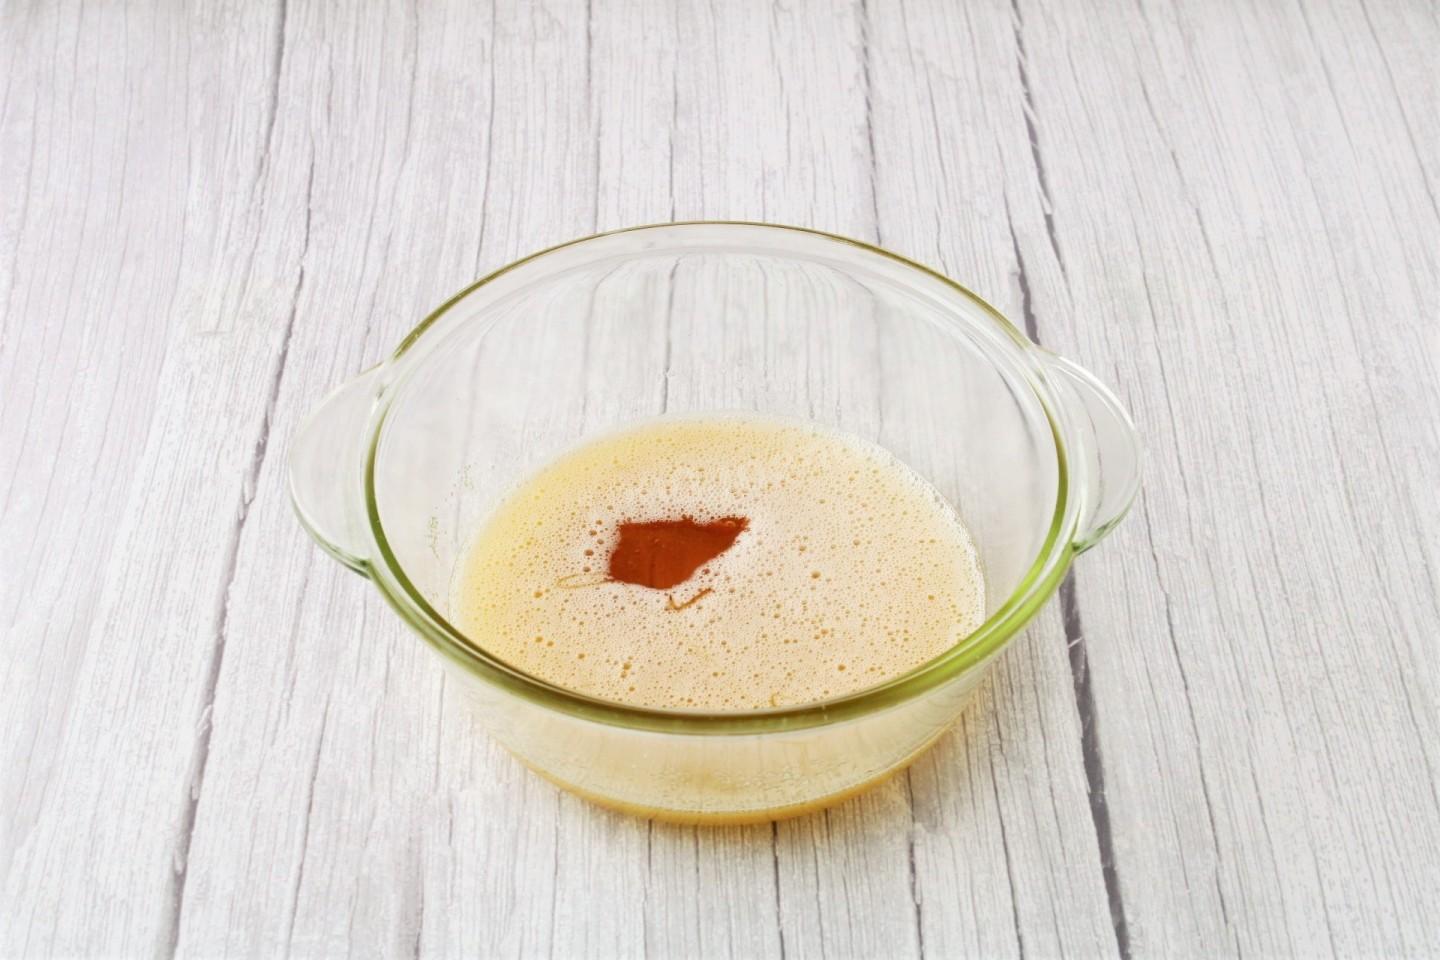
Add the honey to the sweetened egg mixture.
-
Step 5:
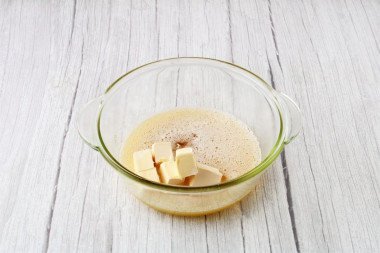
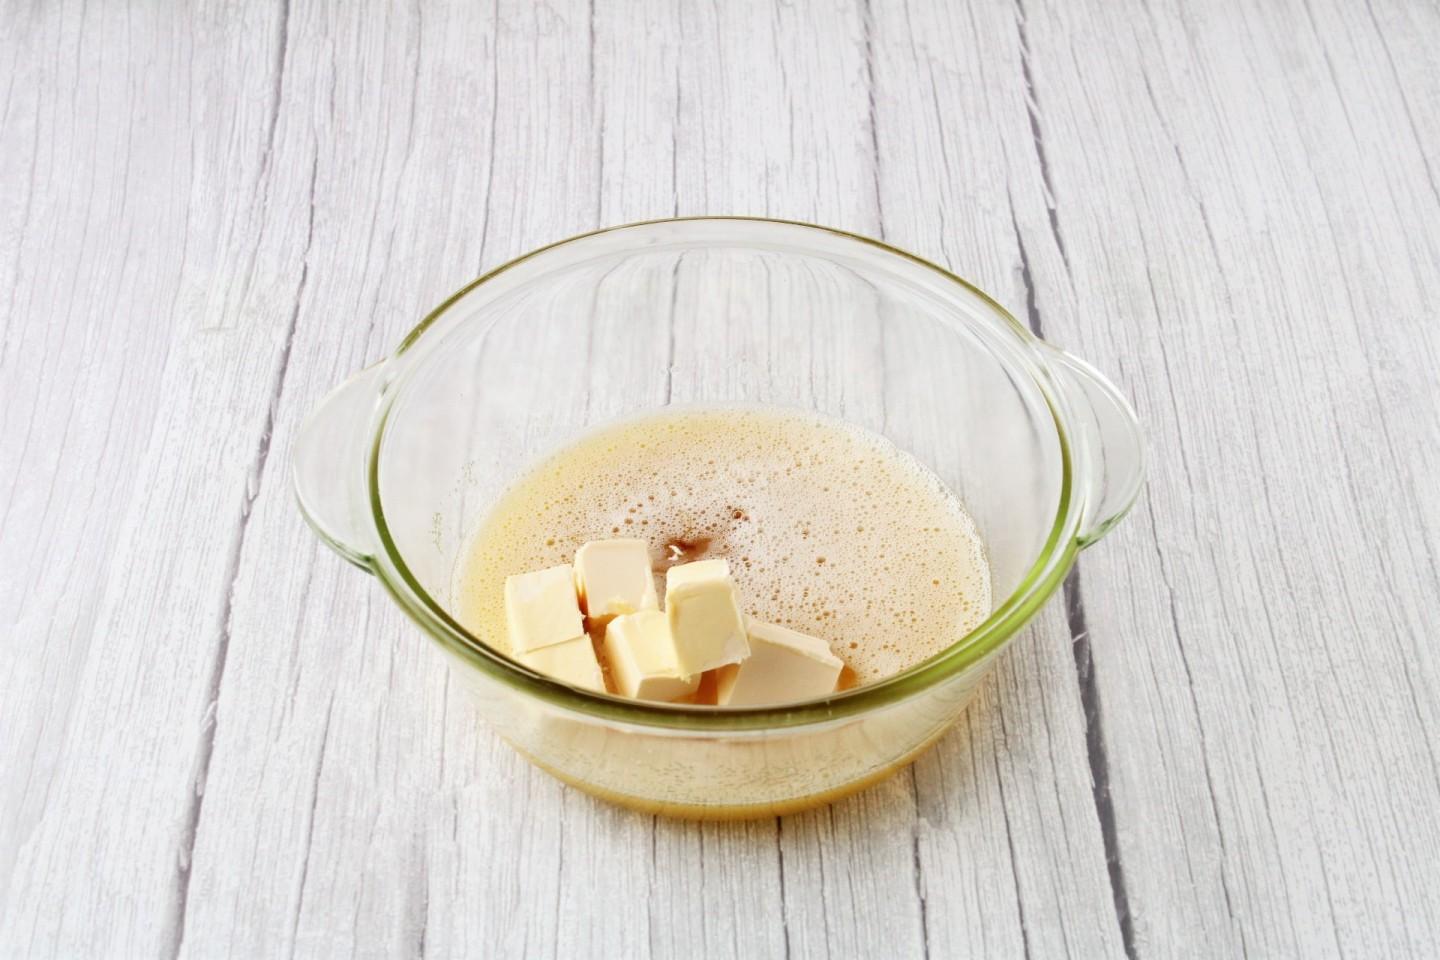
Add the butter. It's best if it's not too cold, so it melts faster.
-
Step 6:
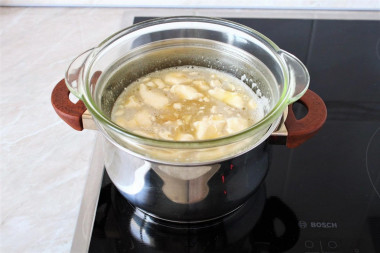
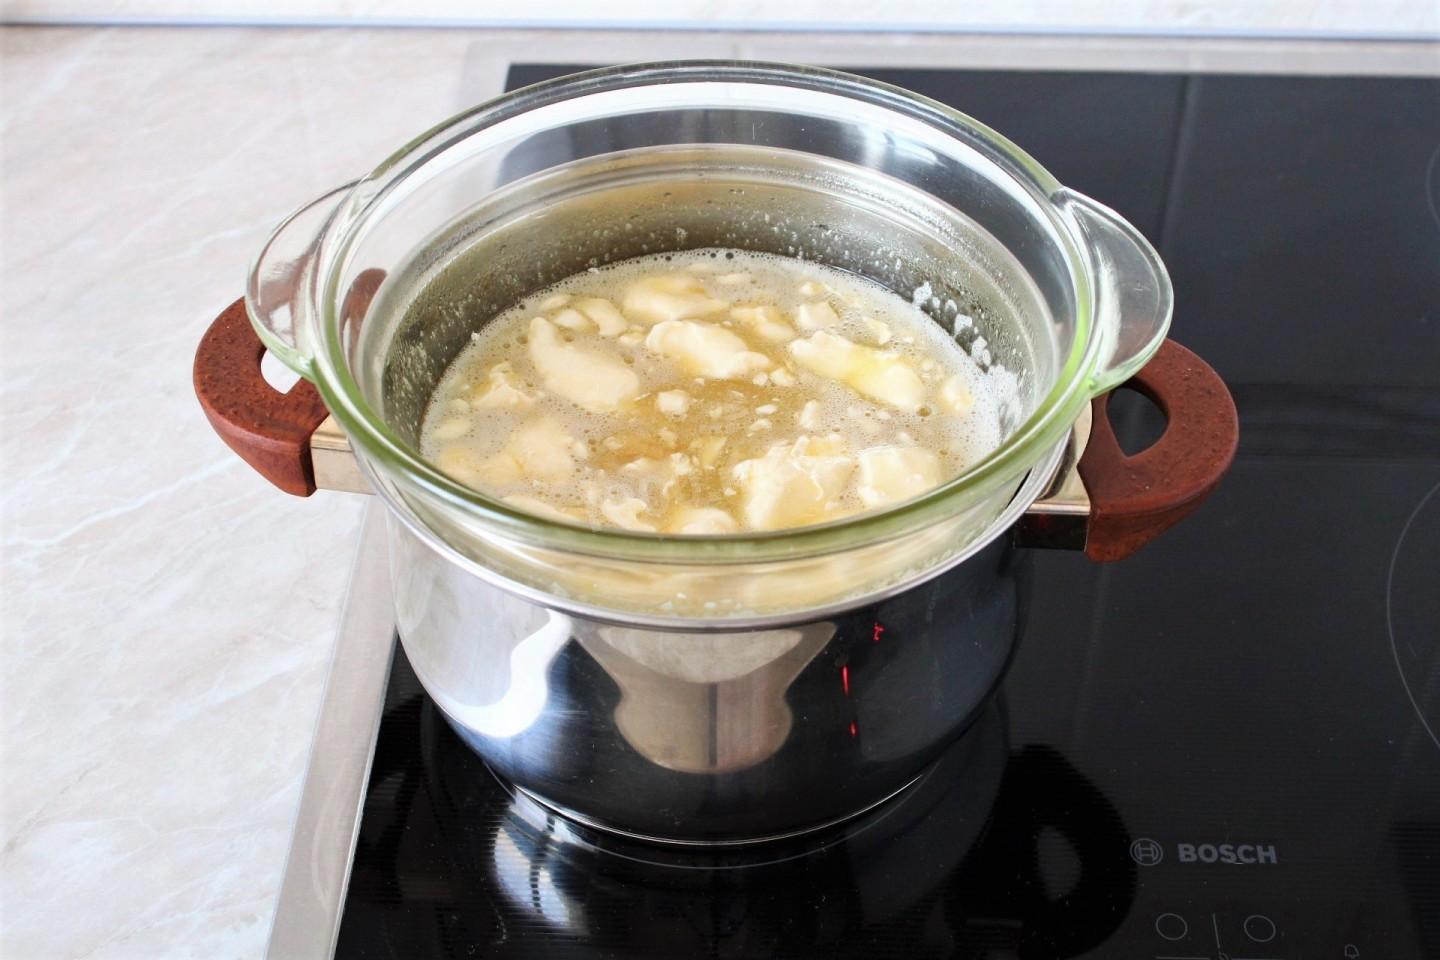
Pour water into a larger pot. Set the bowl with the mixture over the pot, making sure the bottom of the bowl doesn't touch the water. The water should boil at a moderate pace.
-
Step 7:
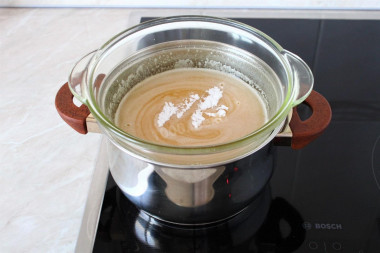
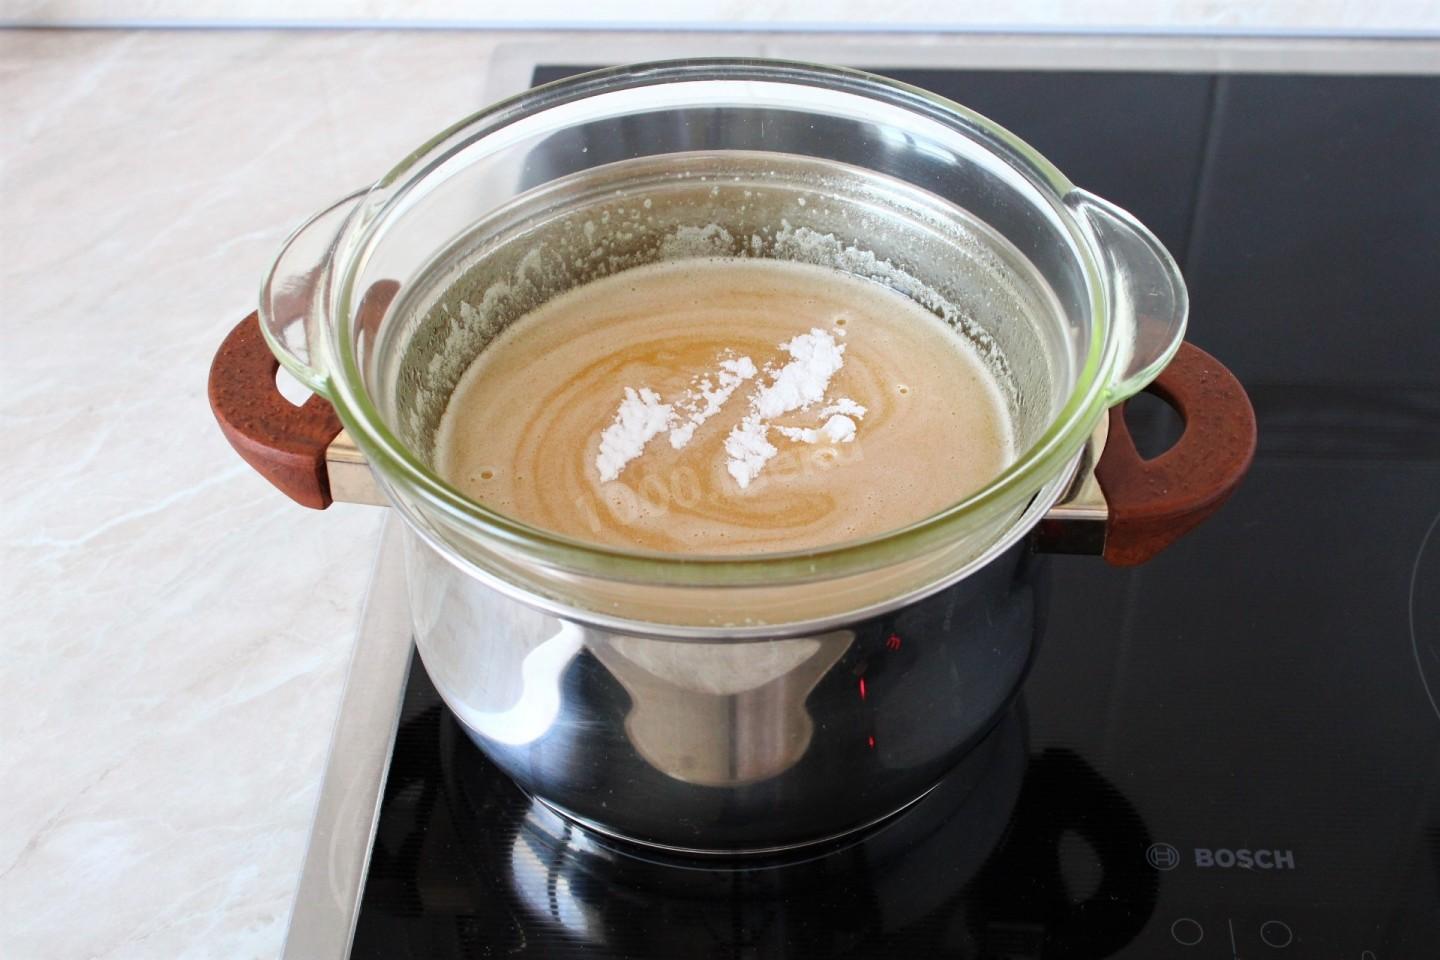
Stirring constantly, bring the mixture to a uniform consistency — the honey and butter should fully dissolve. Add the baking soda and stir well.
-
Step 8:
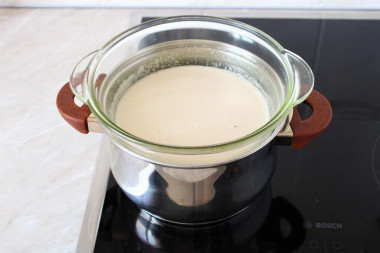
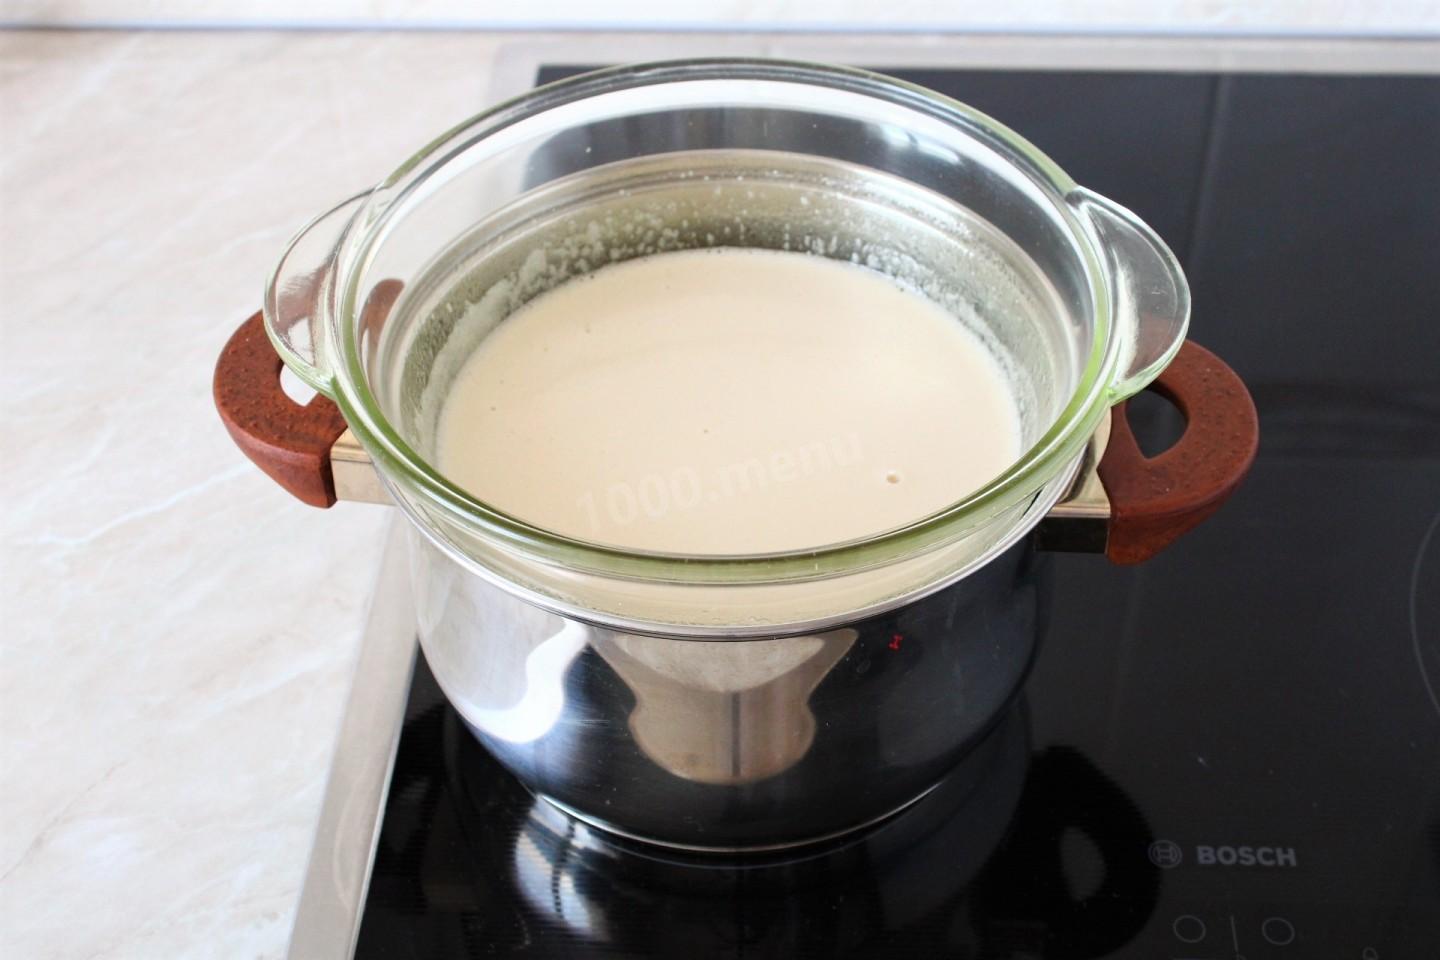
The mixture will start to foam a little. Heat it for one more minute, then take it off the double boiler.
-
Step 9:
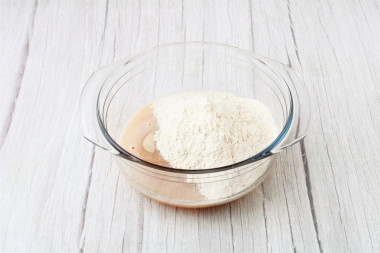
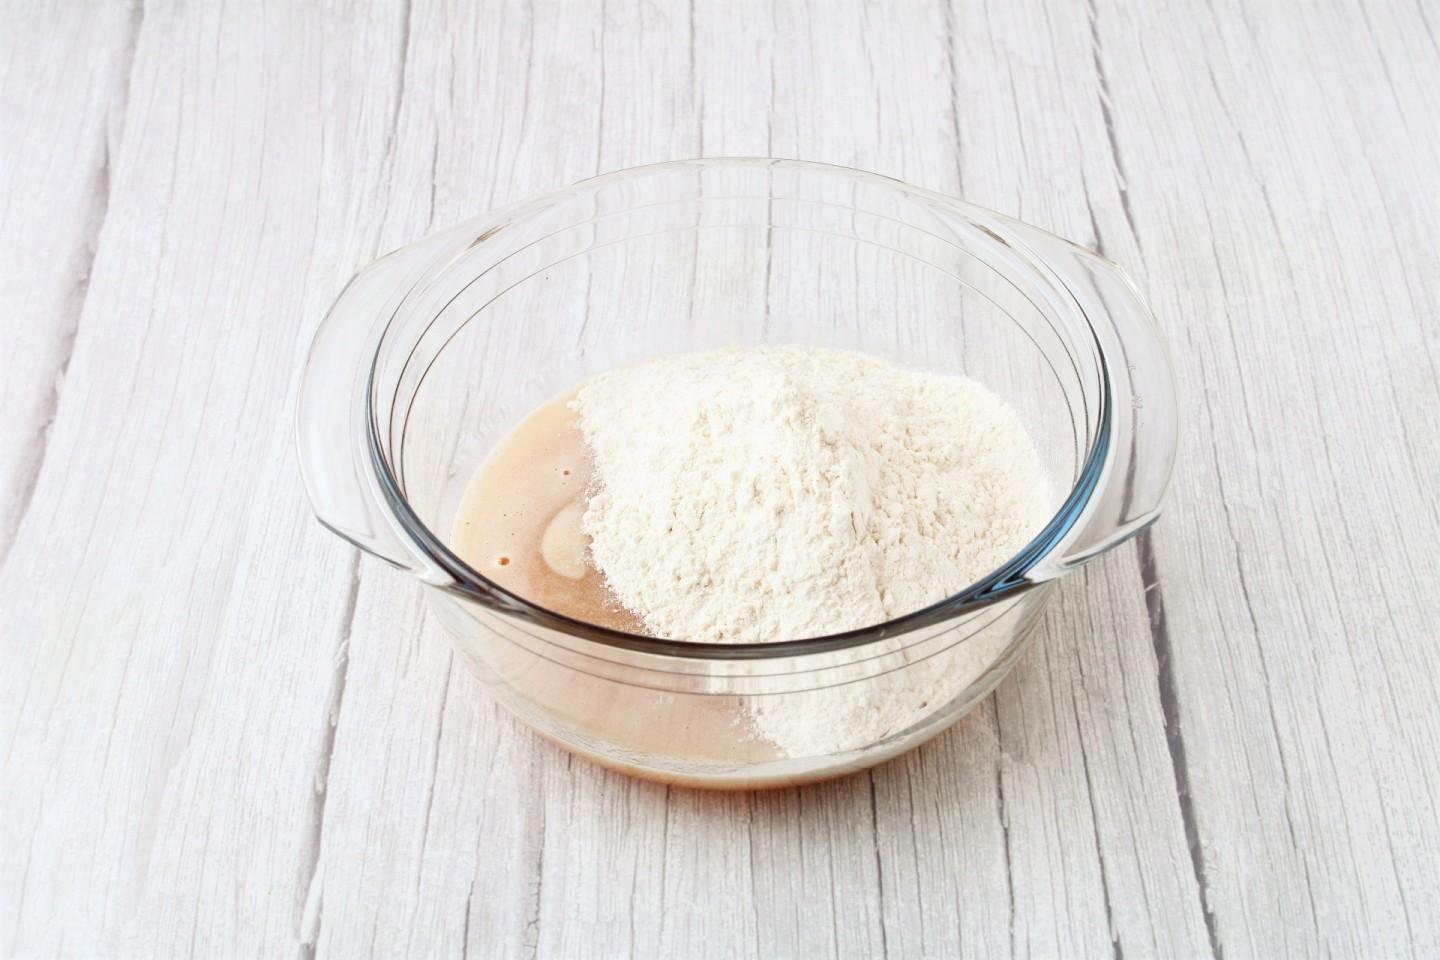
Pour the liquid mixture into a roomy bowl that's good for kneading. Let it cool just slightly. Add the sifted flour, but not all at once — you may need a little more or less depending on its quality. Stir first with a spoon, then with your hands.
-
Step 10:
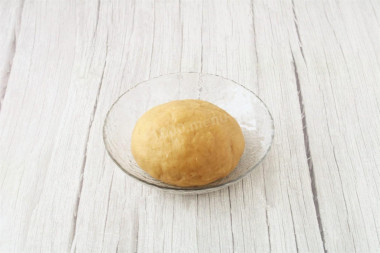
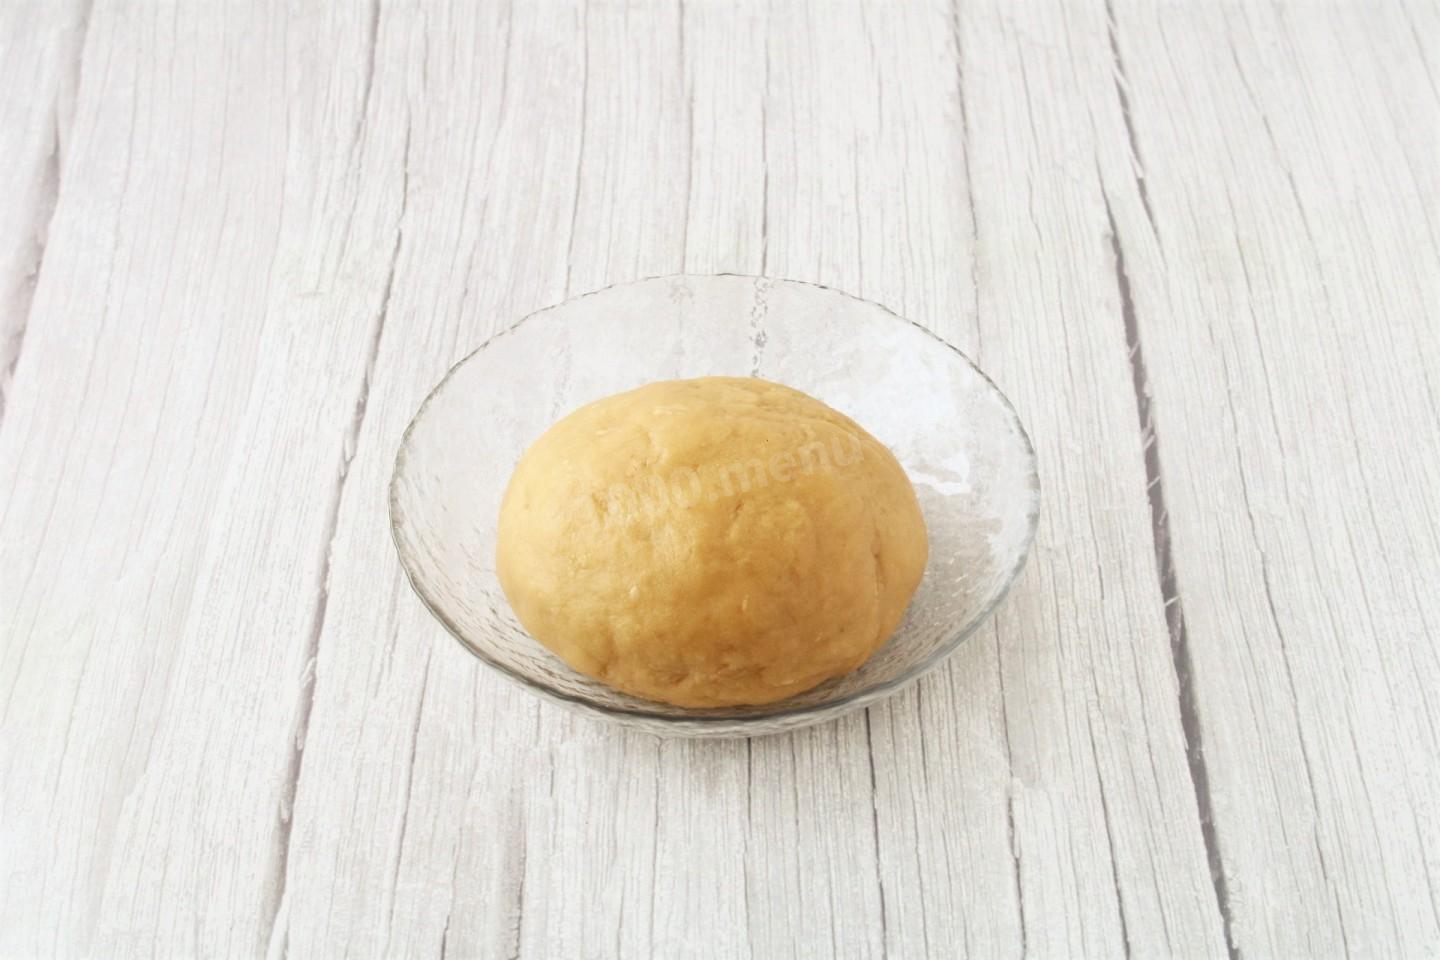
Knead the honey dough. It should be soft, not stiff. Honey dough sticks to your hands a little — that's normal. Don't try to fix it by adding flour, or the dough will turn stiff and the baked layers tough.
-
Step 11:
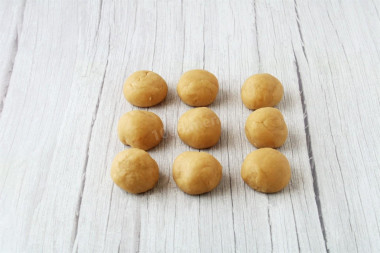
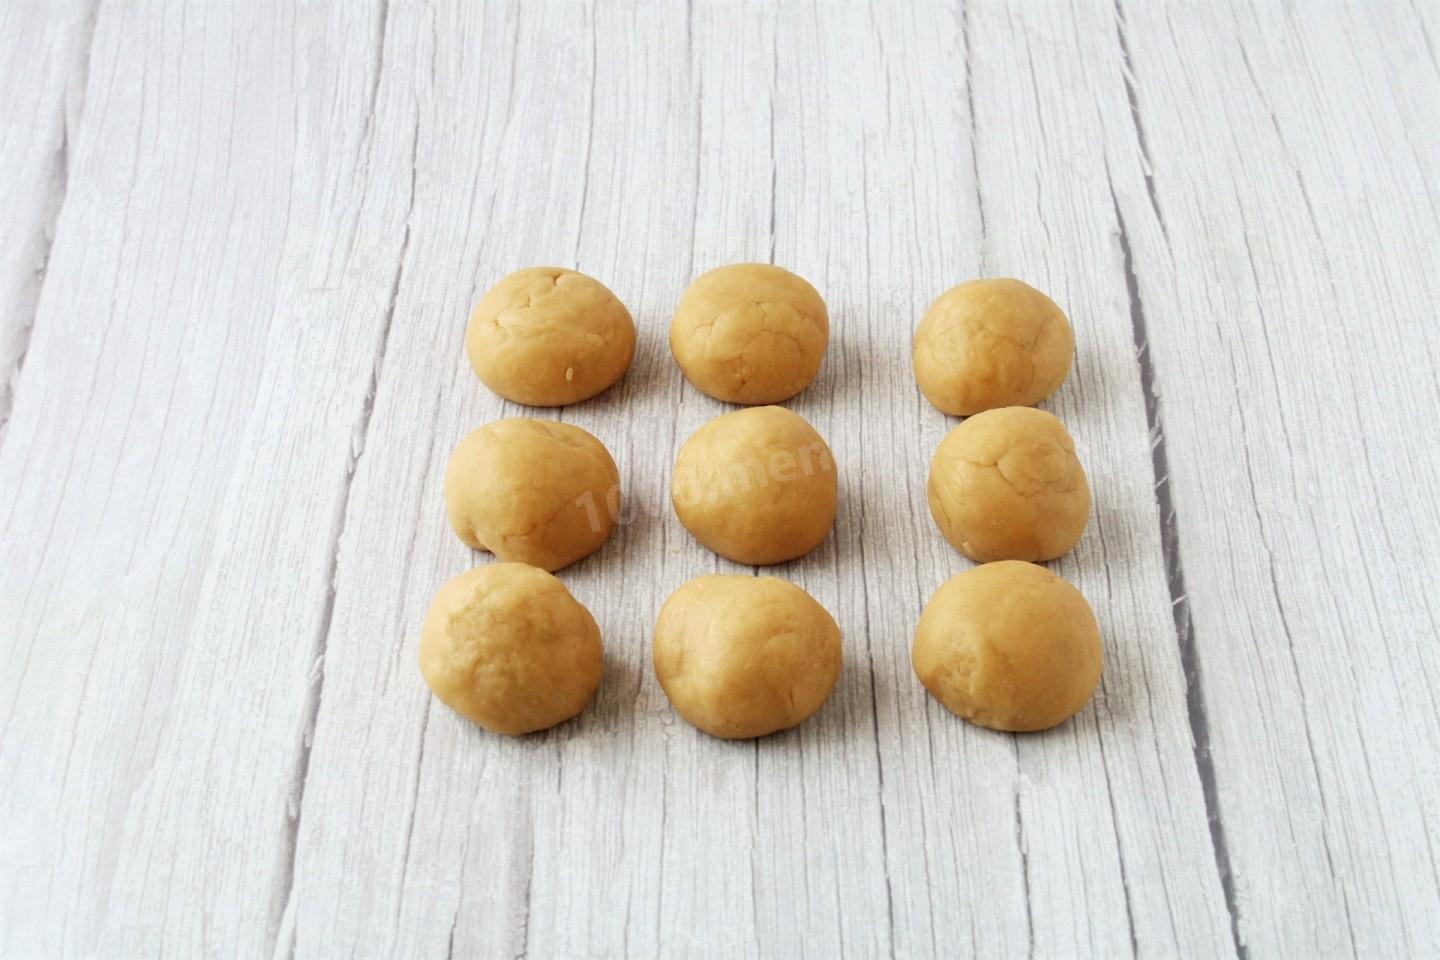
Divide the dough into equal pieces — how many depends on the diameter of layer you want. I divided mine into 9. My layers are 7 1/2 inches (19 cm) across; a larger diameter means fewer layers.
-
Step 12:
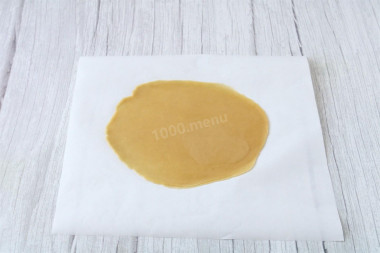
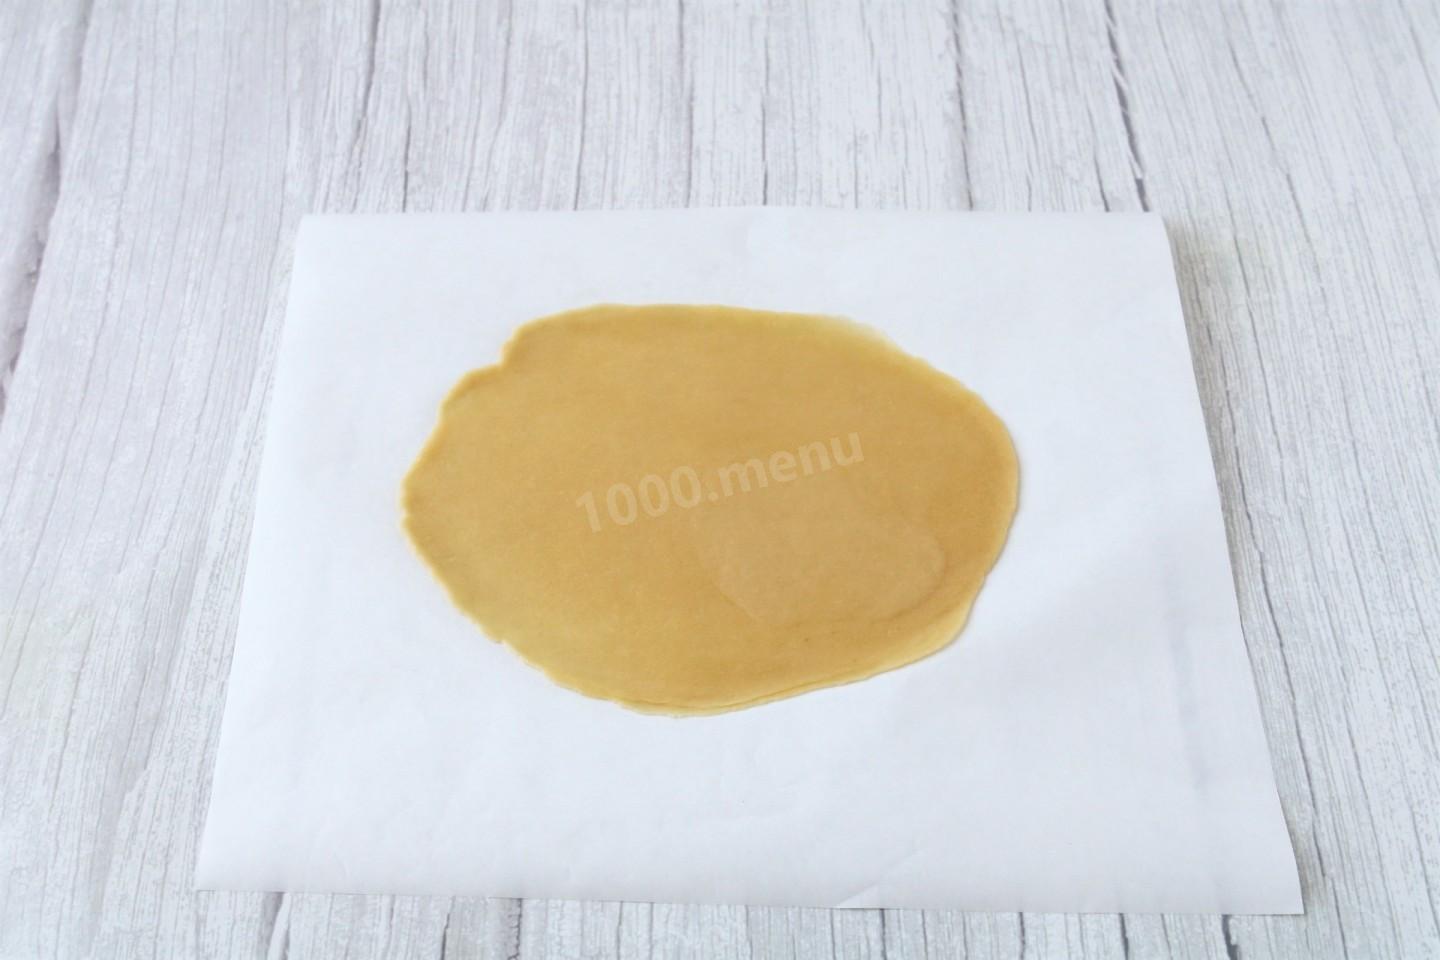
Roll each piece of dough into a thin sheet about 1/16 inch (2 mm) thick. You can do this right on parchment.
-
Step 13:
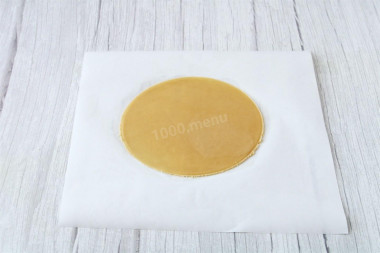
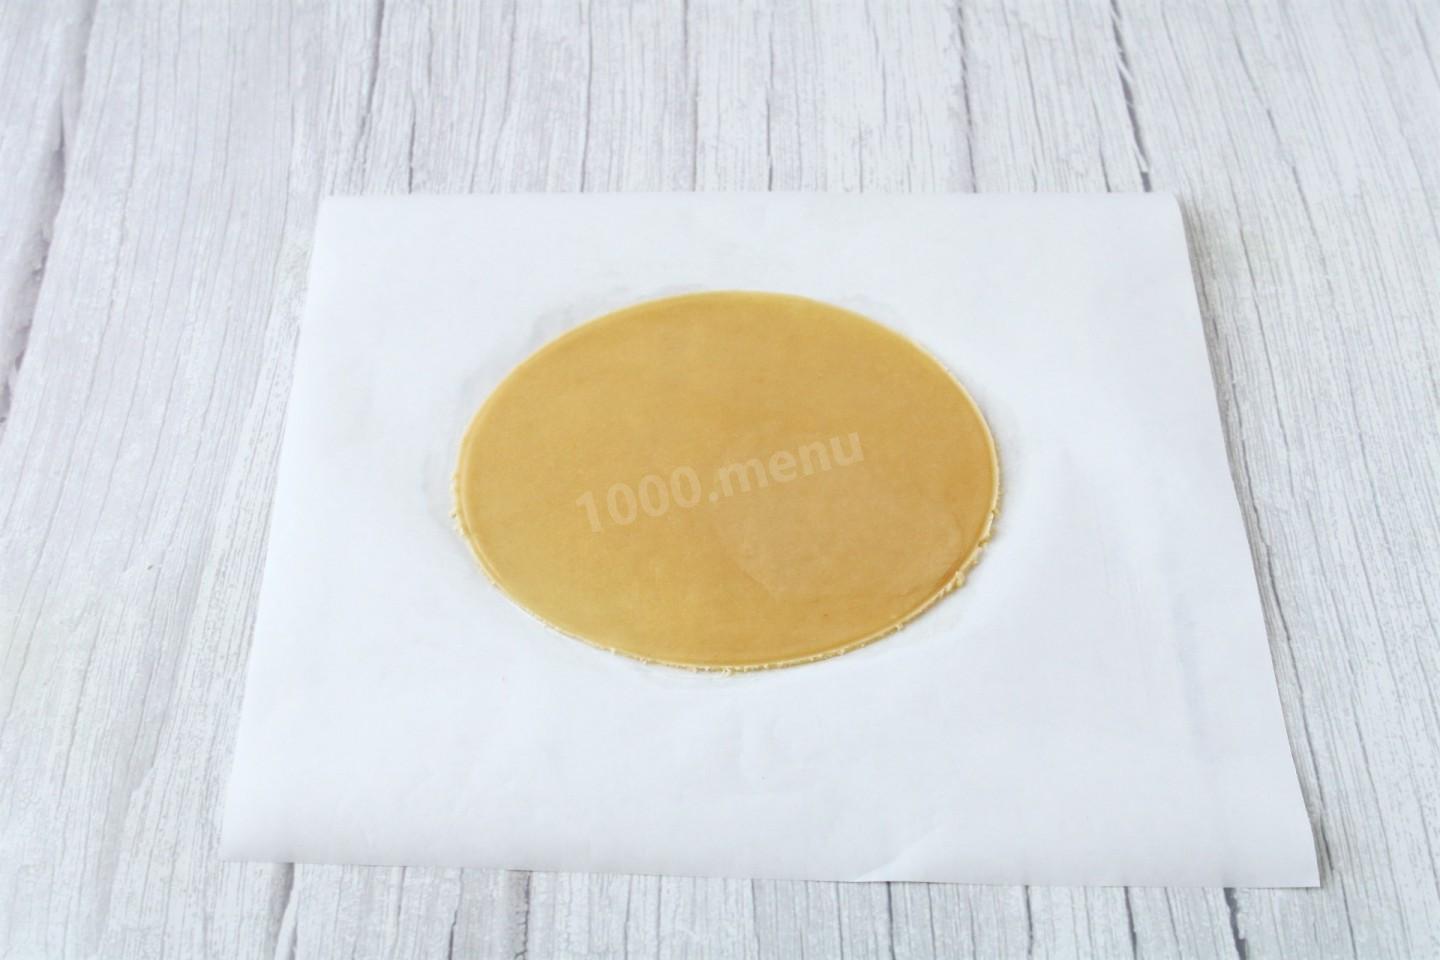
Trim the dough to a plate of the right diameter.
-
Step 14:
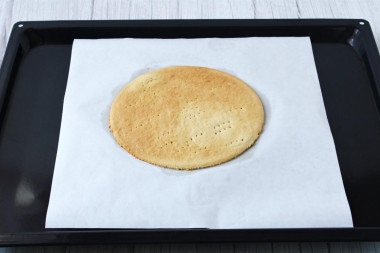
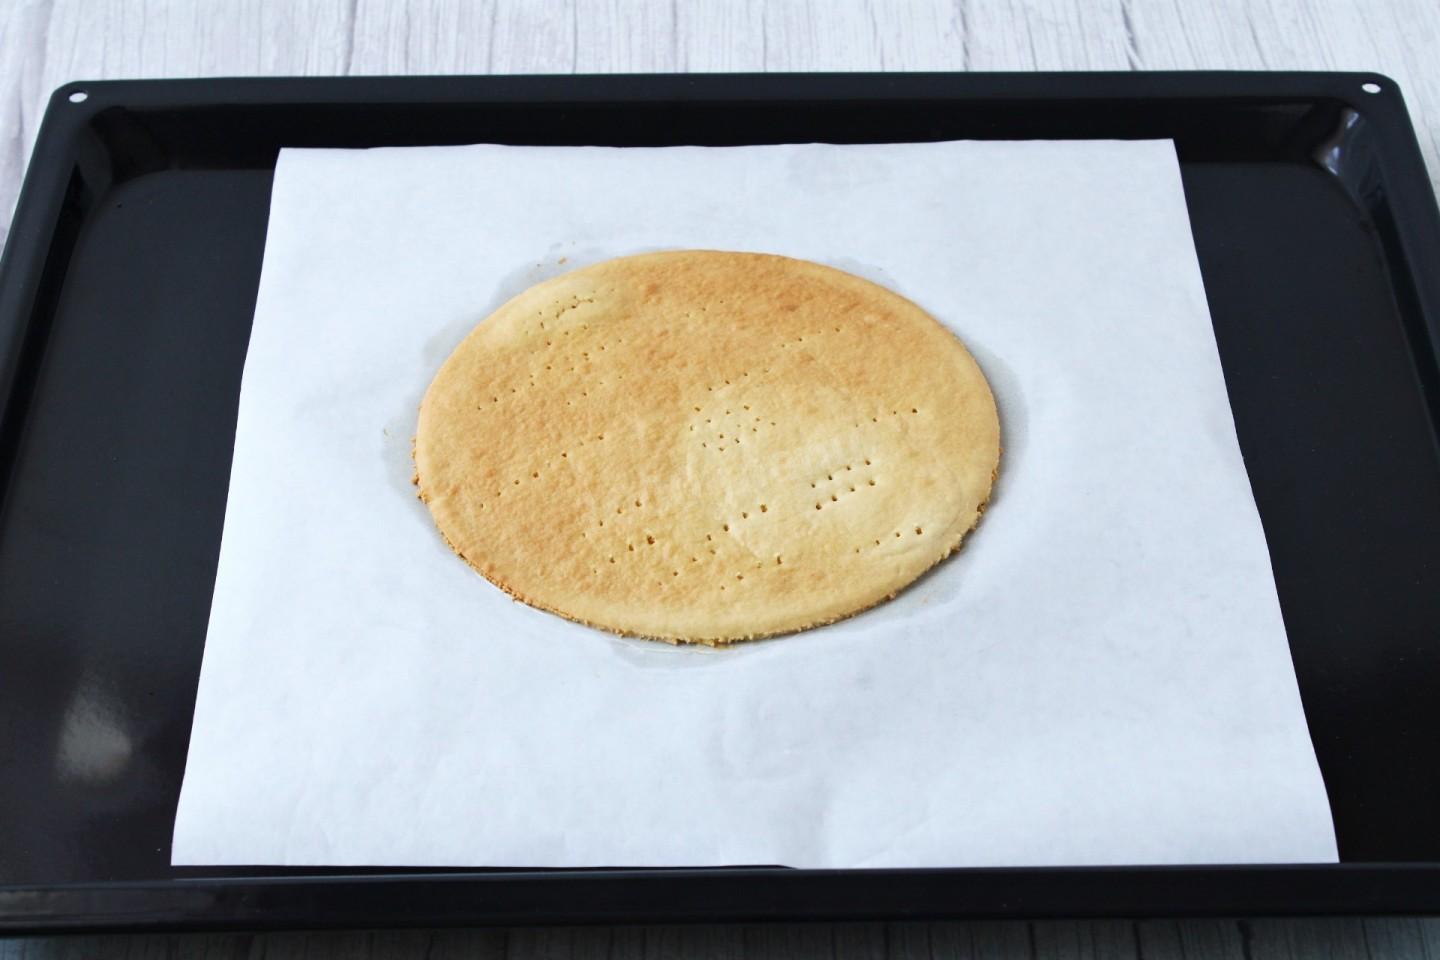
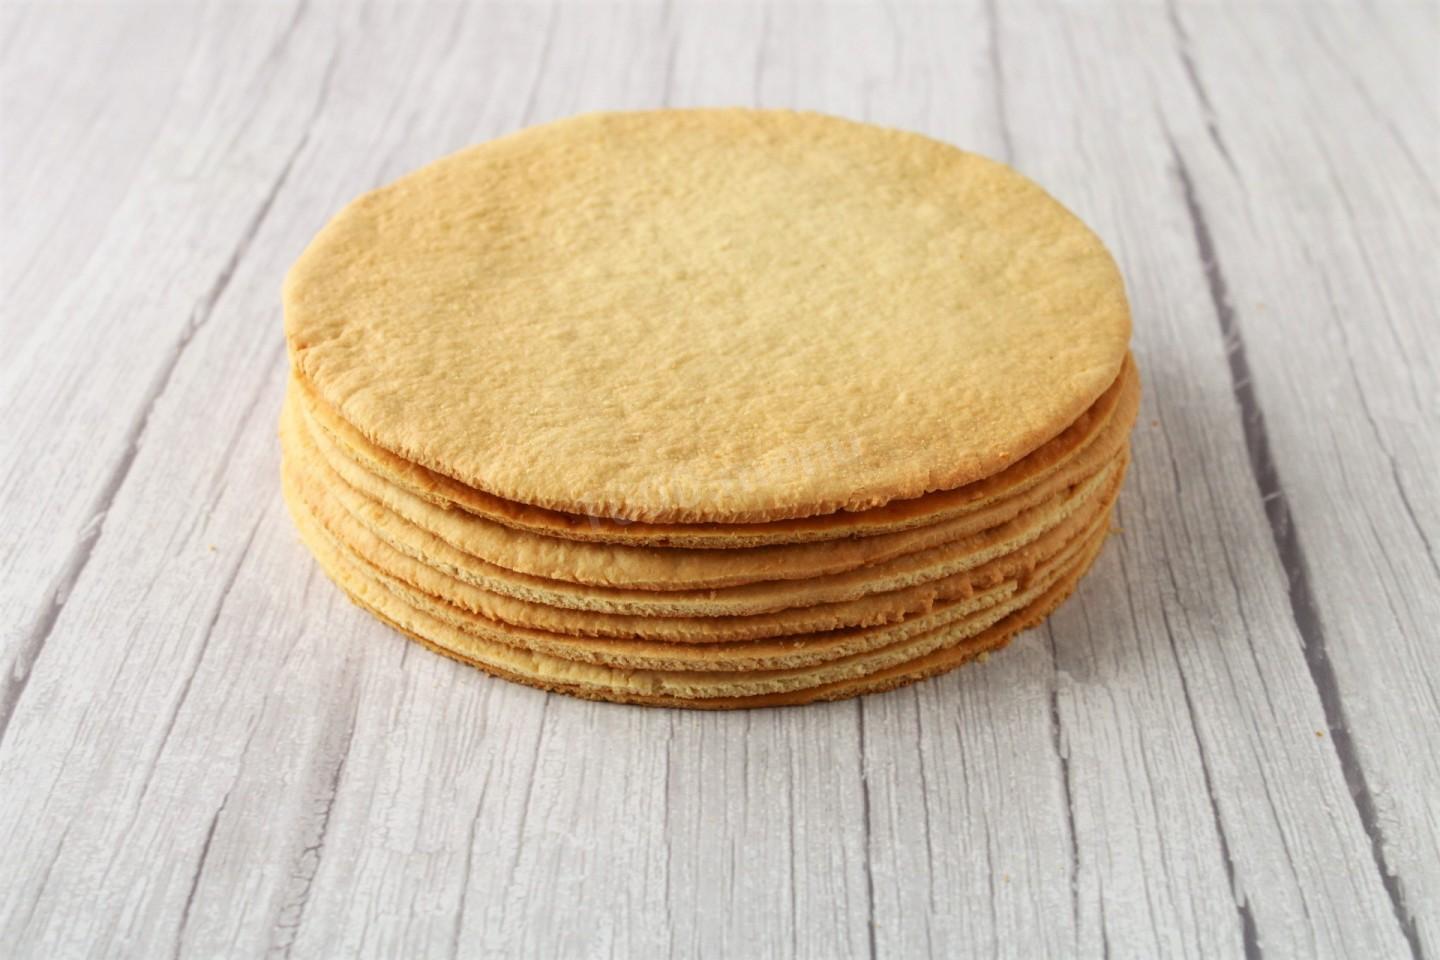
Bake each layer in an oven preheated to 325°F (160°C) for about 5 minutes. Transfer the baked layer to a flat surface. Be careful — the layers brown very fast, so don't over-dry them. You can trim the layers after baking, but do it right away, since they quickly turn brittle as they cool.
-
Step 15:
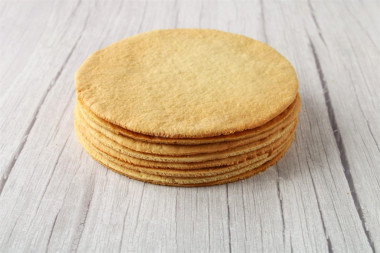
Bake all the layers this way. I cut cake decorations out of one piece of dough. Go by your own oven and figure out the time and temperature that work for you.
-
Step 16:
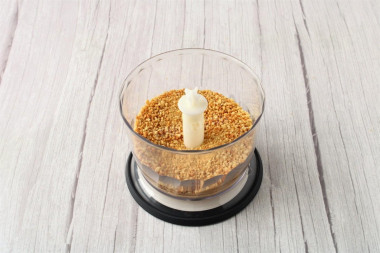
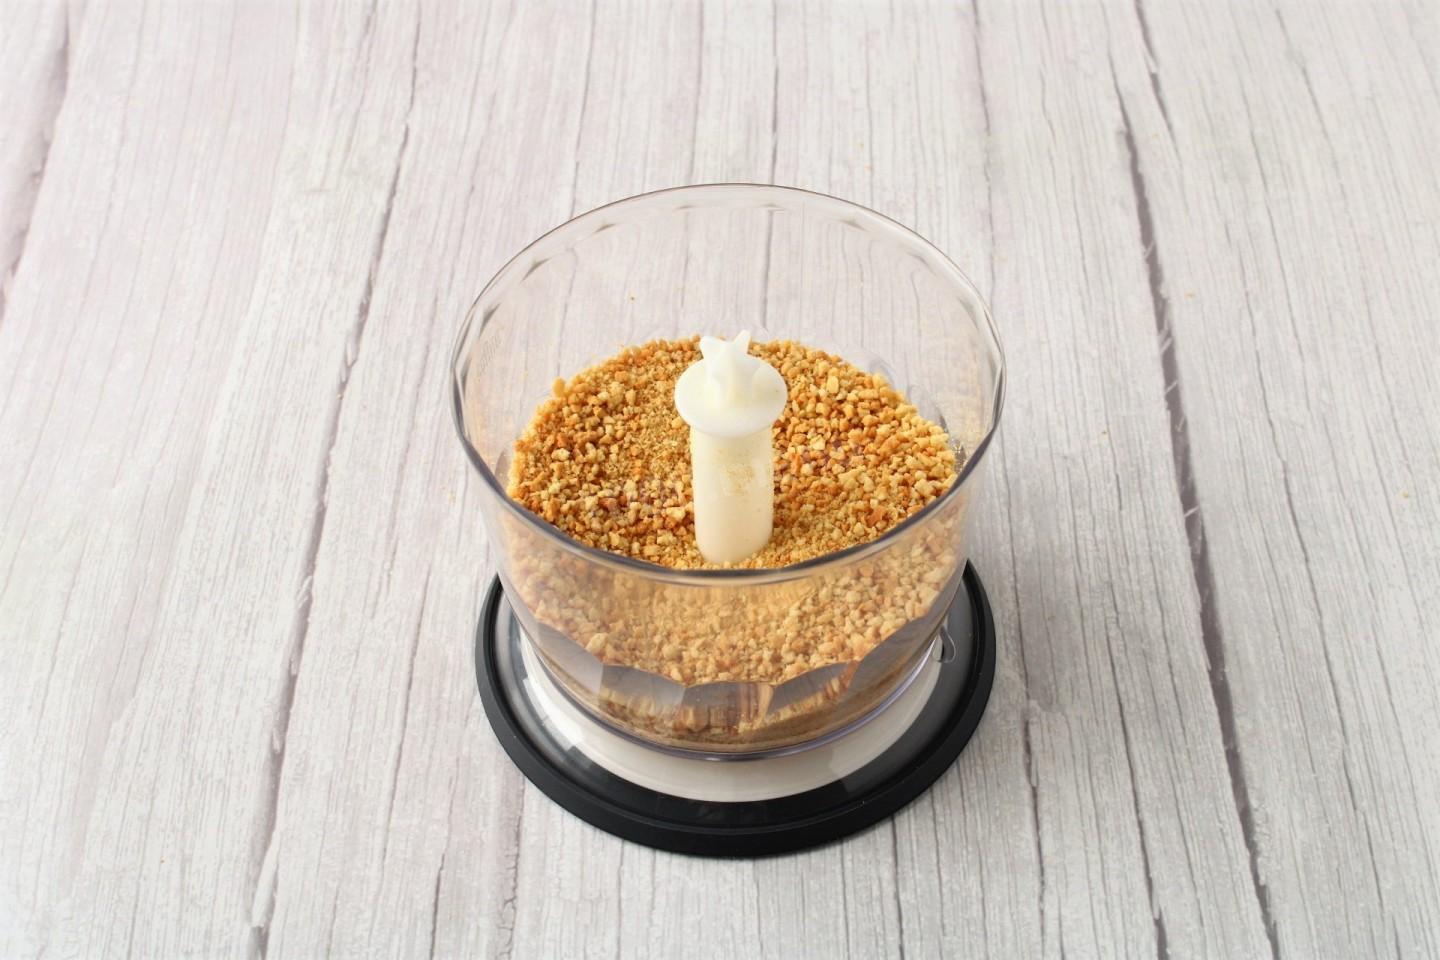
I ground the baked scraps and trimmings into crumbs in a blender. You can use them to finish the cake.
-
Step 17:
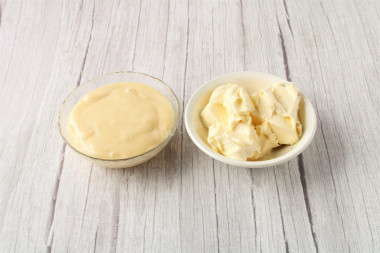
Make the cream.
-
Step 18:
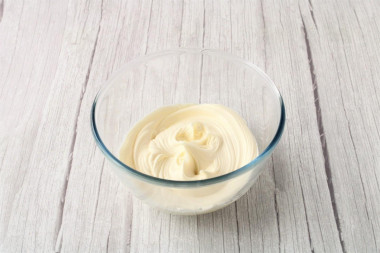
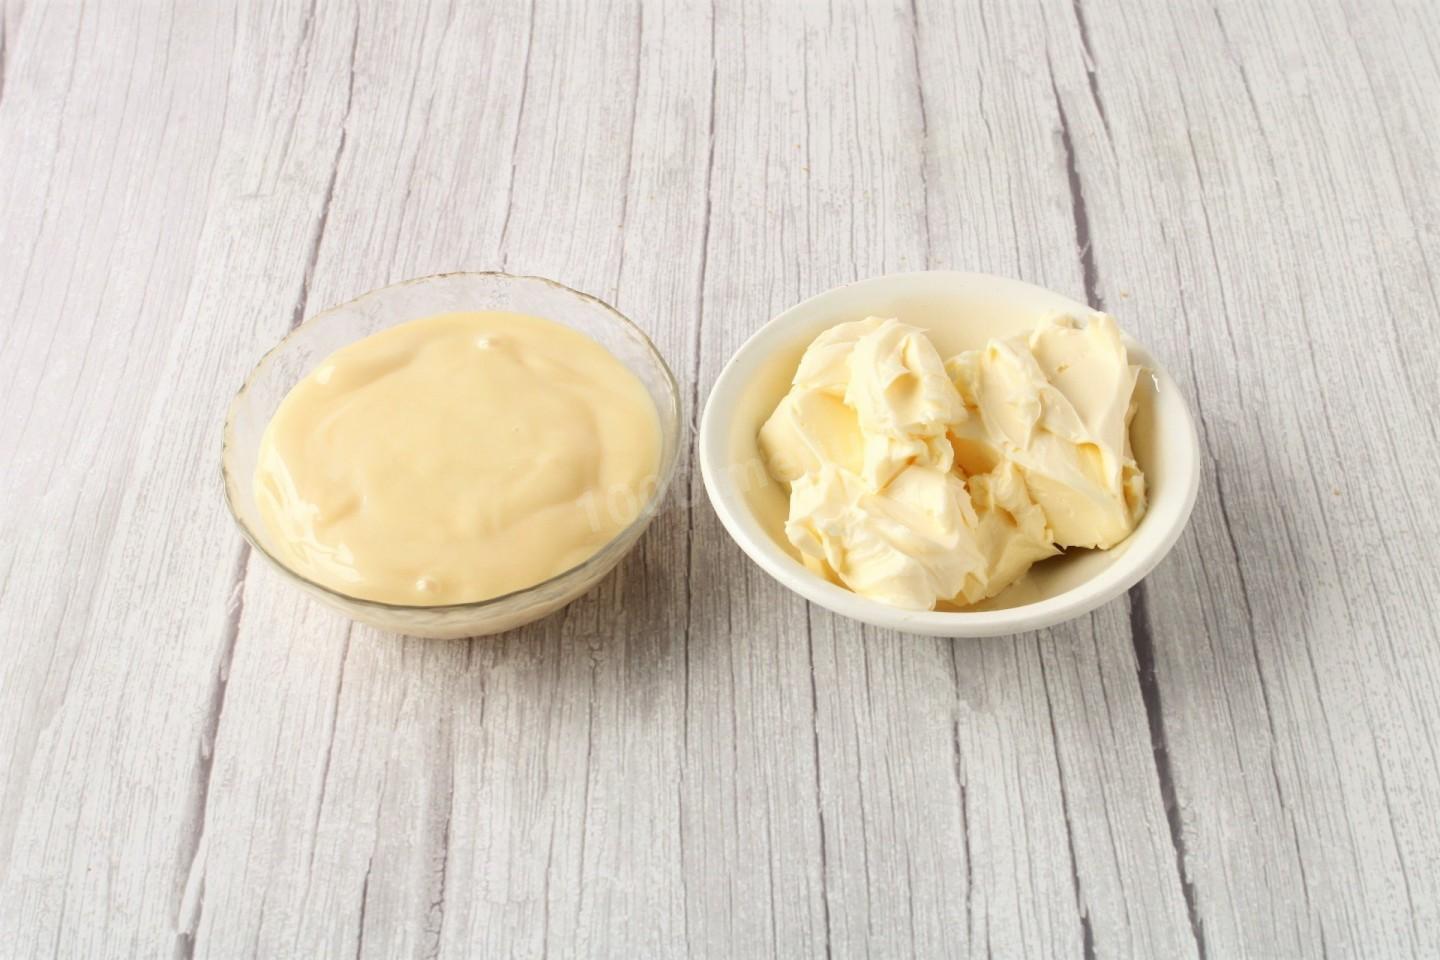
Beat the softened butter with a mixer to a fluffy, creamy consistency.
-
Step 19:
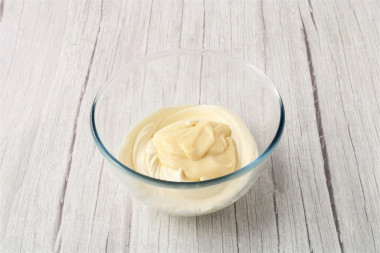
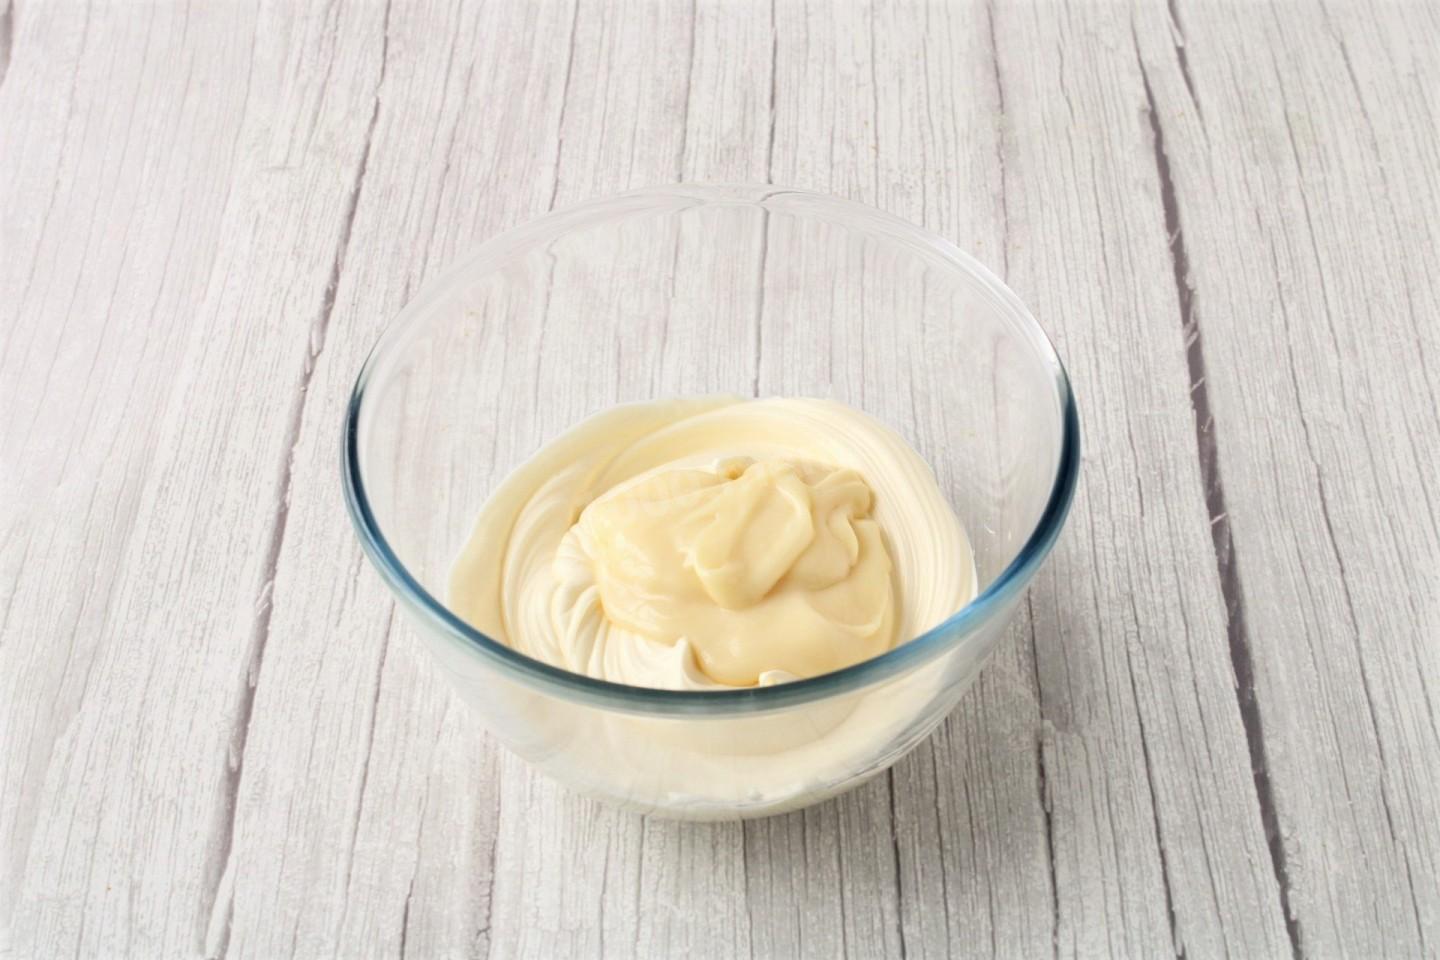
Mix the condensed milk into the butter a little at a time.
-
Step 20:
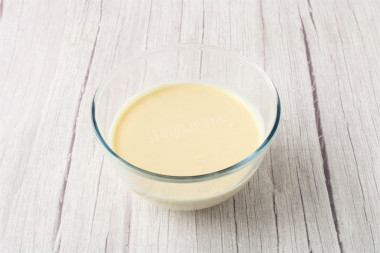
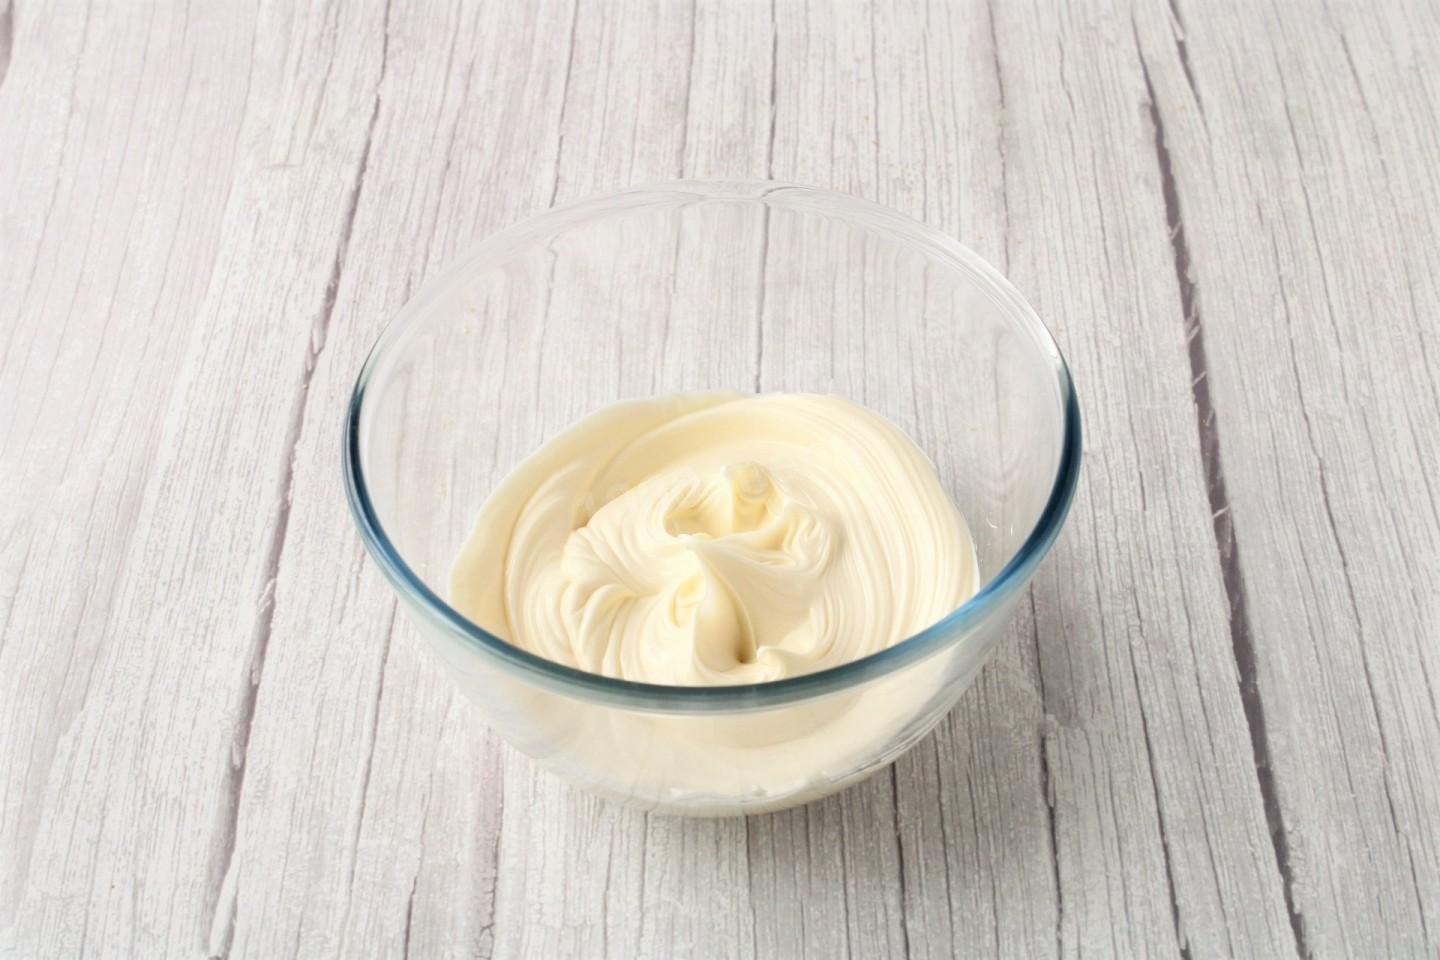
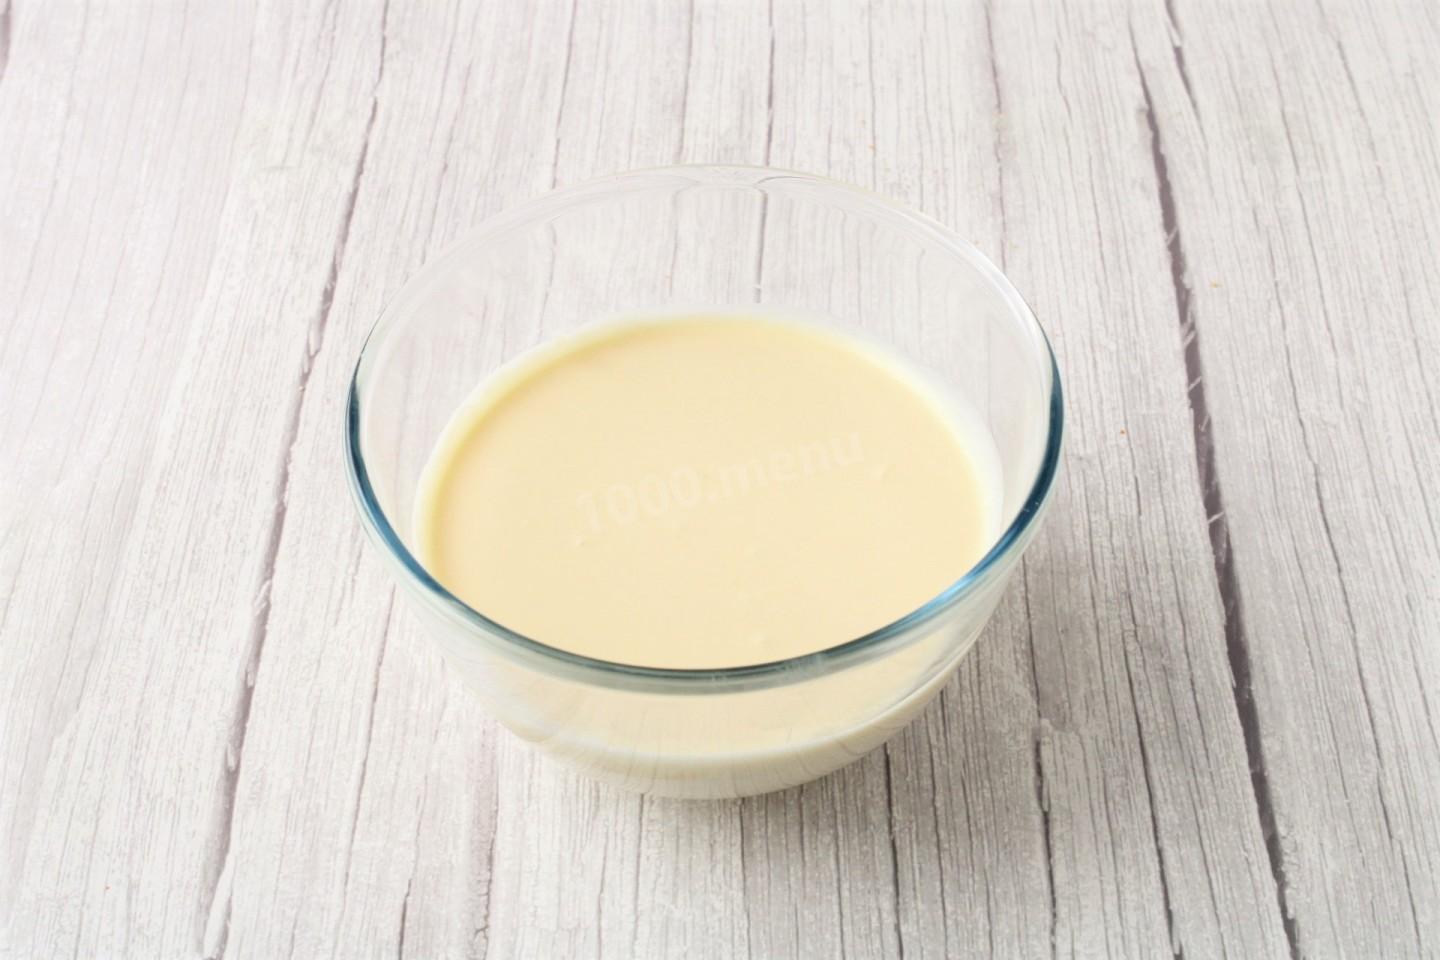
Beat the cream on the lowest speed until smooth.
-
Step 21:
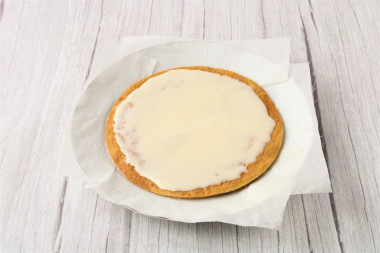
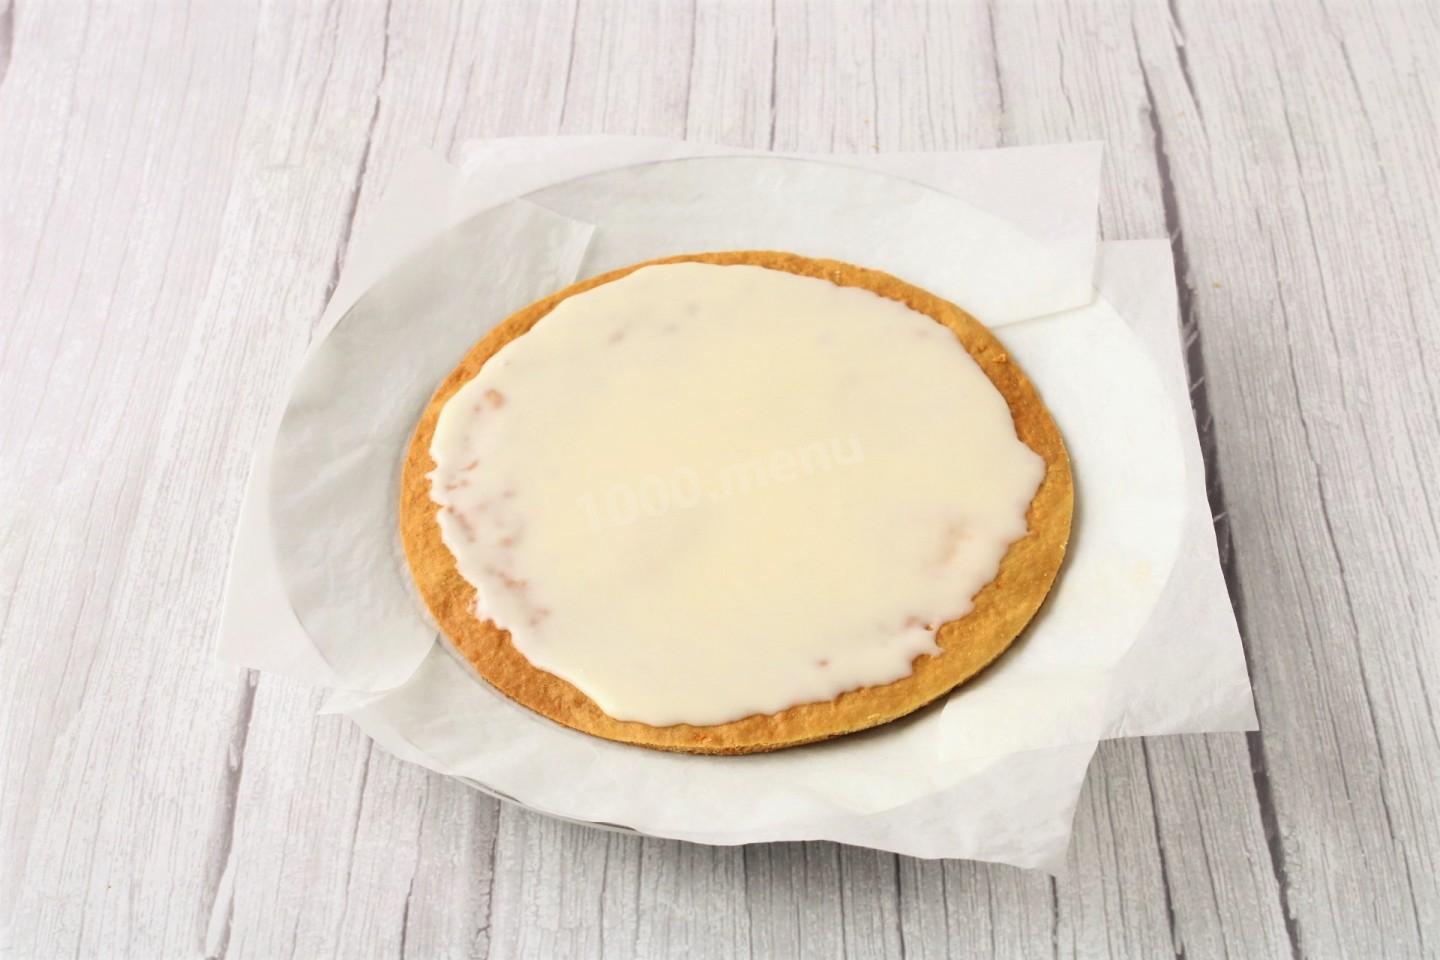
Put a layer on a plate of suitable size and spread it with cream. To keep the plate clean after assembling, you can tuck strips of parchment around the layer.
-
Step 22:
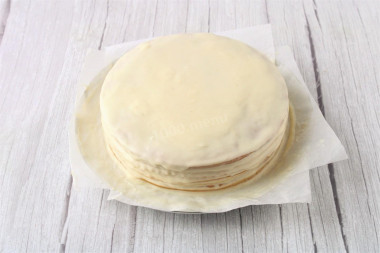
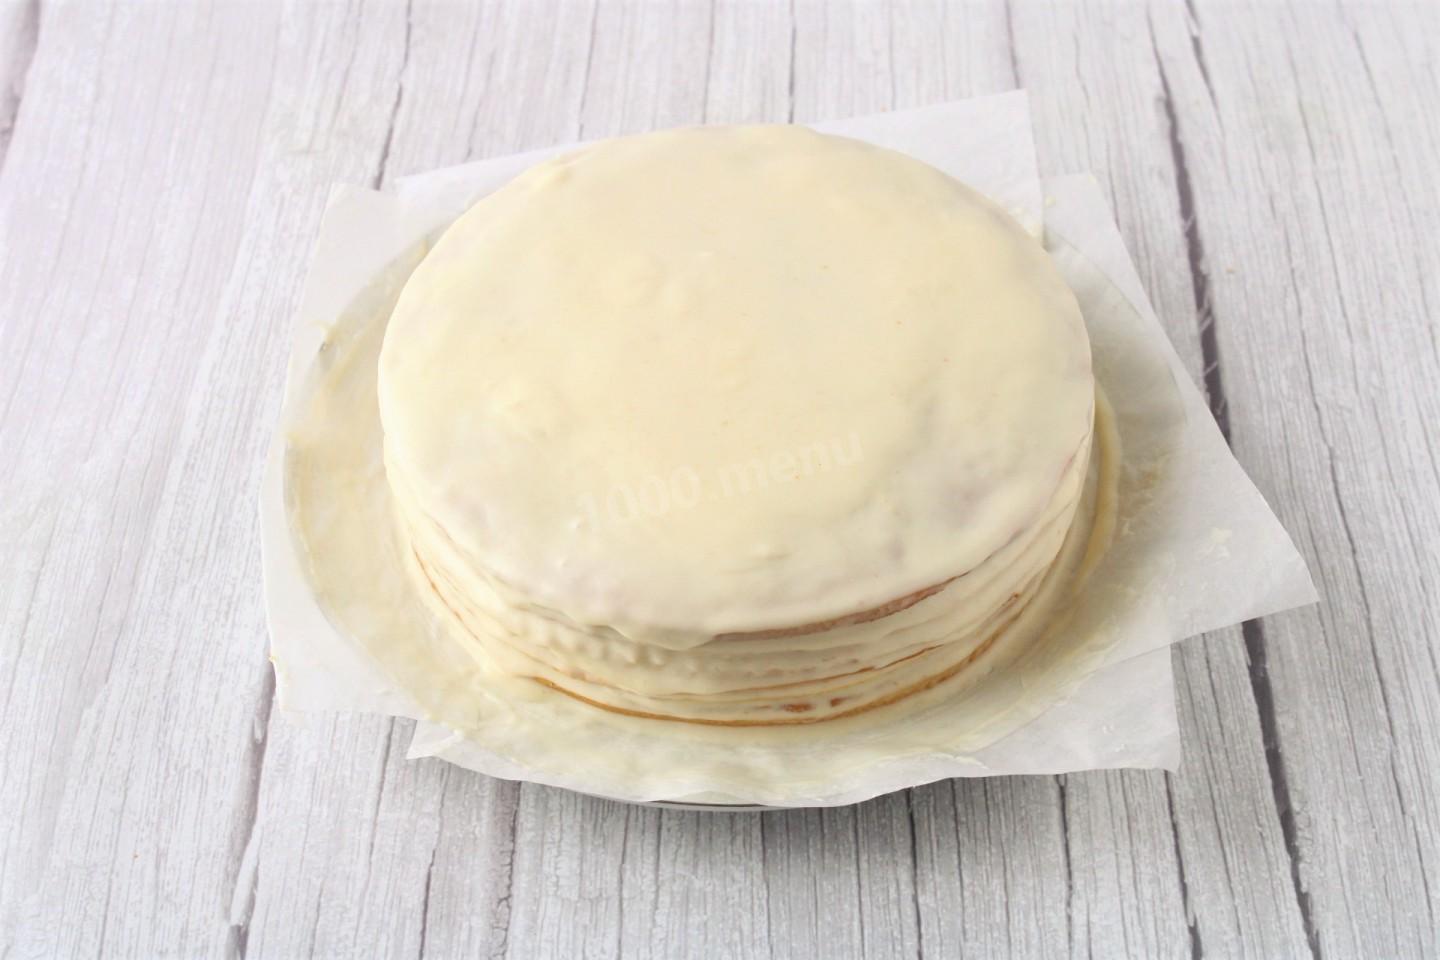
Stacking the layers and spreading each with cream, assemble the whole cake.
-
Step 23:
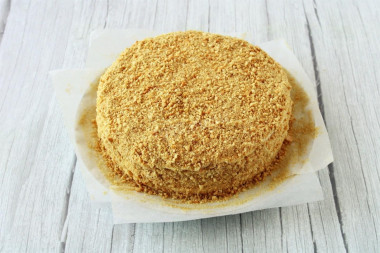
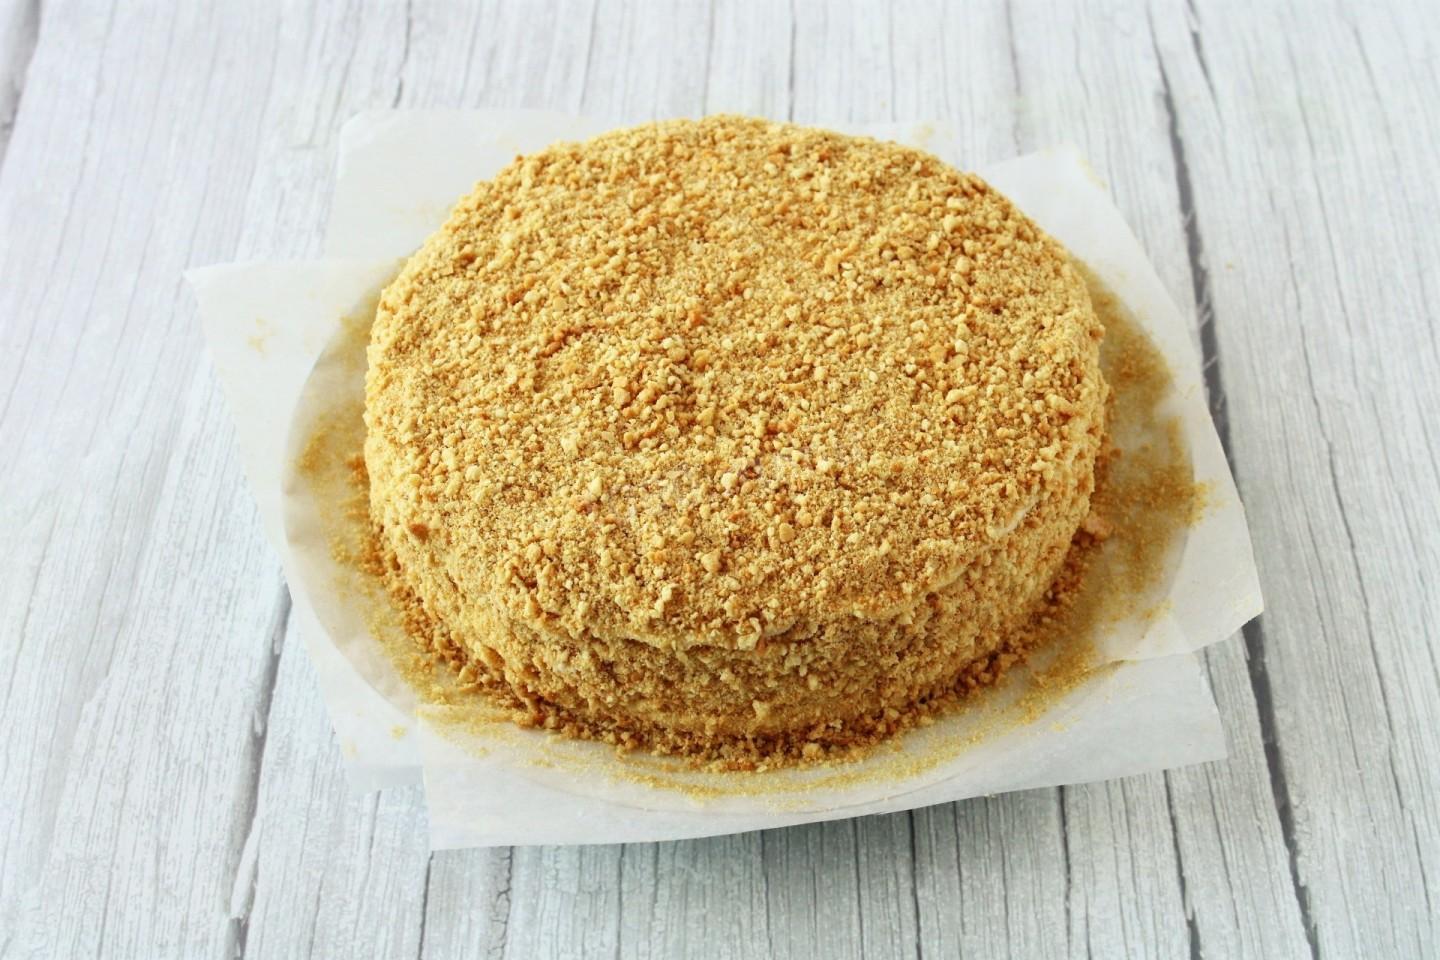
I dusted the top of the cake with honey-cake crumbs. Refrigerate the cake for 10-12 hours so it soaks through well. Now you can remove the parchment strips. Decorate the cake as you like before serving.
-
Step 24:
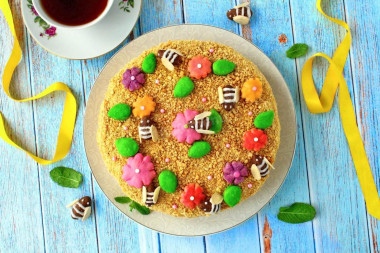
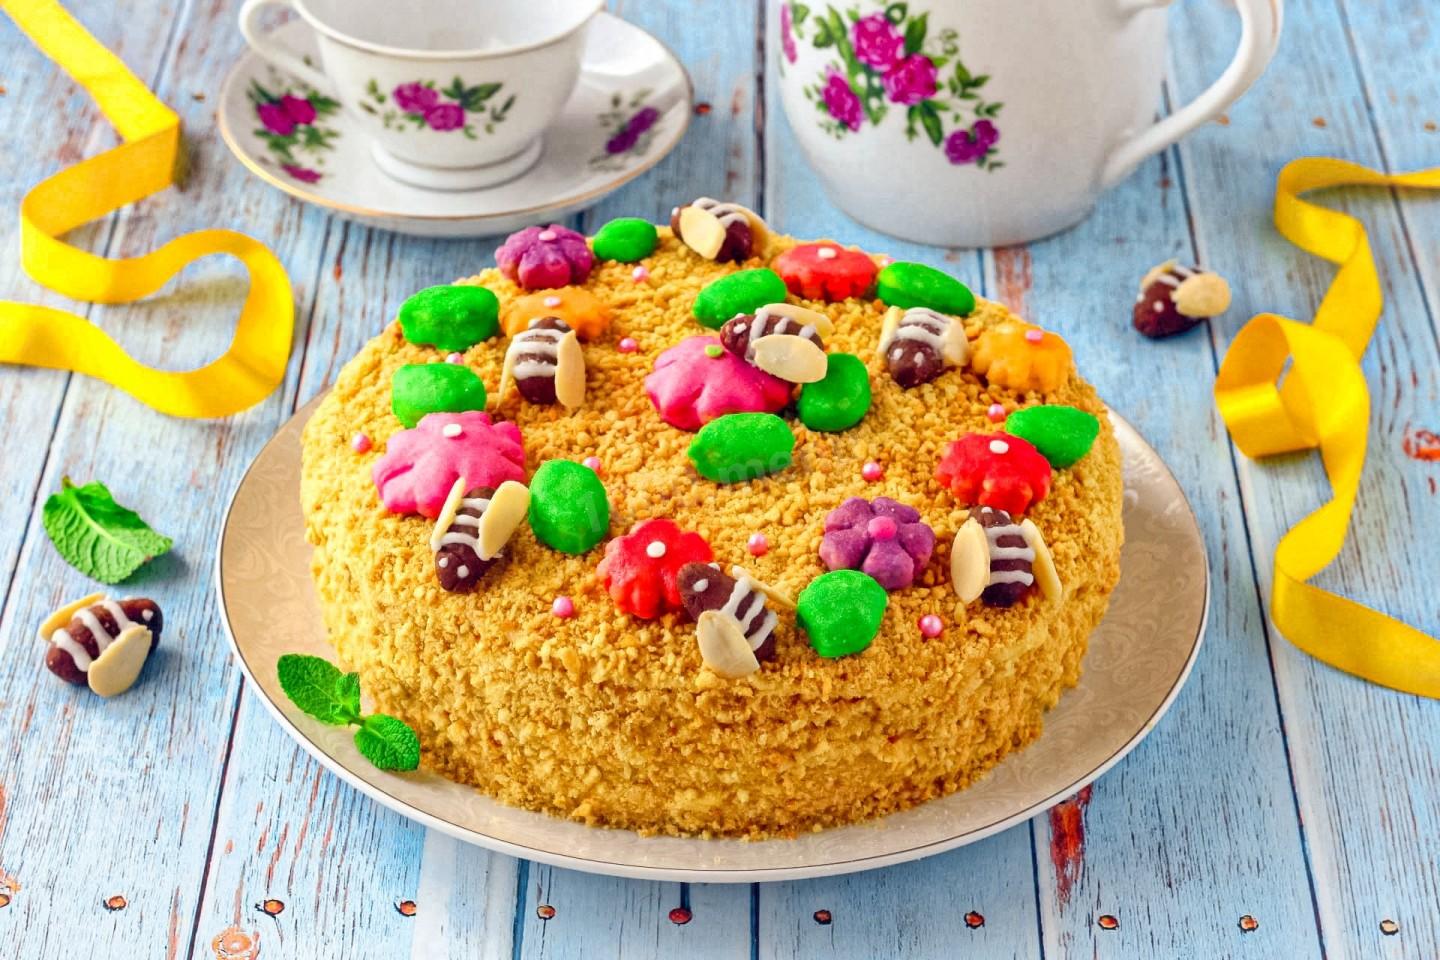
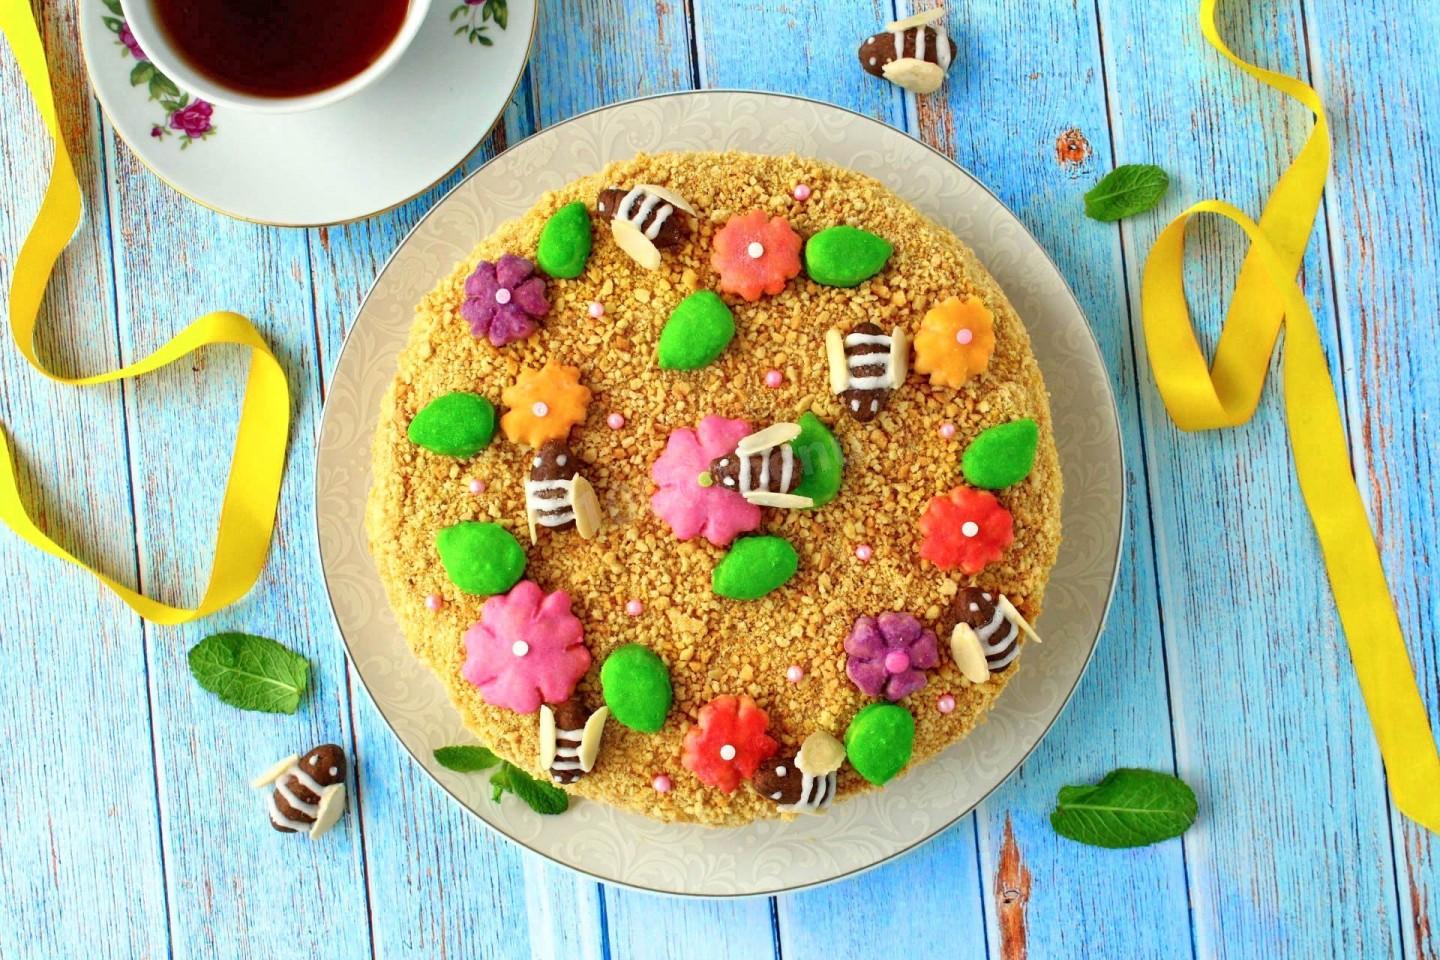
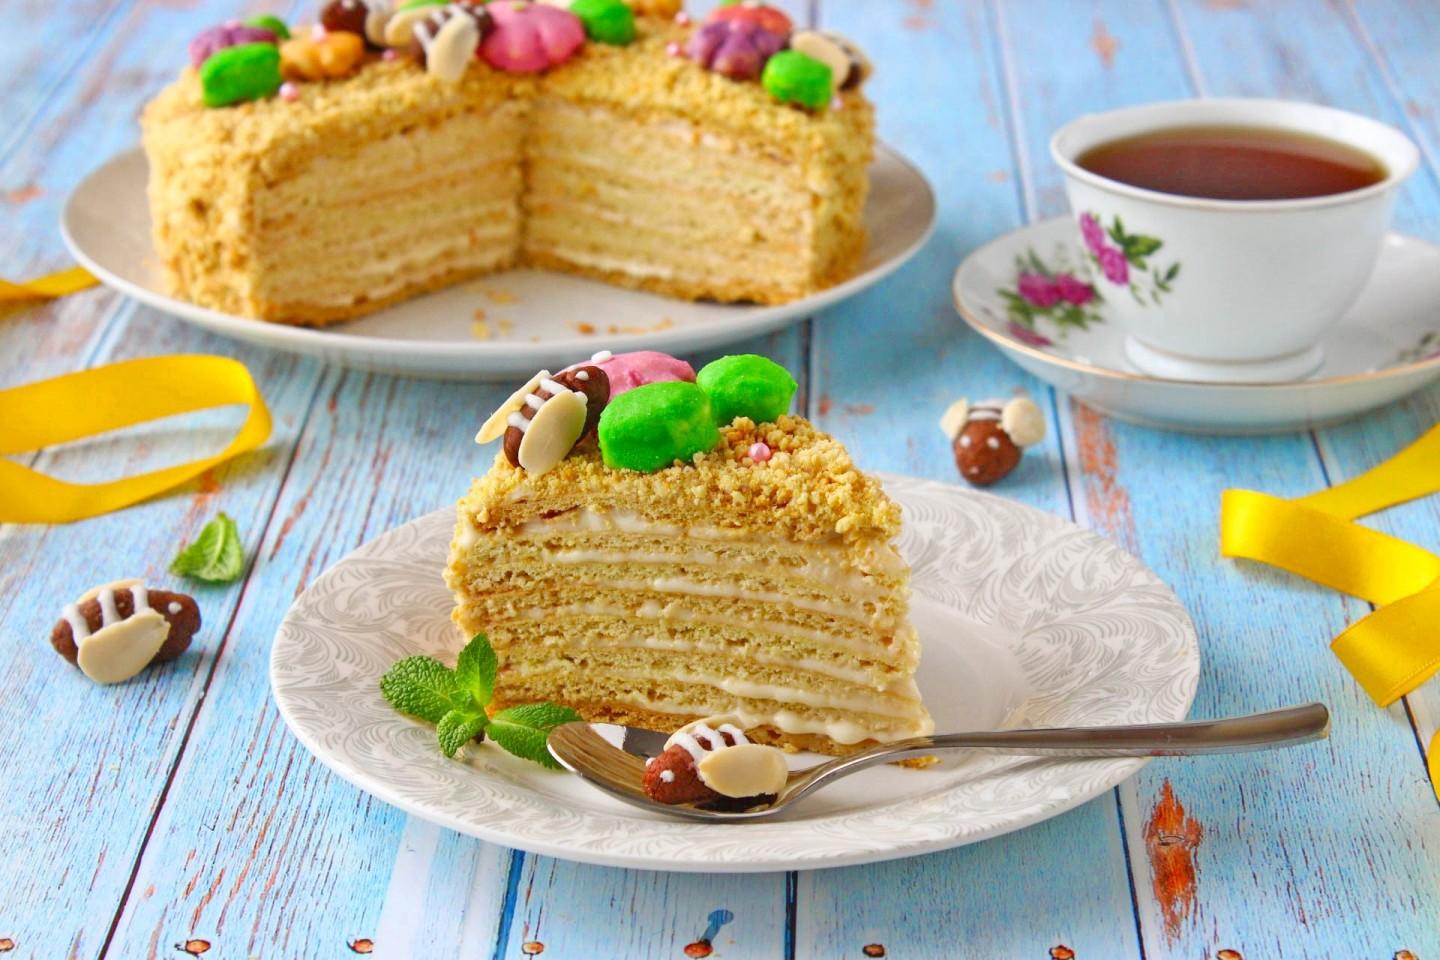
I added cocoa to a small piece of the dough and made little bees with icing stripes and slivered-almond wings. I covered the rest of the decorations in multicolored icing. This is a nice option for a children's party. You can coat just the sides with crumbs and top the cake with fresh berries or soft, colorful fruit before serving. Or cover the top with melted chocolate or chocolate icing, or scatter on chocolate shavings.
-
Step 25:
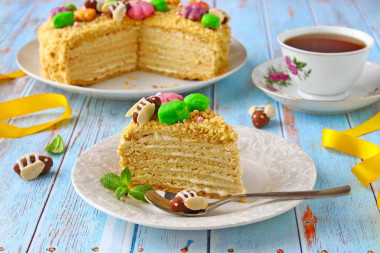
Cut the honey cake into portions and serve. Enjoy!
- Choose good, trusted condensed milk — no vegetable fats or additives. The ingredient list should be just two things: milk and sugar. The quality of the condensed milk ultimately determines the taste and quality of the finished cake.
- Keep in mind that ovens vary. Your temperature and time may differ from what's given here. For any baked dish to turn out well, make use of the helpful information on how ovens behave!
- To give the oven time to reach temperature, turn it on ahead (10-20 minutes before you start baking).
Caloric content of the products possible in the composition of the dish
- Chicken egg - 157 kcal/100g
- Egg white - 45 kcal/100g
- Egg powder - 542 kcal/100g
- Egg yolk - 352 kcal/100g
- Ostrich egg - 118 kcal/100g
- Honey - 400 kcal/100g
- Granulated sugar - 398 kcal/100g
- Sugar - 398 kcal/100g
- Sweetened condensed milk - 324 kcal/100g
- Butter 82% - 734 kcal/100g
- Amateur unsalted butter - 709 kcal/100g
- Unsalted peasant butter - 661 kcal/100g
- Peasant salted butter - 652 kcal/100g
- Melted butter - 869 kcal/100g
- Wheat flour - 325 kcal/100g
- Baking soda - 0 kcal/100g