Asian-Style Steamed Rice Cakes
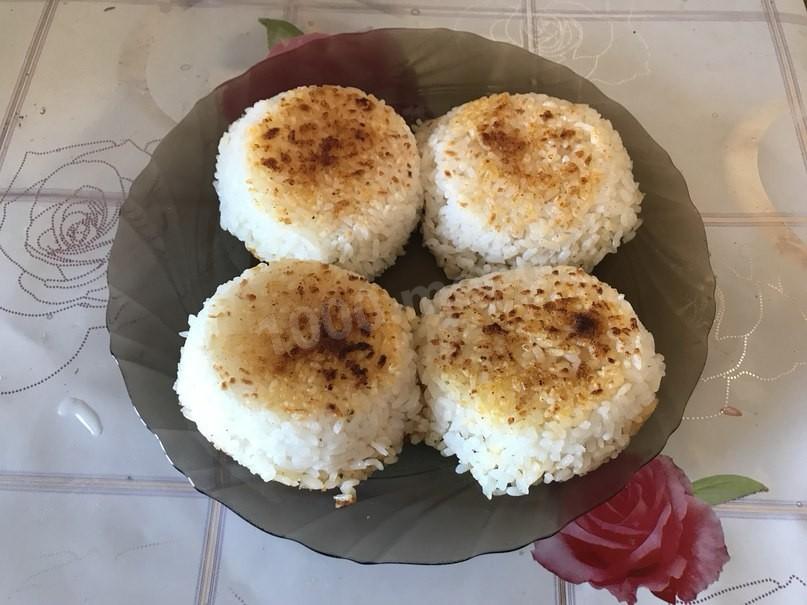
These tasty rice cakes are a treat for anyone who loves Asian food. They make a great stand-in for bread alongside soup, and they're perfect for anyone who can't eat bread due to a gluten allergy or any other reason. It's handy to make several servings at once, stash them in the freezer, and pull out one at a time for lunch over the next few days.

Cooking method
-
Step 1:
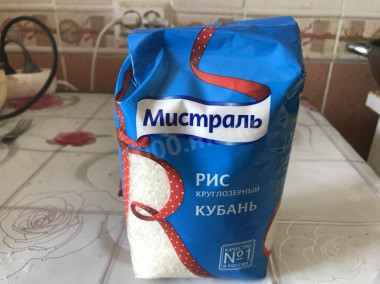
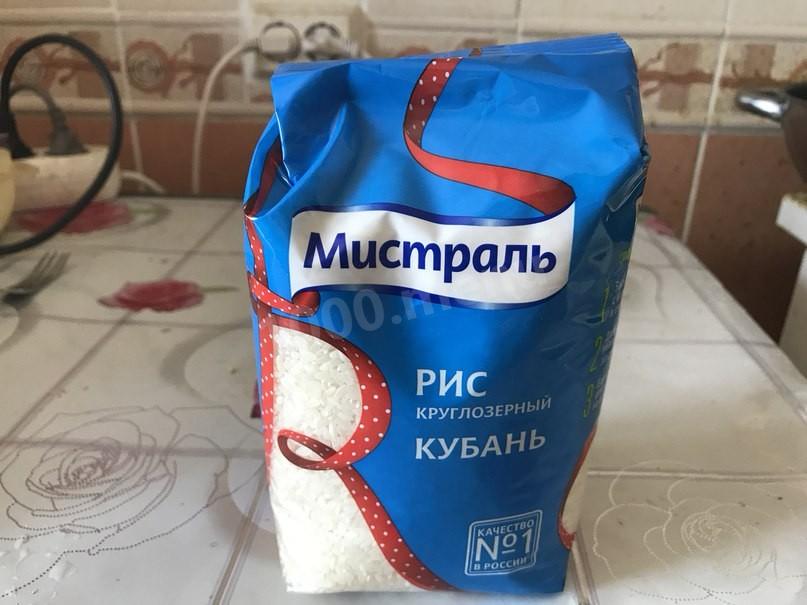
First we need to steam the rice to make sticky rice (the kind they call sticky rice in Thailand). Any short-grain rice works best here. Long-grain and parboiled rice won't do — they won't stick together and will stay loose and fluffy! Don't rinse the rice, or it will lose the starch we need to give it that sticky texture.
-
Step 2:
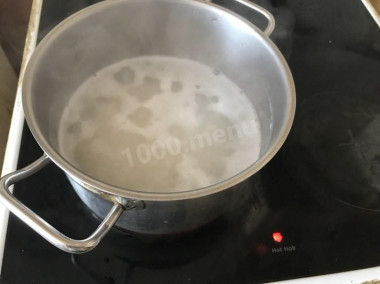
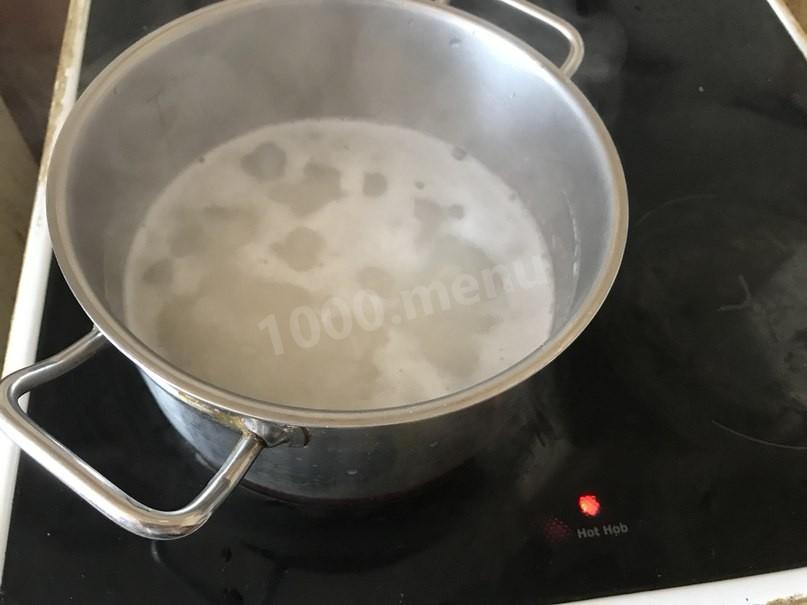
Combine the rice and water in a 1-to-2 ratio (I used 300 ml rice to 600 ml water). Bring it to a boil, cover, and boil for exactly 5 minutes from the moment it starts bubbling, stirring now and then. The goal is for the rice to absorb a little moisture and soften. (In Thailand they soak the rice in water for 12 hours, but it's easier to boil it for 5 minutes and it'll be in the right shape for steaming.)
-
Step 3:
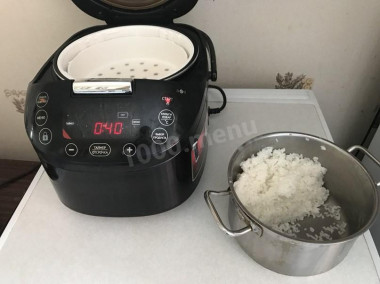
Drain the water after the 5 minutes of boiling. At this point the rice should already look like porridge and not be loose and fluffy.
-
Step 4:
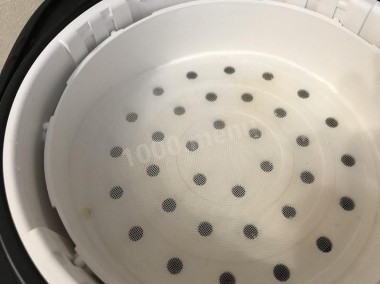
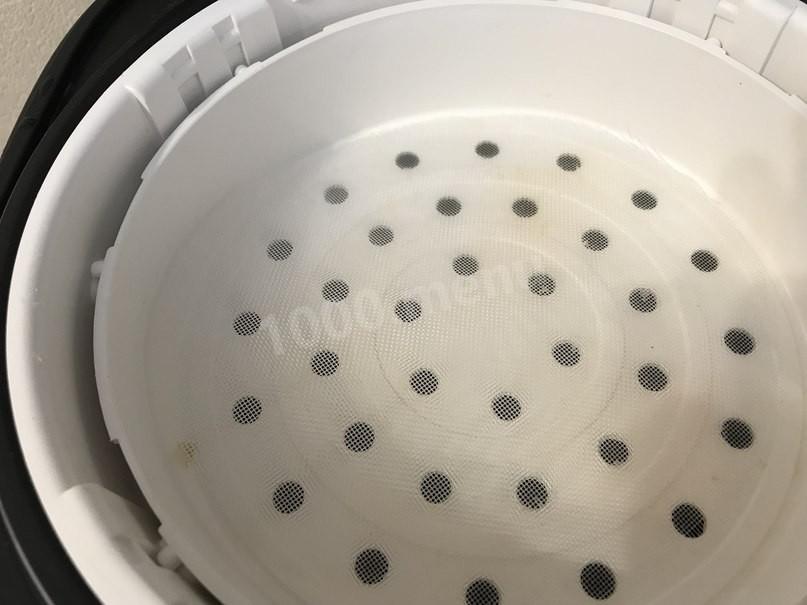
Now set up the steaming basket of your multicooker. Since mine has round holes the rice would fall through, I cut a circle out of a sieve screen and set it in the basket (it's reusable).
-
Step 5:
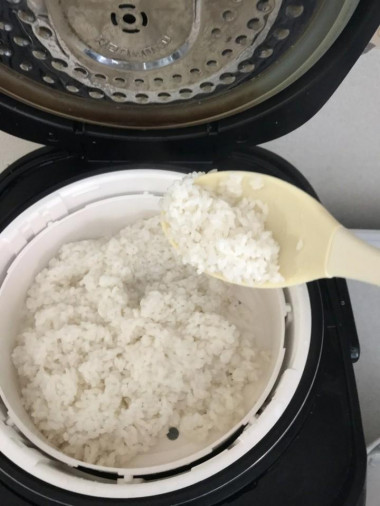
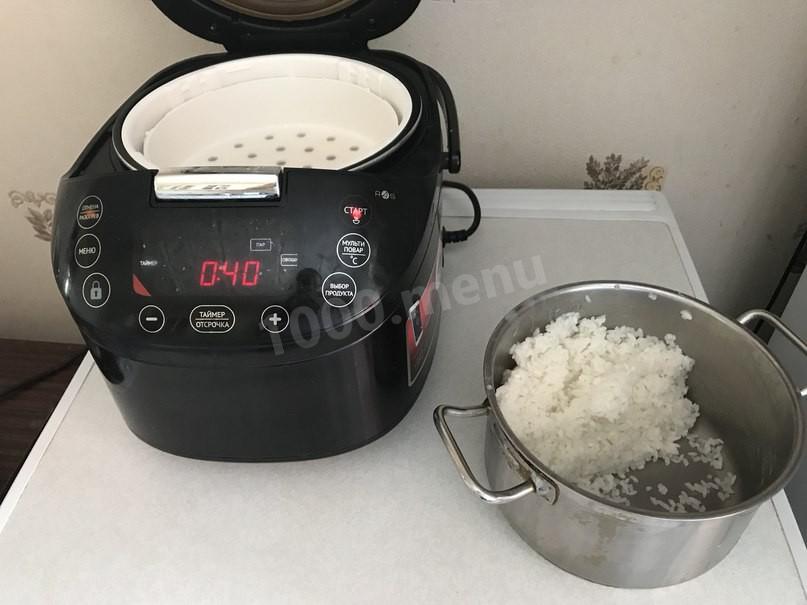
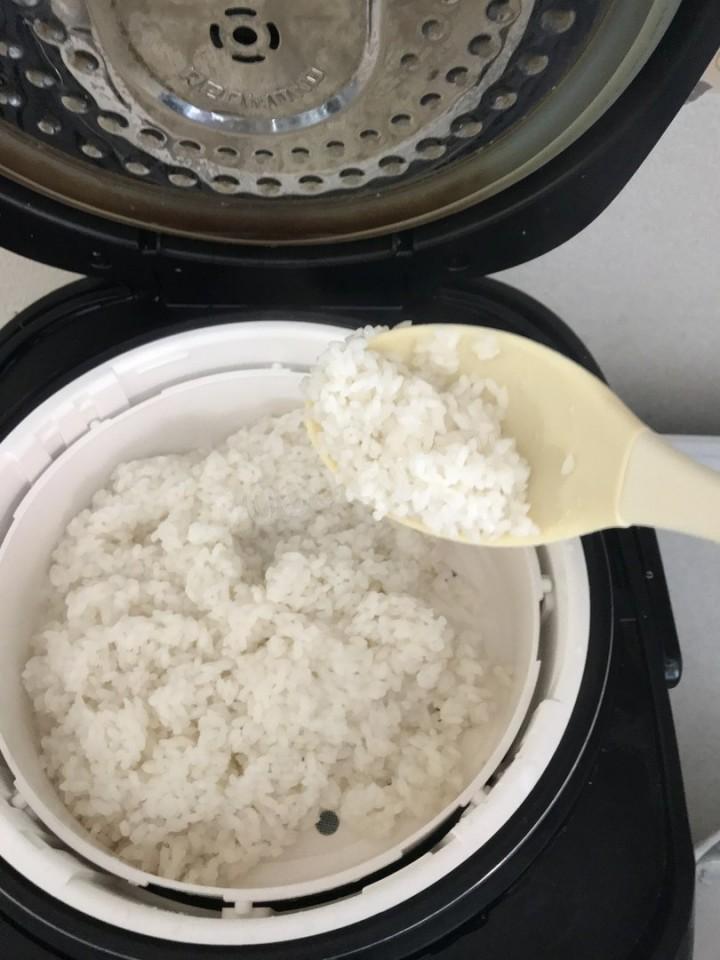
Spread the rice into the basket. Set the multicooker to "Steam" or "Vegetables" for 40 minutes. The program name and time vary from cooker to cooker. The longer the rice steams, the stickier it gets, so use your judgment — 30 minutes works, but 40 is better. Add a couple of pinches of salt, close the lid, and start steaming. There's water in the bottom under the rice, of course, which boils and cooks the rice with its hot steam.
-
Step 6:
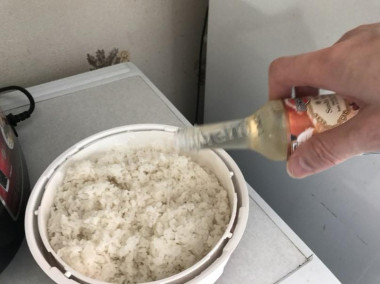
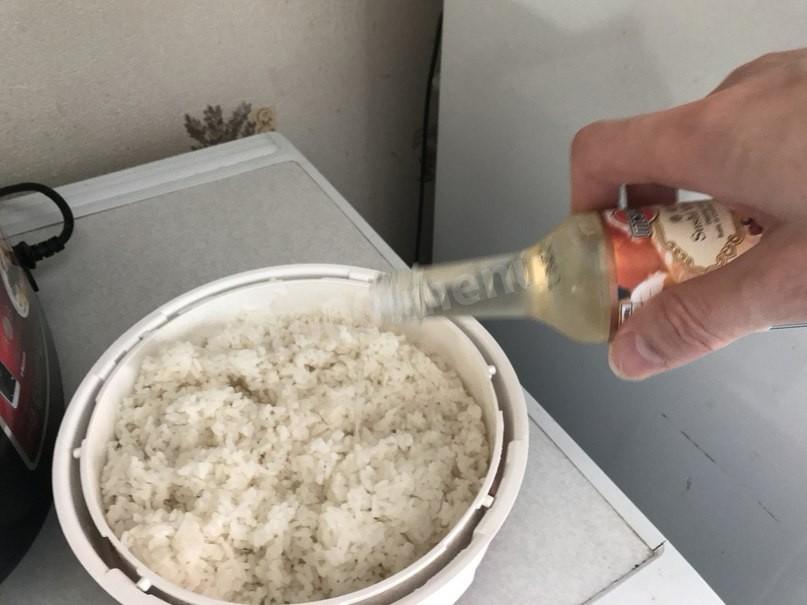
After 20 minutes, turn the rice over and salt it again. When the rice is done, take it out of the multicooker, let it cool a little, and drizzle it lightly with rice vinegar — it gives the rice a special flavor. You can use the rice as is, as a base for meat or fish dishes. Steamed rice is tastier and healthier than ordinary boiled rice, and you'll love it if you haven't tried it yet!
-
Step 7:
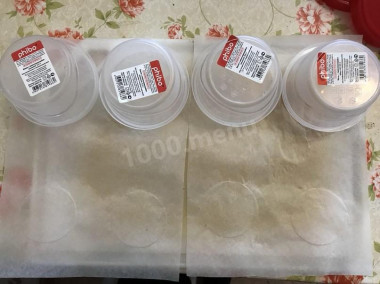
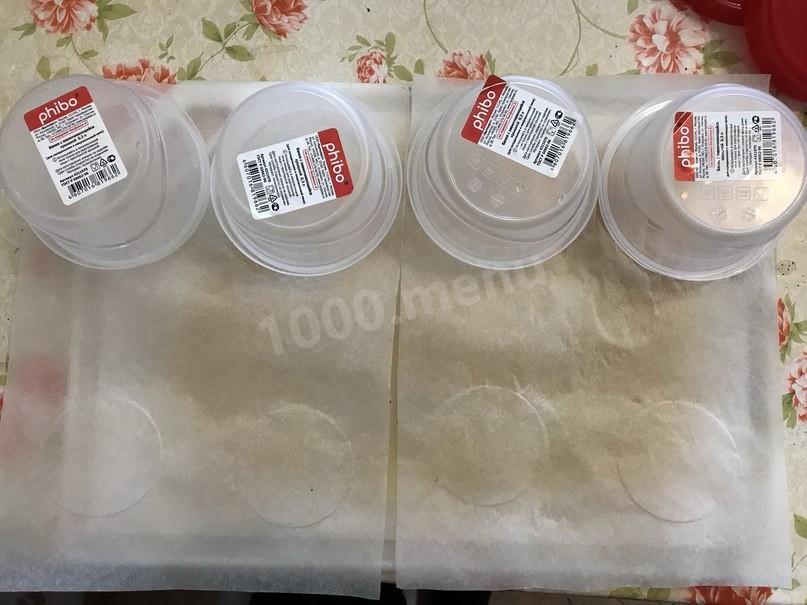
But we're going one step further and making even tastier rice cakes from this rice, to serve as a side with soup in place of bread. Grab some parchment paper (sold in any store as baking paper) and a few round molds (also easy to find at a kitchen store). Mark out circles where the rice will go.
-
Step 8:
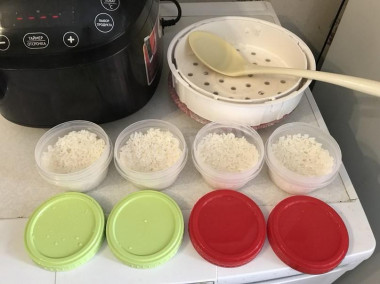
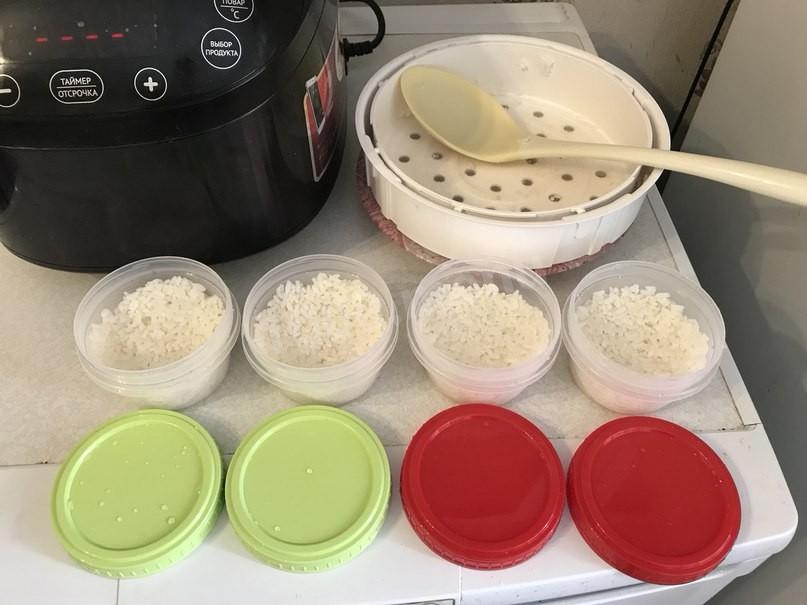
Pack the rice into the round molds. It's best to do this about 20 minutes after taking the rice out of the multicooker, to let it cool and grow even stickier.
-
Step 9:
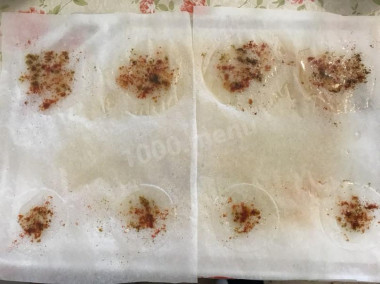
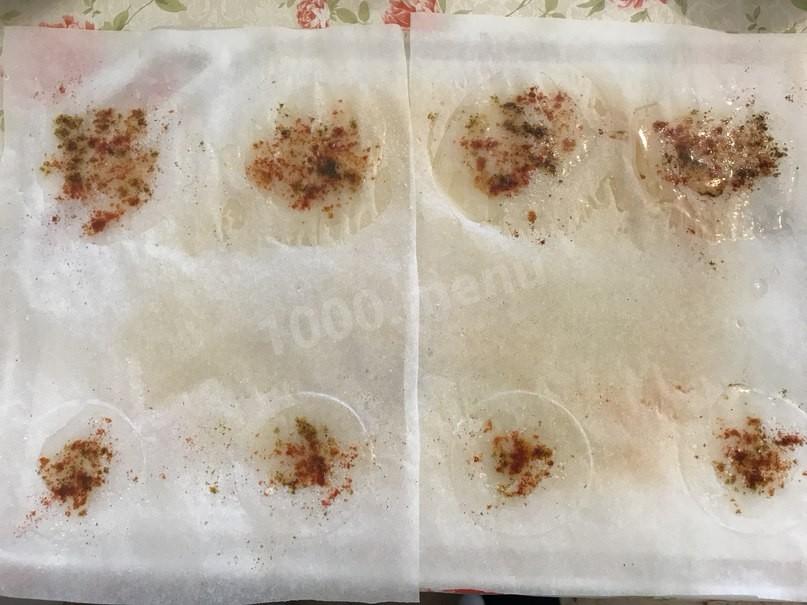
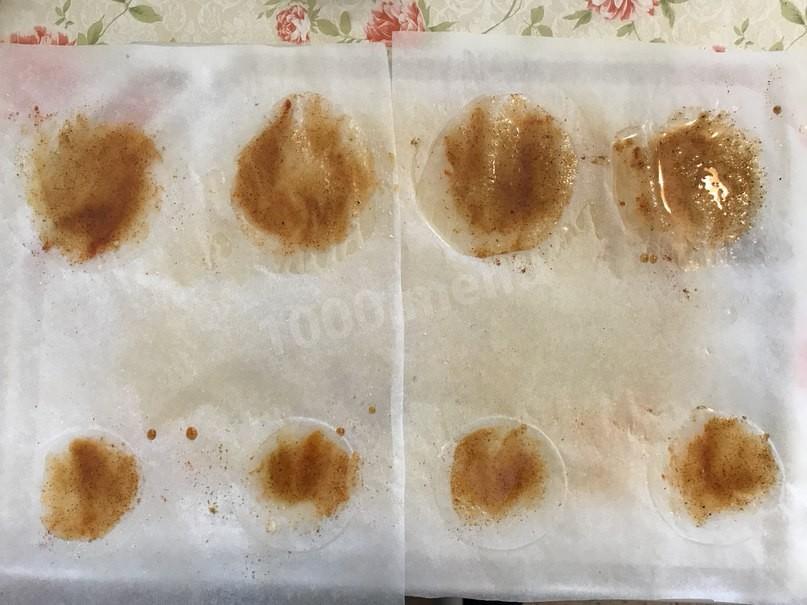
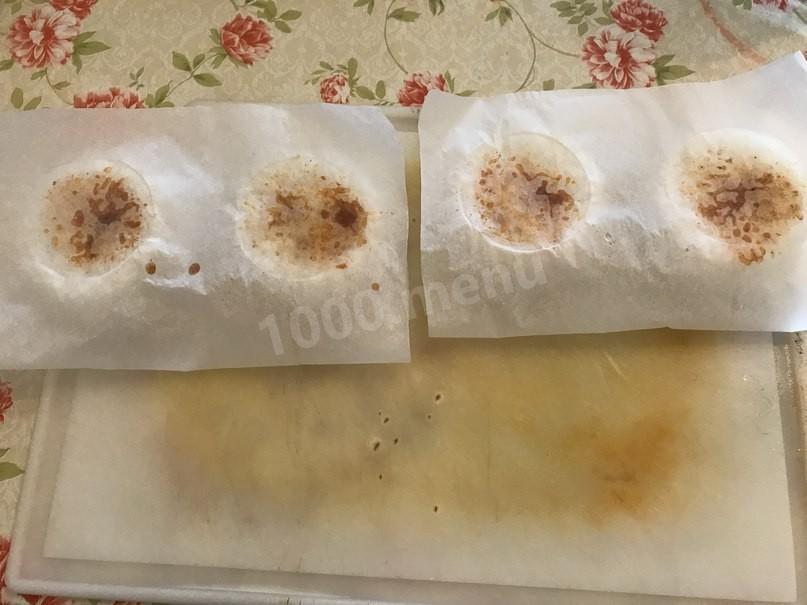
Now brush coconut oil onto the spots where the rice will sit (I use coconut oil because it's a healthier choice for frying, but regular oil works too) — 1 tablespoon of oil per 2 servings. I'm making 4 servings, so I spread 2 tablespoons across all the circles. Then sprinkle on salt, black or red pepper, breadcrumbs (optional), paprika, curry powder, or any other seasoning.
-
Step 10:
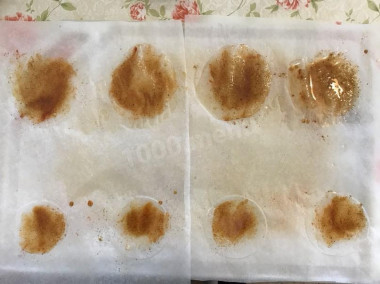
Spread the mixture out lightly with a spoon.
-
Step 11:
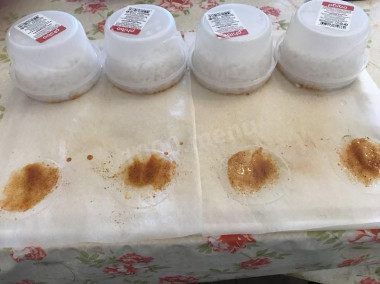
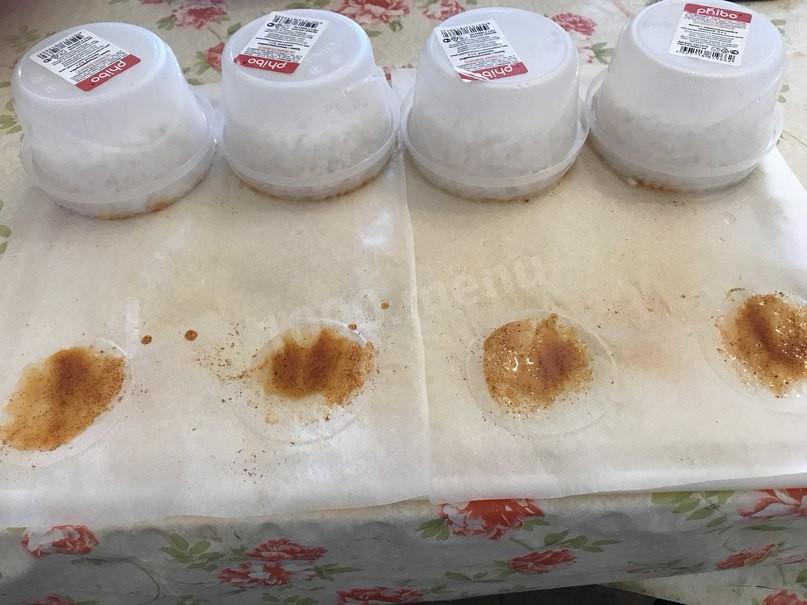
Set the molds onto the spots you greased with oil and seasonings.
-
Step 12:
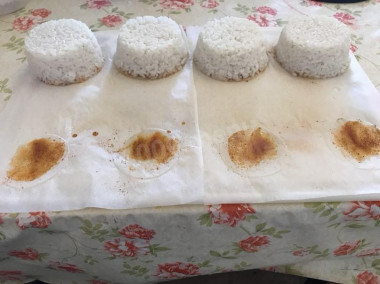
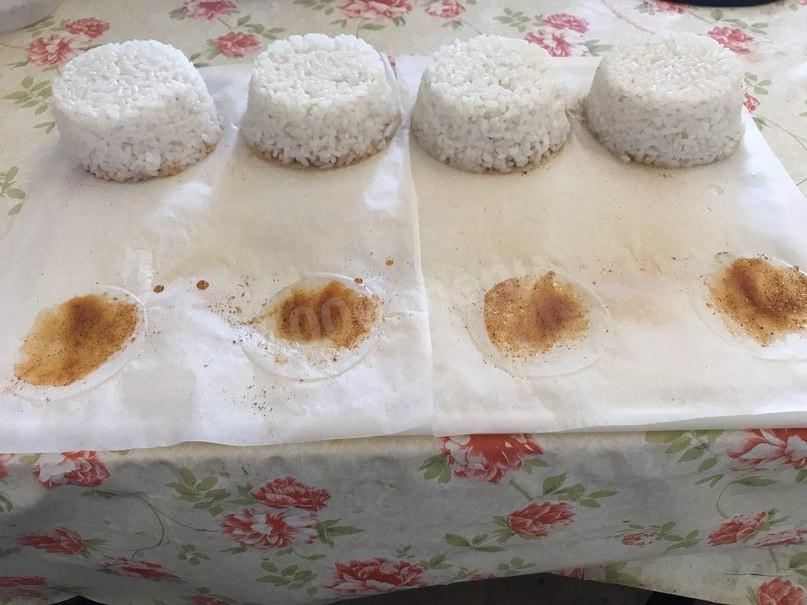
Lift off the molds. As you can see in the photo, the rice held together — so we've got the stickiness we need. If your rice crumbles apart at this point, skip the frying and eat the rice as is, because you can't make rice cakes from loose, crumbly rice.
-
Step 13:
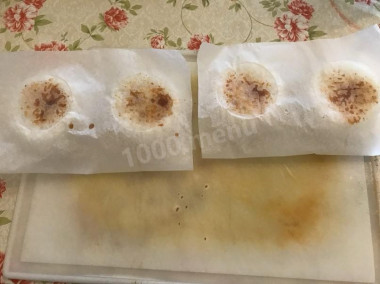
Cover the top with the second sheet, oiled and seasoned side down.
-
Step 14:
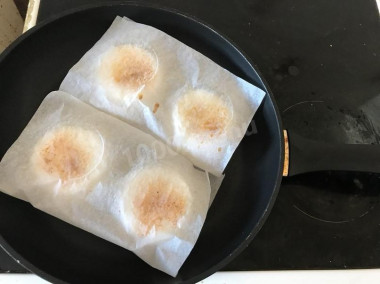
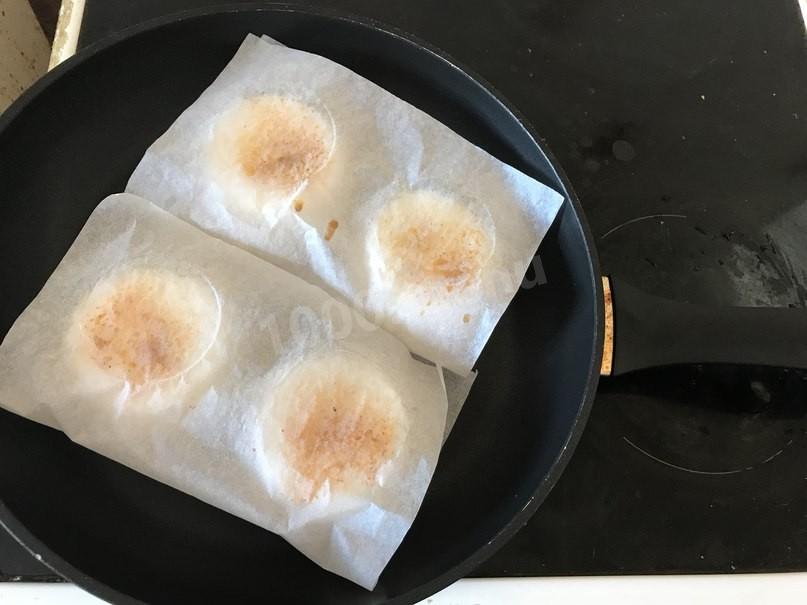
Now on to frying in a skillet. The skillet should be dry — don't add any oil! Heat the empty skillet on high and wait 2 minutes for it to get hot. Place all 4 rice cakes in the skillet along with the parchment paper covering the rice on both sides.
-
Step 15:
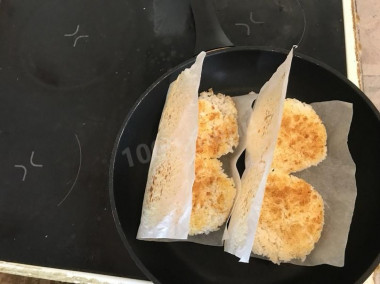
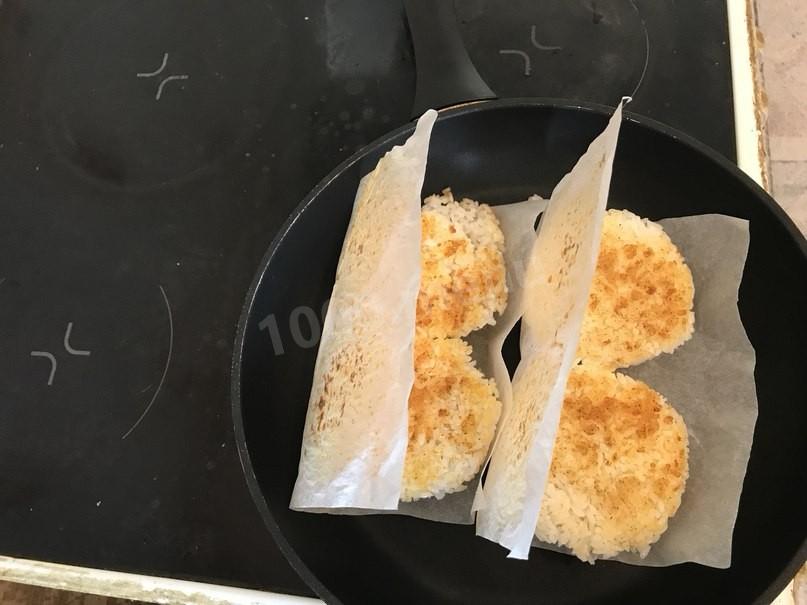
Turn the heat down to just below maximum (my dial maxes at "9" and I fry the rice at "7"). After 5 minutes, carefully flip the whole bundle to the other side, holding the paper and rice with your hands — don't burn yourself; grab only the paper, not the hot skillet! — and fry for another 5 minutes on the other side. So that's 5 minutes per side.
-
Step 16:
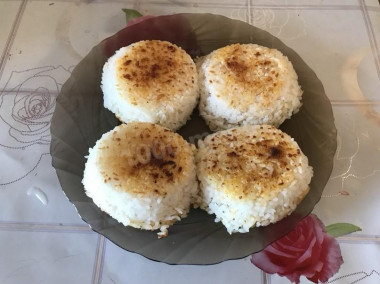
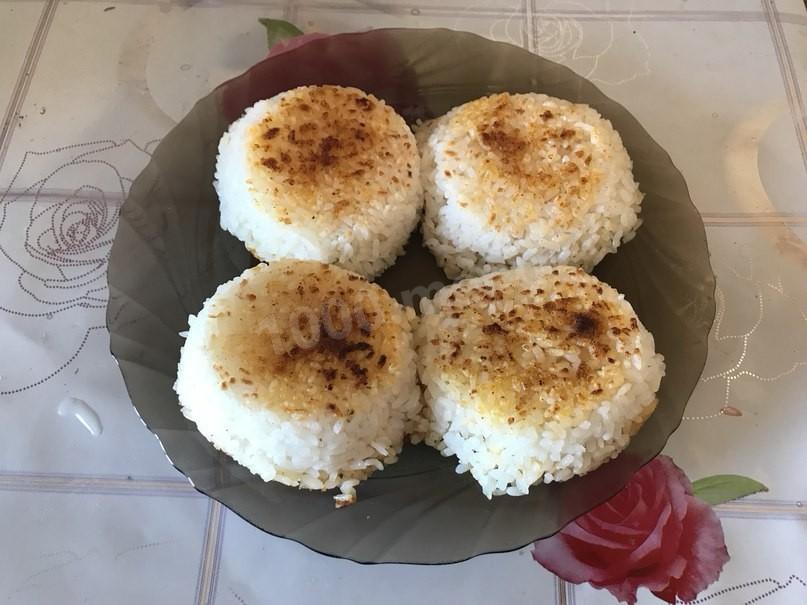
That's it — our tasty rice cakes with a crispy crust are ready! Anyone who's been to Thailand or other Asian countries has probably eaten something like this and knows how good it is. Trust me, the flavor is far better than plain rice boiled in water!
-
Step 17:
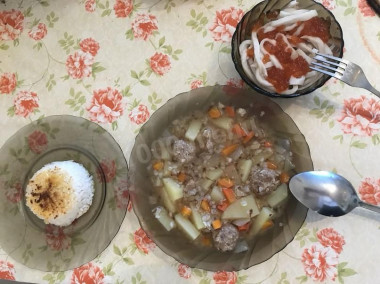
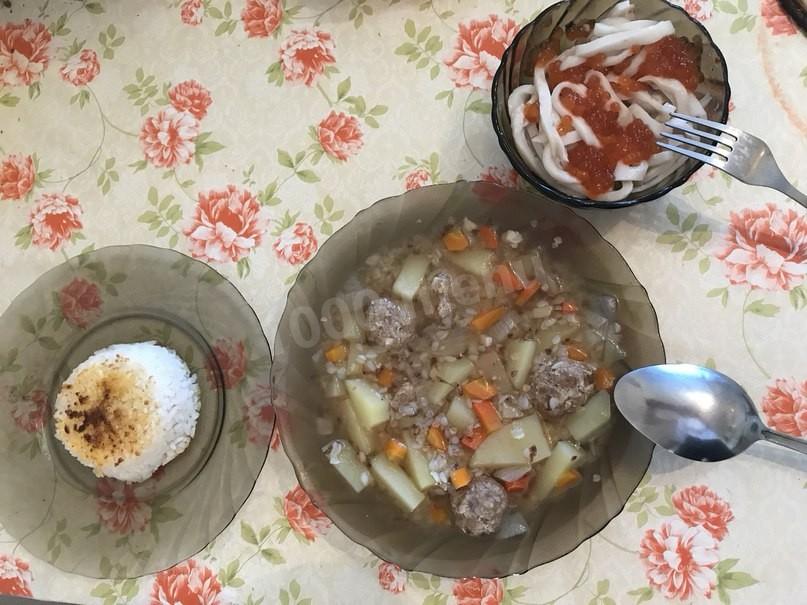
Serve them as a side with soup in place of bread — they're far tastier and healthier than bread. One cake is enough for a bowl of soup. Pack the rest back into the round molds and freeze them. On the following days, take one out 3 hours before lunch, reheat it in the microwave, and eat it alongside your soup. Enjoy!
Caloric content of the products possible in the composition of the dish
- Curry - 352 kcal/100g
- Salt - 0 kcal/100g
- Ground red pepper - 318 kcal/100g
- Rice vinegar - 20 kcal/100g
- Breadcrumbs - 347 kcal/100g
- Coconut oil - 925 kcal/100g
- Round rice - 330 kcal/100g