Roses from Homemade Colored Fondant
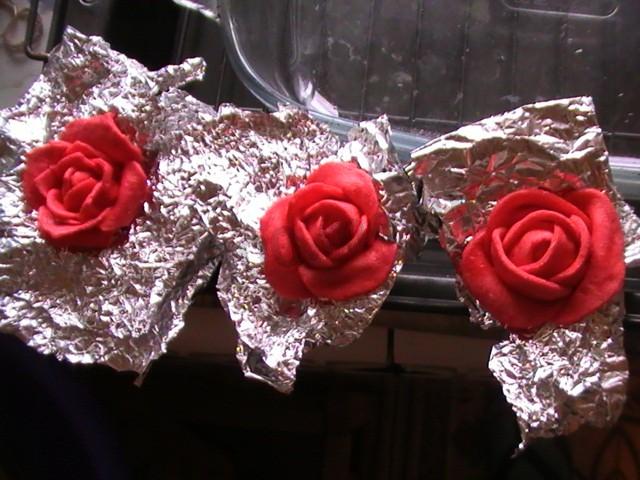
Let's dress up our cakes with pretty handmade roses! Today I'm learning right alongside you and trying out three different ways to make a fondant rose.
Cooking method
-
Step 1:
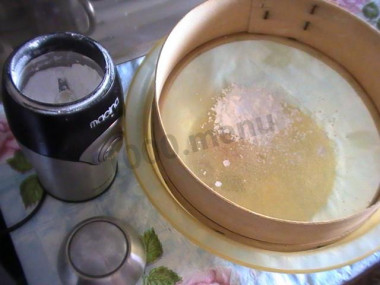
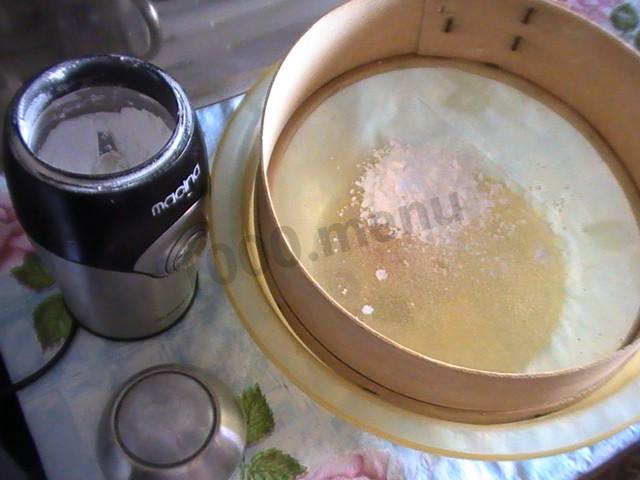
You'll need a mixing bowl, a sieve, and a coffee grinder. I never really measure how much powdered sugar I go through — I just grind granulated sugar into powder as I need it. But if you don't have a coffee grinder, you can always buy powdered sugar at the store, and trust me, it's better to get more than you think you'll need.
-
Step 2:
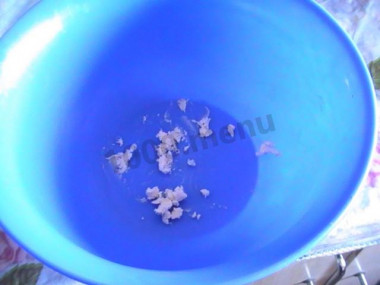
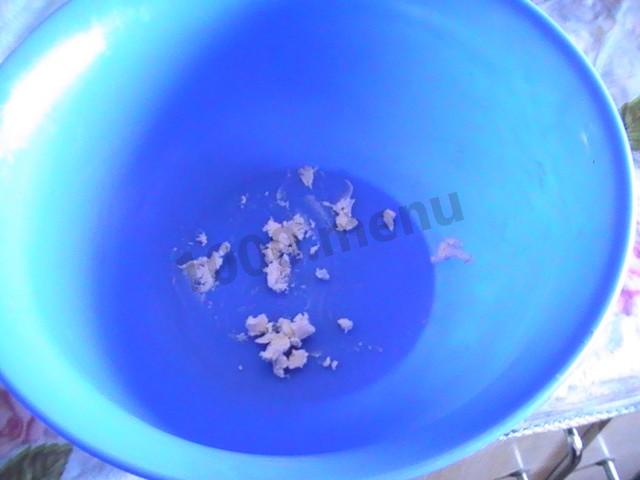
Rub the bottom of the bowl with butter.
-
Step 3:
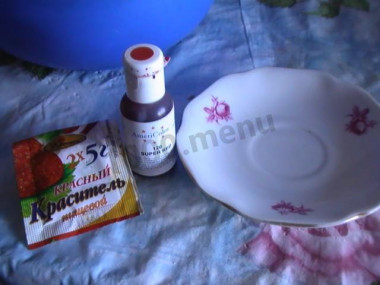
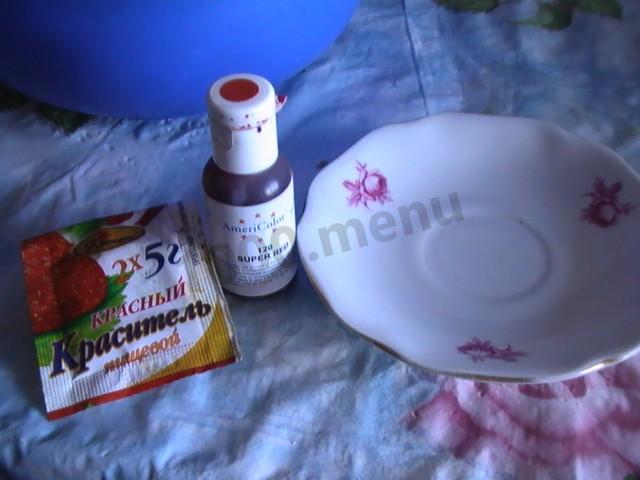
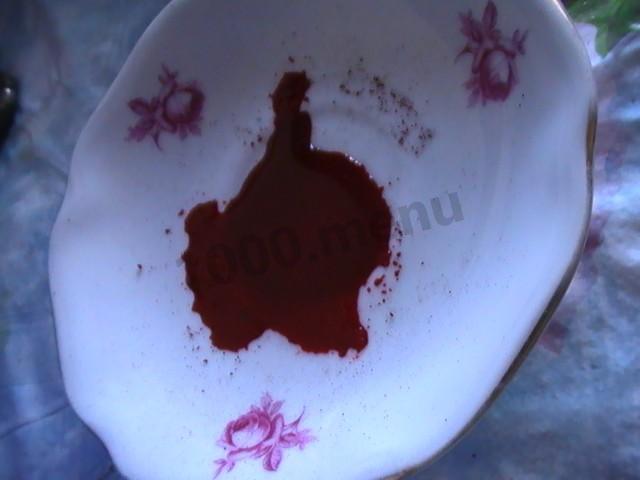
I use two kinds of food coloring — powder and gel. Gel coloring can also be worked into the finished fondant.
-
Step 4:
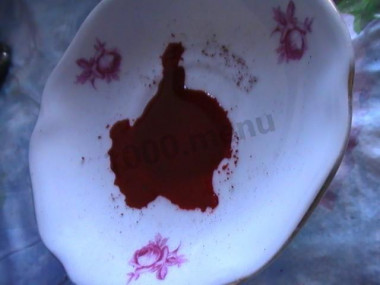
If you're using powder coloring, dissolve it first in a drop of water or lemon juice.
-
Step 5:
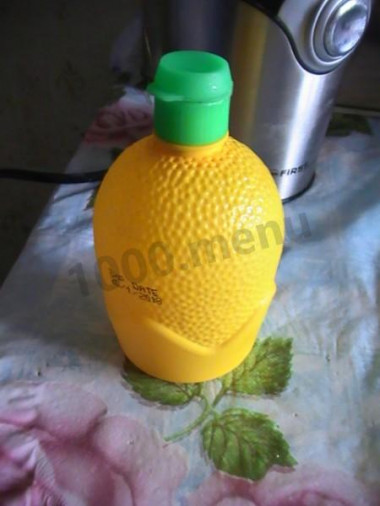
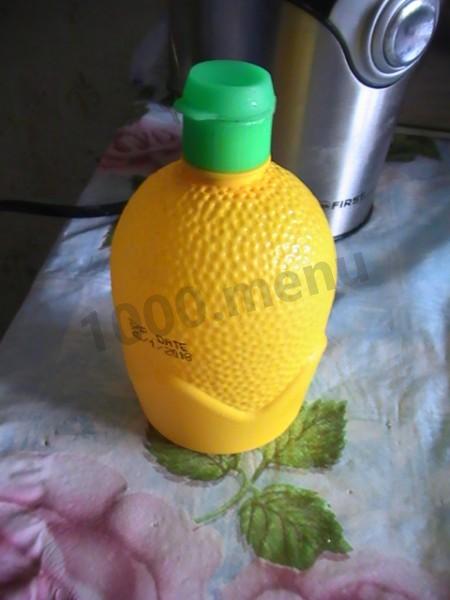
Rather than buy a whole lemon for just a few drops, I use bottled lemon juice.
-
Step 6:
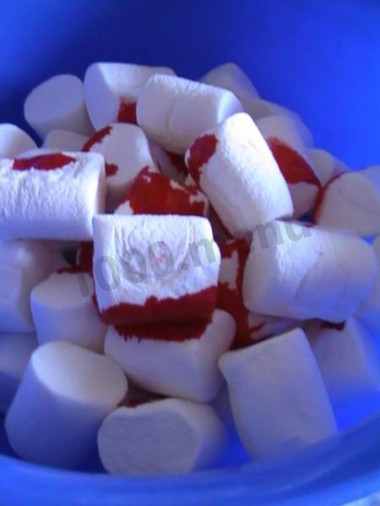
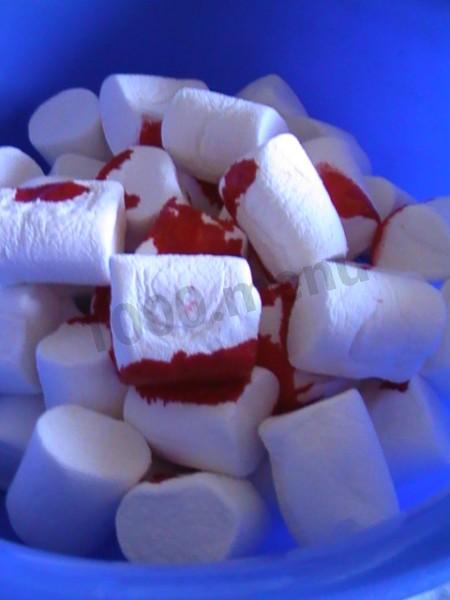
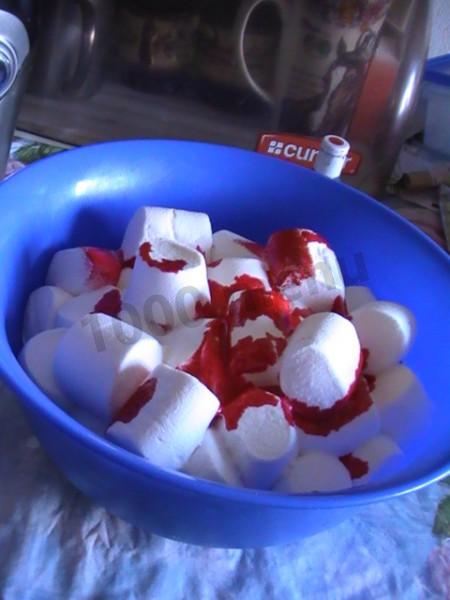
Add the marshmallows and your coloring, and microwave for 10–60 seconds depending on how many marshmallows you have (for 200 g, about a minute).
-
Step 7:
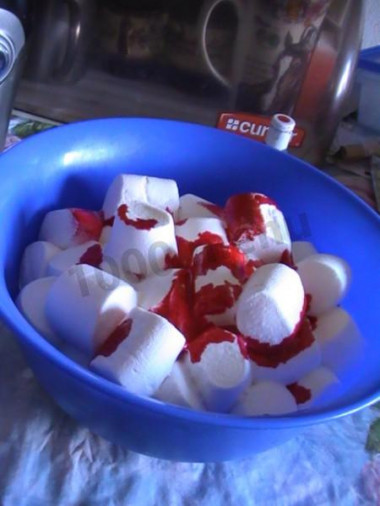
Keep an eye on them as they heat — the moment they double in volume, stop. Don't overheat the marshmallows or you'll ruin the fondant; it's better to just microwave again if they need more. Some people use a double boiler instead of the microwave. I tried it once and it didn't work for me — I must have overheated it, because the fondant started crumbling badly and I had to throw it all out. I didn't risk it again.
-
Step 8:
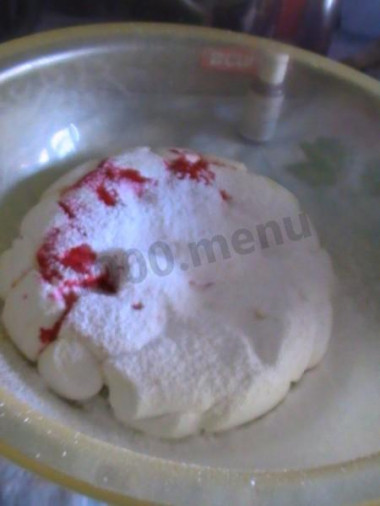
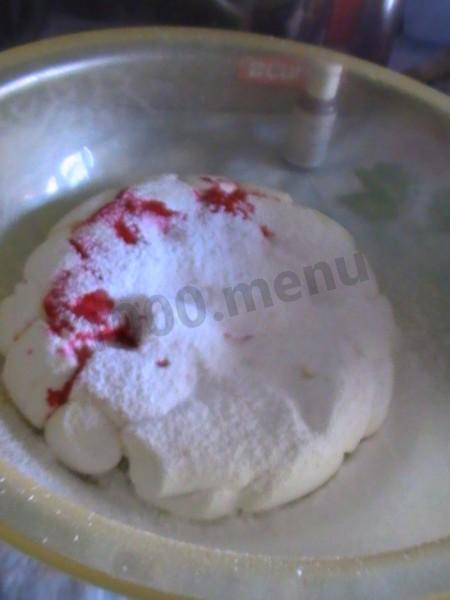
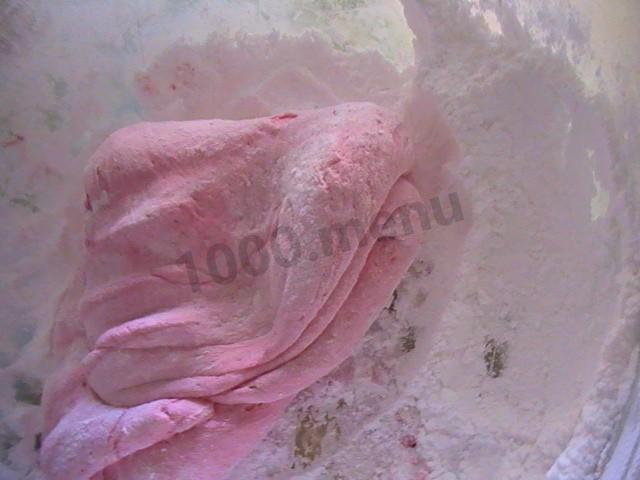
A sieve fits neatly over this bowl, so that's where I do everything. Dust the bottom of the bowl with powdered sugar, then keep dusting more on top as you gradually knead it into a dough. (It'll stick to your hands like crazy — be patient, that's totally normal.)
-
Step 9:
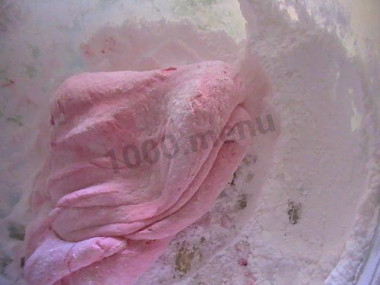
Once the fondant has cooled a bit, you can add more powdered sugar. If you drop hot marshmallow straight onto a big pile of powder, it'll seize into lumps and you risk ruining the whole batch.
-
Step 10:
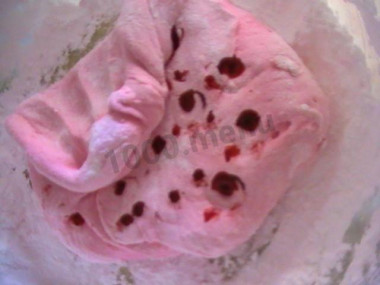
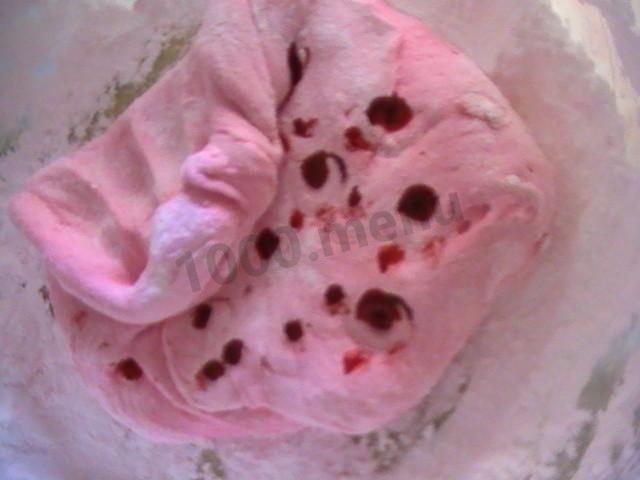
I want a deeper color, so I add a little more gel coloring.
-
Step 11:
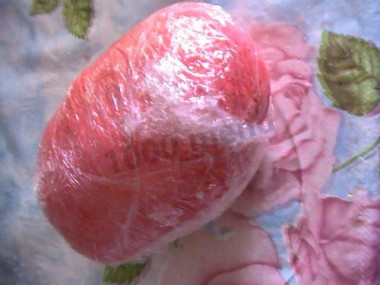
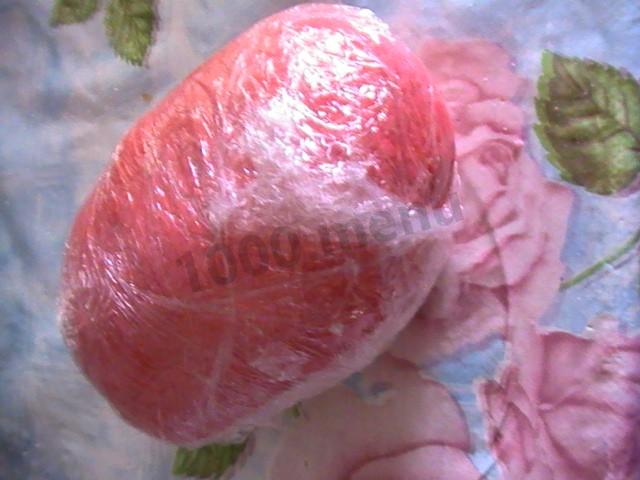
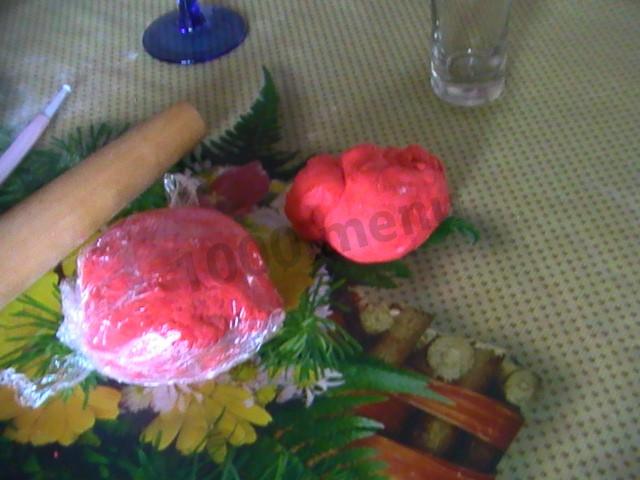
Once the fondant turns smooth and elastic and stops sticking to your hands, wrap it tightly in plastic and chill it for 30 minutes.
-
Step 12:
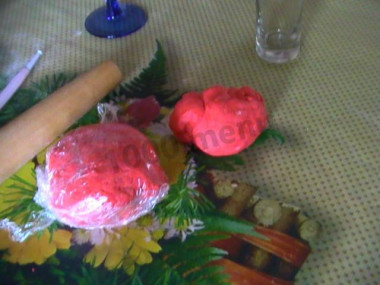
Pinch off only as much as you need to work with, and keep the rest wrapped, since fondant dries out and crumbles.
-
Step 13:
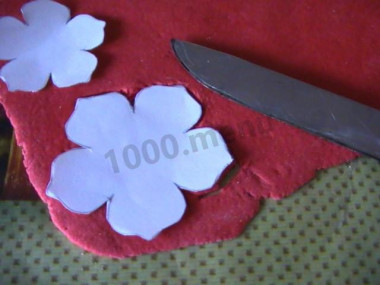
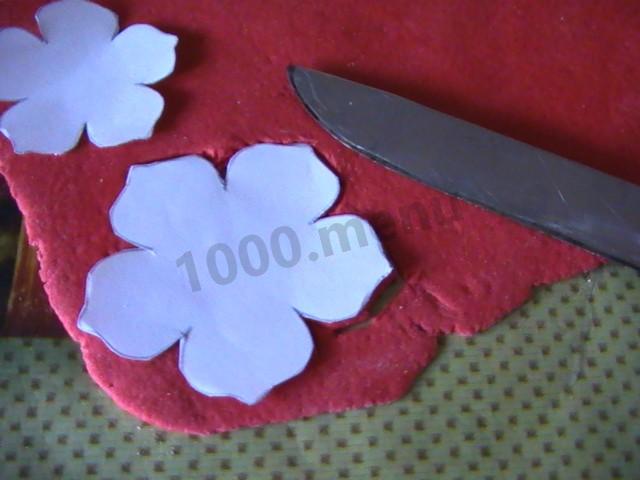
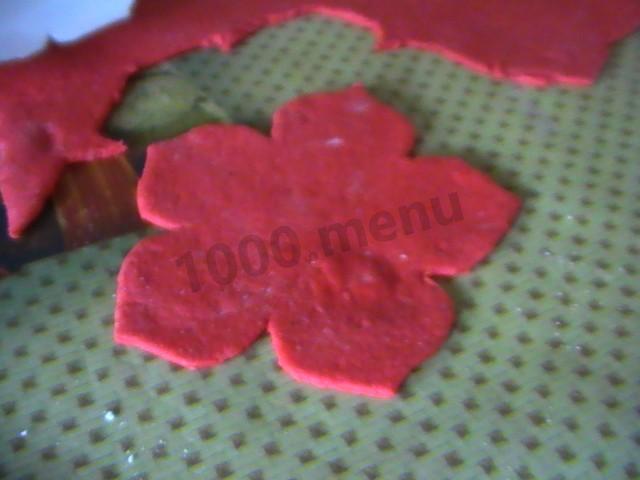
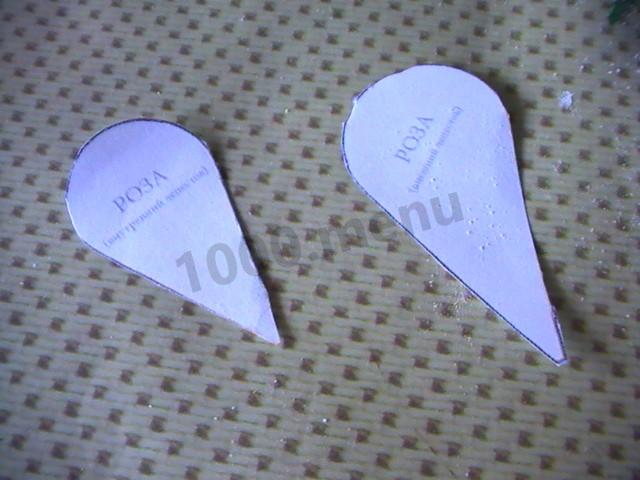
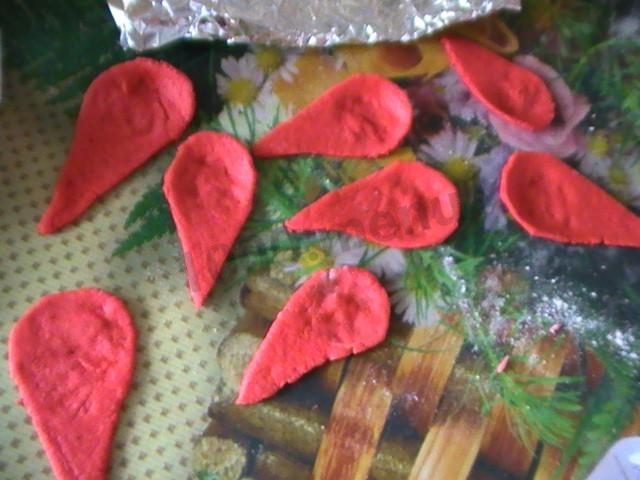
Roll the fondant out with a rolling pin — but not too thin, or the dried roses will be very fragile. For the first method, cut out flower shapes in a few different sizes. I don't have cutters, so I made paper templates first, laid them on the fondant, and cut around them with a knife.
-
Step 14:
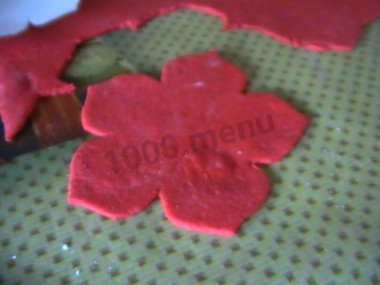
Like so.
-
Step 15:
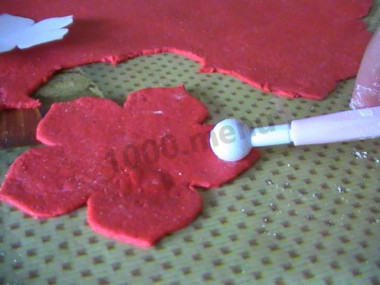
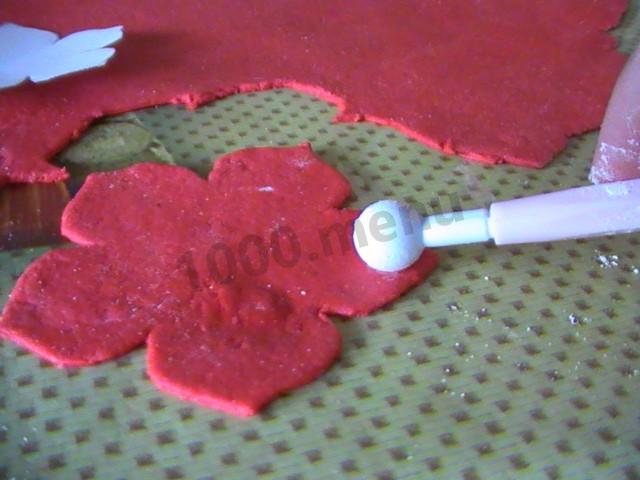
Ruffle the edges with a modeling tool (or anything similar) to give the rose a realistic look.
-
Step 16:
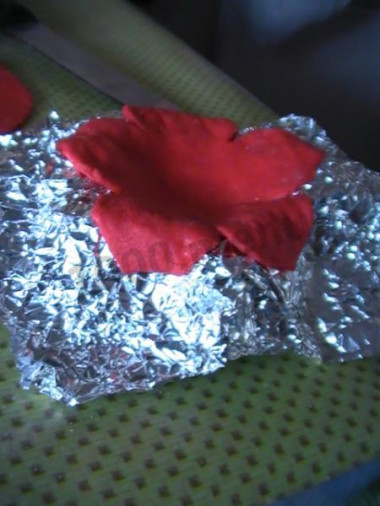
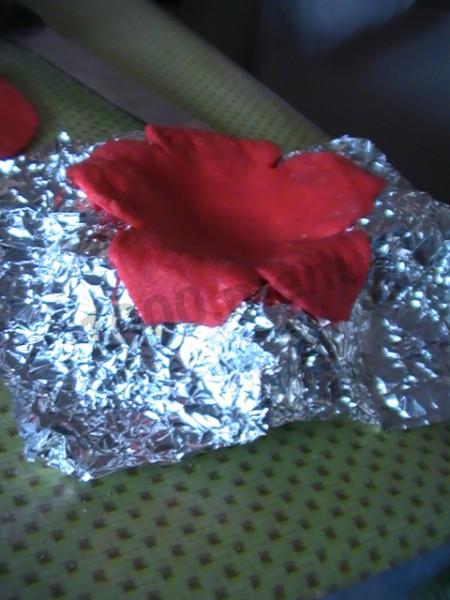
Set the larger flower into a piece of foil so it hardens in that cupped shape.
-
Step 17:
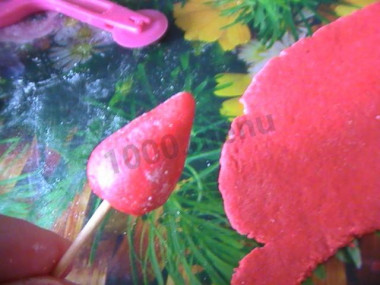
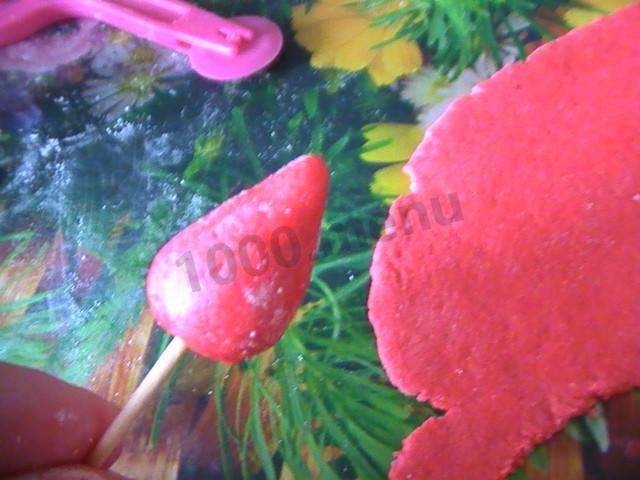
Form the center of the rose.
-
Step 18:
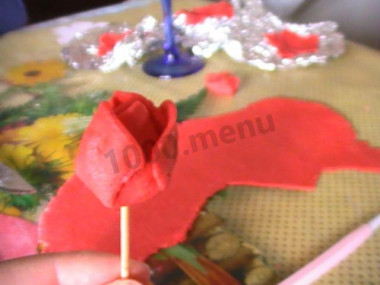
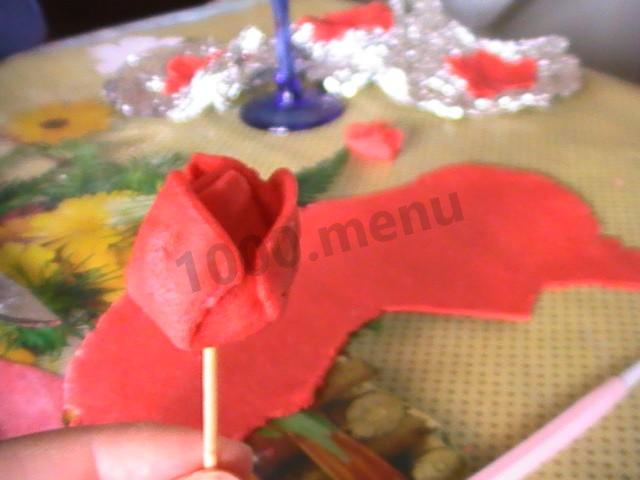
Starting with the smaller flowers, fold the petals up around the center, every other one.
-
Step 19:
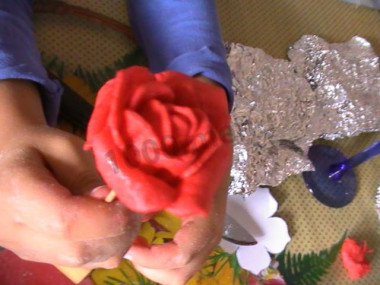
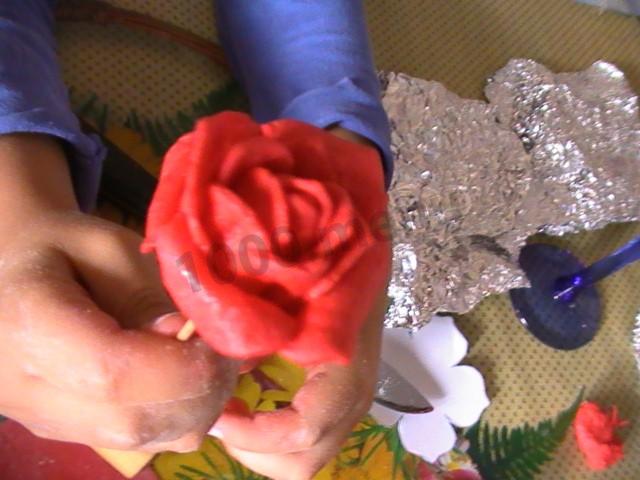
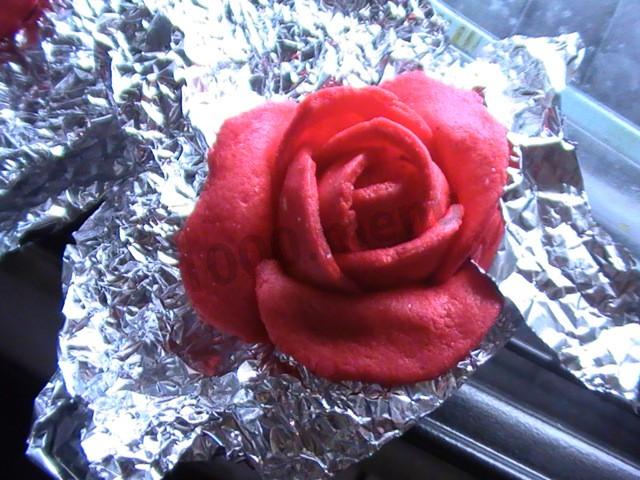
And finally the last flower, the one we'd left to dry. Here's how it turned out.
-
Step 20:
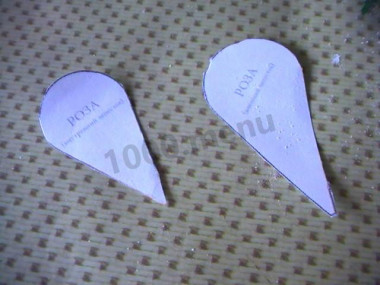
For the second method, I again cut out blanks from paper.
-
Step 21:
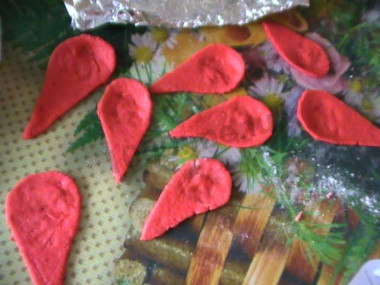
Cut them out and ruffled the edges.
-
Step 22:
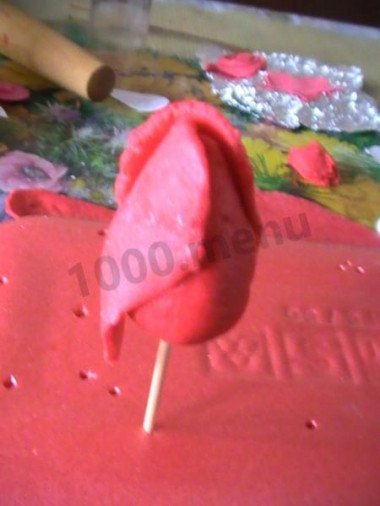
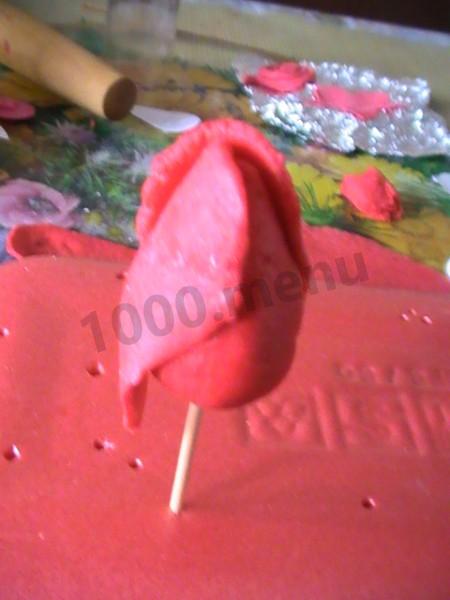
Form the center again, then add the petals one at a time, each one overlapping the middle of the last.
-
Step 23:
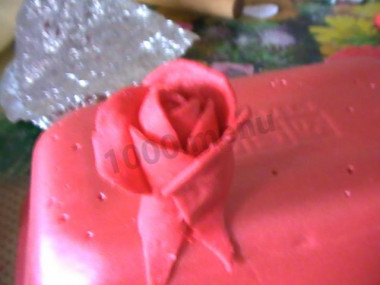
Work from smallest to largest. Trim off the excess fondant at the base and shape it into a neat round.
-
Step 24:
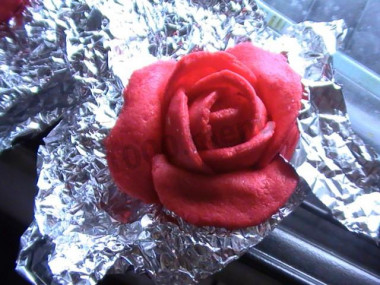
Set the rose on foil to harden, which helps the petals keep their full, open shape.
-
Step 25:
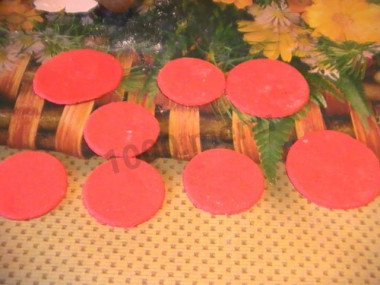
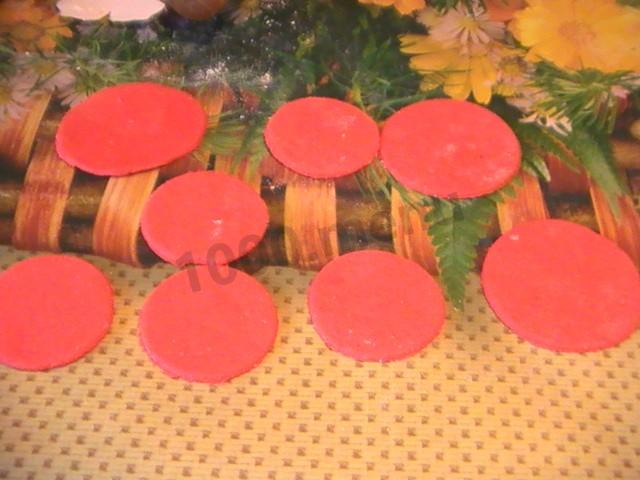
Now for the third method — to me it's the fastest and easiest. Take a small shot glass and a wider one (I use a wine glass) and cut out rounds. Fold the petals as in the previous method and set them on foil to dry.
-
Step 26:
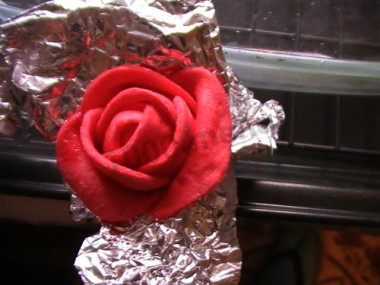
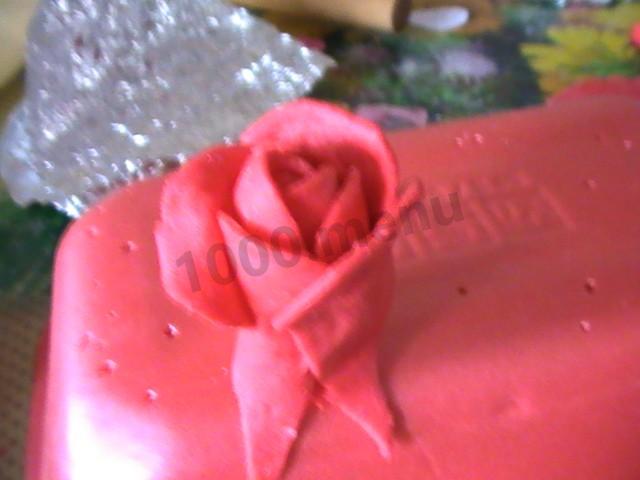
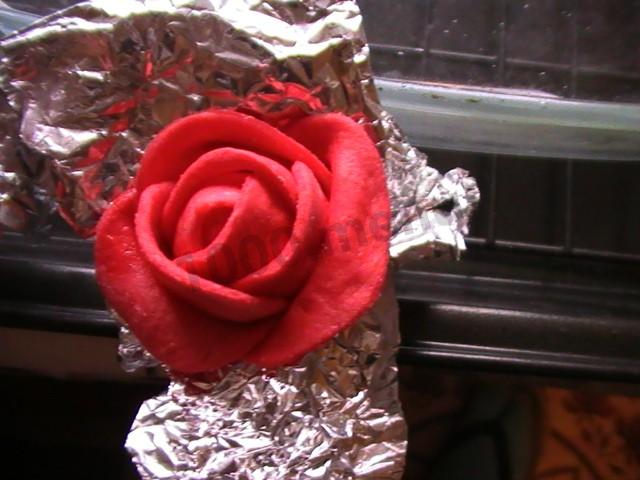
And here's the rose it makes. Honestly, for the roses after this one I stopped ruffling the petals altogether — they still come out pretty and have a nice look of their own.
-
Step 27:
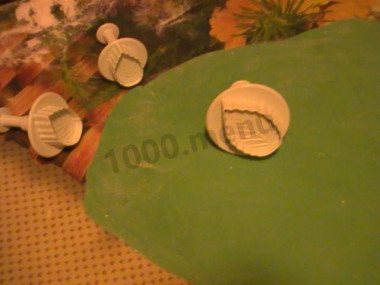
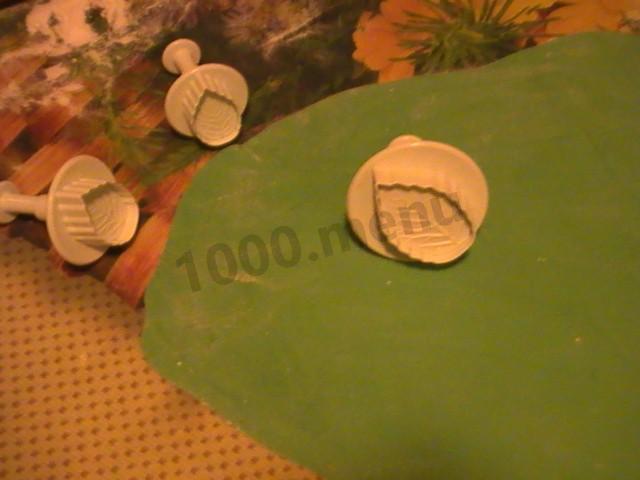
To finish the set, all that's missing is leaves. Luckily I have plunger cutters — and if you don't, well... gather your patience and have at it!
- You can always dive into the bottomless internet and watch a pro tutorial. But if my version comes in handy for anyone, I'd be thrilled!
Caloric content of the products possible in the composition of the dish
- Butter 82% - 734 kcal/100g
- Amateur unsalted butter - 709 kcal/100g
- Unsalted peasant butter - 661 kcal/100g
- Peasant salted butter - 652 kcal/100g
- Melted butter - 869 kcal/100g
- Lemon juice - 16 kcal/100g
- Powdered sugar - 374 kcal/100g
- Food coloring - 0 kcal/100g
- Marshmallow - 328 kcal/100g