


Composition / ingredients
Step-by-step cooking
Step 1:
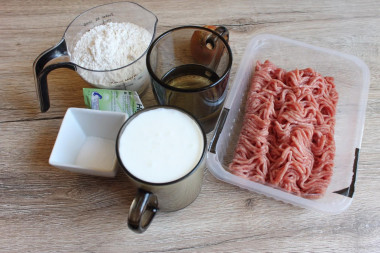
How to bake a yeast pie with meat? Prepare all the products according to the list. My minced meat is mixed, pork with beef. You can use any other minced meat to your taste, you can buy it or cook it yourself.
Step 2:
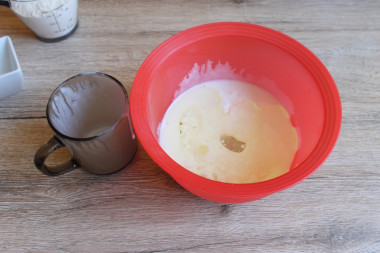
Mix kefir with butter, salt and sugar. Preheat slightly in the microwave (to about 30-35 degrees).
Step 3:

Mix dry yeast with sifted flour. I first took 1 cup of flour and mixed it with dry yeast. Then I poured the butter-kefir mixture and stirred a little with a spatula.
Step 4:

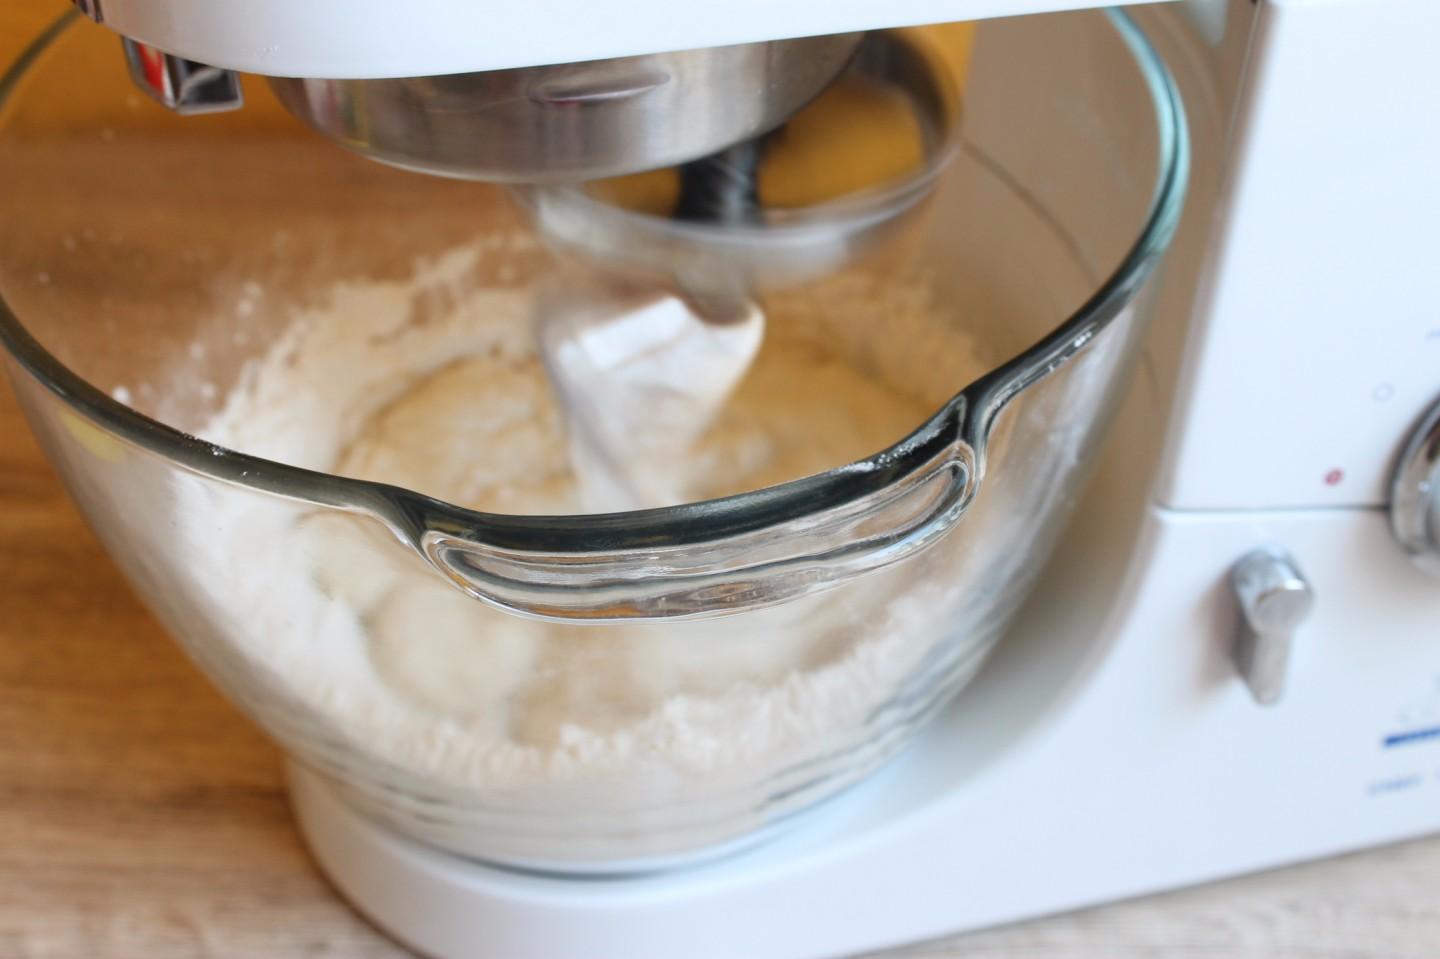
Now knead the dough with a mixer.
Step 5:
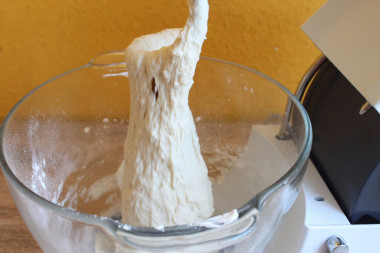
Gradually add flour and mix with a mixer with a dough hook attachment, or by kneading manually. You should get a dough like in the photo: quite viscous, but not very dense, so that in the future it can be rolled into a thin layer. Flour in this case may require a little more or a little less than the recipe, depending on its quality and properties.
Step 6:
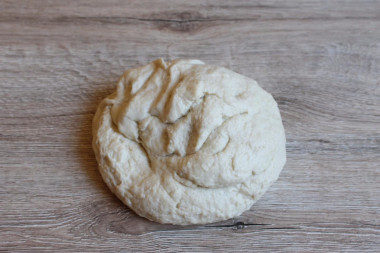
As soon as the desired consistency of the dough is reached, we do not add more flour. Gather the dough into a ball.
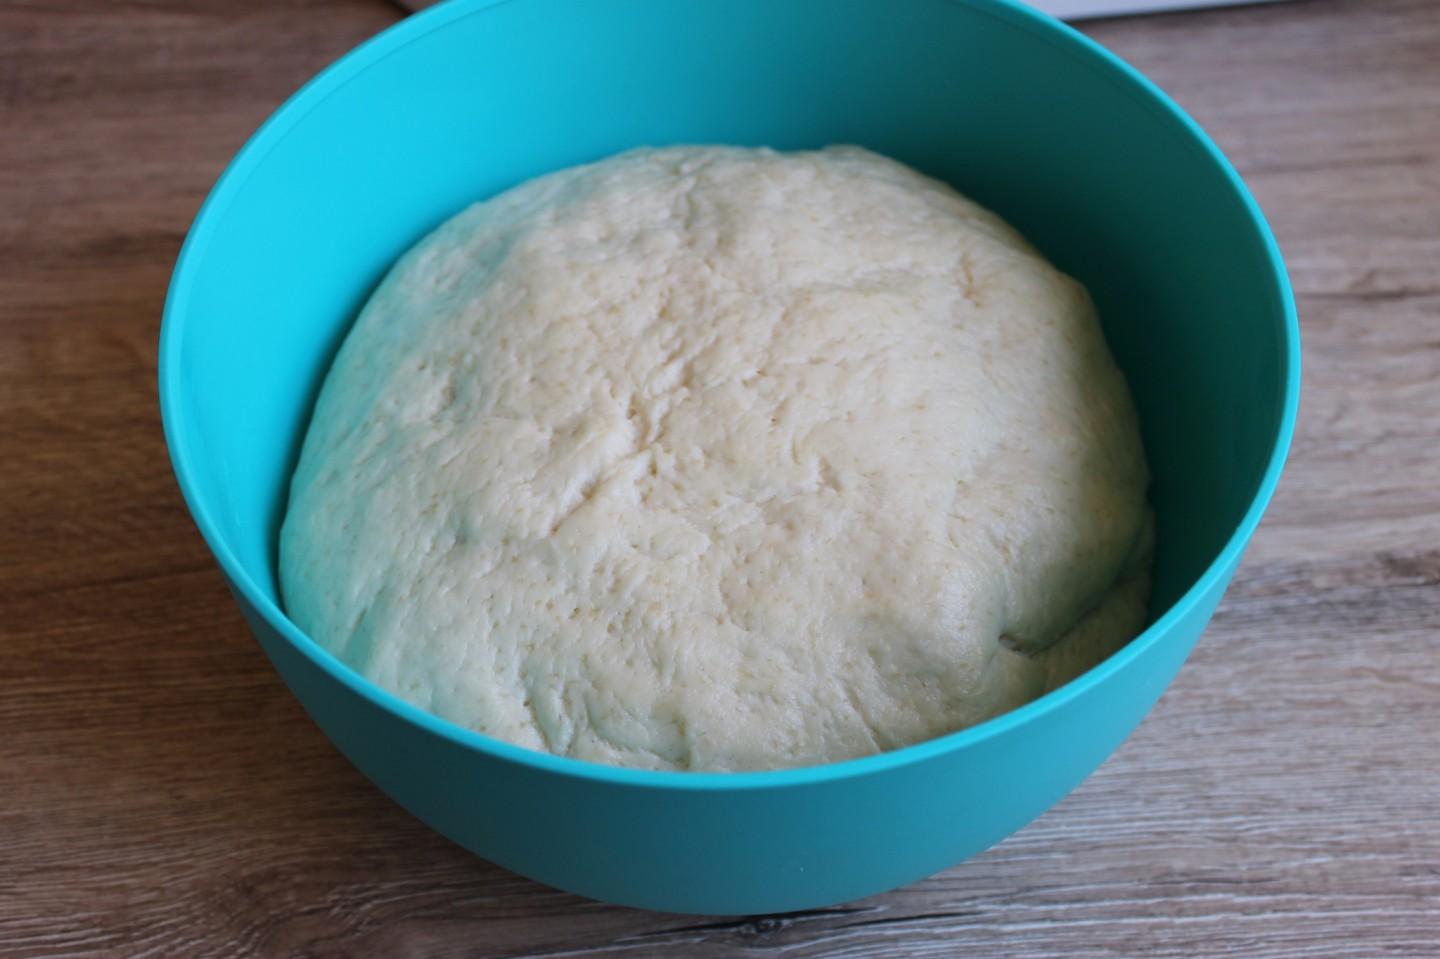
Step 7:
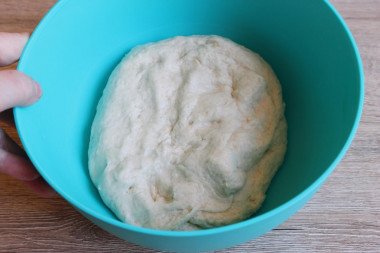
Put it in a cup and cover it with a towel. Leave for about an hour to rise.
Step 8:
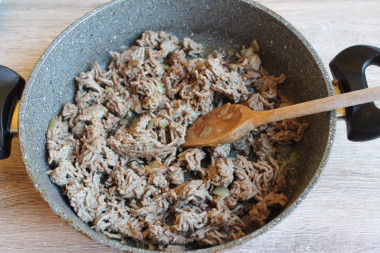
Let's do the filling: fry the minced meat with finely chopped onions. Add salt to taste.
Step 9:
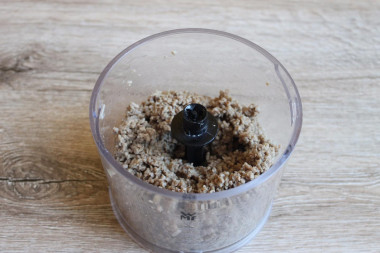
Let the minced meat cool, then twist it in a blender for more uniformity.
Step 10:

Once the dough has risen 2-3 times, knead it again.
Step 11:
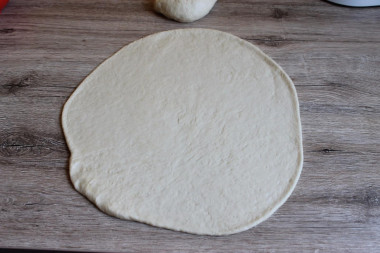
Divide the dough in half. Roll out one part thinly.
Step 12:
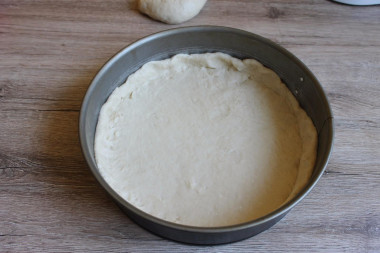
Put the rolled dough on the bottom of the oiled mold (I have a diameter of 26cm). Small sides should remain on the sides, as in the photo.
Step 13:
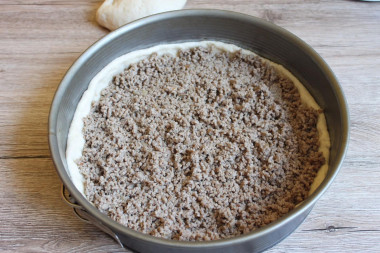
Spread the filling on the dough.
Step 14:
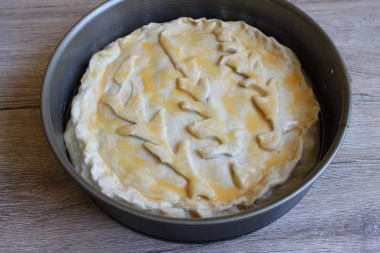
Roll out the second piece of dough too and put it on top of the filling. Pinch the edges. On top, I also laid out the spikelets cut from the dough. You can decorate to your taste or leave it unadorned. In a bowl, mix the yolk with a fork with a tablespoon of water and smear the cake on top with this mixture, so it will shine in the finished form. Leave for proofing, about 30 minutes. Preheat the oven to 180 degrees for 10-20 minutes in advance and bake the pie.
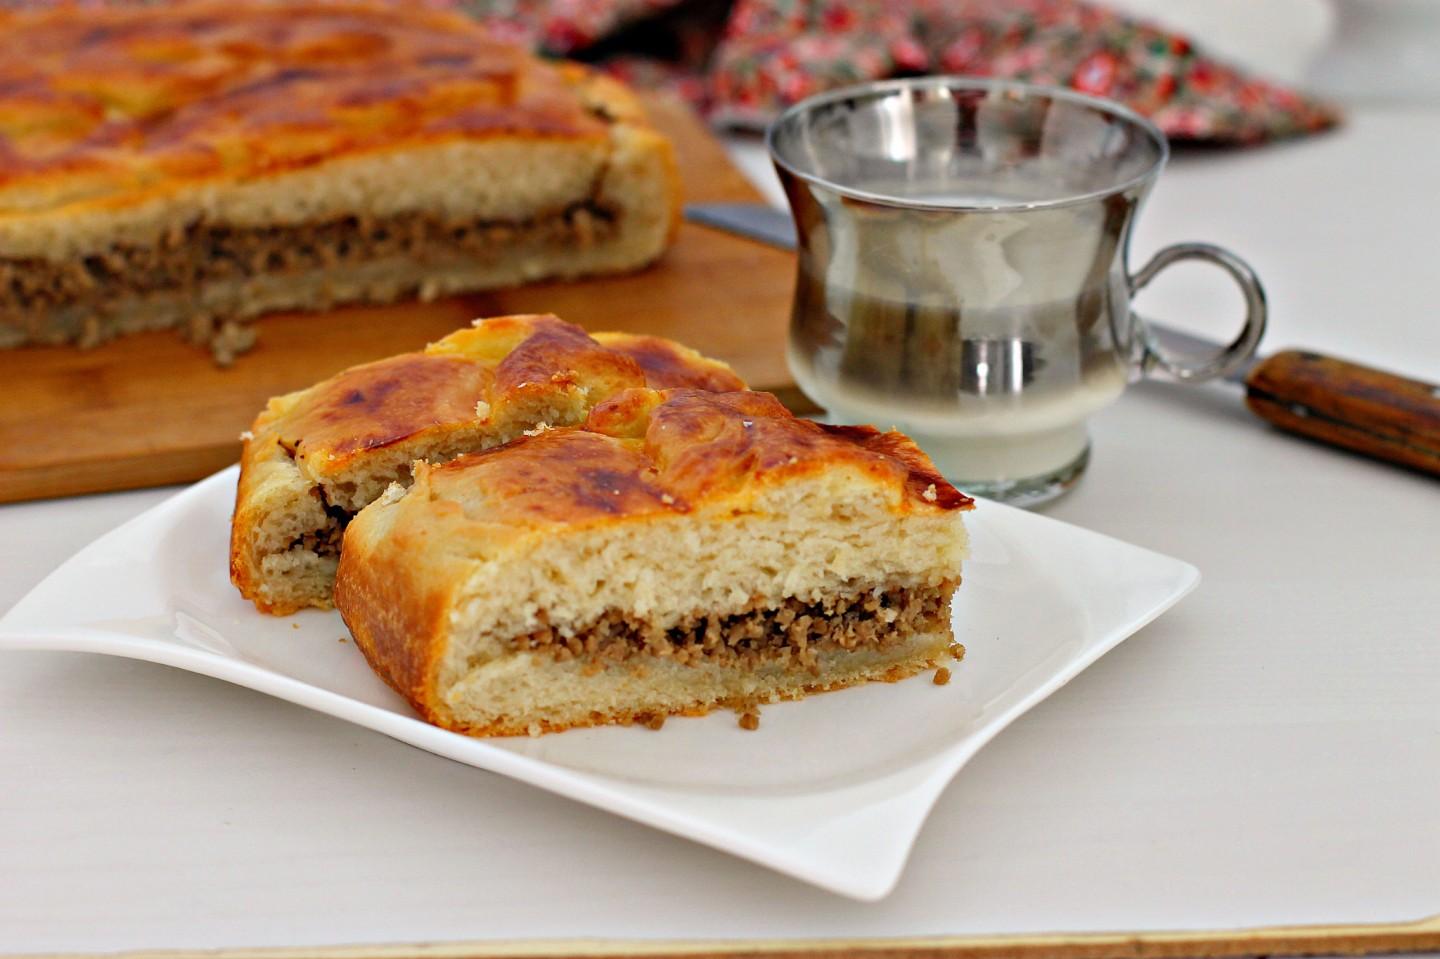
Step 15:
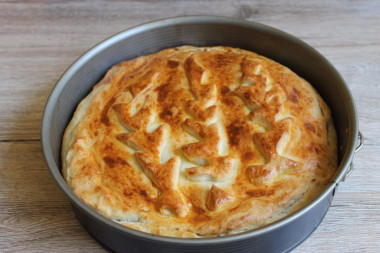
In my oven, the pie was baked for about 30-35 minutes, but the baking time, as well as the temperature, are indicated approximately. I advise you to focus on the features of your oven. When the pie is browned, check it for readiness by piercing it with a skewer. If there is no raw dough on the skewer, it's time to take the pie out of the oven. Cover the finished cake with a towel, let it cool. And enjoy!
Step 16:
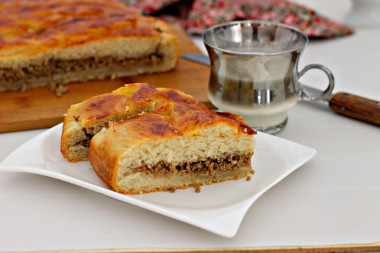
Bon appetit!


It is important to sift the flour to saturate it with oxygen. Then the baking will turn out to be airy and will rise well when baking.
Keep in mind that everyone's ovens are different. The temperature and cooking time may differ from those specified in the recipe. To make any baked dish successful, use useful information about the features of ovens !
Any heat-resistant form is suitable for this recipe. If you use a silicone mold, then you do not need to smear it with butter or margarine. But it is better to lightly lubricate metal, ceramic or glass dishes with vegetable oil so that the baking does not burn.
Important! Using dry yeast, it should be borne in mind that they occur in two forms: active and instant (read the instructions carefully before use!).
Active dry yeast looks like beads or small balls. Before applying them, they must be brought out of "sleep mode". To do this, the active yeast is diluted in warm sweet water, milk or whey. The resulting bubbles, foam or "cap" indicate that the yeast is ready for further use. Active dry yeast must be brought to complete dissolution in the liquid, otherwise, due to the remaining grains, the dough may not rise and the baking will be spoiled (yeast grains that have not dissolved in the liquid and got into the dough will not disperse on their own, which means they will not work).
Instant dry yeast is easier to use. They do not need to be activated before use. Such yeast, along with other ingredients, is simply added to the dough. As a result, the baking time is reduced.
It should also be remembered that both types of dry yeast may differ in their activity from different manufacturers.
Caloric content of the products possible in the composition of the dish
- Onion - 41 kcal/100g
- Whole durum wheat flour fortified - 333 kcal/100g
- Whole durum wheat flour universal - 364 kcal/100g
- Flour krupchatka - 348 kcal/100g
- Flour - 325 kcal/100g
- Granulated sugar - 398 kcal/100g
- Sugar - 398 kcal/100g
- Kefir fat - 62 kcal/100g
- Kefir of 1% fat content - 38 kcal/100g
- Low-fat kefir - 30 kcal/100g
- Kefir "doctor beefy" 1,8% fat content - 45 kcal/100g
- Kefir 2.5% fat content - 53 kcal/100g
- Mixed minced meat - 351 kcal/100g
- Vegetable oil - 873 kcal/100g
- Salt - 0 kcal/100g
- Dry yeast - 410 kcal/100g