
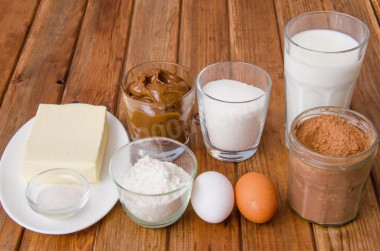
Composition / ingredients
Step-by-step cooking
Step 1:
First of all, prepare the cream. Pour the milk into a microwave container and warm it up almost to a boil (no need to boil). If there is no microwave, then we heat the milk on the stove.
Step 2:
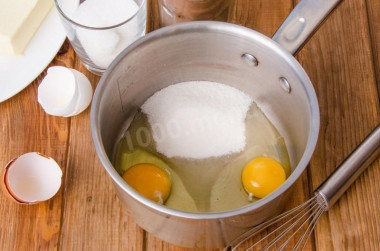
Meanwhile, combine eggs, granulated sugar and vanilla sugar in a saucepan with a thick bottom.
Step 3:
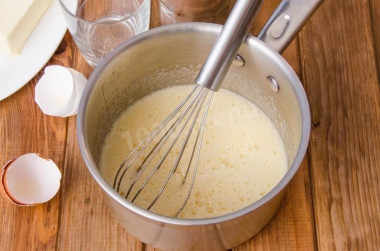
Mix thoroughly with a whisk.
Step 4:
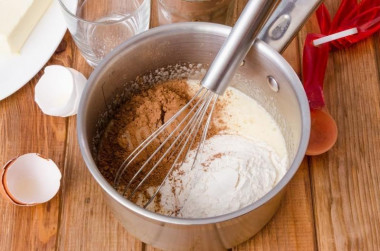
Add flour and cocoa powder to the egg mixture.
Step 5:
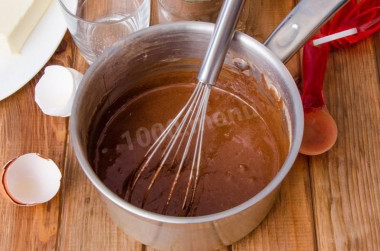
Mix everything thoroughly again until completely smooth.
Step 6:
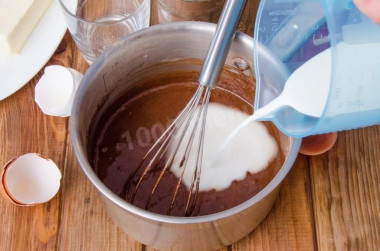
Pour hot milk into the resulting chocolate mass in a thin stream, while constantly stirring the mass with a whisk.
Step 7:
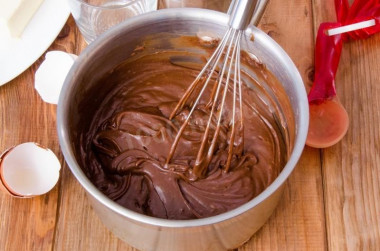
We put a saucepan with chocolate cream on the stove and brew it on low heat until it thickens. During cooking, the cream is constantly mixed with a whisk so that it does not stick to the bottom and so that lumps do not form in it. Remove the finished cream from the fire and let it cool completely. To prevent a crust from forming on the surface of the cream during cooling, it must be covered with a film so that it comes into contact with the cream.
Step 8:
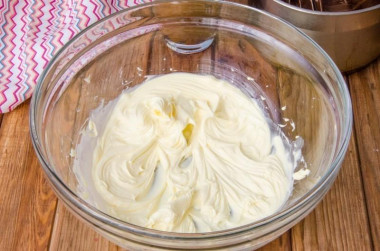
When the custard chocolate part has cooled, transfer the soft butter to a bowl and beat with a mixer for a few minutes.
Step 9:
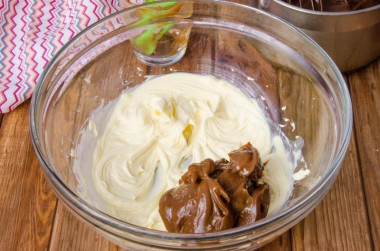
Add all the condensed milk to the butter and beat the cream with a mixer for a few minutes.
Step 10:
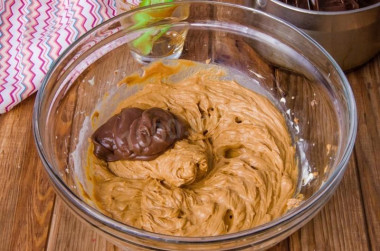
We turn the mixer to the minimum speed and add the cooled chocolate custard in parts.
Step 11:
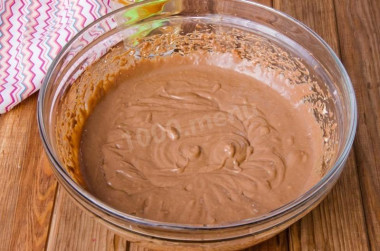
Beat the cream until smooth. Our Mikado cake cream is ready, cover the bowl with a film and send the cream to the refrigerator.
Step 12:
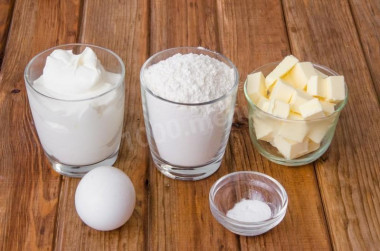
Prepare the dough.
Step 13:
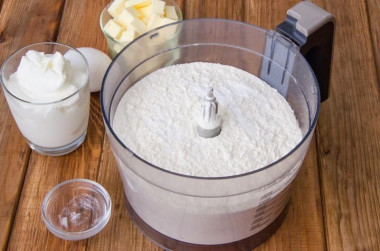
To speed up the kneading process, I suggest using a food processor. So, we pour all the flour into the bowl of the combine with a metal knife attachment and add soda to it. Stir for 10 seconds.
Step 14:
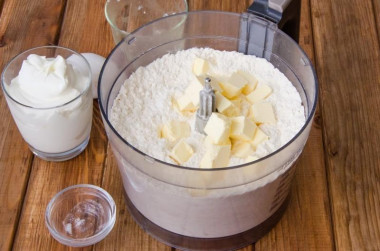
Add diced cold butter.
Step 15:
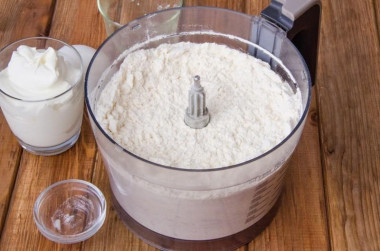
And grind everything to the state of fine crumbs.
Step 16:
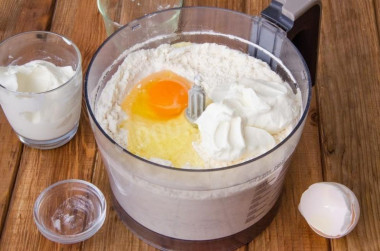
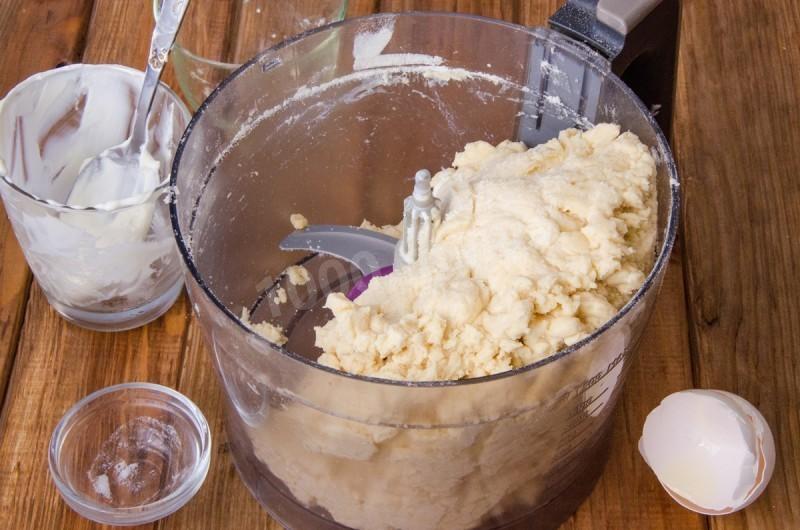
Add egg and sour cream. By the way, since flour is of different quality, I advise you to first add not all the sour cream, but about half or a little more, and already, depending on the consistency of the dough, add the rest of the amount.
Step 17:

Knead the soft dough. By the way, we don't mix the dough for a long time, we just try to make it gather into a lump.
Step 18:
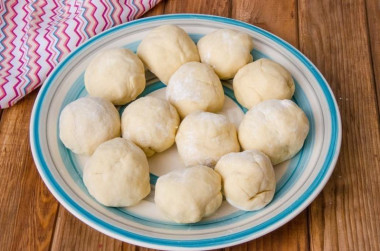
We take the dough out of the bowl of the combine and divide it into 12-14 parts. Cover the dish with the balls with a film and send it to the refrigerator for at least 30-40 minutes, the dough should rest and cool down.
Step 19:
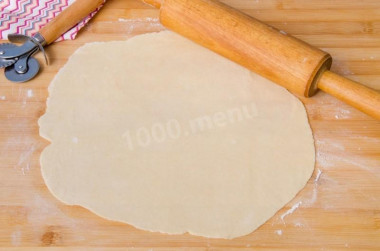
We take out one ball of chilled dough from the refrigerator and roll it into a thin layer. You can roll out the dough either between two sheets of parchment, or simply dusting the table with flour. It is very important to roll out the dough very, very thin, the thickness should not be more than 1 mm, otherwise the cake in its finished form may turn out solid.
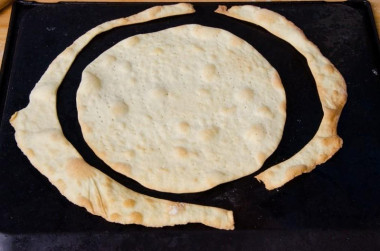
Step 20:
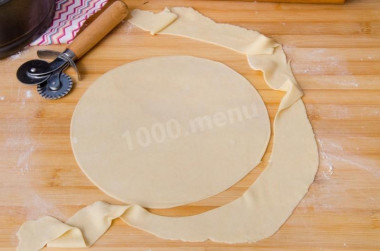
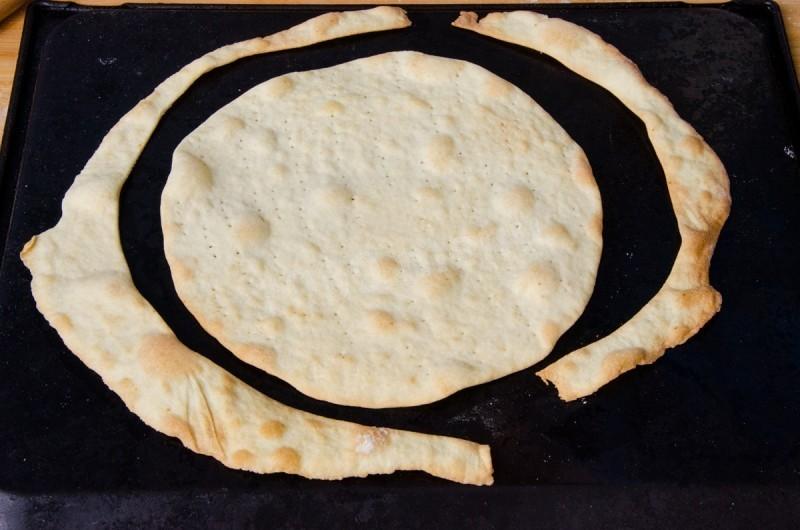
We cut the rolled layer to the desired diameter (I made cakes with a diameter of 23 cm, but after baking the cakes are slightly deformed and I got a cake with a diameter of 22 cm). We save part of the trimmings (somewhere from half of the cakes) and bake together with the cakes, we will need the images to sprinkle the cake.
Step 21:
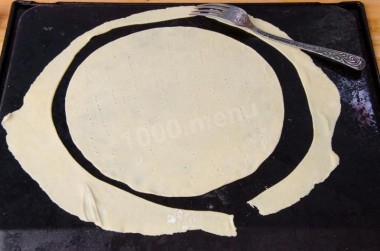
We transfer the cake and trimmings to a baking sheet and thickly prick with a fork so that the dough does not swell very much during baking.
Step 22:
Bake the cakes in a preheated 200 C oven for about 5-7 minutes.
Step 23:
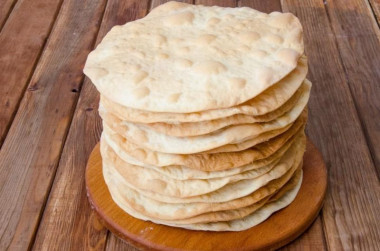
In this way we bake all the cakes. I got exactly 15 thin cakes and a lot of scraps.
Step 24:
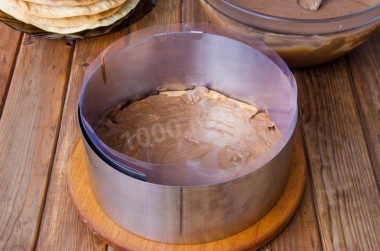
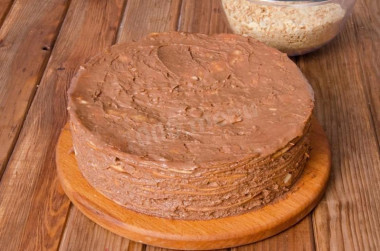
Collecting our cake. For convenience, we assemble the cake in a pastry ring or take the sides from a detachable mold. The sides are lined with cling film or laid with a curb tape, so it will be easier to free the cake from them. We assemble the cake in layers, alternating cakes and cream.
Step 25:
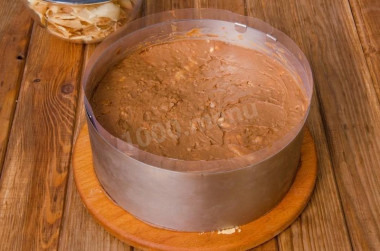
During the assembly of the cakes, we carefully press them (they will break at the same time, but it's okay, the cream will connect everything well), it is important to us that there are no voids inside the cake. The assembled cake is sent to the refrigerator for the whole night, it needs time to soak well.
Step 26:
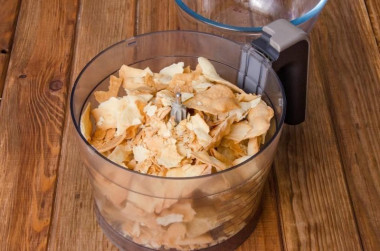
In the morning, the cake can be sprinkled with crumbs. To do this, we grind our trimmings to the state of crumbs. I did it with a food processor.
Step 27:

We grind the trimmings not very finely.
Step 28:
We release the soaked cake from the sides.
Step 29:
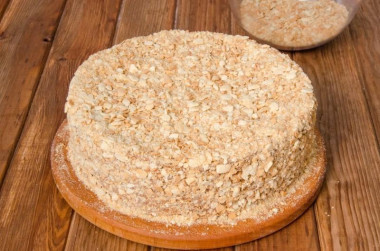
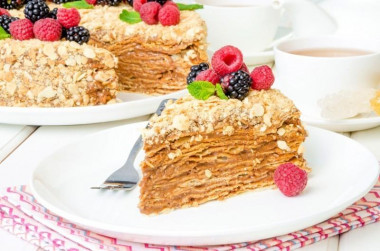
And sprinkle it with crumbs from all sides. By the way, if desired, instead of sprinkling crumbs, the cake can be sprinkled with grated chocolate, it will also turn out very tasty. That's it, our cake is ready!
Step 30:
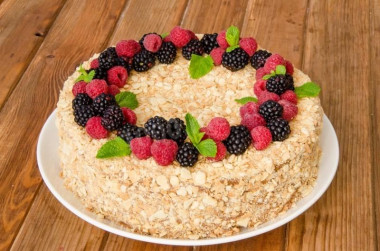
Optionally, the cake is additionally decorated. I decorated it with raspberries and blackberries, as well as fresh mint.
Step 31:
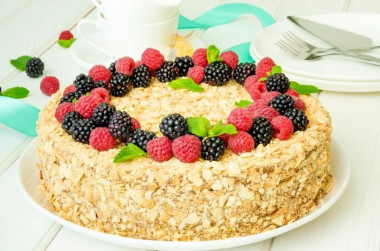
Mikado cake is ready.
Step 32:
Bon appetit!


Calorie content of the products possible in the composition of the dish
- Whole cow's milk - 68 kcal/100g
- Milk 3.5% fat content - 64 kcal/100g
- Milk 3.2% fat content - 60 kcal/100g
- Milk 1.5% fat content - 47 kcal/100g
- Concentrated milk 7.5% fat content - 140 kcal/100g
- Milk 2.5% fat content - 54 kcal/100g
- Sour cream with 30% fat content - 340 kcal/100g
- Sour cream of 25% fat content - 284 kcal/100g
- Sour cream with 20% fat content - 210 kcal/100g
- Sour cream of 10% fat content - 115 kcal/100g
- Sour cream - 210 kcal/100g
- Chicken egg - 157 kcal/100g
- Egg white - 45 kcal/100g
- Egg powder - 542 kcal/100g
- Egg yolk - 352 kcal/100g
- Ostrich egg - 118 kcal/100g
- Raspberry - 42 kcal/100g
- Fresh frozen sweet raspberries - 50 kcal/100g
- Mint fresh - 49 kcal/100g
- Dried mint - 285 kcal/100g
- Mint - 49 kcal/100g
- Whole durum wheat flour fortified - 333 kcal/100g
- Whole durum wheat flour, universal - 364 kcal/100g
- Flour krupchatka - 348 kcal/100g
- Flour - 325 kcal/100g
- Granulated sugar - 398 kcal/100g
- Sugar - 398 kcal/100g
- Butter 82% - 734 kcal/100g
- Amateur unsalted butter - 709 kcal/100g
- Unsalted peasant butter - 661 kcal/100g
- Peasant salted butter - 652 kcal/100g
- Melted butter - 869 kcal/100g
- Blackberry - 31 kcal/100g
- Cocoa powder - 374 kcal/100g
- Baking soda - 0 kcal/100g
- Vanilla sugar - 379 kcal/100g
- Boiled condensed milk - 328 kcal/100g