


Composition / ingredients
Step-by-step cooking
Step 1:

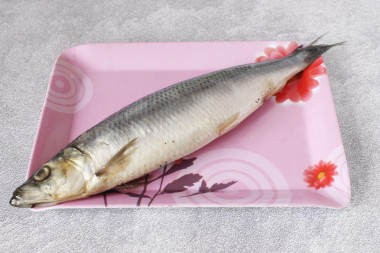
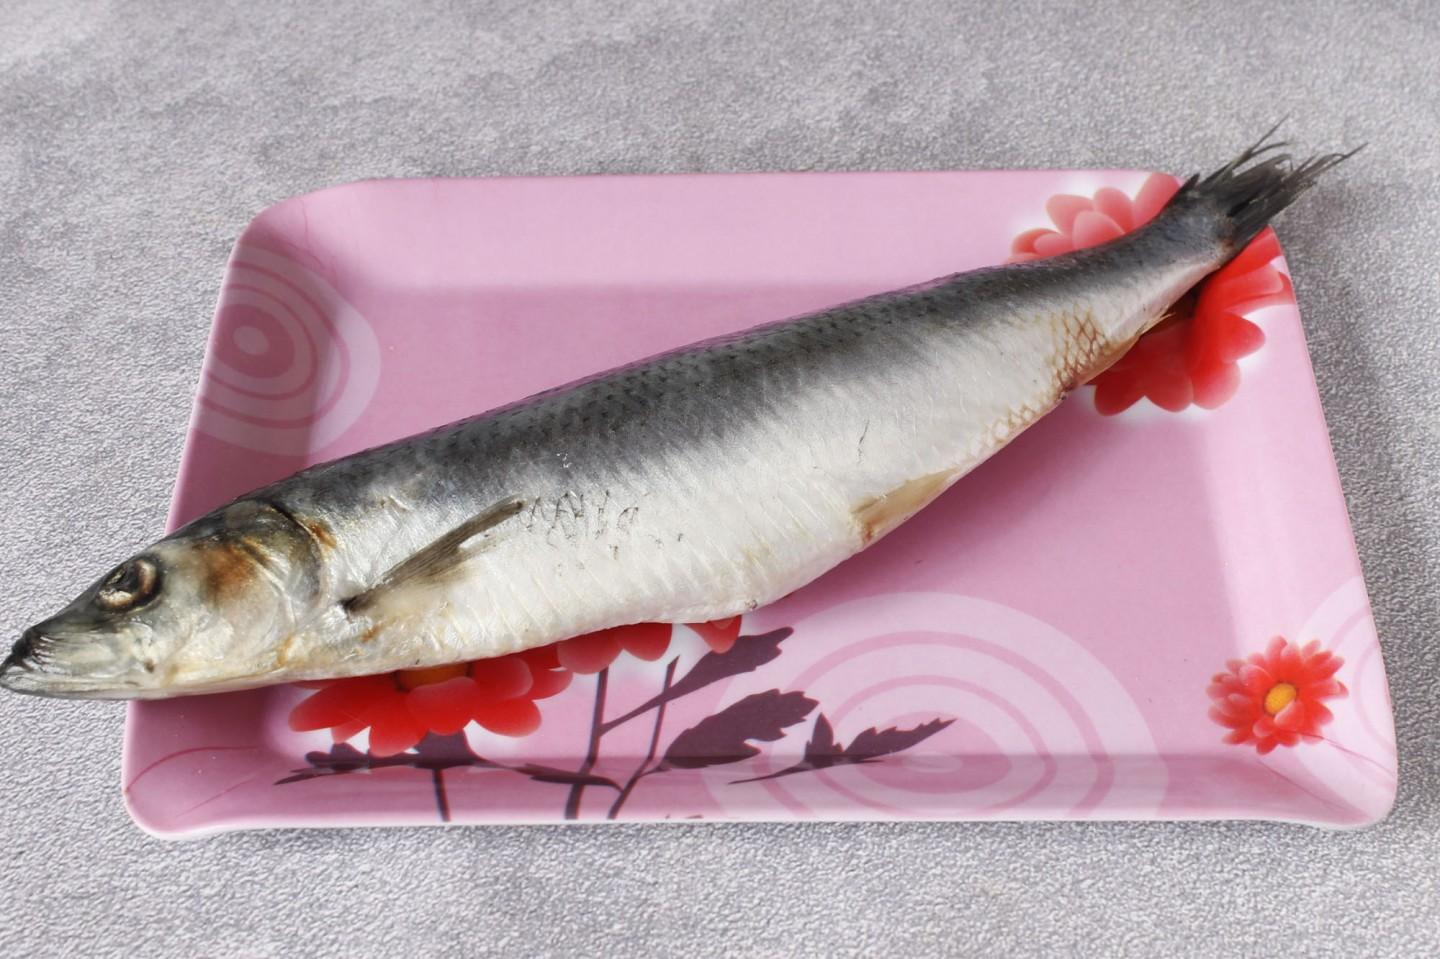
How to pickle herring in brine? We defrost the herring, but not at room temperature, but in the refrigerator. It is impossible to water it with hot water during defrosting or to expose it to other temperature influences. Strong defrosting is not required - as soon as the fish becomes pliable, it can be salted. It is not necessary to wash it and take out the gills - in the case of herring, the gills will not give bitterness.
Step 2:
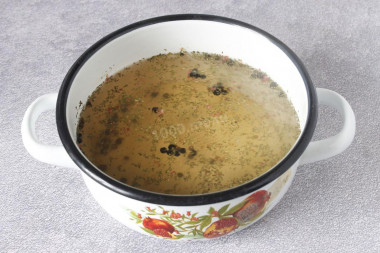
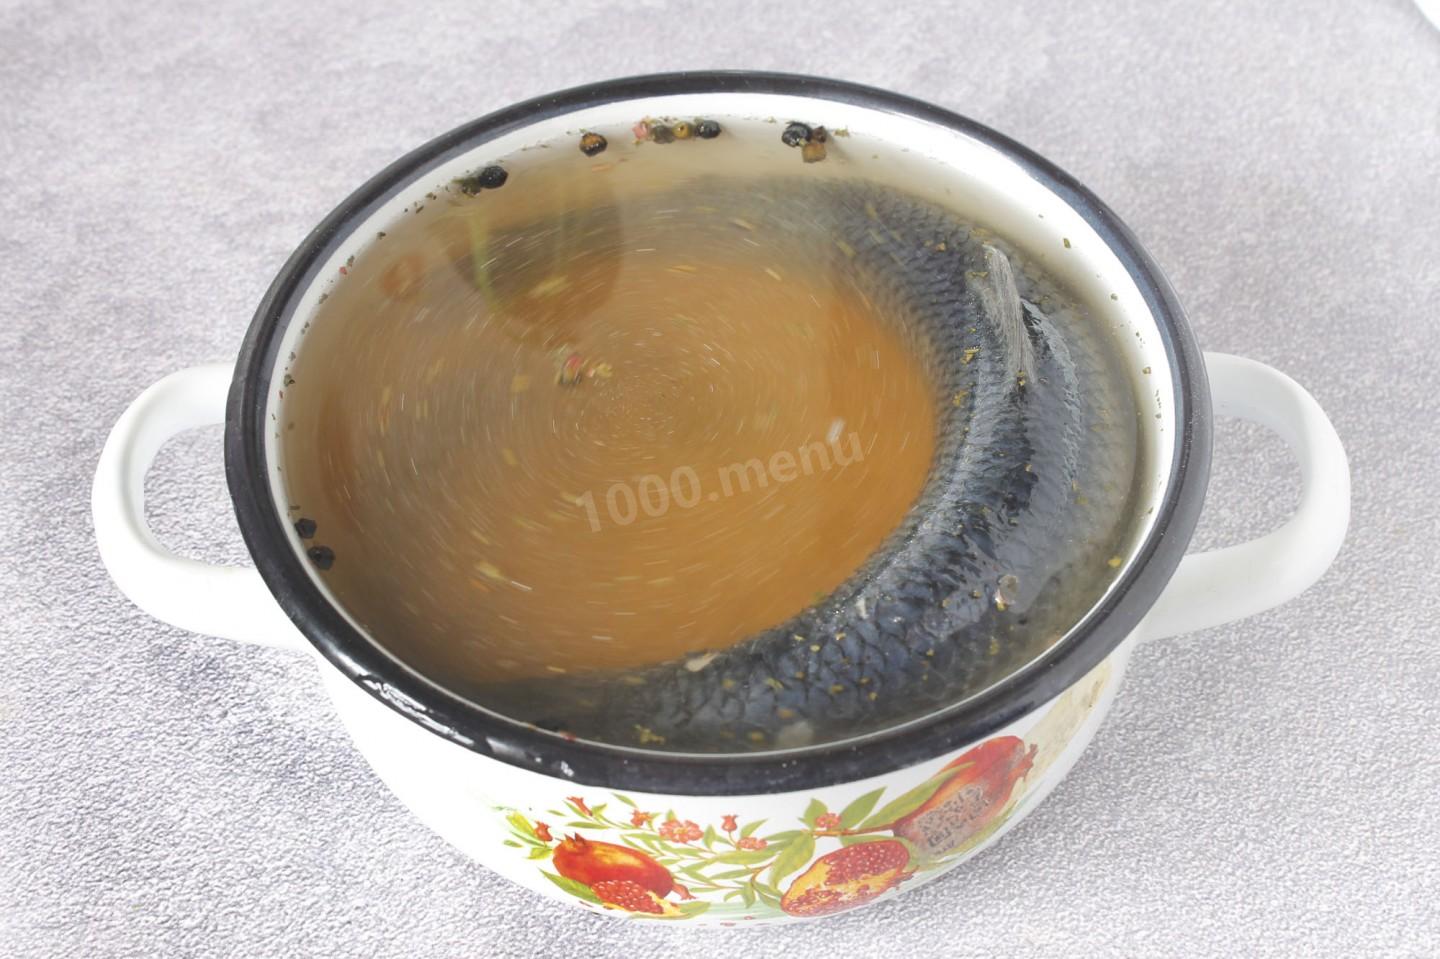
Preparing the brine. Pour water into a saucepan and bring it to a boil. Add salt, pepper and bay leaf to the water (I have crushed), boil everything over low heat until the salt is completely dissolved. You can simply pour the spices into a suitable container, pour boiling water over them and mix. Let the brine cool to room temperature.
Step 3:

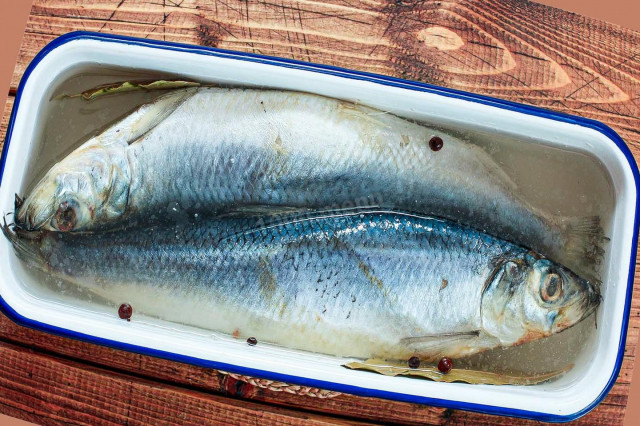
Immerse the fish in brine. For this, I used an enameled pan in which it was cooked. You can transfer the fish to another container of a suitable size, for example, glass, and pour it with brine. The main thing is that the fish is completely immersed in it. Cover the pan with a lid or a small plate so that the herring does not float, but is completely immersed in the liquid. We put a container of fish in the refrigerator for several days - from 2 to 4.
Step 4:
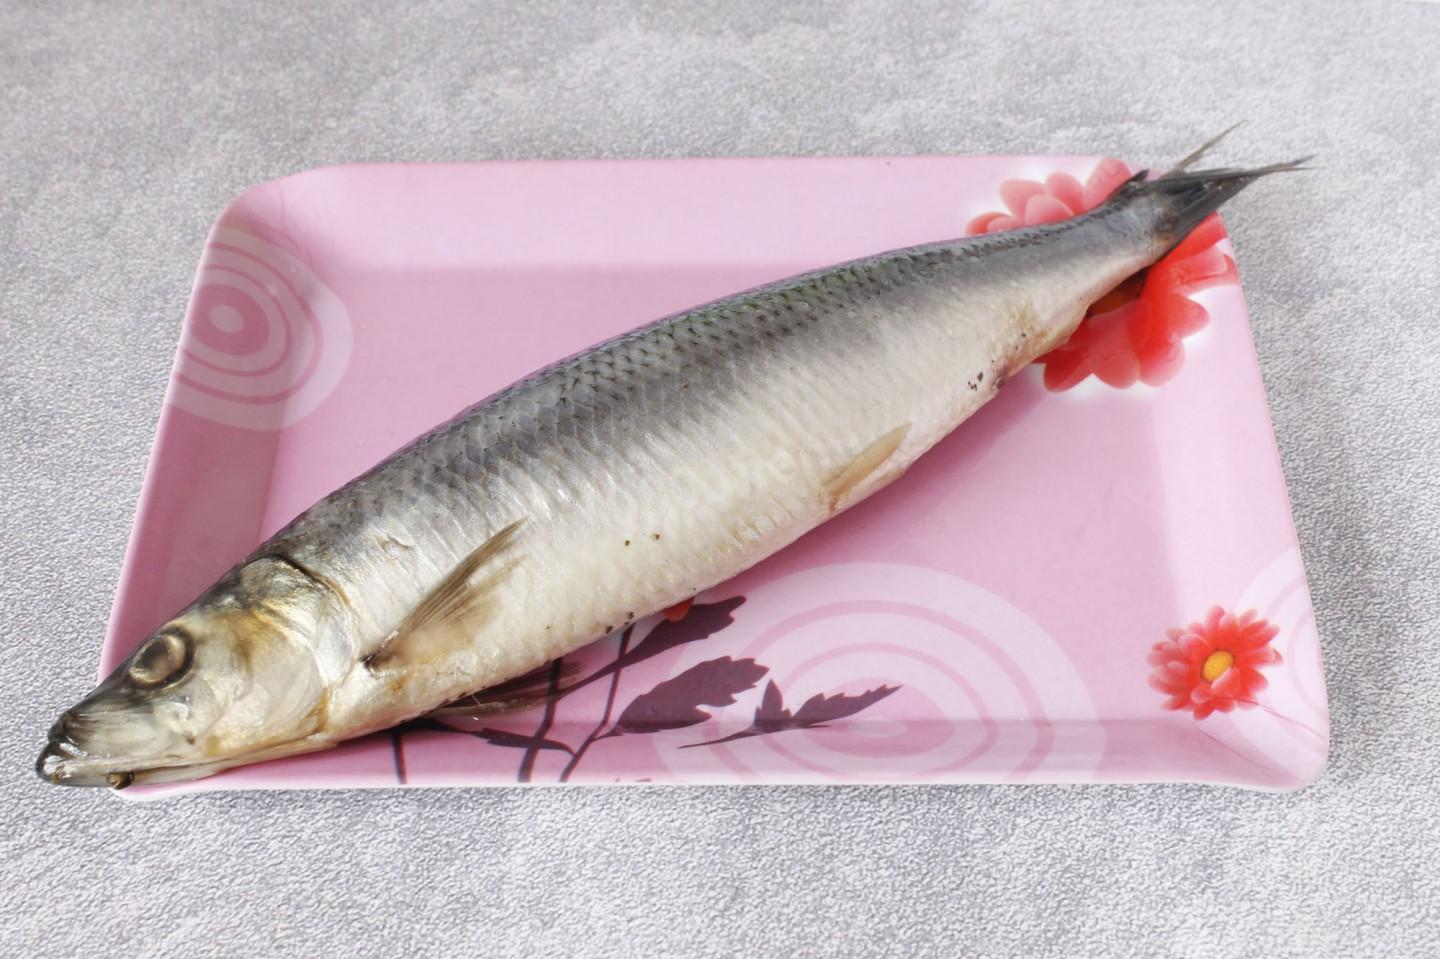
In two days the fish will be pickled, I got it in four days and I got a well-salted herring. We remove the finished herring from the container and transfer it to a plate or a flat dish - I have a tray.
Step 5:
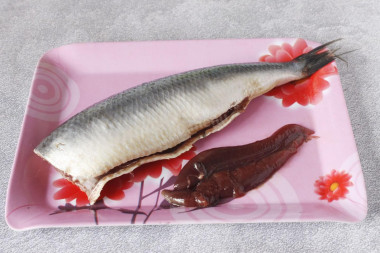
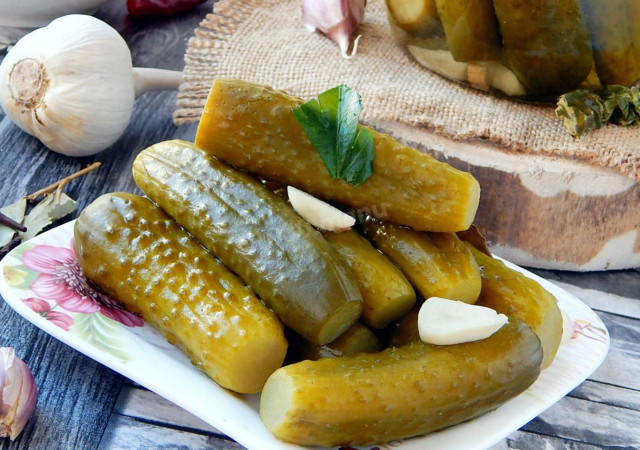
Preparing the fish for serving. To do this, cut off the head, cut the abdomen and extract the intestines. We do not throw away milk. You also need to remove a thin black film from the inside with a knife, which can give bitterness. In principle, the herring is ready, it remains only to cut it into portions.


When choosing herring, pay attention to the quality of the product. The fish should have a natural light gray color, it should not have yellowish spots and flat bedsores that indicate improper storage. In addition, the fish's eyes should not be cloudy and sunken. The right choice of raw materials is already half the case. The herring cooked according to this recipe was to my taste - I would not want to change anything, so I will cook it this way in the future. When serving, pour vegetable oil over the herring and garnish with white or green onions. Suitable for boiled, fried or baked potatoes.
Caloric content of the products possible in the composition of the dish
- Herring in vegetable oil - 301 kcal/100g
- Herring in sour cream - 97 kcal/100g
- Herring in tomato sauce - 159 kcal/100g
- Hot smoked herring - 215 kcal/100g
- Pickled herring - 192 kcal/100g
- Fresh herring - 161 kcal/100g
- Salted herring - 217 kcal/100g
- Bay leaf - 313 kcal/100g
- Granulated sugar - 398 kcal/100g
- Sugar - 398 kcal/100g
- Salt - 0 kcal/100g
- Water - 0 kcal/100g
- A mixture of peppers with peas - 231 kcal/100g