

Composition / ingredients
Step-by-step cooking
Step 1:

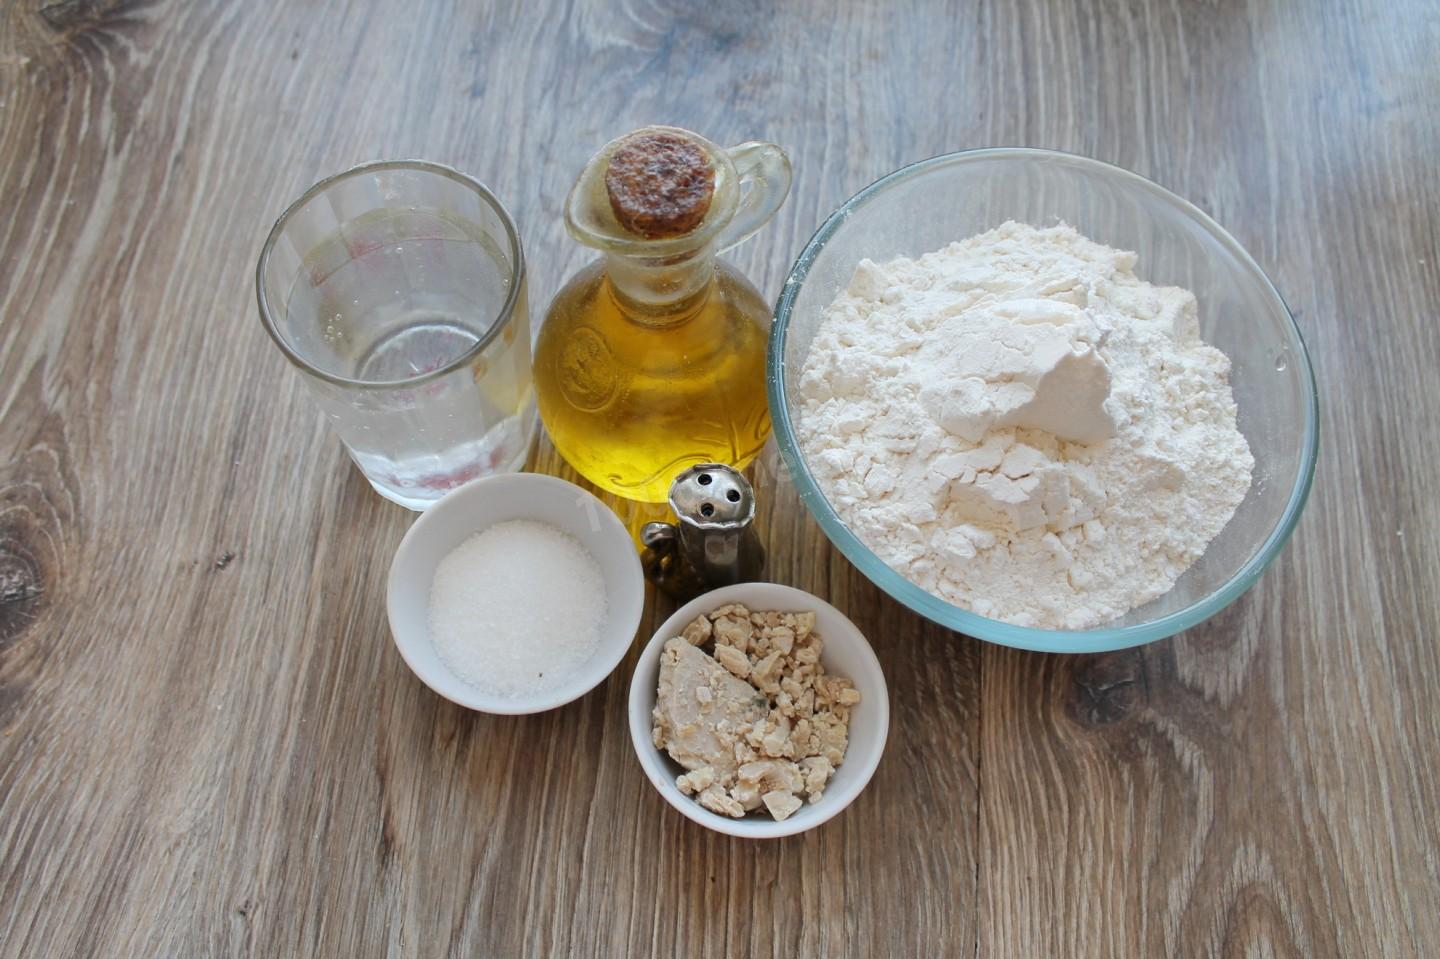
How to make bread in a baking sleeve? Prepare all the necessary ingredients. Take the flour of the highest grade. Water - filtered or bottled. Oil - any vegetable, preferably refined (I prefer olive or corn). Instead of fresh yeast, you can use dry ones, take 8-9 grams.
Step 2:
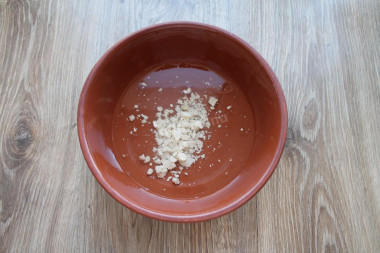
Pour clean warm water into a bowl and crumble fresh yeast into it.
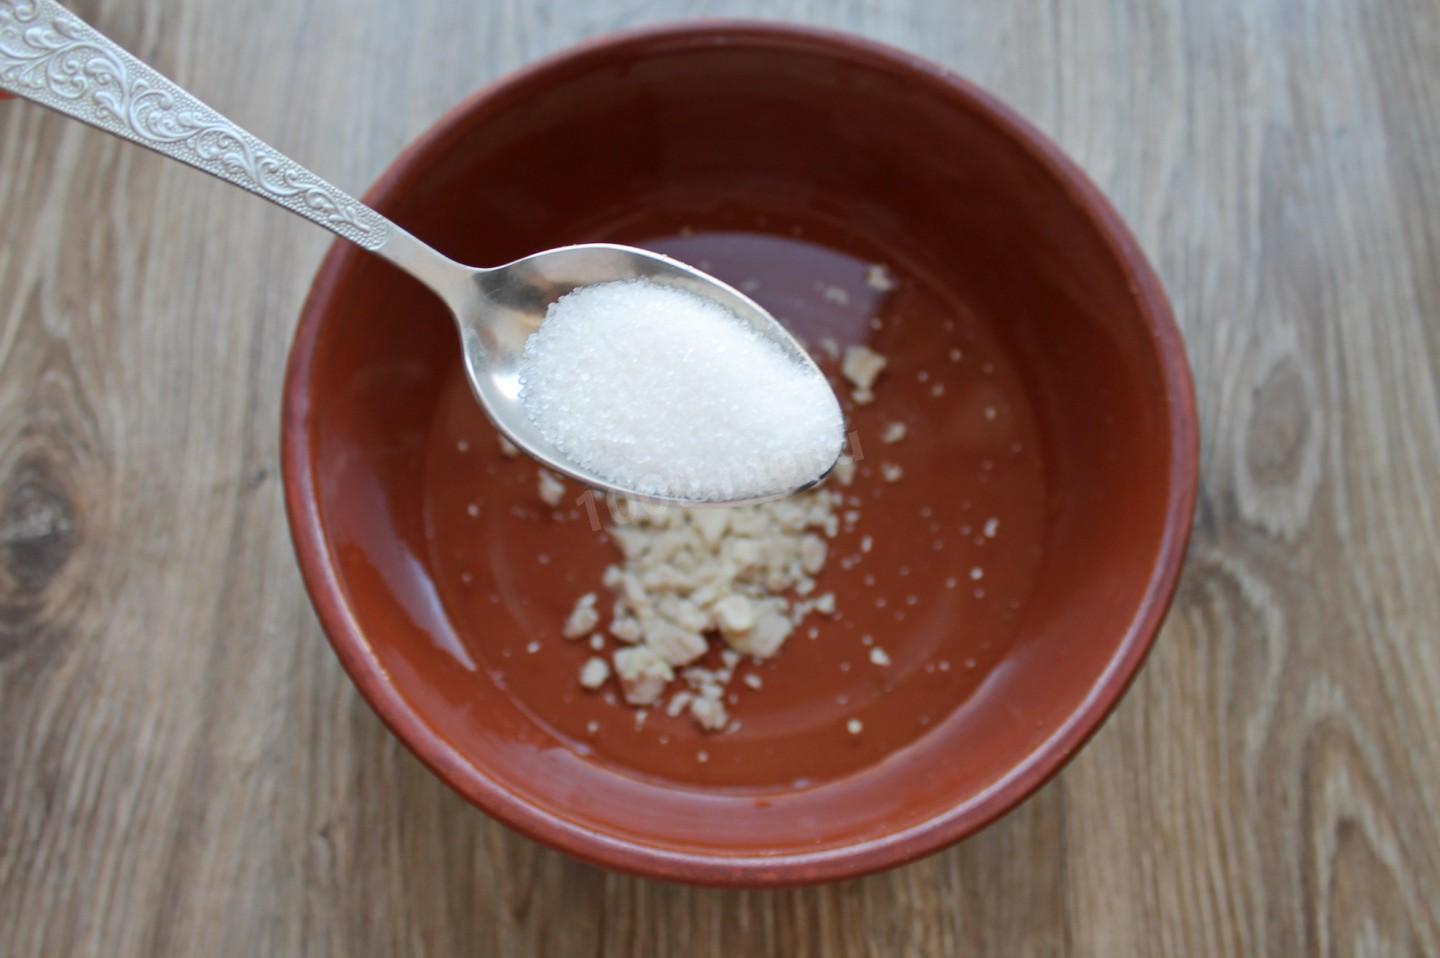
Step 3:

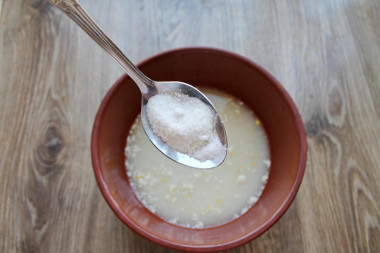
Pour sugar into a bowl with yeast and water. Mix everything until the sugar and yeast dissolve, leave in a warm place for 15 minutes. During this time, the yeast should start working and bubbles will appear on the surface. If this does not happen, the yeast will have to be replaced, they are most likely spoiled.
Step 4:
Pour salt into a bowl, pour 3 tablespoons of vegetable oil and mix until completely dissolved. Usually coarse salt is added to the dough, since it is easy to over-salt the fine.
Step 5:
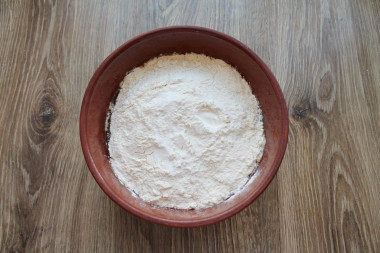
Sift flour into a bowl with liquid. This will get rid of the litter, if there was one, and saturate the flour with oxygen. Please note that you may take more or less flour than I do. Be guided by the consistency of the dough.
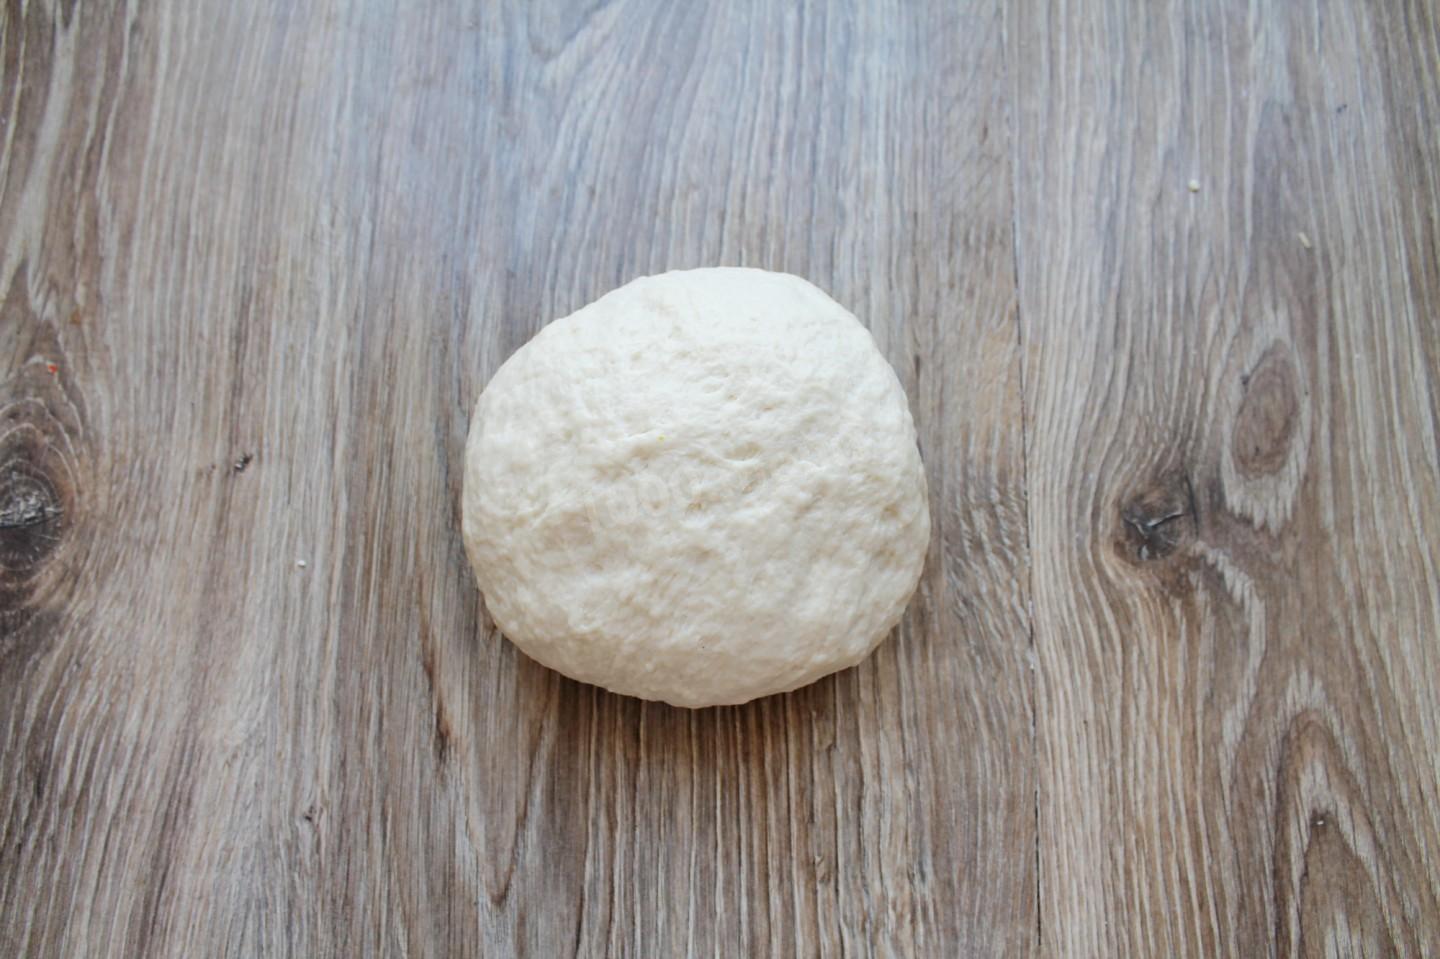
Step 6:

Knead a soft, non-sticky dough. The dough should be kneaded for at least 4-5 minutes to release gluten on a greased surface with vegetable oil. Grease a deep bowl with vegetable oil and put the dough.
Step 7:
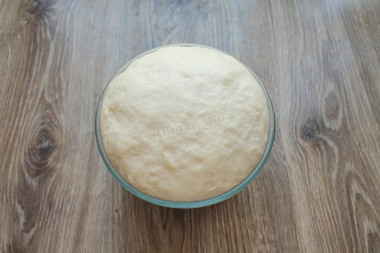
Cover the bowl with the dough and put it in a warm place to rise for 1-1.5 hours. It is very convenient to use a slow cooker for these purposes, if it has a Multi-Baker mode, or you can manually set the temperature of 45 degrees and the time on it.
Step 8:

Then knead the dough thoroughly to remove the carbon dioxide bubbles that are formed during the yeast operation.
Step 9:
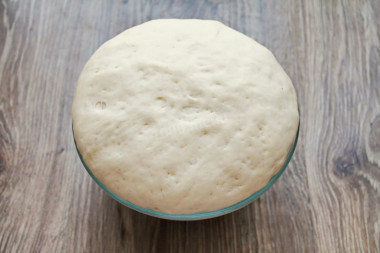
Cover the bowl again and put it in the heat for about 40-50 minutes.
Step 10:
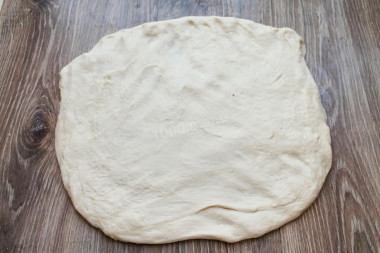
Sprinkle a little flour on the work surface of the table and shift the dough that has come up. With your hands, mash it into a rectangle.
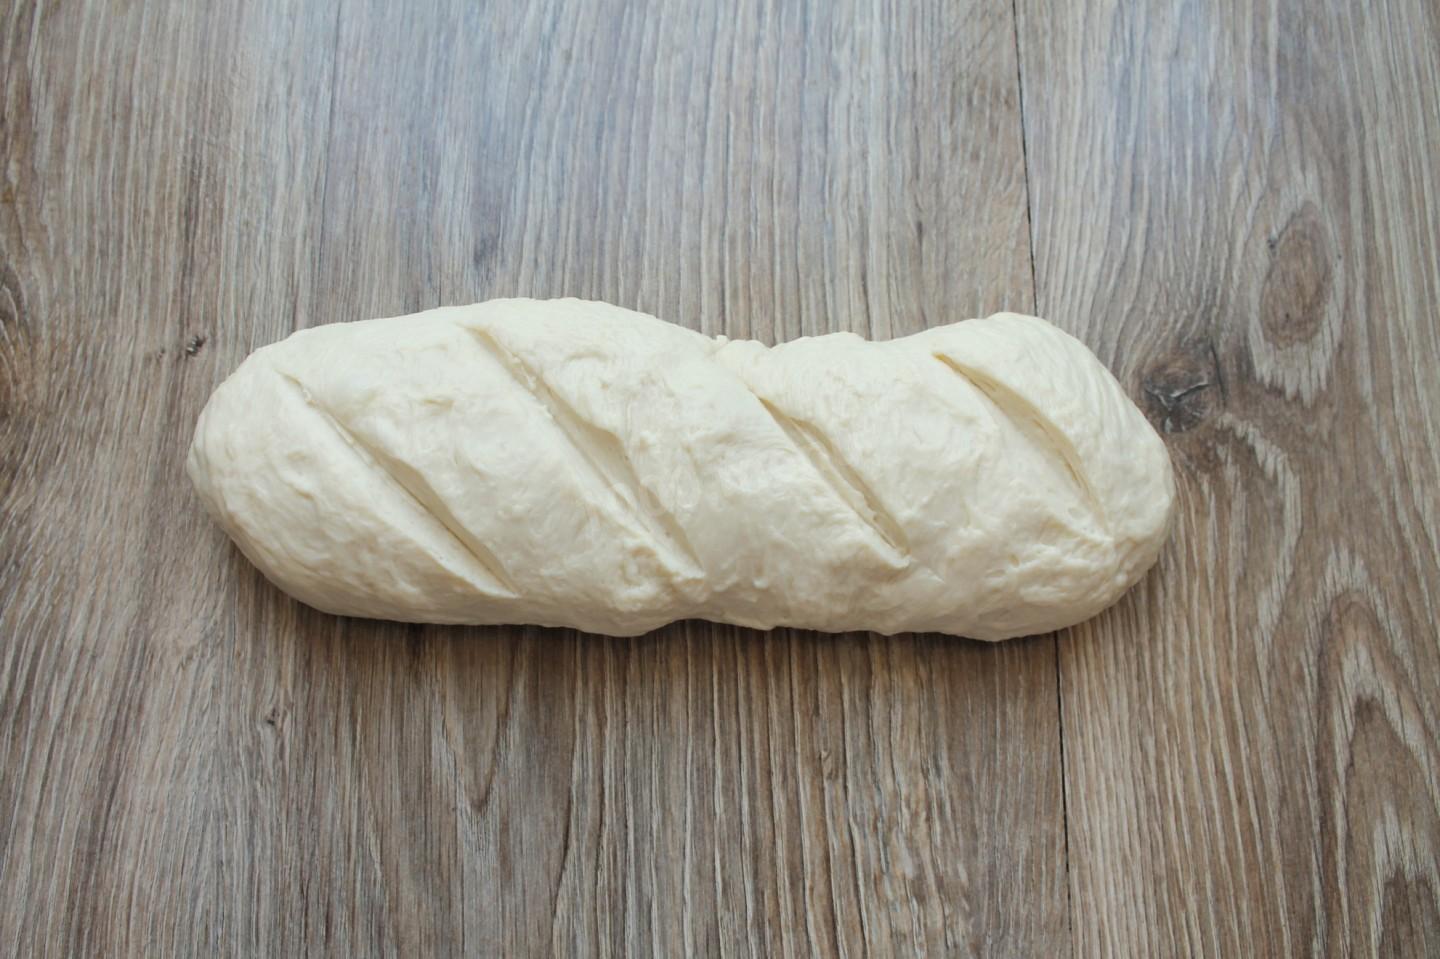
Step 11:

Roll the dough into a roll and pinch the edge. Make notches with a sharp knife on the surface of the loaf.
Step 12:
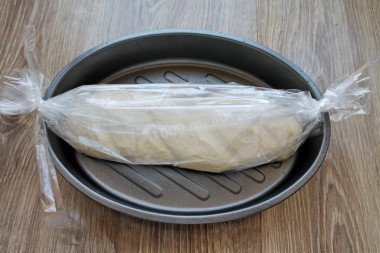
Put the bread loaf into the baking sleeve and tie both ends. Put it on a baking sheet or, like me, in a baking dish. Leave the loaf in a warm place for proofing for about 15 minutes.
Step 13:
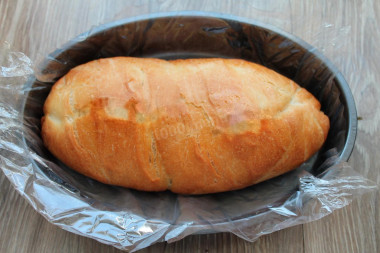
Put the bread pan in a cold oven and set the temperature to about 180 degrees. Bake the loaf for about 50-60 minutes until cooked. Determine the exact time and temperature of baking according to your oven. Remove the finished loaf from the oven and immediately remove the baking sleeve. Cover the bread with a towel and leave to cool completely.
Step 14:
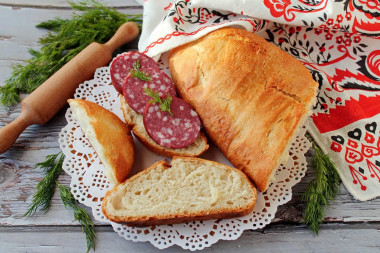
Bon appetit!


The liquid in which yeast is bred should be pleasant to the touch, no higher than 40 degrees. Why is this important? In a warm environment, yeast is well activated, in a hot one it will die, and in a cold one it simply will not work. To avoid unpleasant surprises, check the yeast before mixing with the rest of the ingredients. Pour a little warm milk into a bowl, stir in the yeast. Cover the bowl with a kitchen towel and put it in a warm place without drafts for 10-15 minutes. During this time, a foam yeast cap should appear on the surface of the sponge. If this did not happen, then the fermentation process has not started (the yeast is overdue or spoiled). In this case, it is worth taking other yeast, otherwise baking will not work.
Keep in mind that everyone's ovens are different. The temperature and cooking time may differ from those specified in the recipe. To make any baked dish successful, use the useful information about the features of ovens !
For cooking, it is better to use filtered or bottled water that is neutral to taste. If you use tap water, keep in mind that it can give the dish an unpleasant characteristic taste.
Calorie content of the products possible in the composition of the dish
- Whole durum wheat flour fortified - 333 kcal/100g
- Whole durum wheat flour universal - 364 kcal/100g
- Flour krupchatka - 348 kcal/100g
- Flour - 325 kcal/100g
- Granulated sugar - 398 kcal/100g
- Sugar - 398 kcal/100g
- Vegetable oil - 873 kcal/100g
- Salt - 0 kcal/100g
- Water - 0 kcal/100g
- Fresh yeast - 109 kcal/100g