Quick crispy no-vinegar sauerkraut in a jar
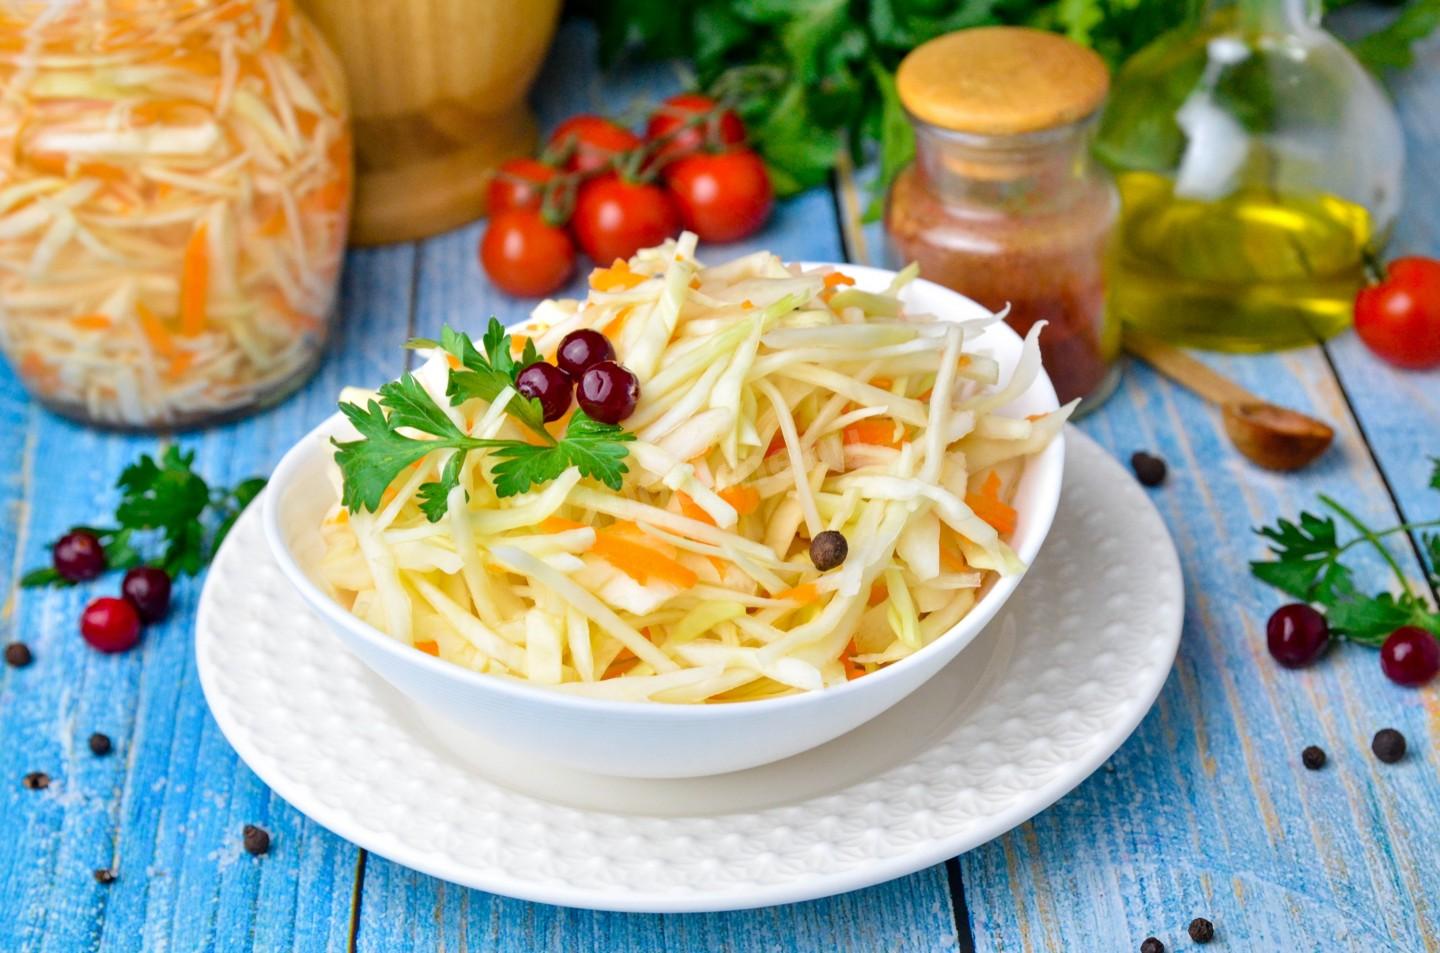
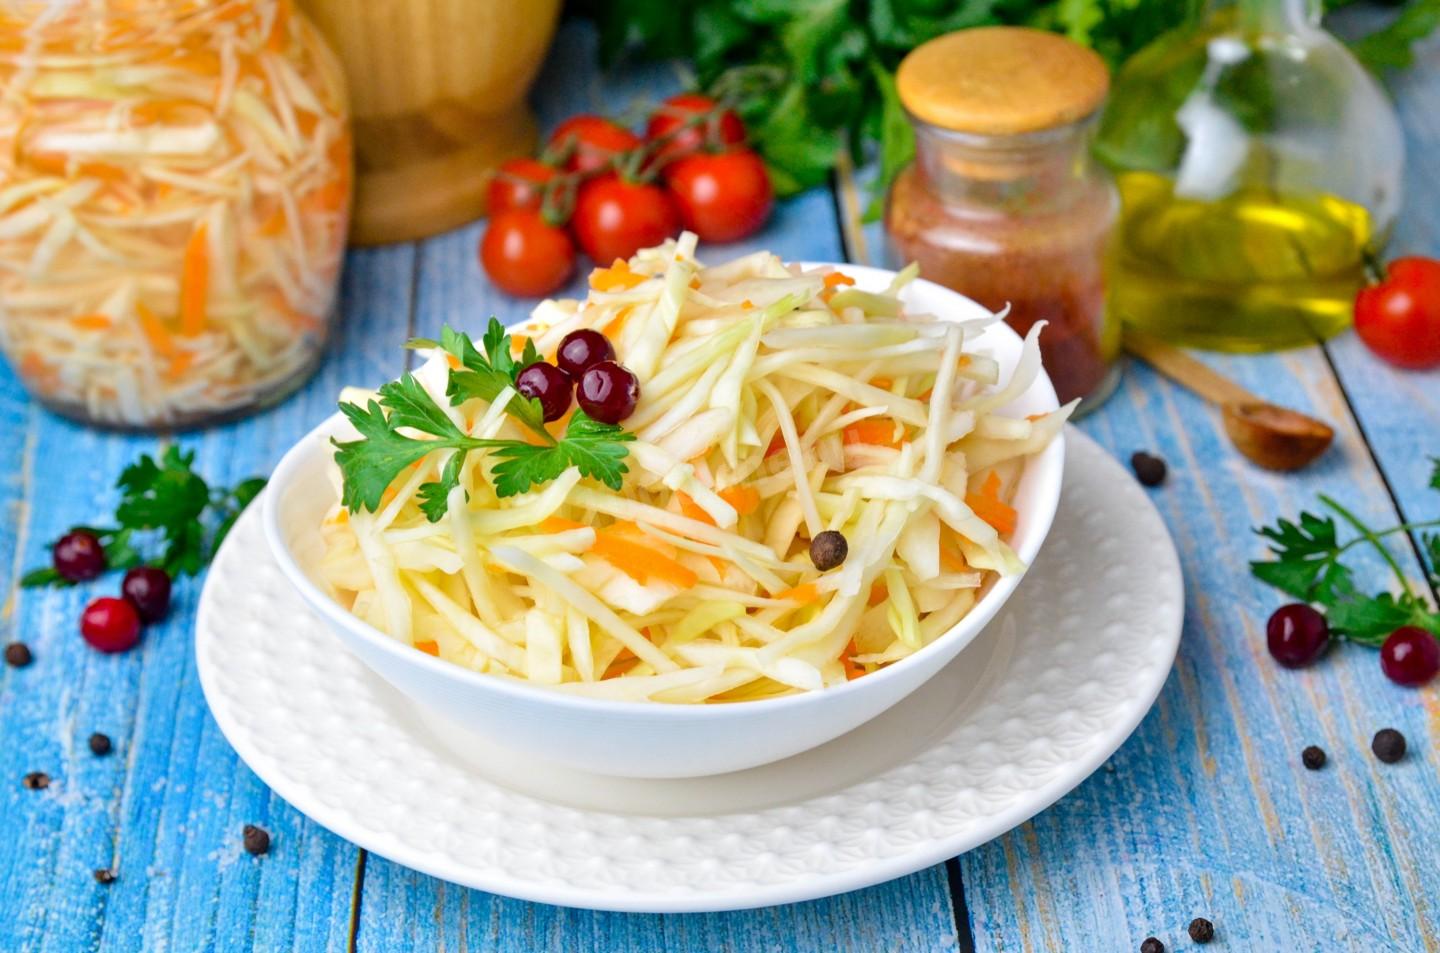
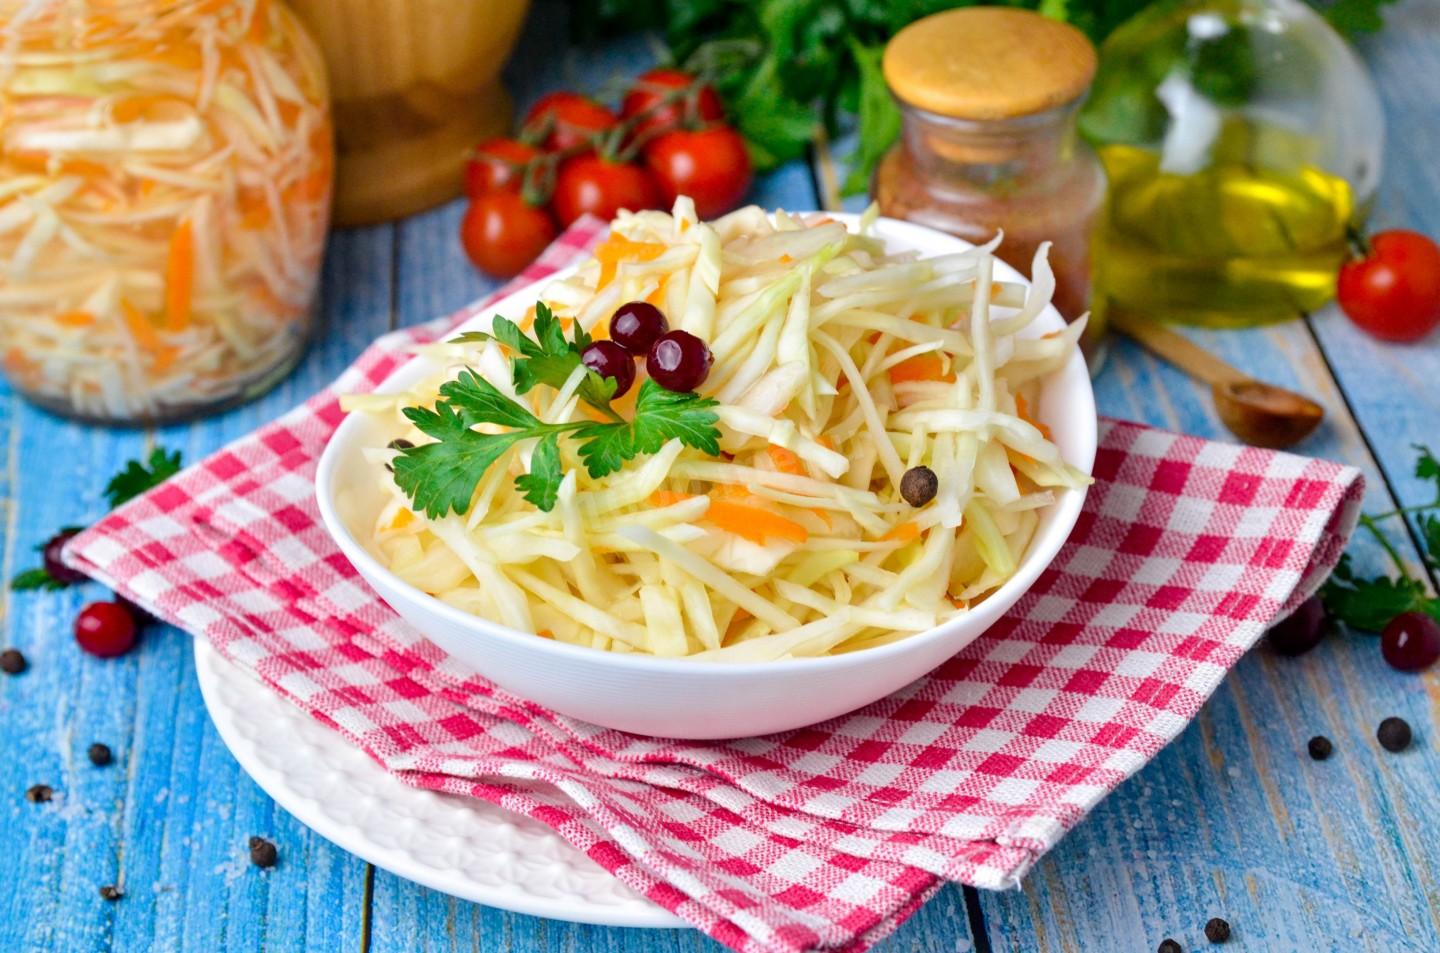
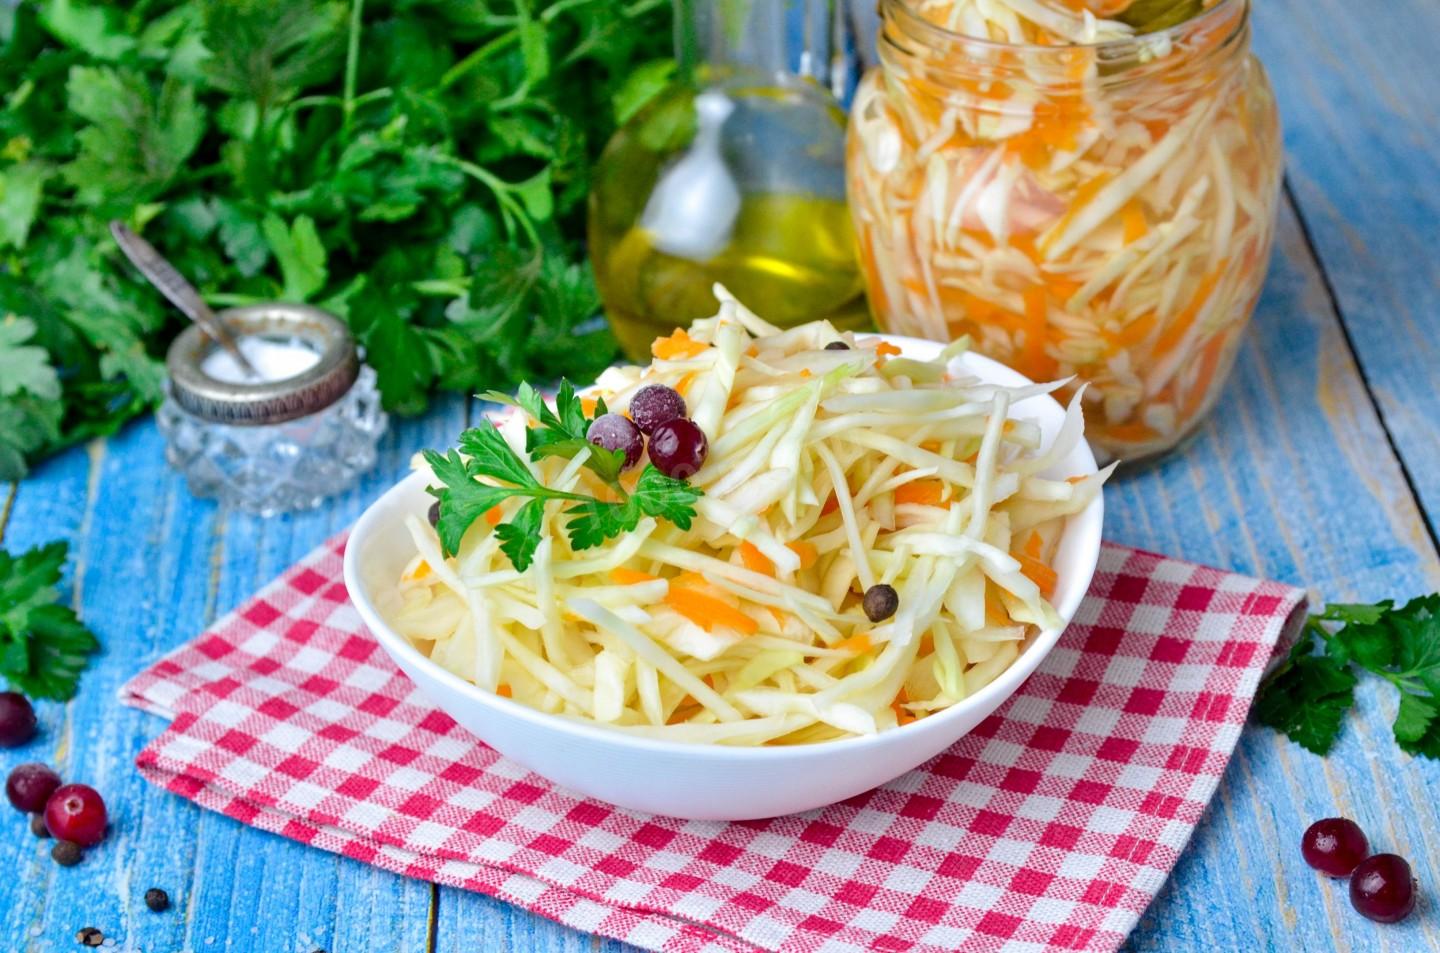
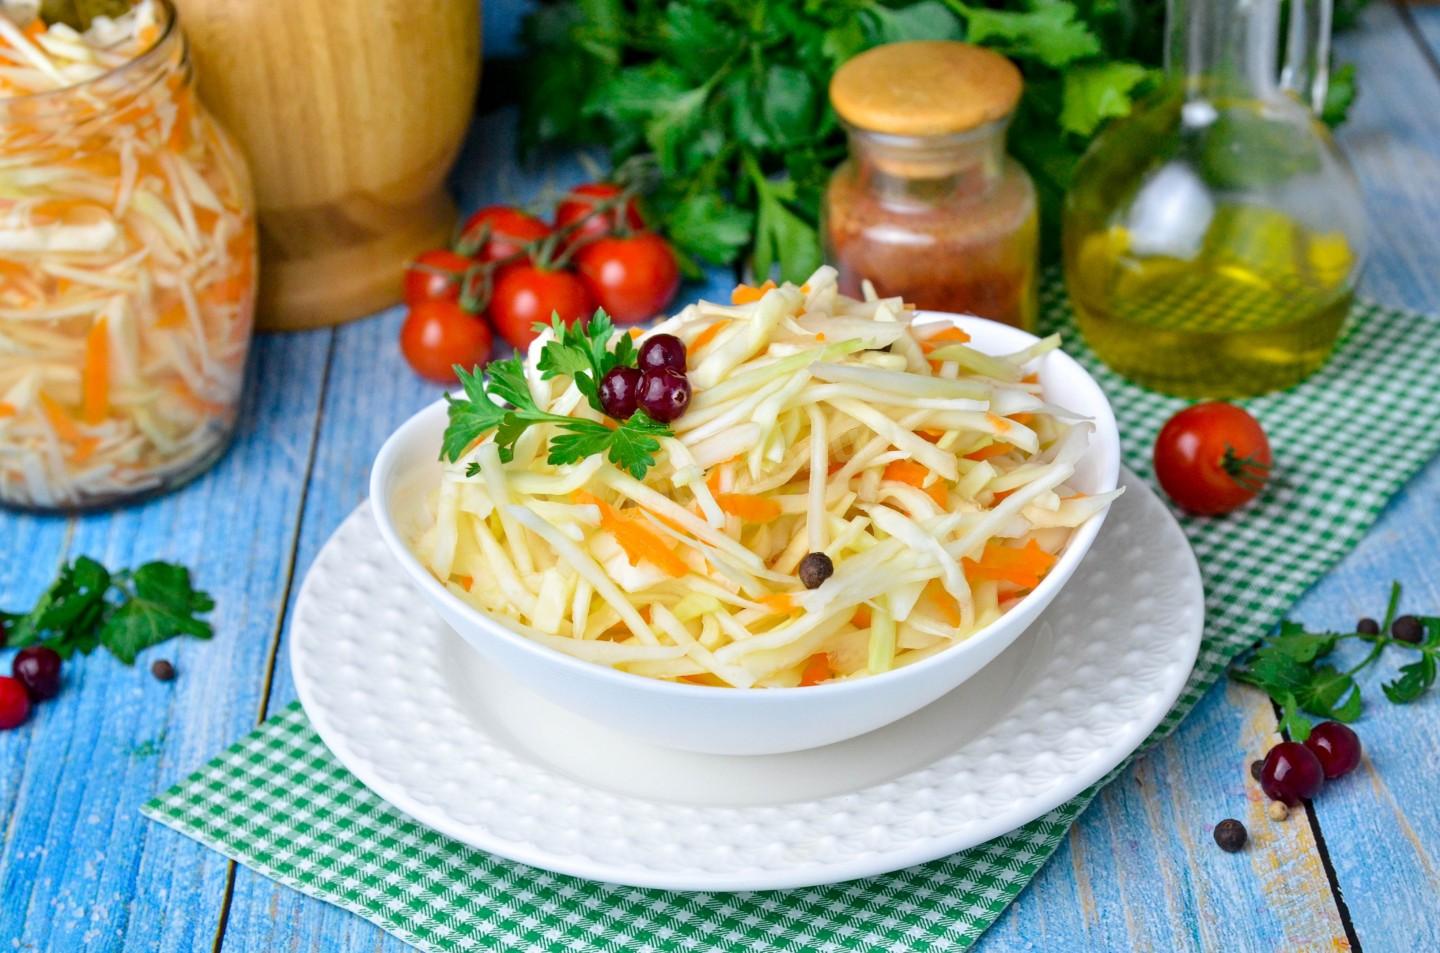
Very quick and easy, made in a pinch, healthy and tasty! This crispy no-vinegar sauerkraut in a jar will be ready in just a couple of days, because it's covered with brine. That speeds up the fermentation considerably. And the cabbage itself stays juicy and crisp!

Cooking method
-
Step 1:
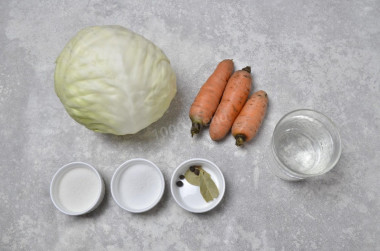
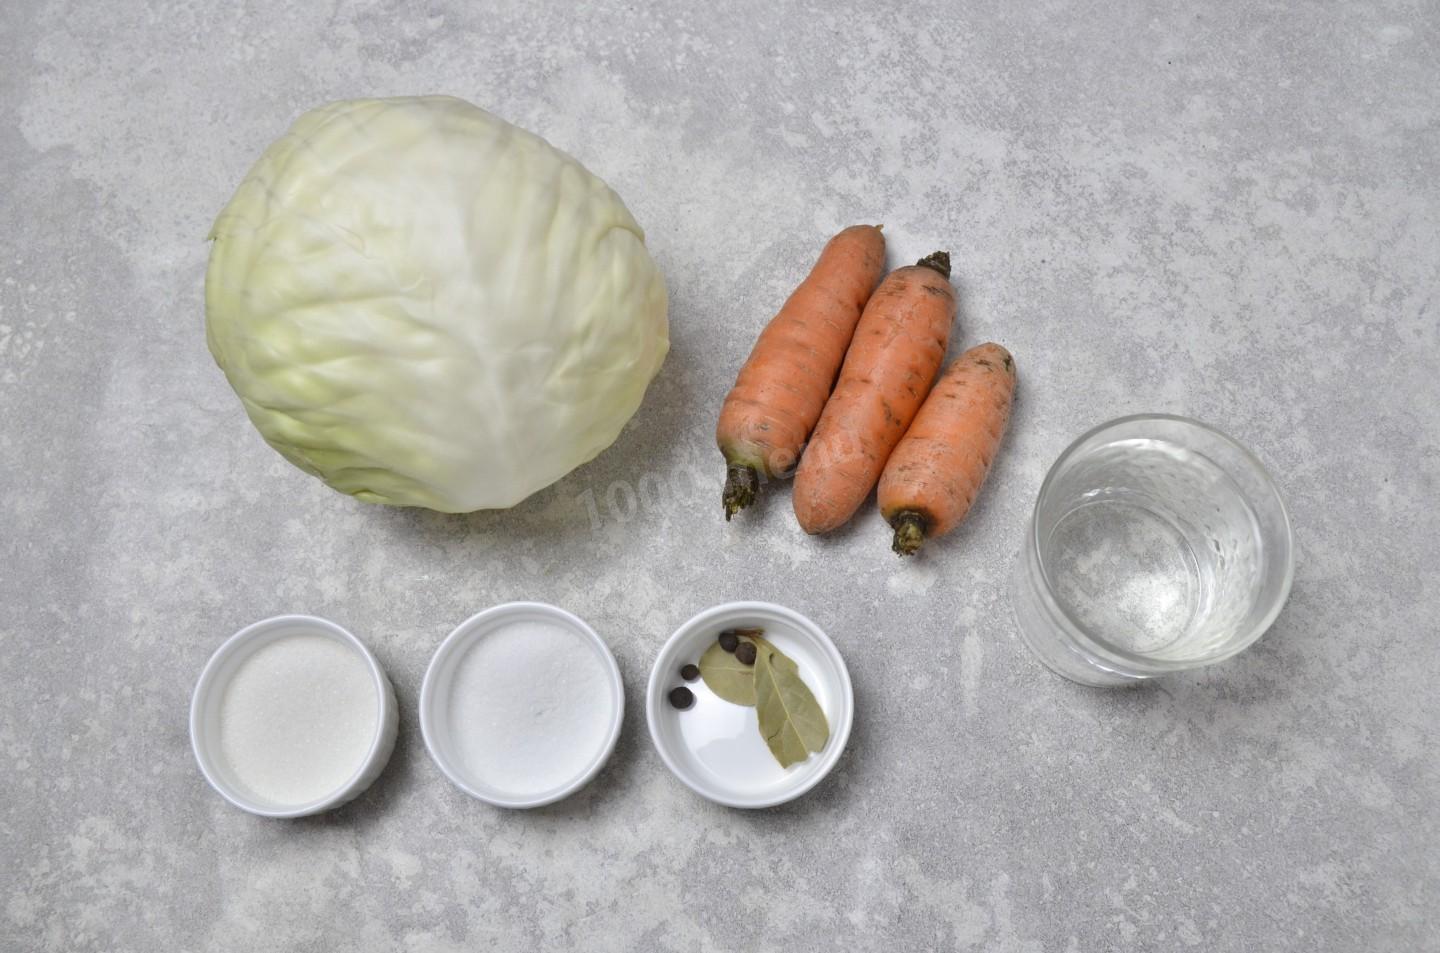
How do you make quick crispy no-vinegar sauerkraut in a jar? Gather the ingredients. Use a small head of cabbage—a late variety is best, sweet and juicy, since that makes the tastiest sauerkraut. Use as much carrot as you like—I don't add much; you can skip it entirely or use more. The allspice and bay leaf are also optional.
-
Step 2:
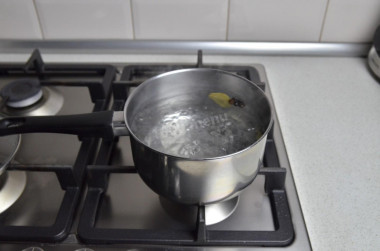
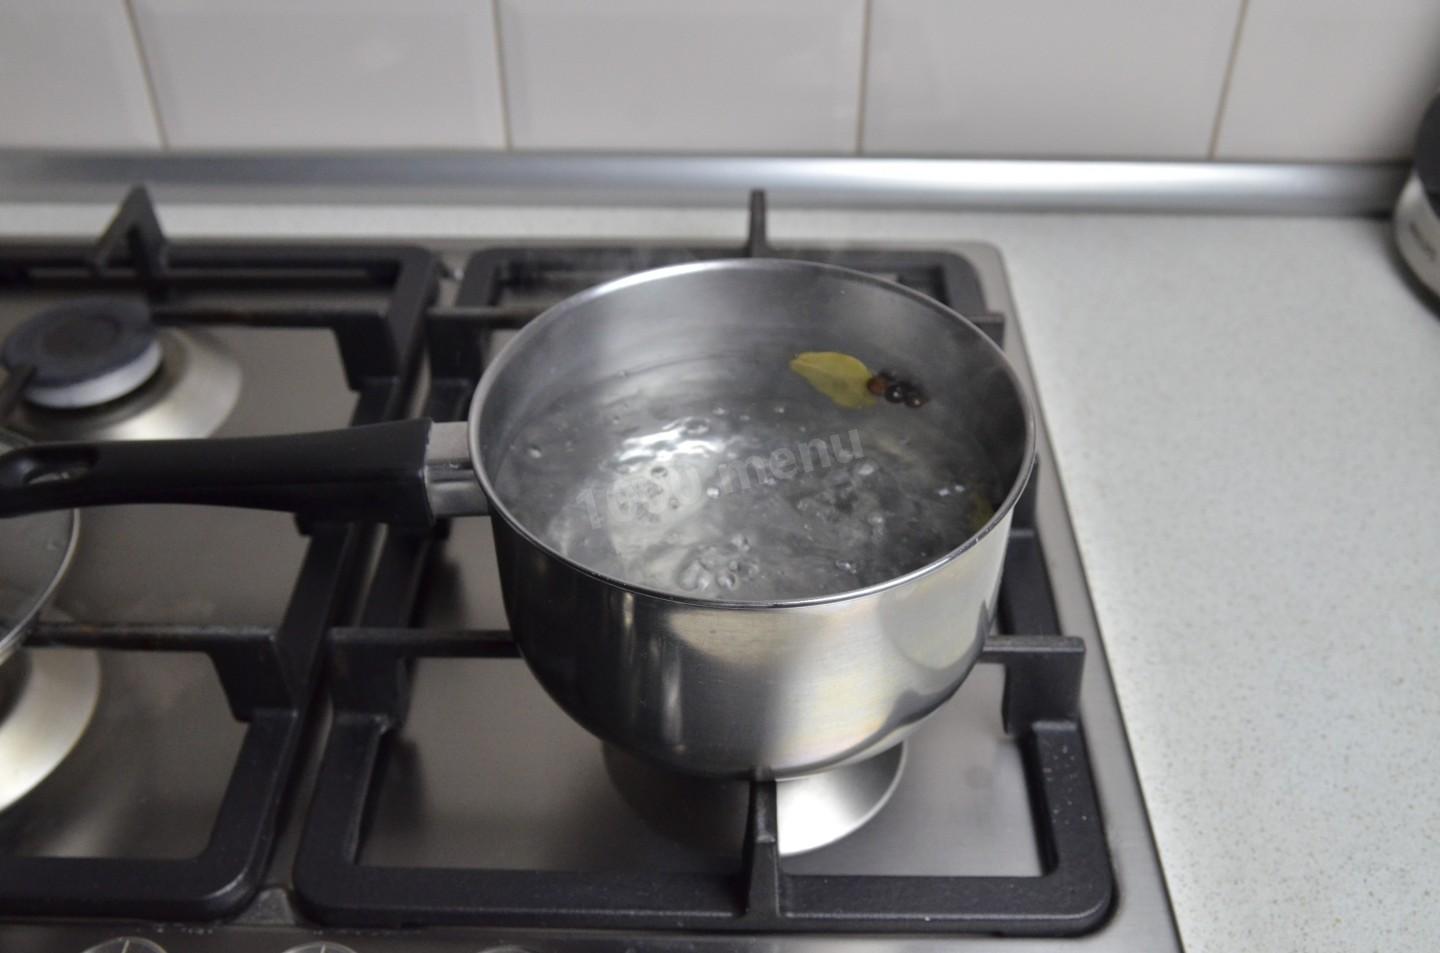
In this quick recipe, the cabbage is made with brine. First, make the brine. How do you make the brine? Pour clean cold water into a suitable container (a ladle, sauté pan, or pot) and set it on the heat. When the water boils, add the salt, sugar, and spices. Stir and simmer the brine over high heat for two minutes. Then turn off the heat and let the brine cool completely.
-
Step 3:
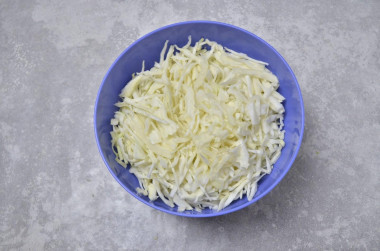
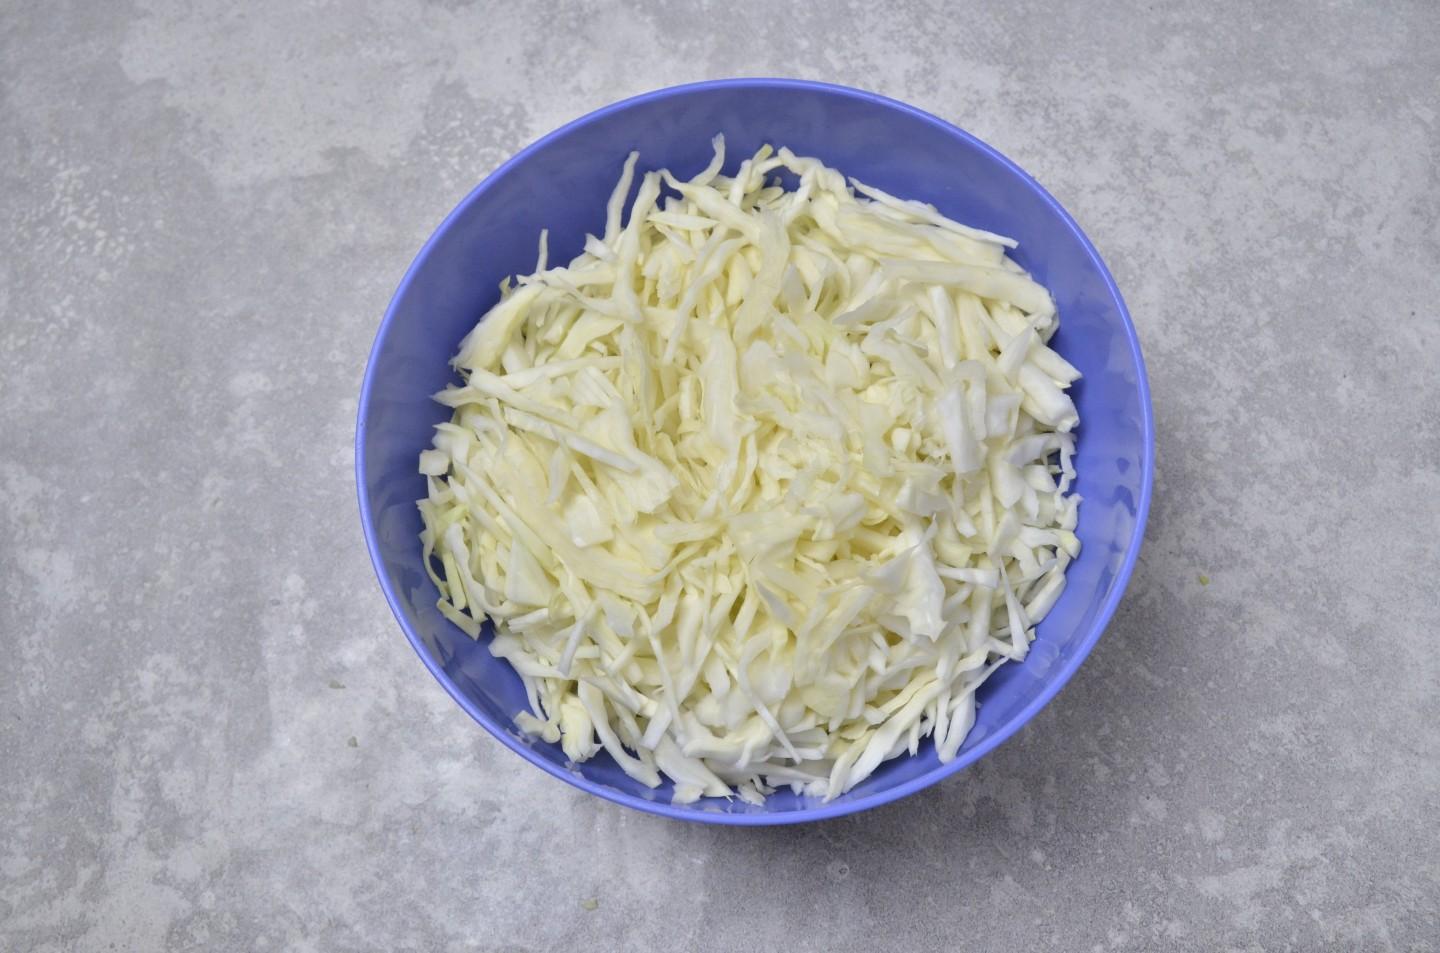
Remove the outer leaves from the head and rinse the head itself. Shred the cabbage thinly however is easiest for you. You can use a special shredder, a grater, or a vegetable peeler—or just cut it with a knife, as I did. Put the shredded cabbage in a large bowl.
-
Step 4:
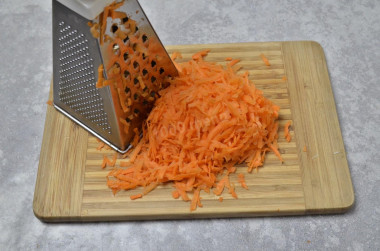
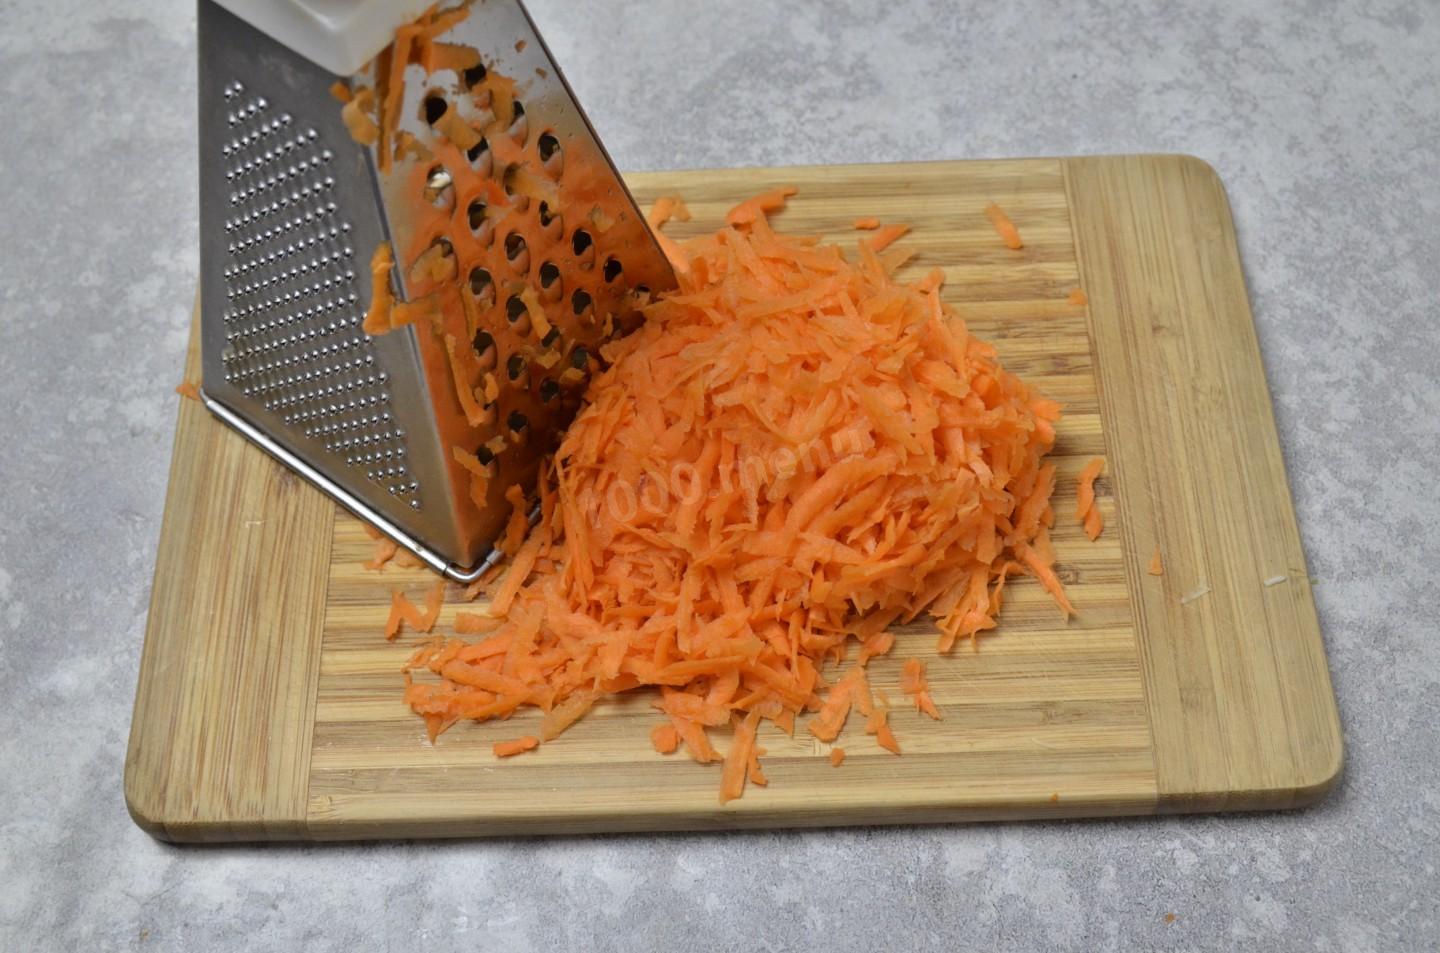
Wash and peel the carrot well. Grate it on the coarse side of a grater.
-
Step 5:
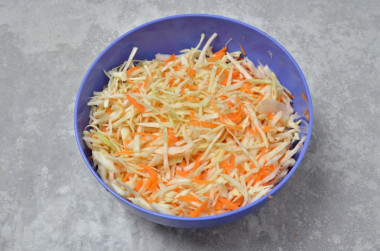
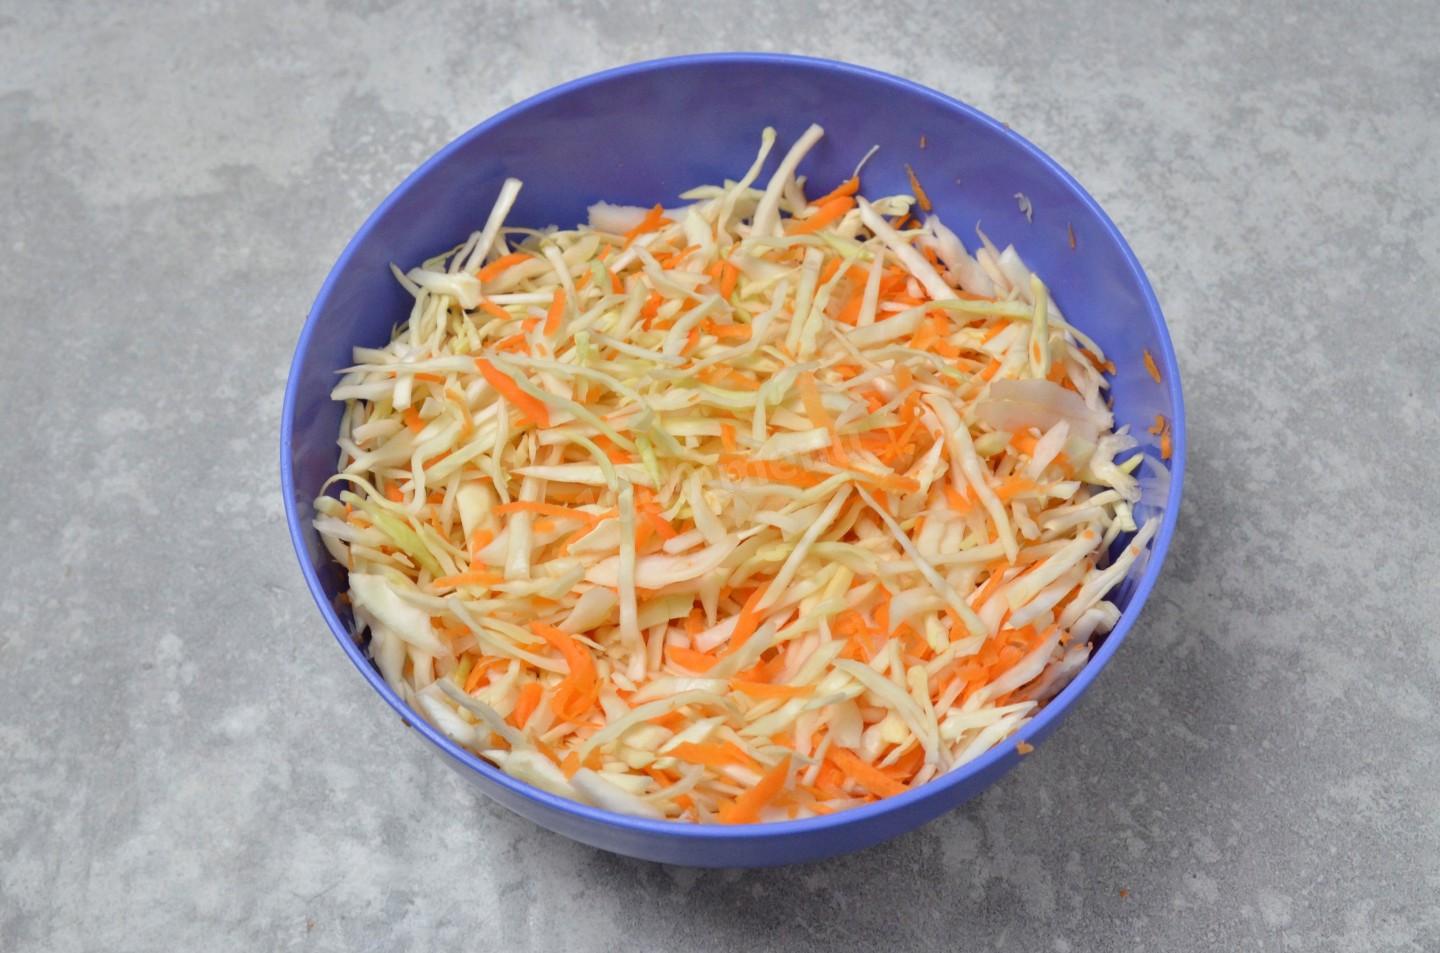
Add the carrot to the cabbage. Mix the vegetables well with your hands—you can even scrunch them a little so the cabbage releases its juices and softens.
-
Step 6:
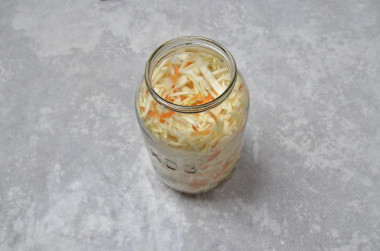
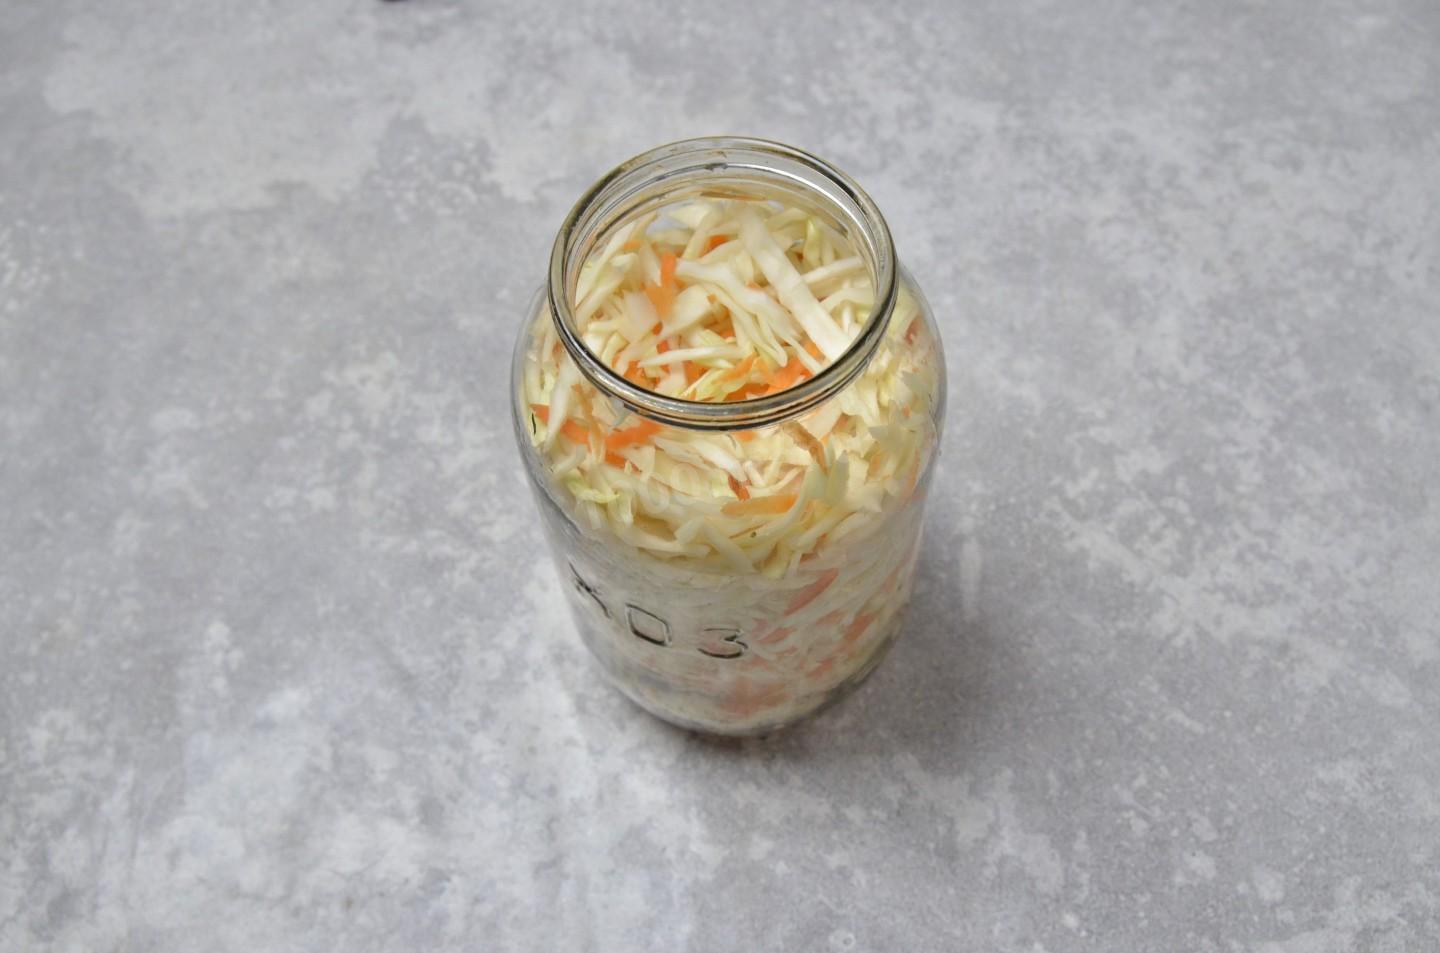
Take a glass jar of a suitable size. A 1.5-quart one wasn't enough for my small head of cabbage—I should have used a 2-quart jar. Pack the cabbage into the jar, tamping it down lightly with your fist. Stop when the cabbage reaches the shoulders of the jar—that space is left for the brine.
-
Step 7:
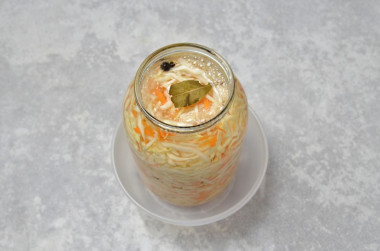
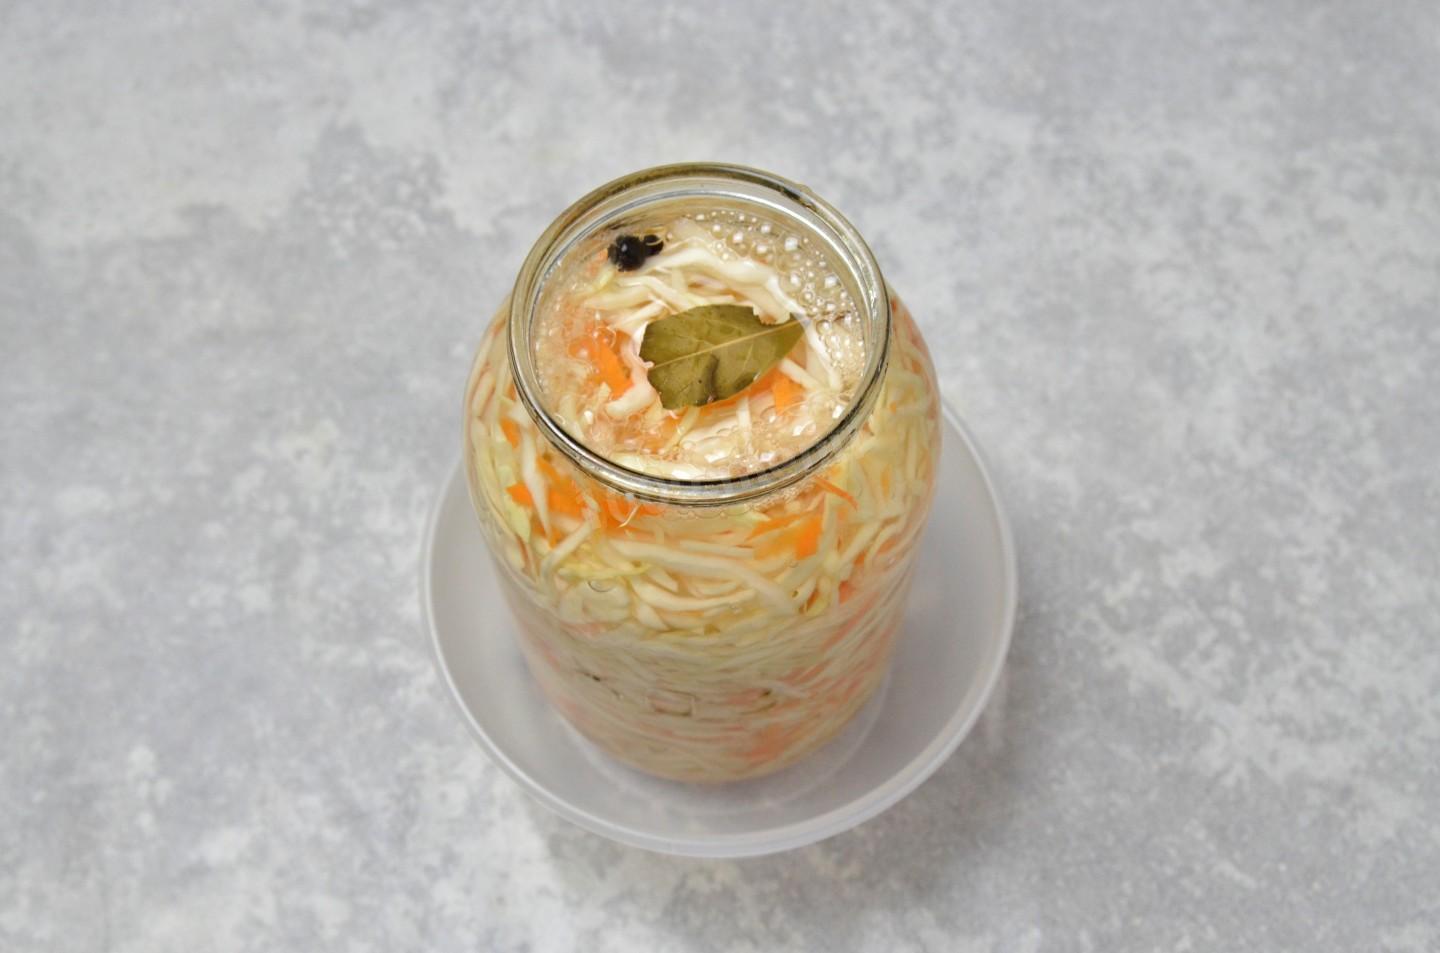
Pour the cooled brine over the cabbage so it's completely covered—this is important, or the cabbage can dry out. Leave the jar of cabbage at room temperature for a day, uncovered. During that time, pierce it down to the bottom a couple of times with a long wooden skewer or knitting needle to release the gas that forms. Taste the cabbage after 24 hours—it may already be ready. But mine took two days. Some say it takes three.
-
Step 8:

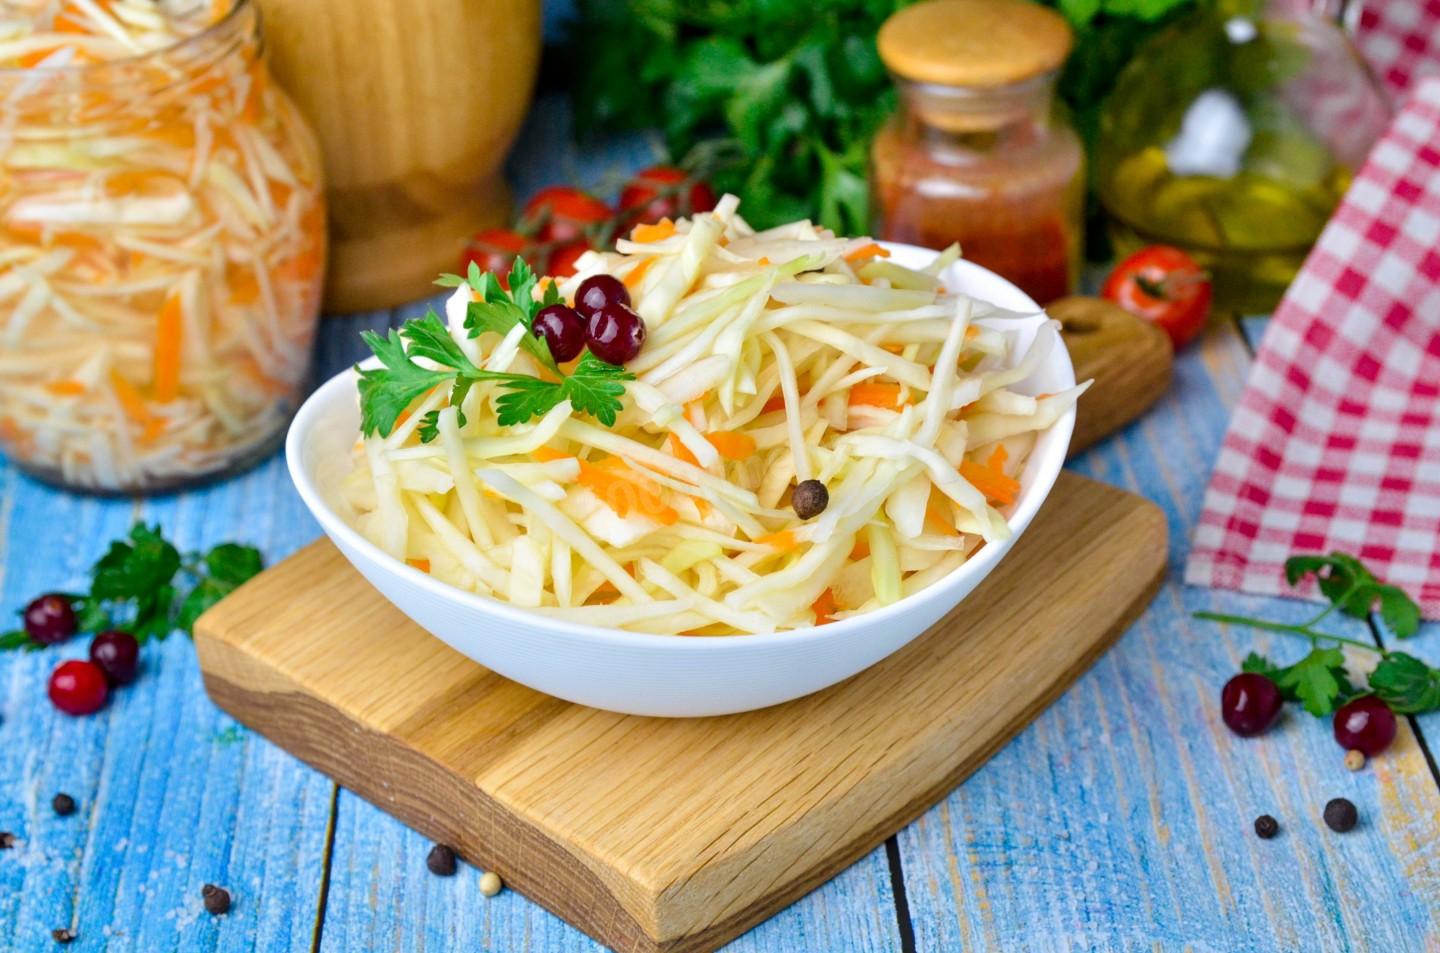
Go by your own cabbage. Keep it at room temperature the whole time it ferments and keep piercing it with a stick. Once it's ready, store it in the jar in the refrigerator. Serve it without the brine; you can add onion and fresh herbs. I like cabbage with cranberries. Enjoy your meal!
- You can keep this cabbage for a couple of weeks in a cold spot. But that's exactly what's great about it—make it quickly, eat it, and ferment another batch.
- Root vegetables are best scrubbed with a brush or a stiff sponge under running water.
- For cooking, it's best to use filtered or bottled water with a neutral taste. If you use tap water, keep in mind that it can give the dish an unpleasant off-flavor.
- For how to choose the perfect pot for soup, porridge, or pickling cucumbers, read the article about pots.
Caloric content of the products possible in the composition of the dish
- Carrots - 33 kcal/100g
- Dried carrots - 275 kcal/100g
- Boiled carrots - 25 kcal/100g
- Bay leaf - 313 kcal/100g
- Granulated sugar - 398 kcal/100g
- Sugar - 398 kcal/100g
- Salt - 0 kcal/100g
- Water - 0 kcal/100g
- White cabbage - 28 kcal/100g
- Boiled white cabbage - 21 kcal/100g
- Allspice - 263 kcal/100g