Apple Juice with Pulp for Winter
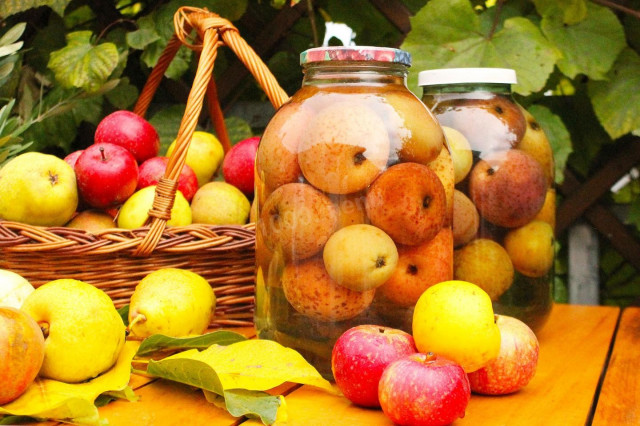
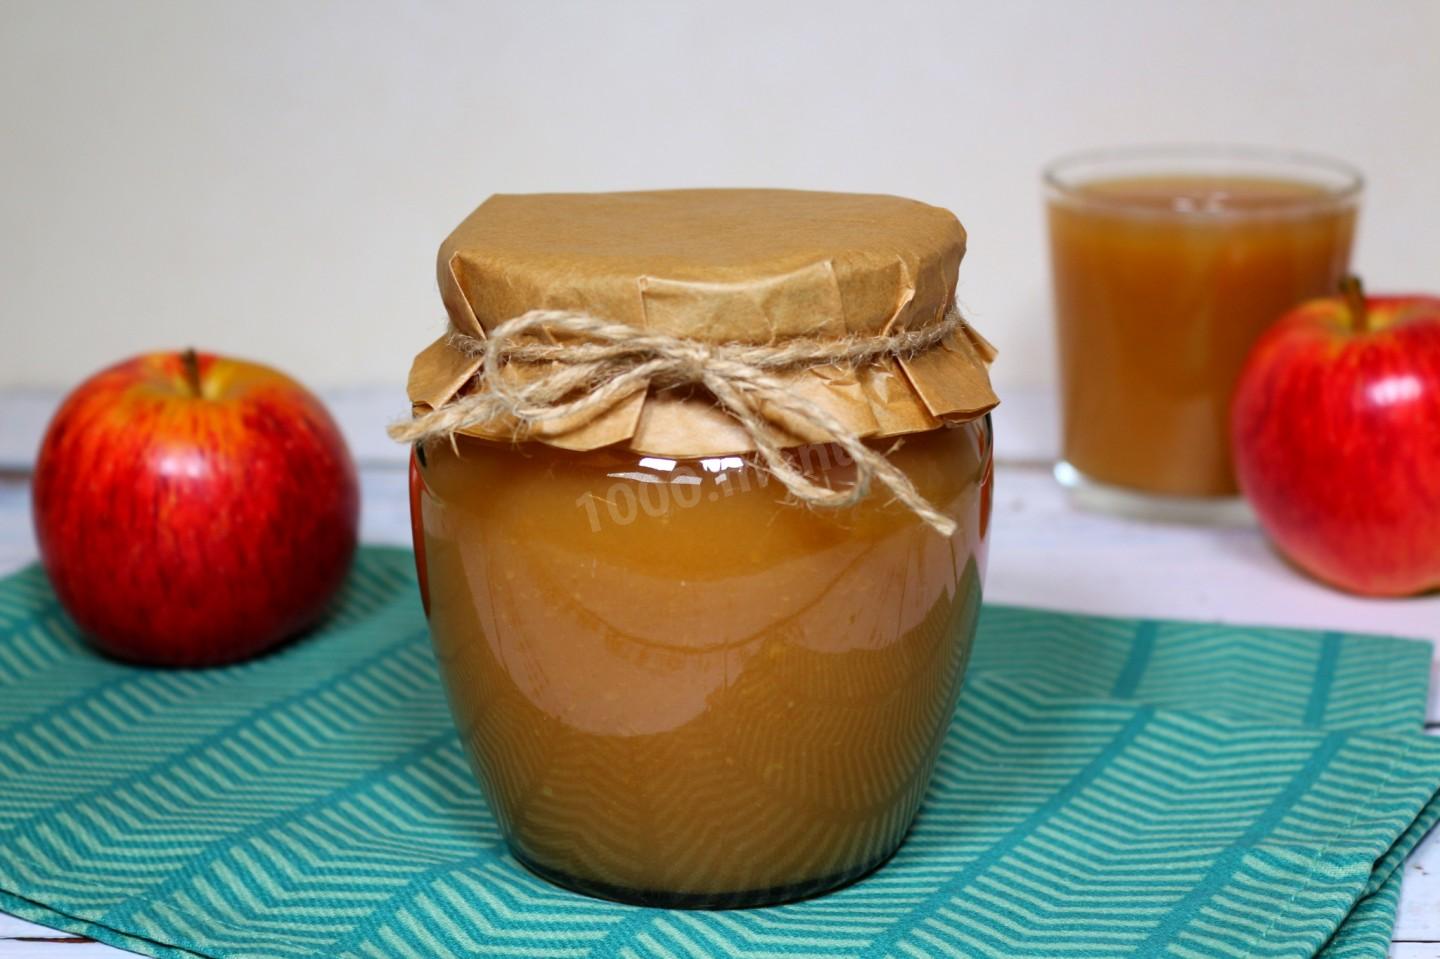
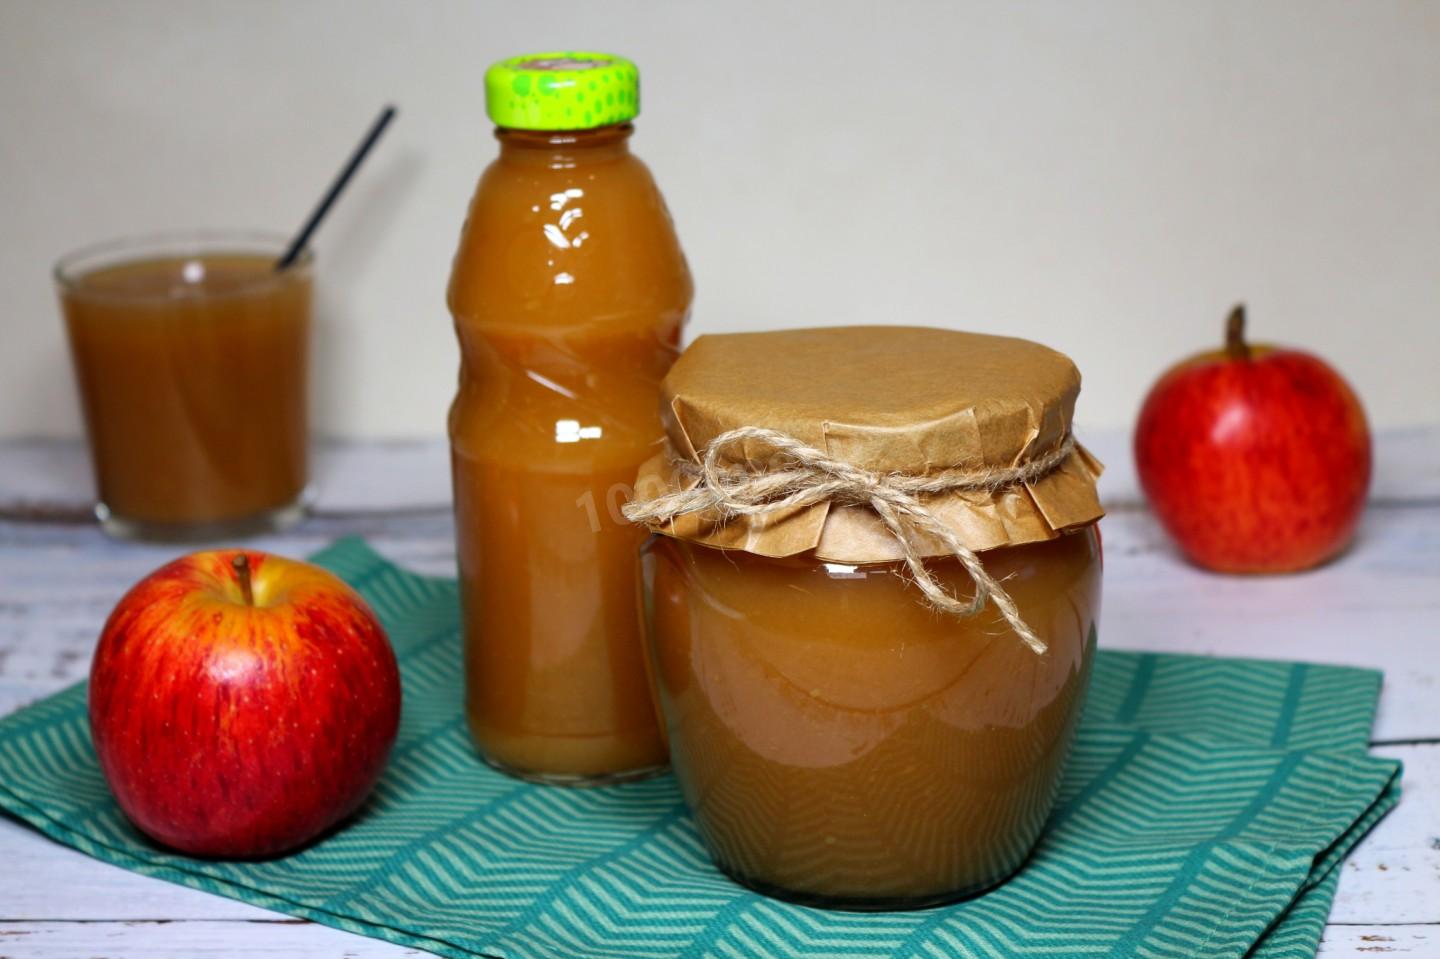
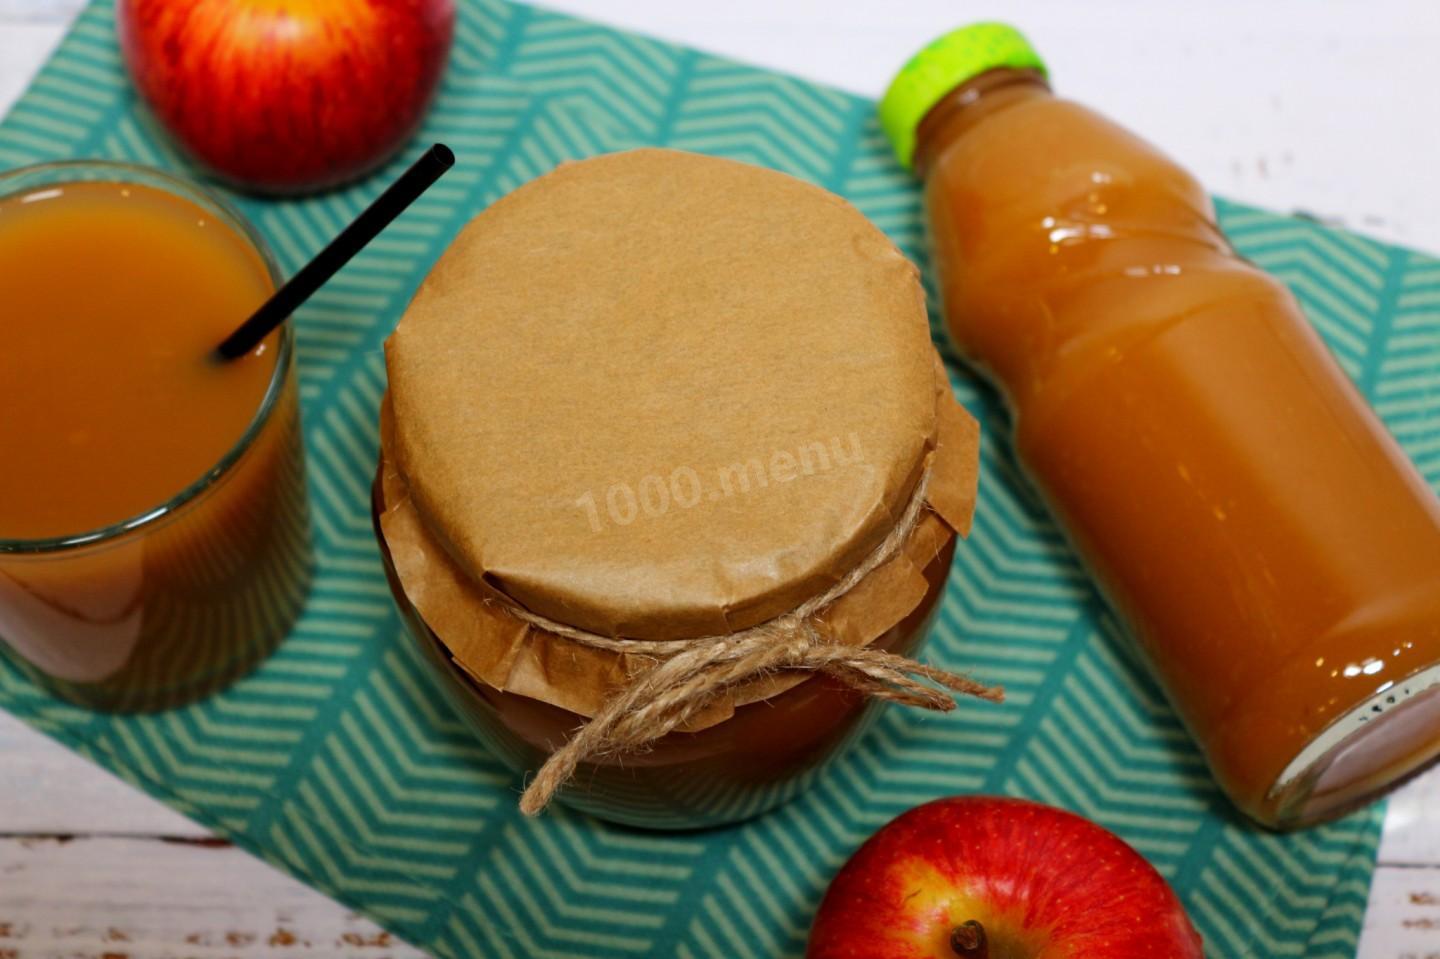
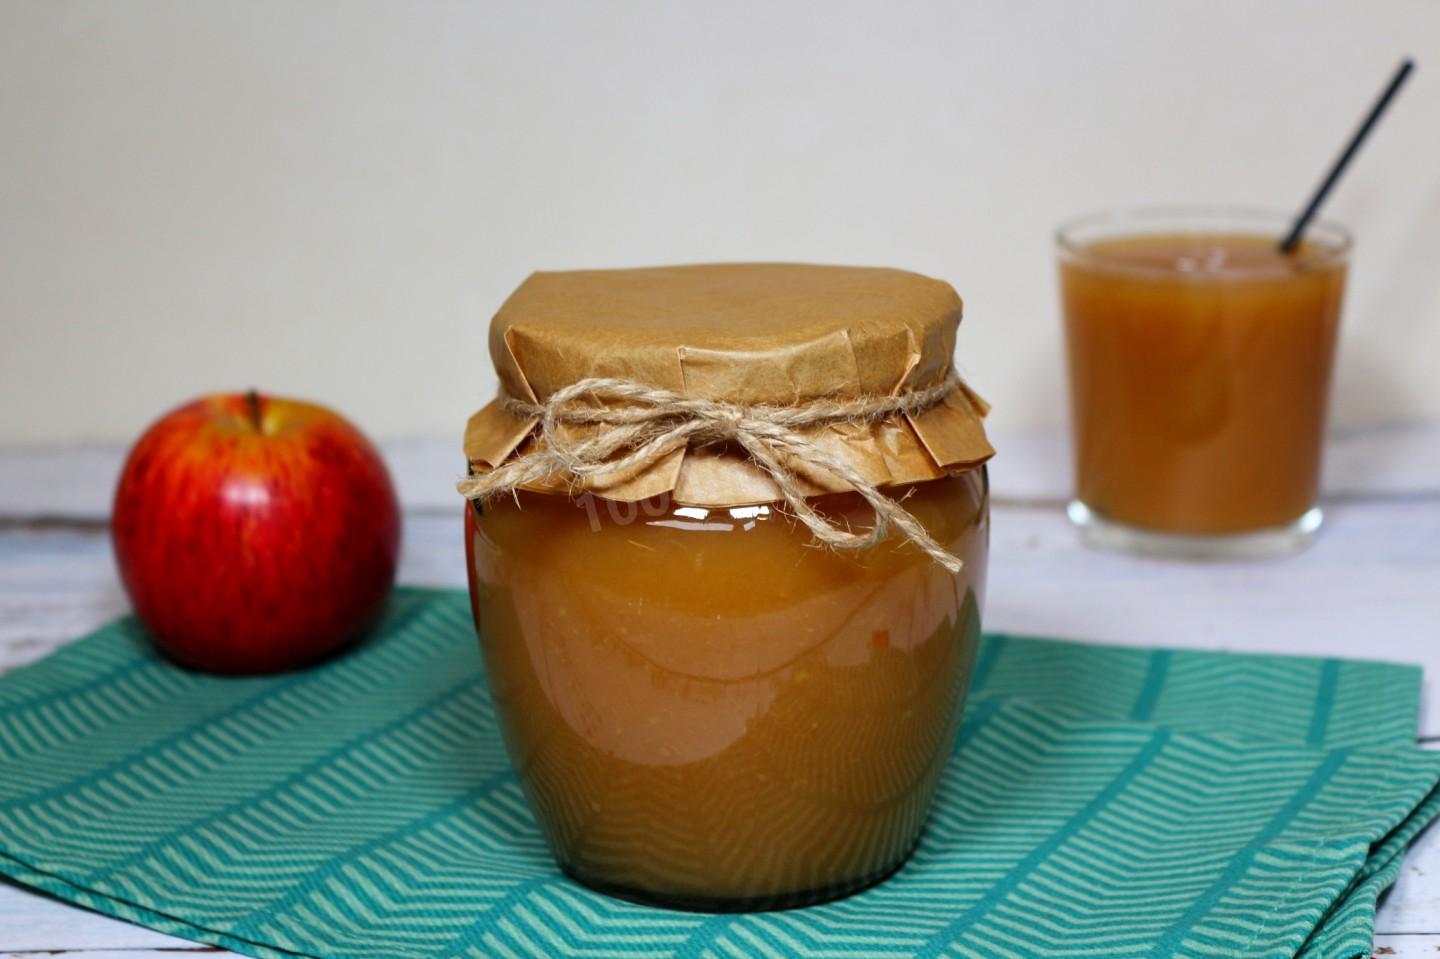
You won't find juice this good and natural in any store! This homemade apple juice has plenty of pulp — it's thick, fragrant, rich, and sweet (you may not even need to add sugar), and it's wholesome too, holding onto lots of the vitamins we need most in winter.

Cooking method
-
Step 1:
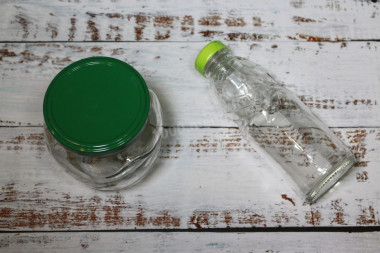
Sterilize the jars ahead of time however you like — over steam, in the oven, or by pouring boiling water over them.
-
Step 2:
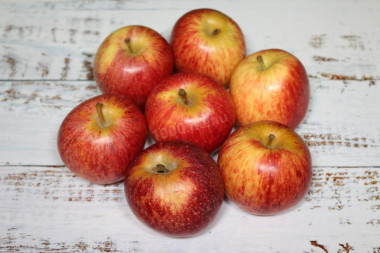
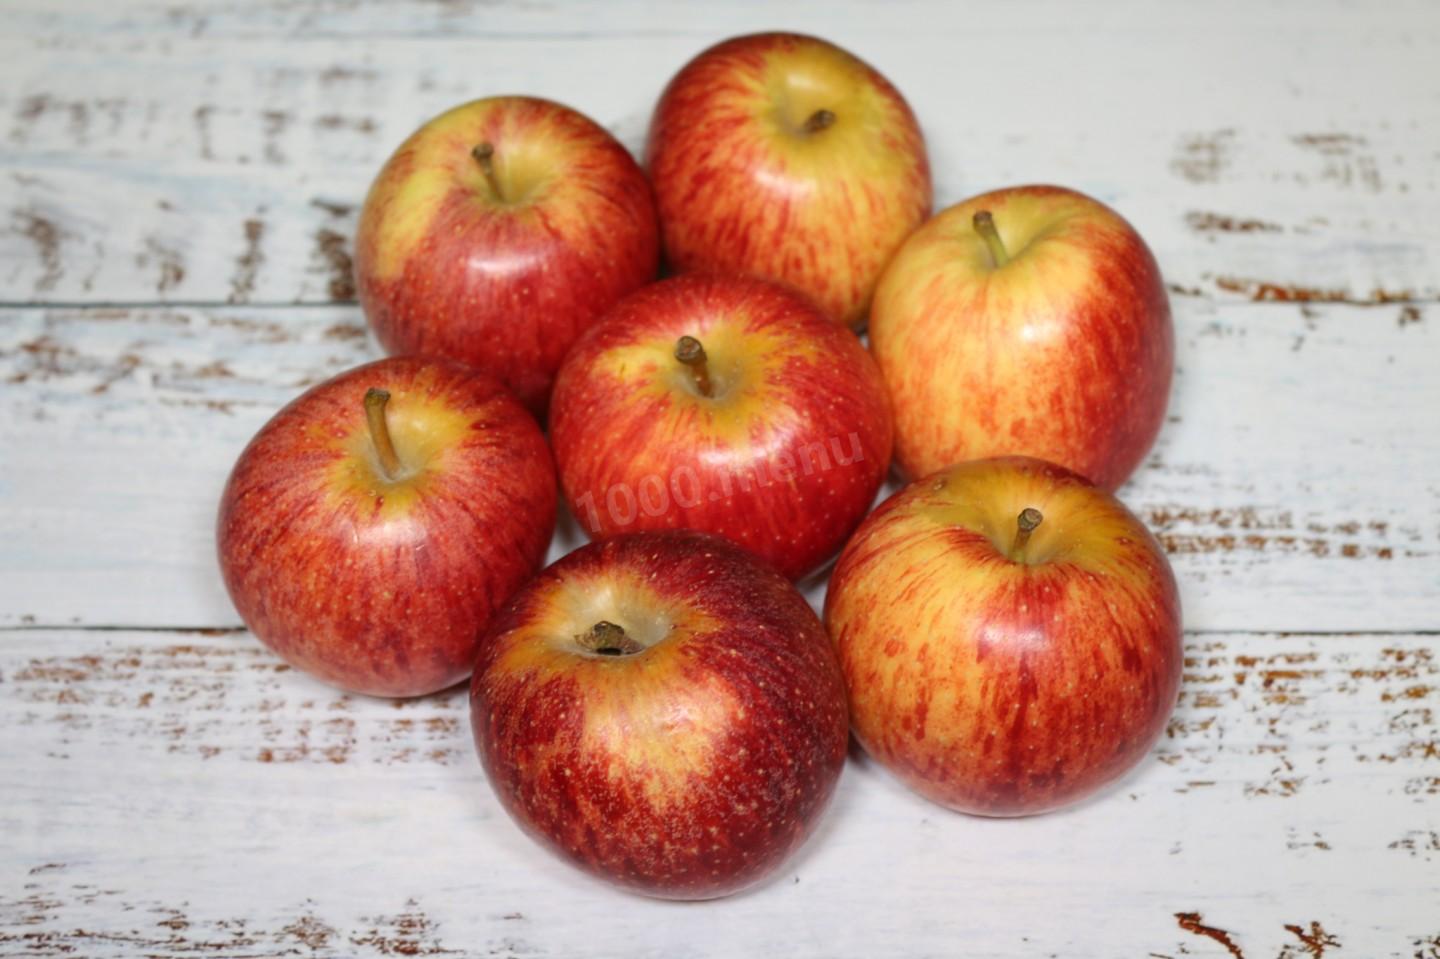
Start by choosing the apples for your juice. I used a sweet variety, Gala. With apples like these you don't even have to add sugar, but that's up to you. If you're working with tart apples, you'll want some sugar — add it to taste, based on how sweet the apples are and what you prefer. Wash the apples thoroughly. Don't use any that are bruised or spoiled; pick only good, whole fruit.
-
Step 3:
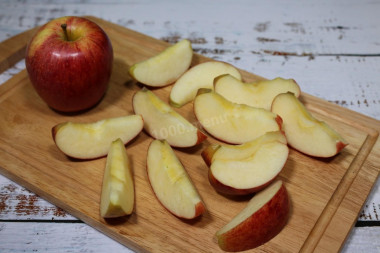
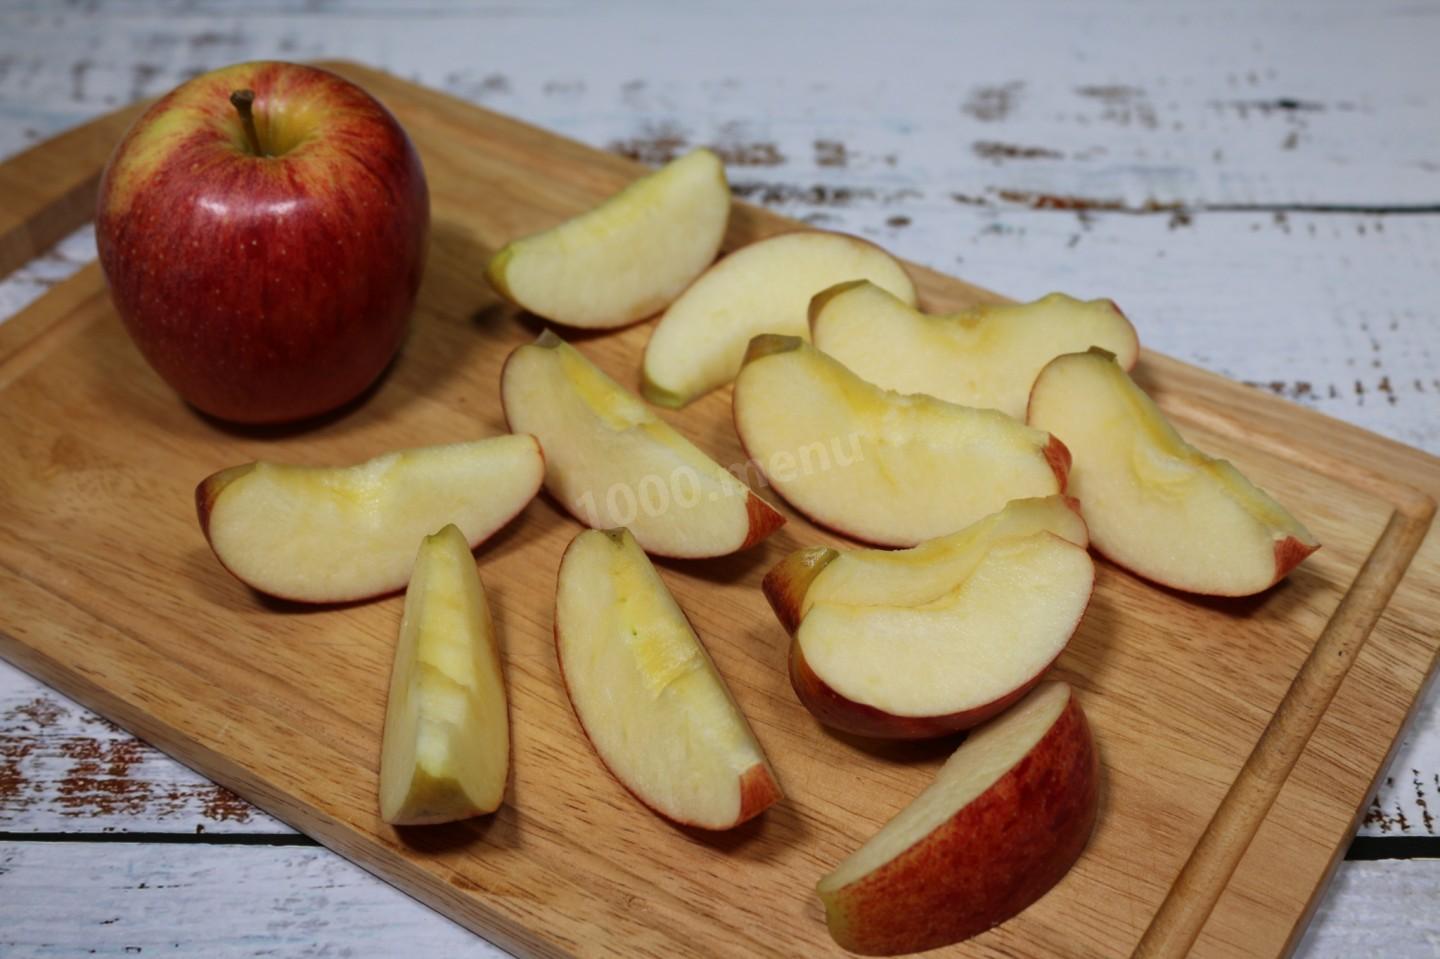
Now cut the apples into pieces (I cut each one into 8 wedges). Cut out the cores with a knife.
-
Step 4:
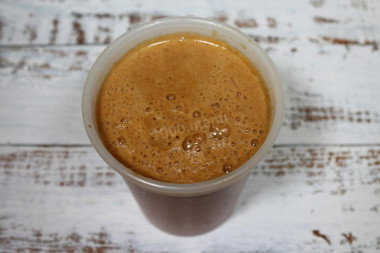
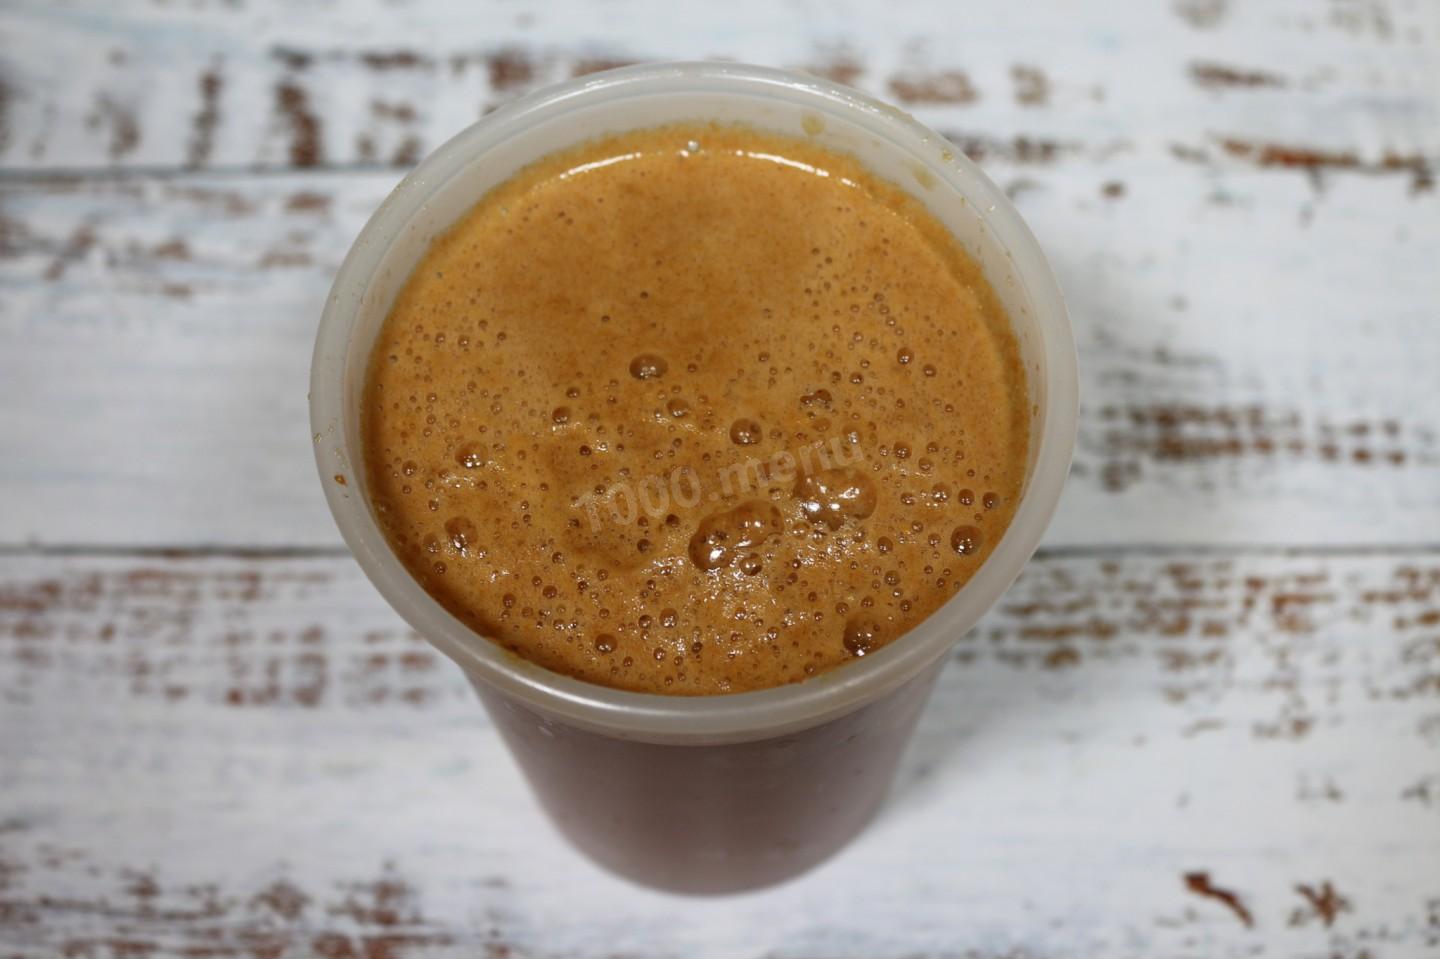
Run the apple wedges through a juicer. Whatever you do, don't throw out the pulp left behind — you'll use it for the juice. Set aside the fine pulp and any apple pieces the juicer didn't break down, and run those through a meat grinder.
-
Step 5:
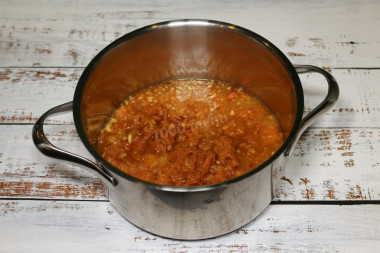
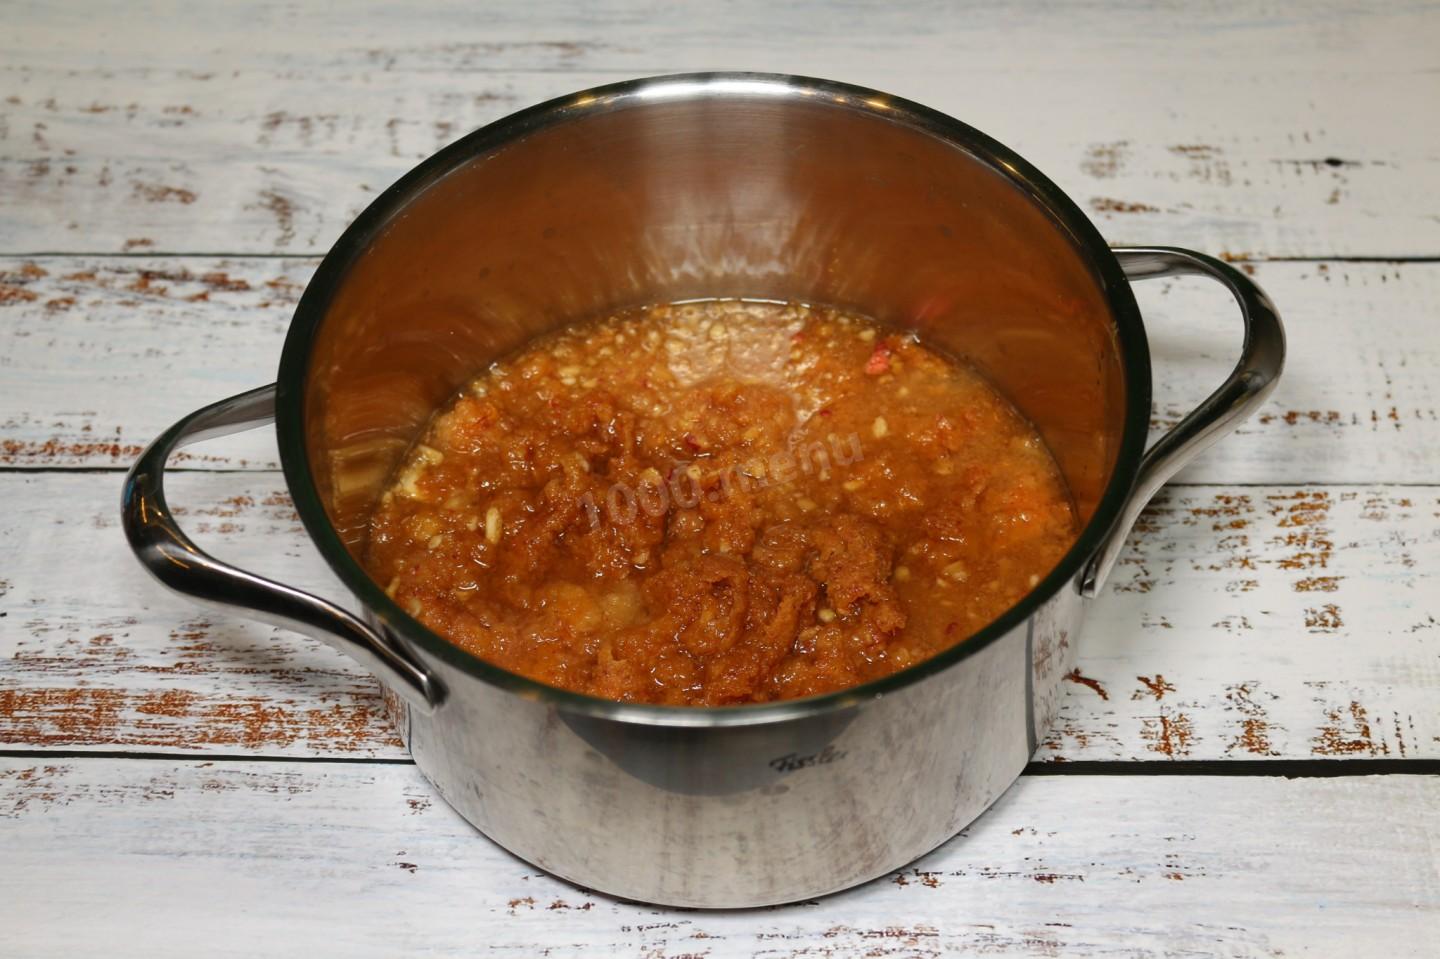
Take a pot (not aluminum). Put the apple pulp in it, pour in the water, and set it over the heat. Stir the apple mixture as it cooks (otherwise it can scorch and ruin the whole batch of juice), bringing it to a boil.
-
Step 6:
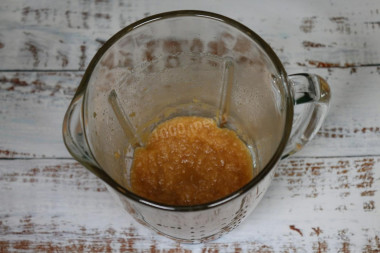
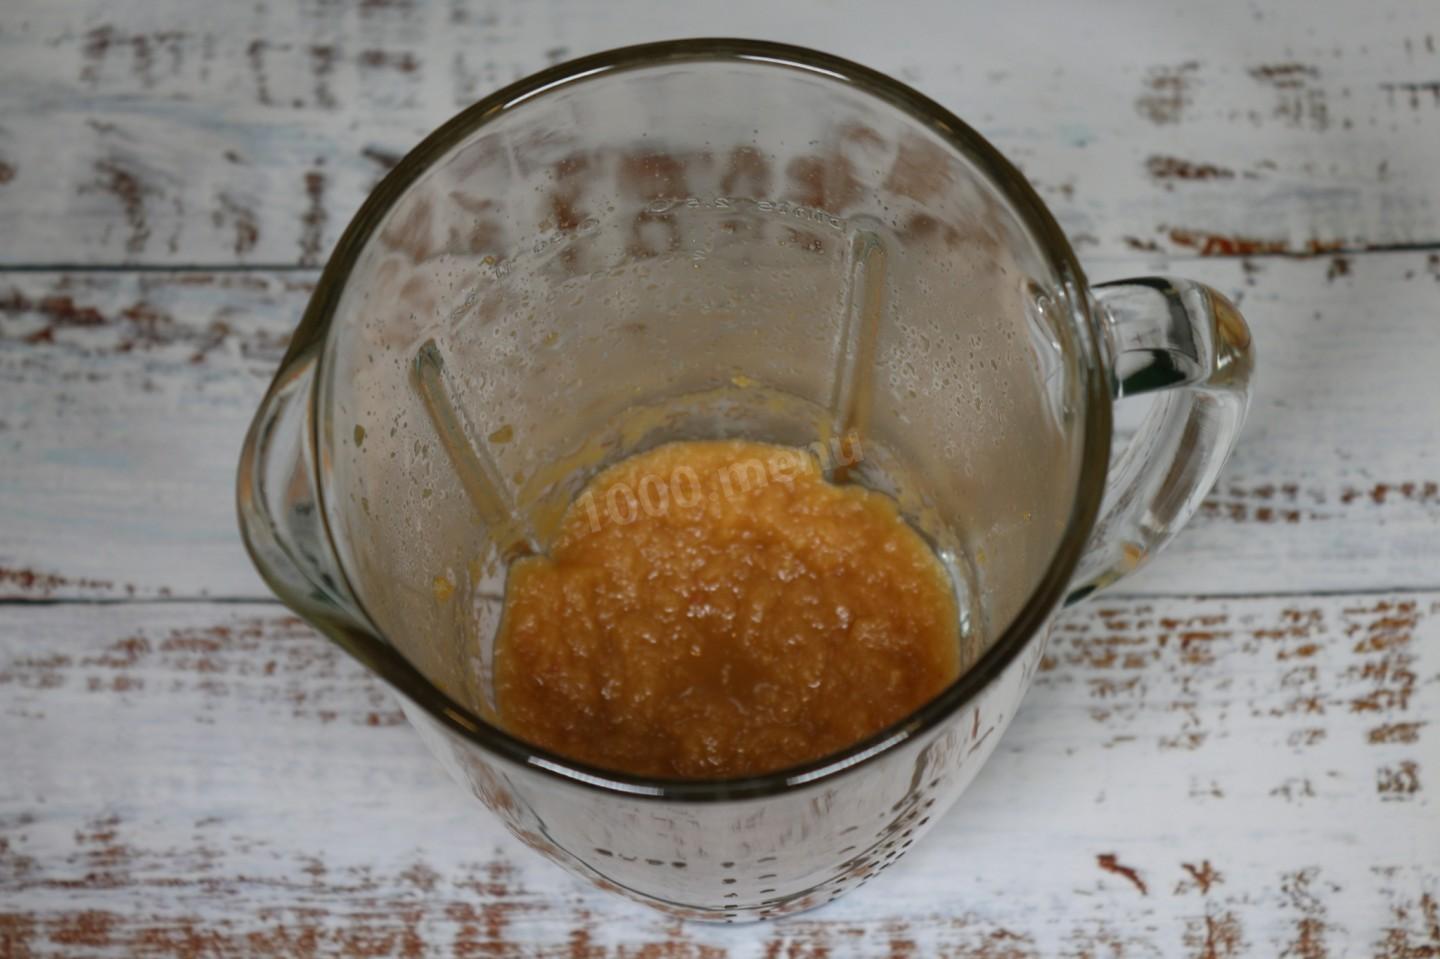
Next, blend the mixture smooth (a blender works well here) or press it through a sieve to make a purée.
-
Step 7:
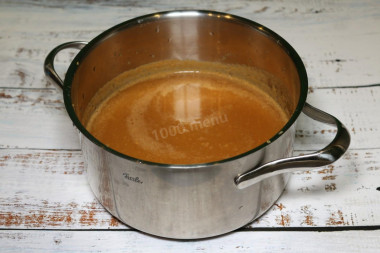
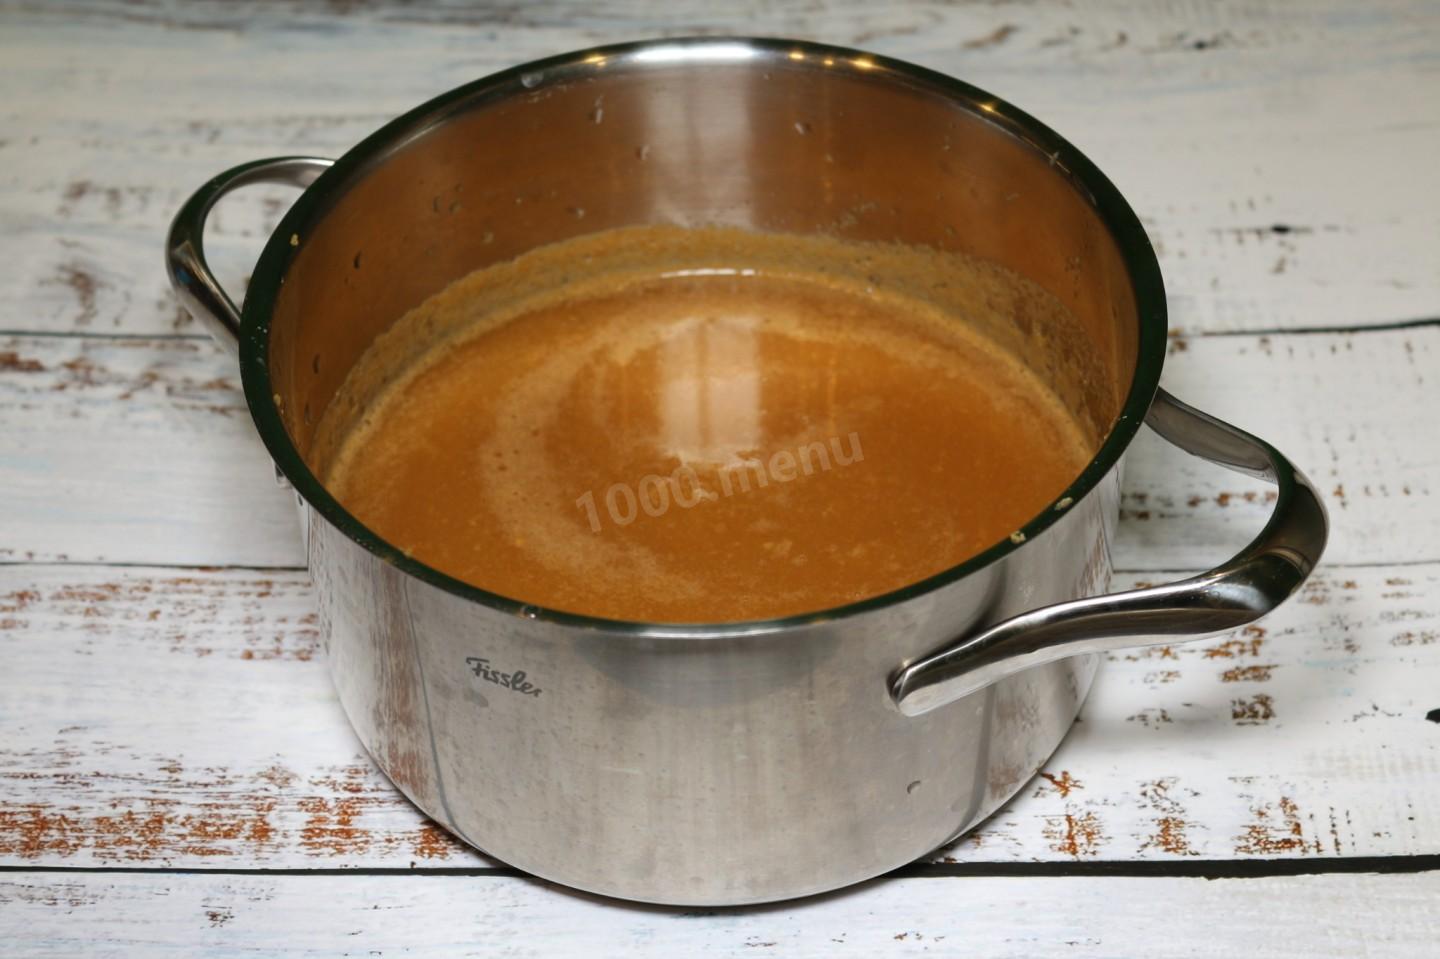
Pour the purée and the juice you squeezed earlier into a saucepan and set it over medium or slightly below medium heat. Warm the juice through but don't let it boil. As foam forms, be sure to skim it off with a slotted spoon. Once all the foam is gone, the juice is ready to pour. Give it a taste, and add sugar to your liking if you want it sweeter.
-
Step 8:
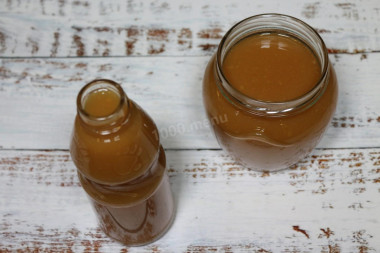
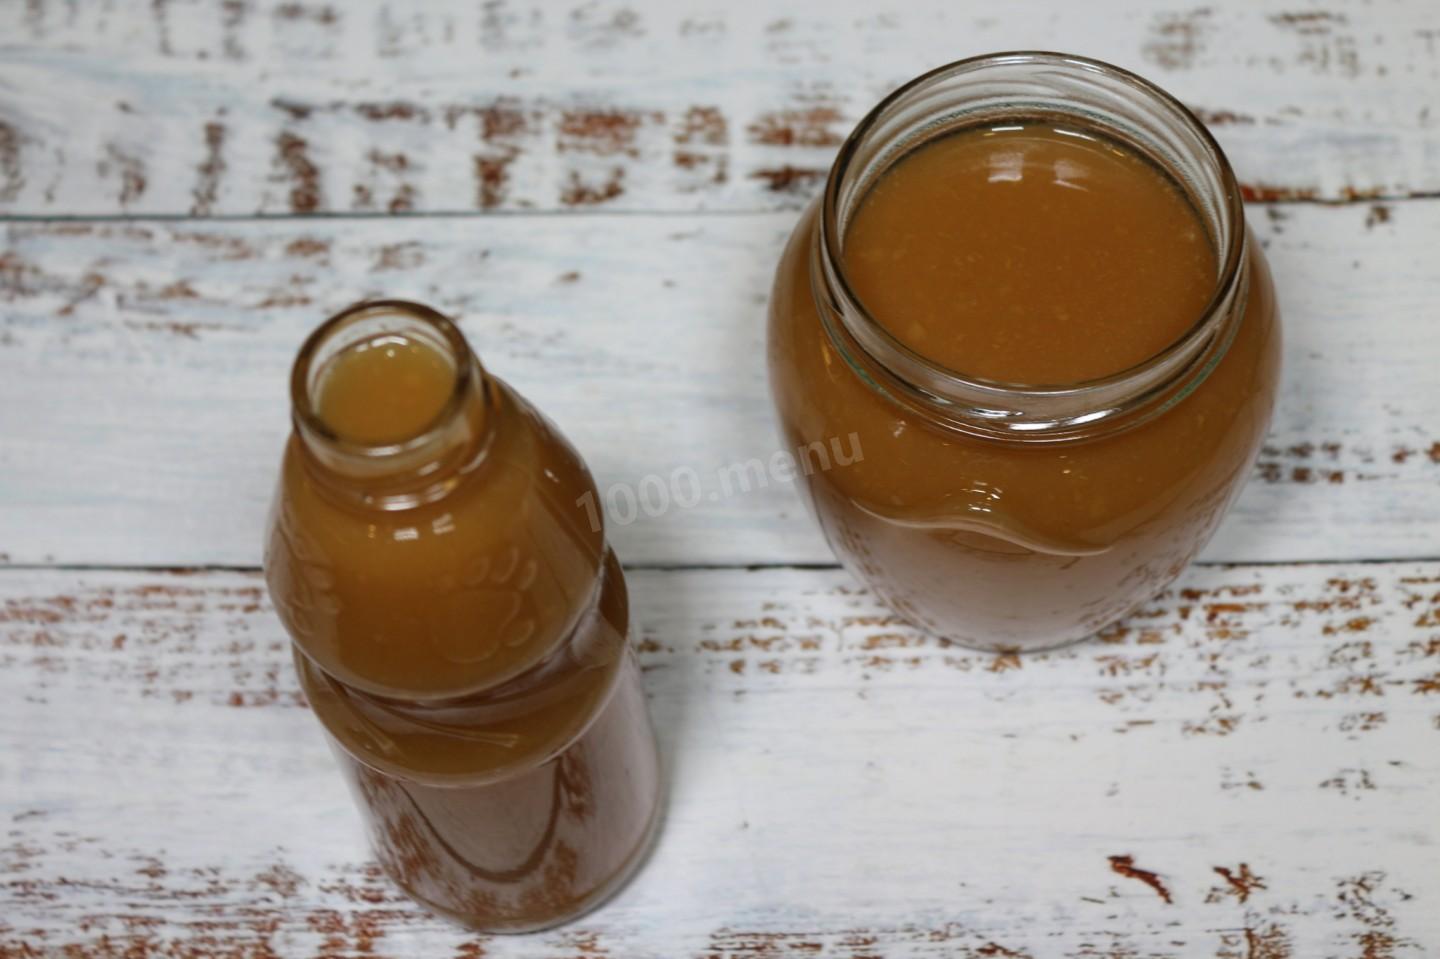
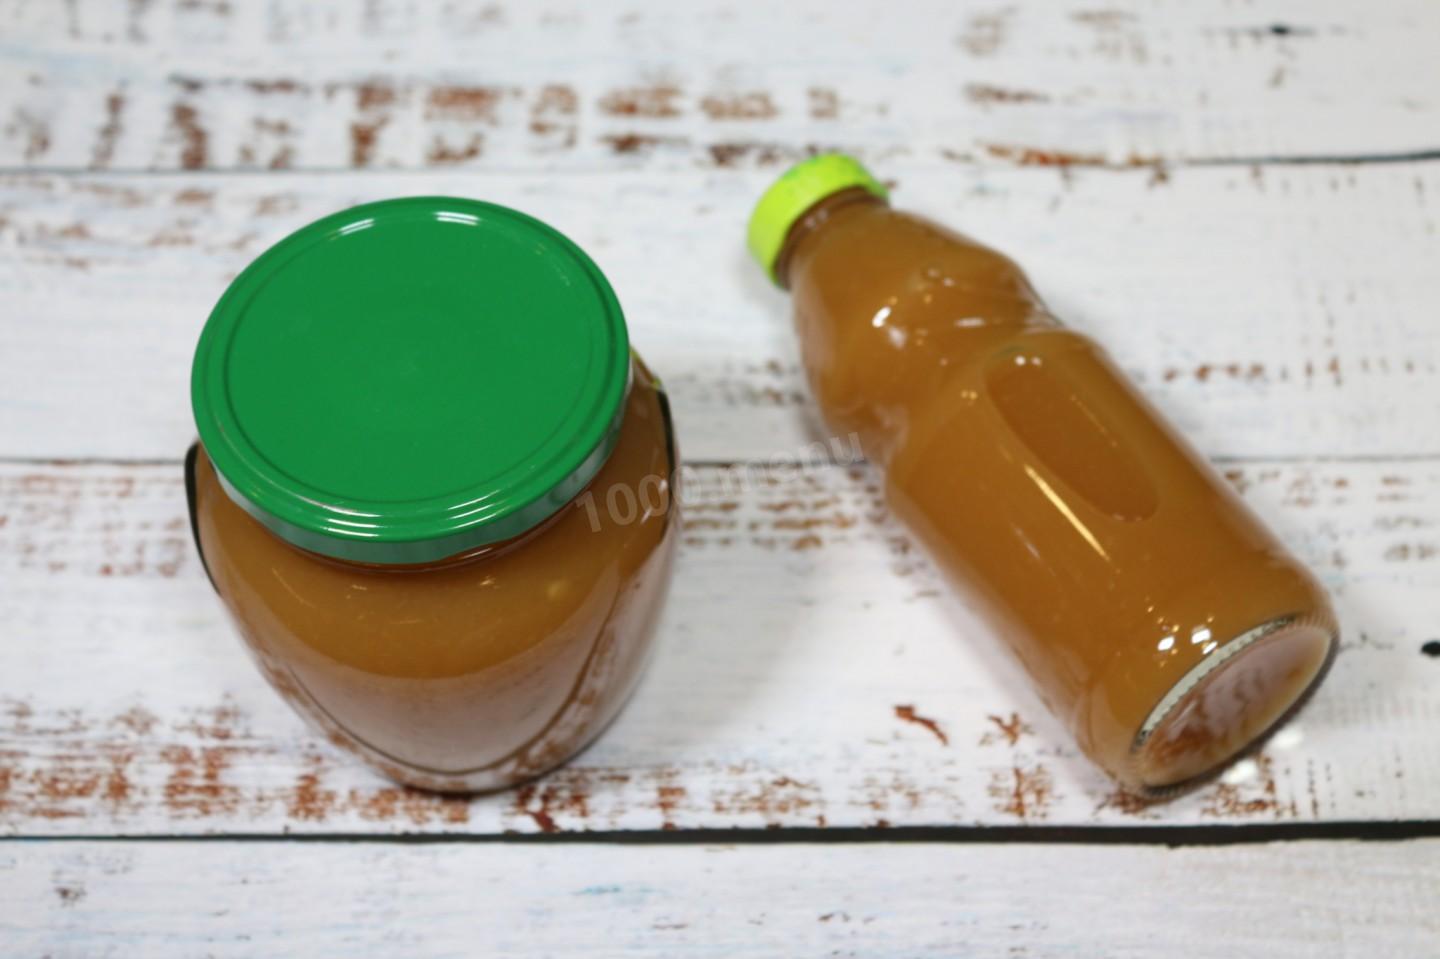
Pour the freshly made apple juice into the sterilized jars and immediately seal each one tightly with a freshly boiled lid. Turn the jars upside down, set them in a warm spot, and cover them with a blanket. Leave them like that until they've cooled completely.
-
Step 9:
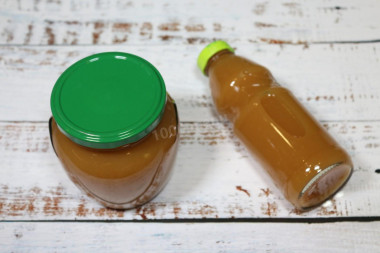
The apple juice is ready! I ended up with about 1.1 liters. Give the jar a shake before drinking.
- Made this way, the juice is as natural as it gets — there isn't even any sugar in it. But if you need to add some, or you like things really sweet, stir the sugar in during step 7 while warming the juice, until it dissolves completely, then continue as written.
- For how to figure out how many jars you'll need, why jars burst and how to prevent it, plus more secrets and tips, see the article on winter preserving.
Caloric content of the products possible in the composition of the dish
- Apples - 47 kcal/100g
- Dried apples - 210 kcal/100g
- Canned apple mousse - 61 kcal/100g
- Water - 0 kcal/100g