Fluffy Kefir Pancakes (Oladyi) with Baking Soda and Egg
Always airy, thick, and soft — even after they cool! Everyone in our family loves these fluffy kefir pancakes made with baking soda and egg. Fragrant and delicious, they're perfect for breakfast or with a cup of tea! It's a simple dish, but it has its secrets, and I'm glad to share them. These pancakes will work out for anyone!


Cooking method
-
Step 1:
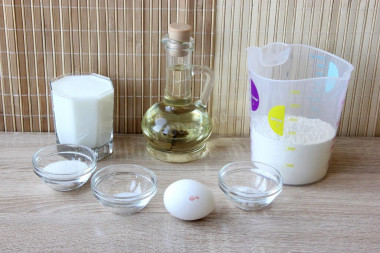
How do you make fluffy kefir pancakes with egg? Everything for the batter should be at the same room temperature. Take the egg and kefir out of the fridge ahead of time. If you forgot or you're in a hurry, let the egg warm up in warm water while you wash it — about 5 minutes is enough — then dry it off. Any fat content of kefir works; I usually use 2.5%.
-
Step 2:
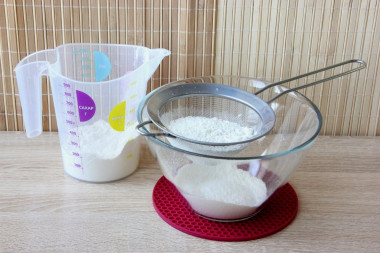
Weigh out the flour and sift it into a separate bowl. Sifting loosens the flour, aerates it, and keeps out any bits of debris. Measure the flour by weight (or spoon it loosely into a measuring cup without packing it) first, then sift — that way you get the right amount.
-
Step 3:
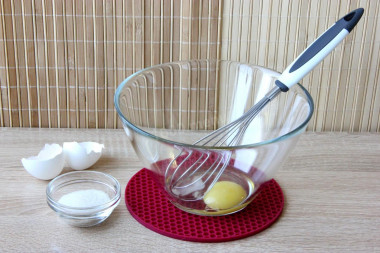
Use a roomy bowl. Crack in the egg and add a pinch of salt (I use fine salt). Add 2 level tablespoons of sugar. Add 1 teaspoon of vanilla sugar (if you like, cut back the regular sugar to compensate). Stir with a whisk — don't beat it, just stir until smooth. I recommend using a whisk rather than a fork for this; the batter comes out completely different.
-
Step 4:
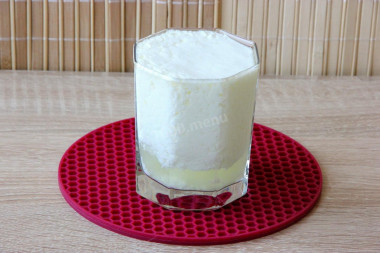
Even if the kefir is at room temperature, warm it up on the stove or in the microwave. Heat it just to the first bubble — you'll see the whey separate — but not so much that it curdles into flakes. Some people are wary of microwaving kefir, but that's how I do it and it always turns out fine. I heat it in 30-second bursts; a minute is usually enough, depending on your appliance.
-
Step 5:
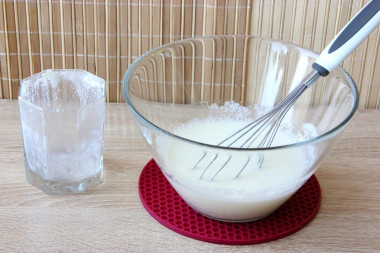
Hold the warmed kefir over the bowl and give it a stir in its cup first. Then, whisking the egg-and-sugar mixture continuously, pour in the kefir and stir until smooth.
-
Step 6:
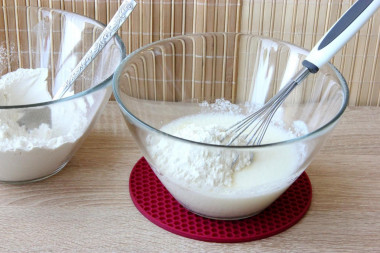
Now add the sifted flour to the wet base in 2–3 additions. I add about 2 heaping tablespoons at a time, stirring with the whisk in one direction until smooth.
-
Step 7:

The batter should be quite thick. To check: batter dripping off the whisk or spoon shouldn't run freely — it should slide off slowly and reluctantly. Kefir and flour vary from place to place, so if your batter comes out runny, add flour; if it's too thick, add kefir. Add just a little at a time to hit the right consistency.
-
Step 8:
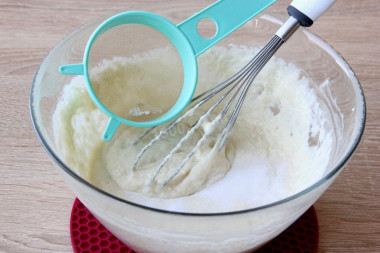
Only now, sift the baking soda over the batter. Do sift it — as the photo shows, there were lumps left in the sieve. Those lumps would have stayed in the batter and kept the soda from distributing evenly. Whisk the batter thoroughly and vigorously once more.
-
Step 9:
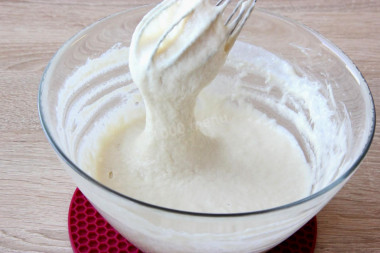
The kefir reacts with the soda right away, activating it in the batter, and the carbon dioxide bubbles make the batter airy and porous. The soda thins the batter slightly and lightens it, which makes it easier to spoon out. If you're adding mix-ins (raisins, apples, and so on), do it now.
-
Step 10:
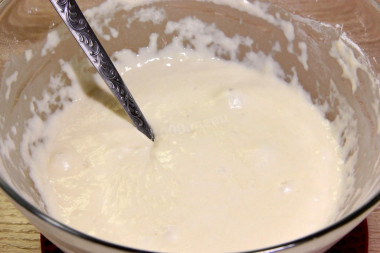
Cover the bowl and let the batter rest for 12–15 minutes, until bubbles are actively forming. During this time the gluten relaxes and the batter takes on air. Don't stir it again after this, or you'll knock out the structure. Scoop gently from the edge.
-
Step 11:
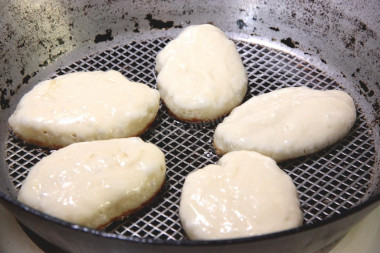
Heat a skillet, pour in 3–4 tablespoons of refined sunflower oil, and let it heat up. Lower the heat to medium-low or even a touch less. Dip your spoon in the oil, scoop up a full spoonful of batter, and drop it onto the skillet, sliding it off with a wet finger or a light shake of the spoon — whatever's easiest for you. Fry until the bottom is golden, the edges start to dry out, the pancake has puffed up, and bubbles appear — then it's time to flip.
-
Step 12:

Flip the pancakes with two forks or a spatula, but not too abruptly. Turn them away from you — hot oil can splatter and burn. Add a little oil every other batch and fry off the rest of the batter the same way. Depending on your stove, you may need to nudge the heat up or down now and then. The key is to get a feel for the heat so the pancakes cook through evenly, without the crust burning while the inside stays raw. Practice — and knowing your own stove — will get you there.
-
Step 13:

Transfer the finished pancakes to a paper towel to soak up excess oil.
-
Step 14:
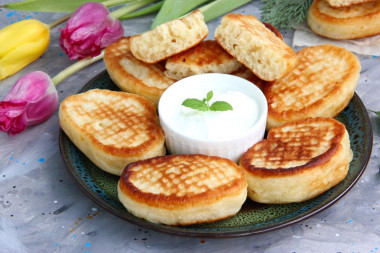
The pancakes come out just lightly sweet. Serve them hot and fluffy with sour cream, sweetened condensed milk, jam, and tea. This makes enough breakfast for a family of four — though that depends on everyone's appetite, of course.


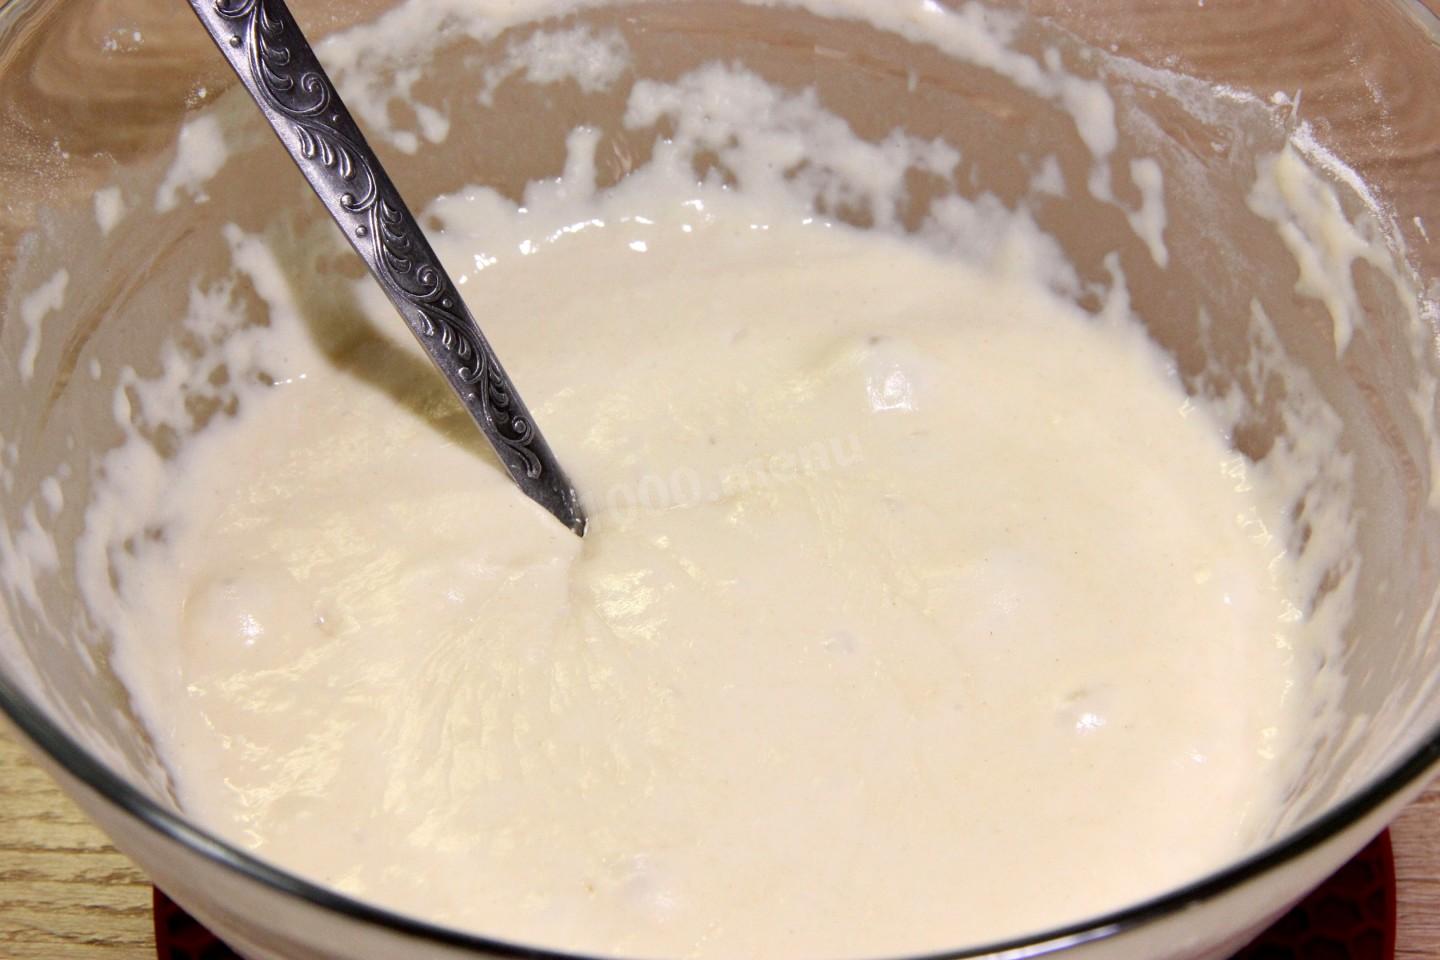

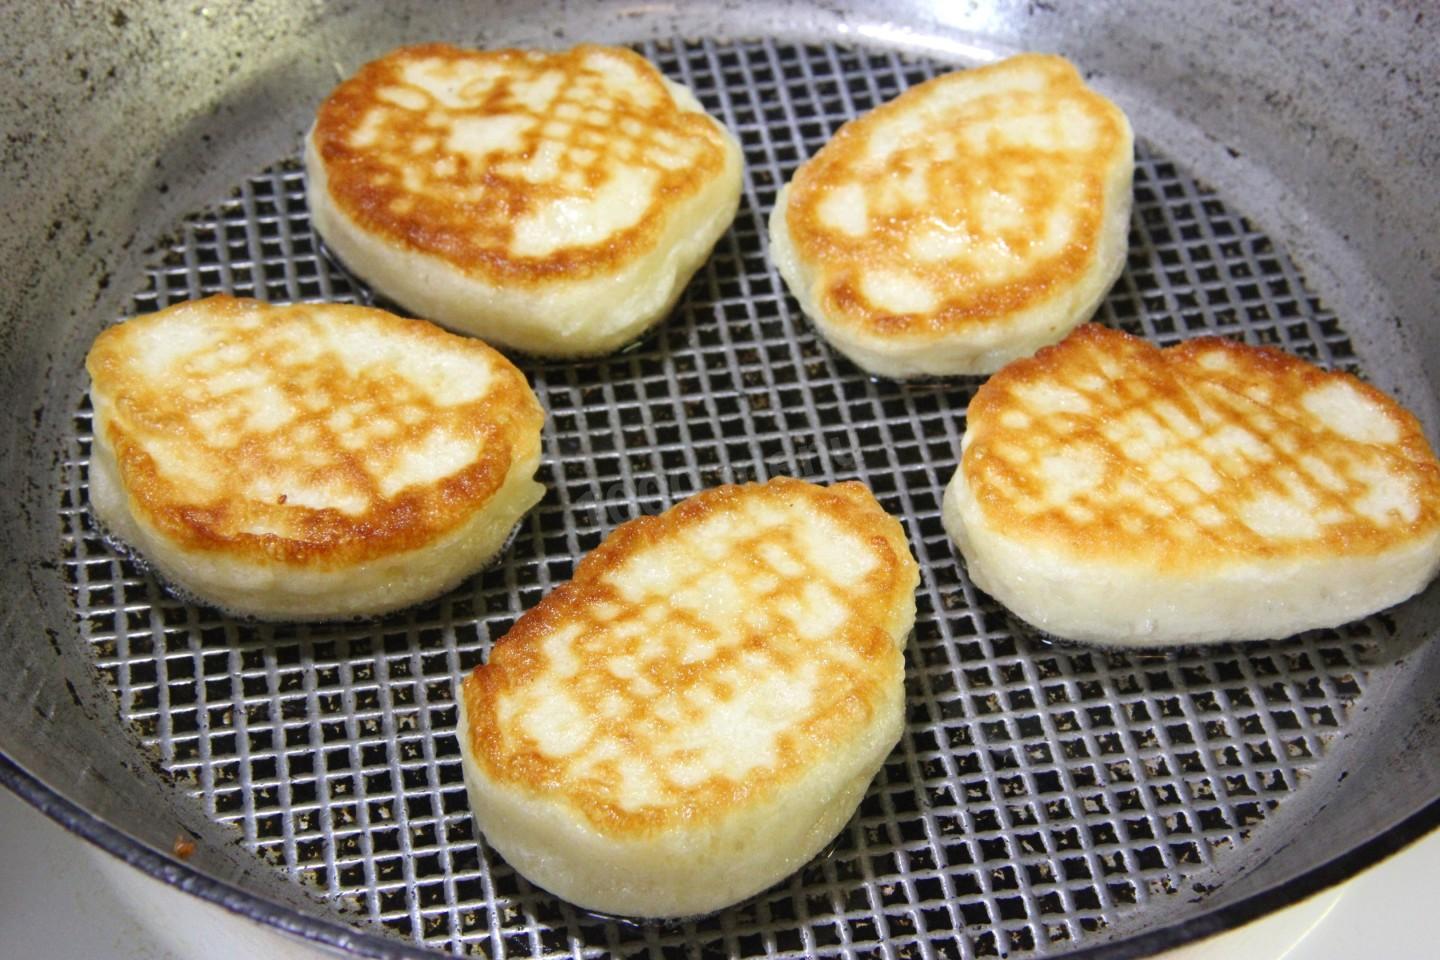


- A few little secrets for fluffier pancakes:
- • Fluffy pancakes only come from a thick batter!
- • Use tangy, mature kefir (about 3 days from its production date).
- • Bring eggs and dairy to room temperature.
- • Be sure to let the batter rest so it aerates and lightens.
- • Don't add too much sugar, or the bottoms will burn before the middles cook.
- • Stirring the batter in one direction makes it smoother and glossier.
- • For round pancakes, drop the batter off the pointed tip of the spoon; off the side, they'll come out oval.
- • Don't overload the batter with mix-ins, or it won't rise.
- • Use a heavy-bottomed skillet.
- • Fry only in preheated oil over medium or medium-low heat, so the bottoms don't over-brown before the centers cook.
- • Add enough oil to coat the whole bottom of the pan. Aim for the happy medium: too little and the pancakes turn out dry and won't rise; too much and they turn greasy.
- • Use no more than a tablespoon of batter per pancake, or they'll be hard to cook through.
- • Always sift the flour to loosen and aerate it.
- • Add the flour in small batches for better mixing and so you can stop in time without adding too much.
- • You'll use a lot of flour — the ratio to kefir is nearly 1:1.
- With that, you're sure to nail it!
- Be prepared to need a bit more or less flour than the recipe states. Go by the desired batter consistency rather than a fixed amount of flour. To avoid mistakes, read up on flour and its properties!
- For whether you can swap baking powder for baking soda, how to add each so your bakes come out fluffy, how to avoid a soapy soda aftertaste, and more, see the article "Baking powder or baking soda — which is better?"
- Important! The wrong skillet can ruin even the best recipe. For everything on choosing the perfect pan for different dishes, see here.
Caloric content of the products possible in the composition of the dish
- Chicken egg - 157 kcal/100g
- Egg white - 45 kcal/100g
- Egg powder - 542 kcal/100g
- Egg yolk - 352 kcal/100g
- Ostrich egg - 118 kcal/100g
- Whole durum wheat flour fortified - 333 kcal/100g
- Whole durum wheat flour, universal - 364 kcal/100g
- Flour krupchatka - 348 kcal/100g
- Flour - 325 kcal/100g
- Granulated sugar - 398 kcal/100g
- Sugar - 398 kcal/100g
- Kefir fat - 62 kcal/100g
- Kefir of 1% fat content - 38 kcal/100g
- Low-fat kefir - 30 kcal/100g
- Kefir 'doctor beefy' 1,8% fat content - 45 kcal/100g
- Kefir 2.5% fat content - 53 kcal/100g
- Vegetable oil - 873 kcal/100g
- Salt - 0 kcal/100g
- Baking soda - 0 kcal/100g
- Vanilla sugar - 379 kcal/100g