Old-Fashioned Hard Candy Lollipops
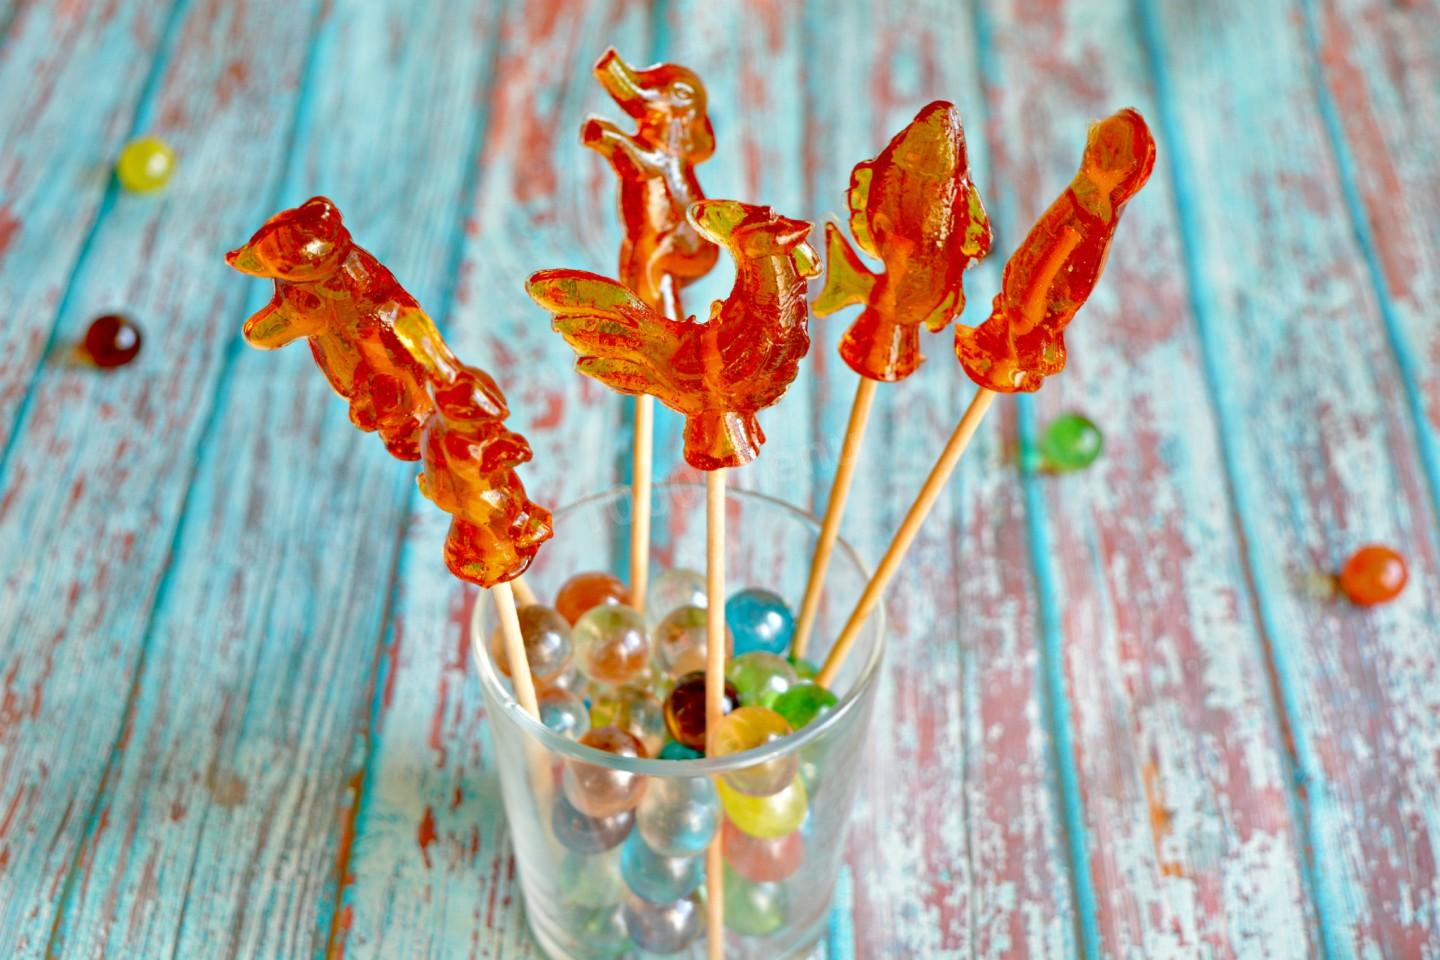
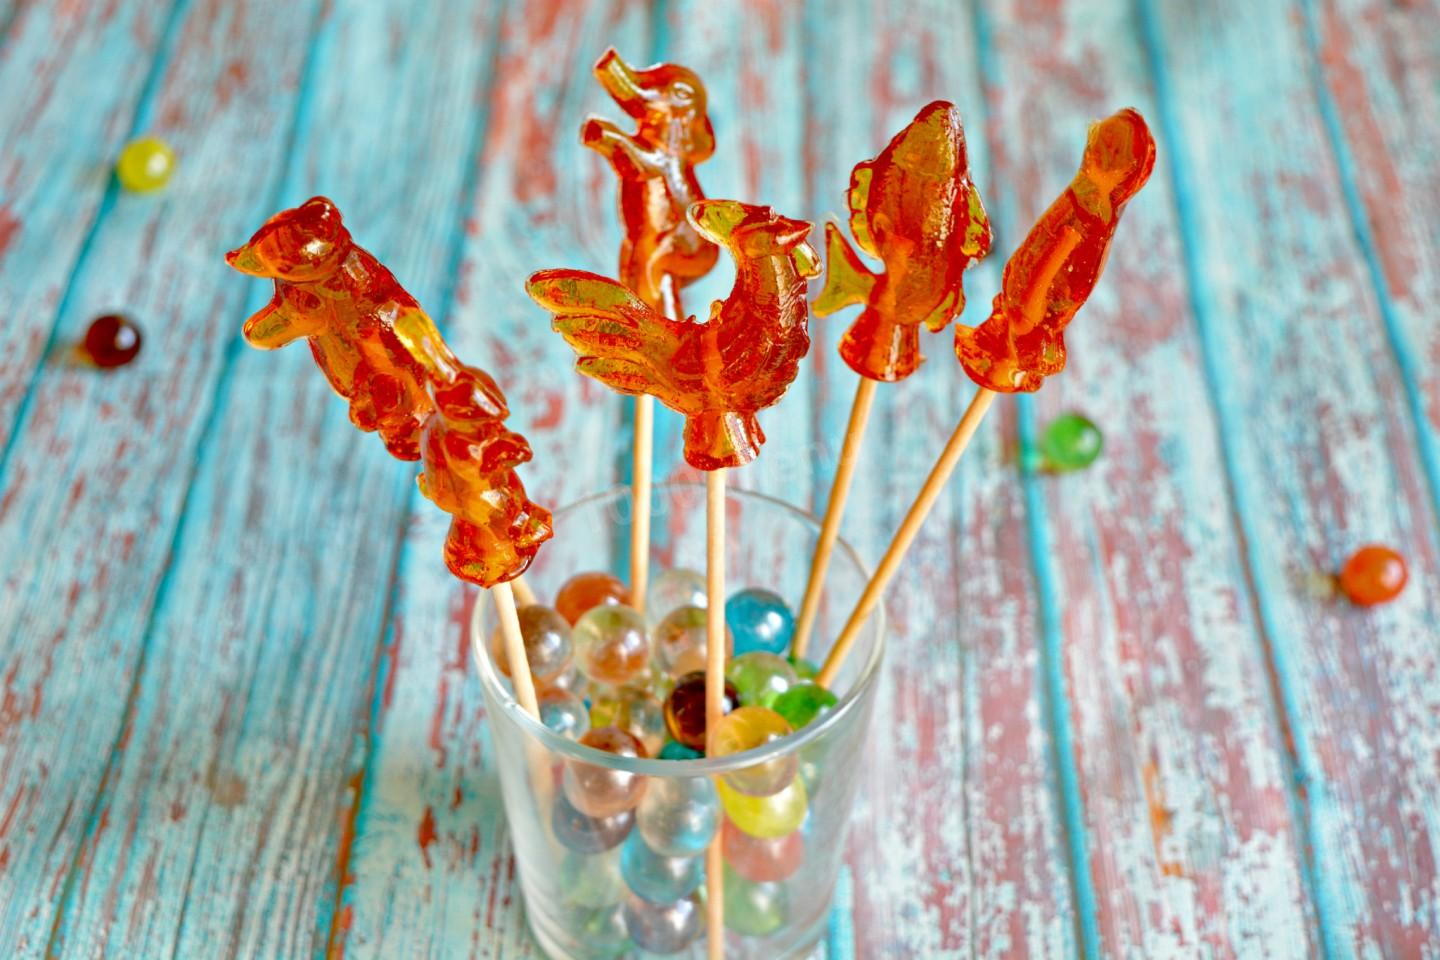
A taste of childhood you can make yourself — and a fun project for the whole family. These hard-candy lollipops (in Russia, the classic rooster-shaped "petushki") come together fast and easy; even a kid can pull it off. The process is a blast, but there are a few tricks worth knowing, which I'll walk you through.

Cooking method
-
Step 1:
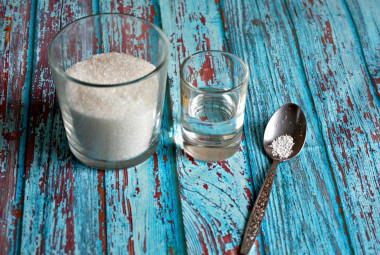
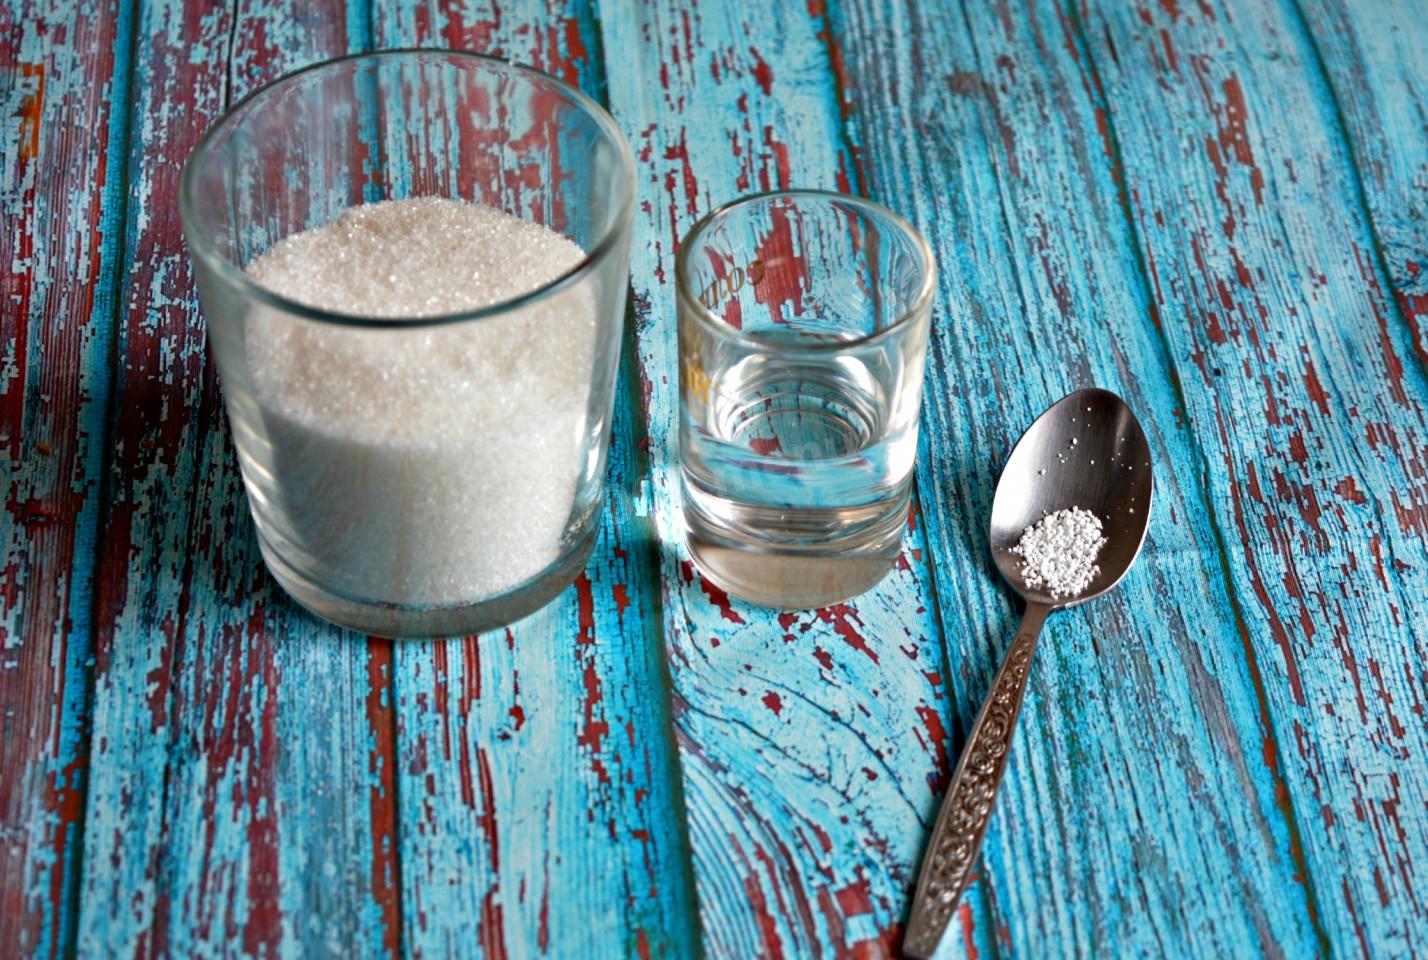
Classic hard candy takes just three ingredients. The main one is sugar — fine white granulated sugar works best. You'll also need a little water; stick closely to the sugar-to-water ratio. The citric acid keeps the sugar from crystallizing and balances the flavor so the candy isn't sickly sweet. If you like, you can add coloring and flavoring, but those go in at the very end, once the caramel is ready.
-
Step 2:
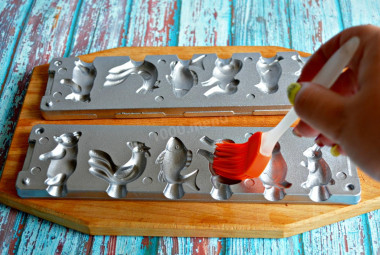
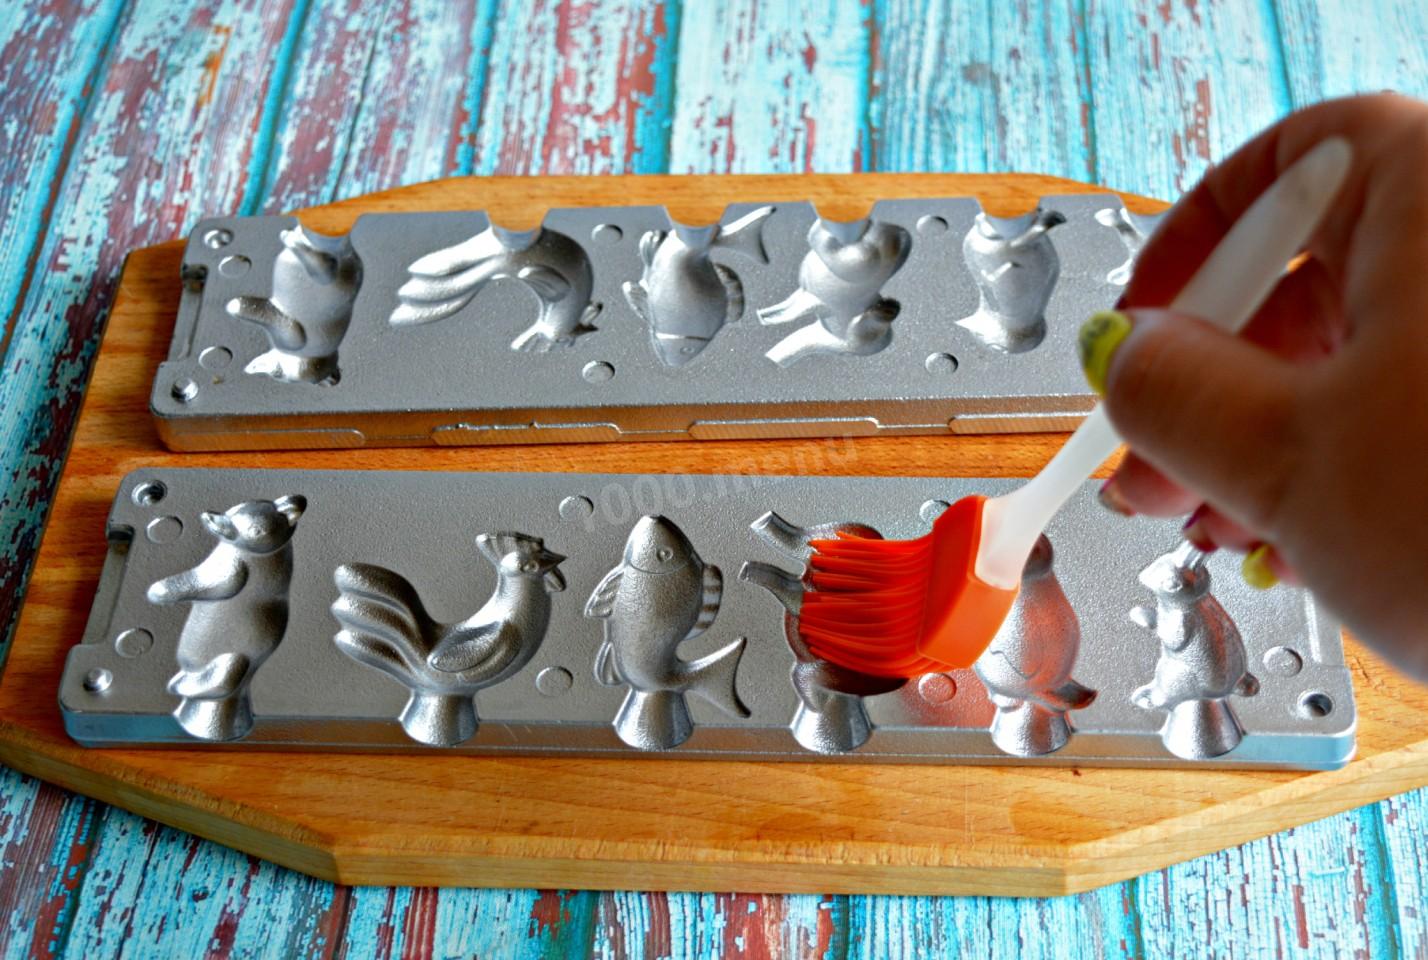
Grease the lollipop mold with oil ahead of time. It's important to coat every little crevice well, or the candy may stick and refuse to come out. You can use either vegetable oil or butter — I've tried both. Vegetable oil is undetectable, while butter lends the candy a faint creamy note. Then pop the mold in the fridge for a few minutes to chill.
-
Step 3:
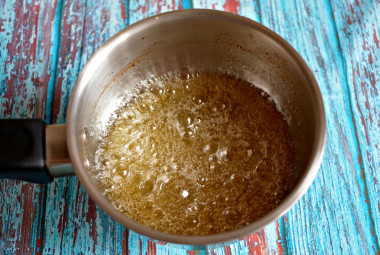
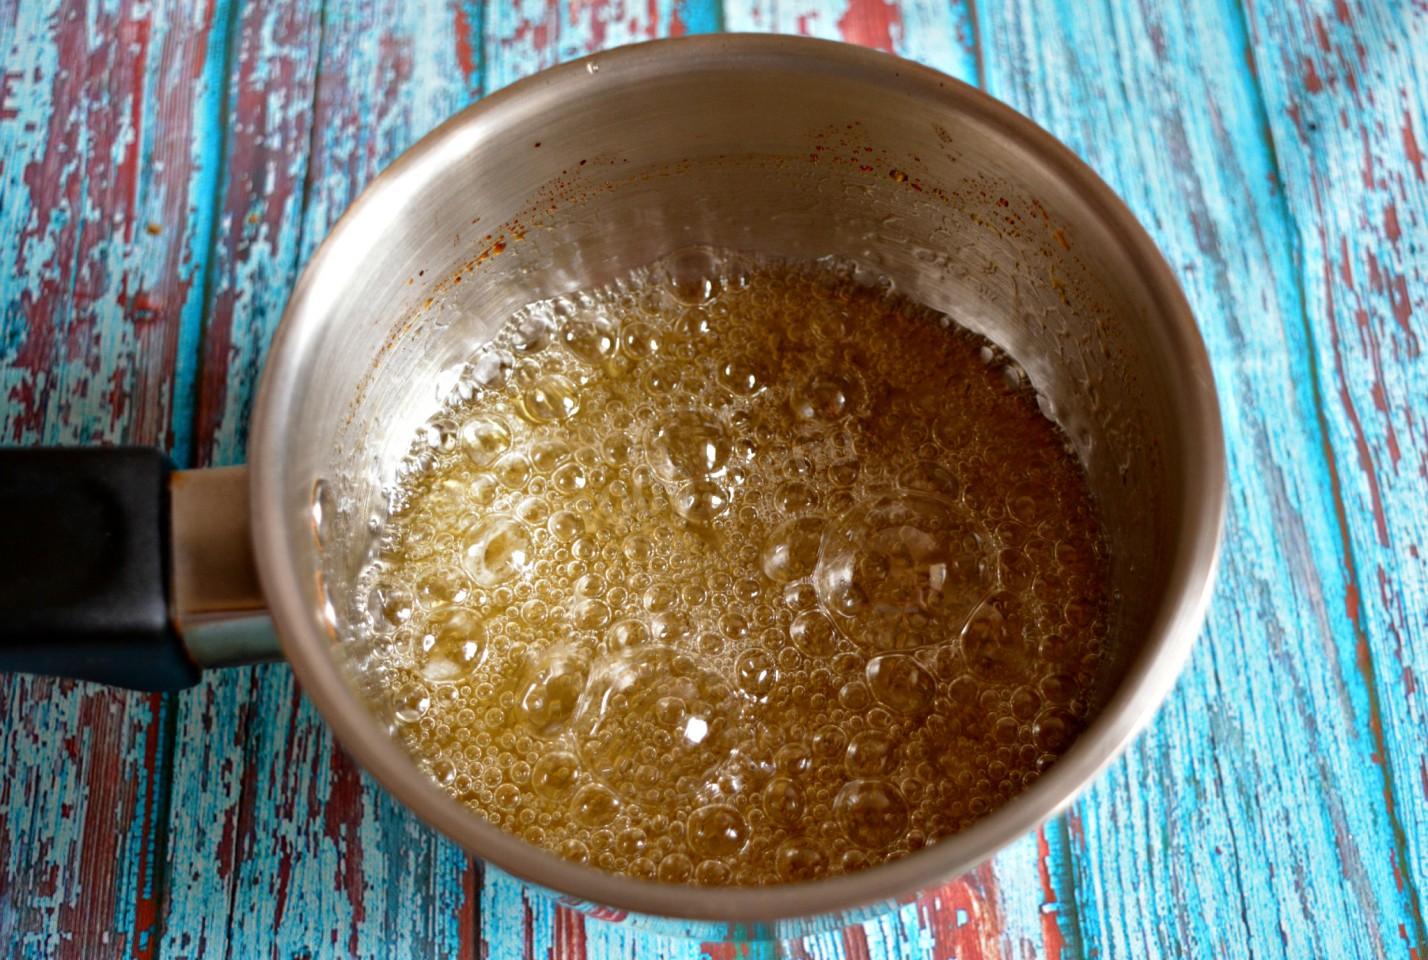
Put 100 g (1/2 cup) of sugar and 1 tablespoon of water in a small saucepan and stir well. Heat the mixture over low heat, stirring constantly so it doesn't scorch, and bring it to a boil (a heat diffuser helps). It'll foam up a lot once it boils — no need to skim it, the foam settles later. Add the citric acid (or half a teaspoon of lemon juice) and then, without stirring, cook the syrup to the finished stage.
-
Step 4:
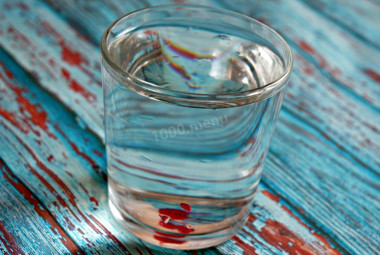
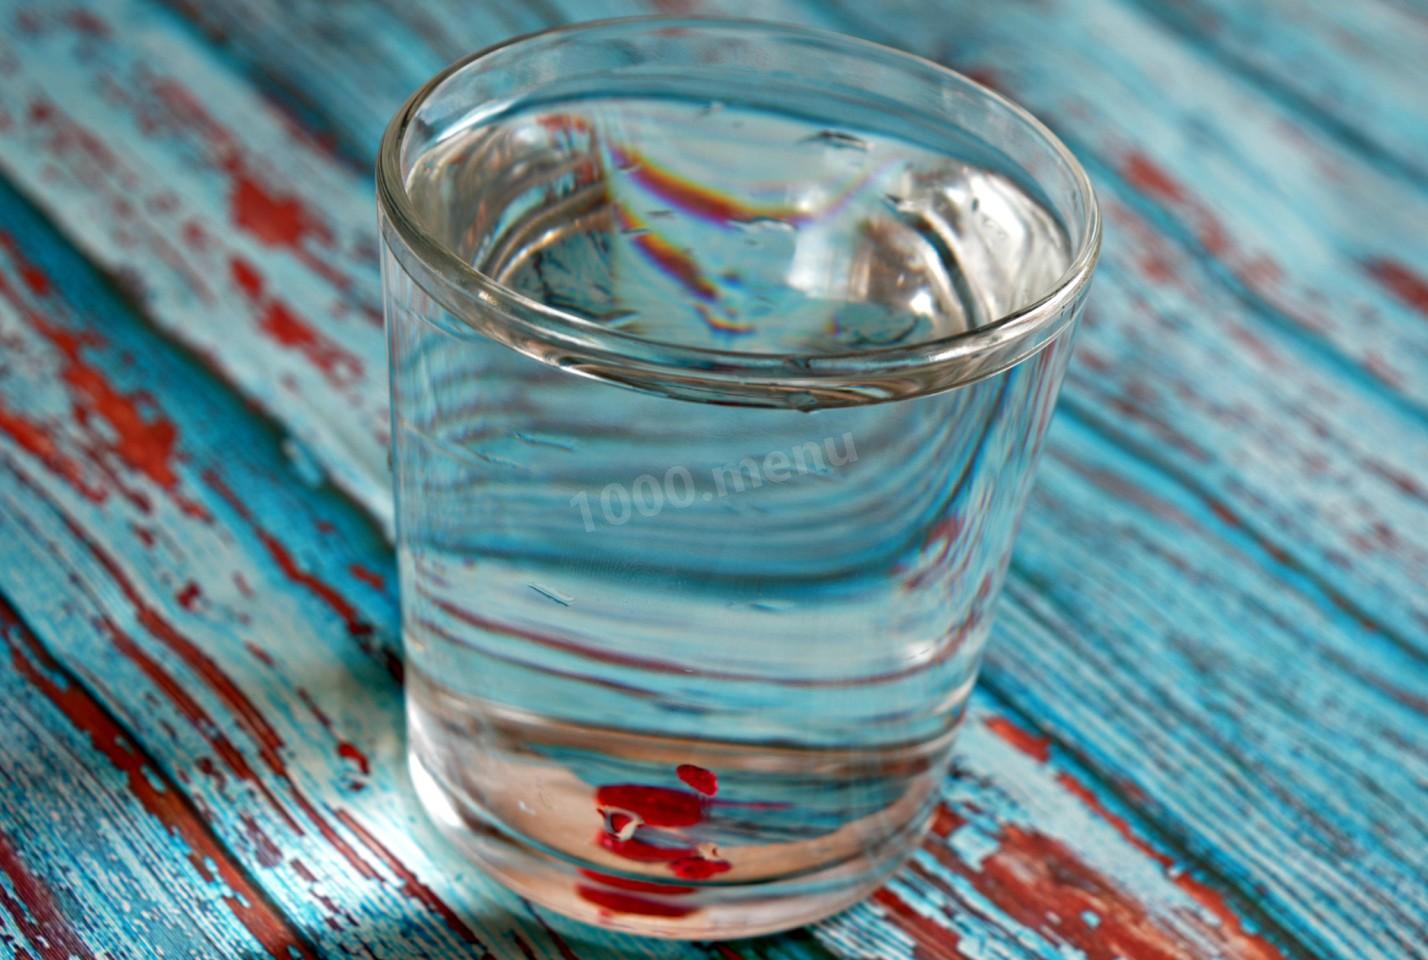
To test for doneness, use a glass of cold water. The syrup is ready when a drop of it dripped into the cold water forms a hard piece that doesn't crumble (the hard-crack stage, about 300°F / 150°C if you're using a candy thermometer).
-
Step 5:
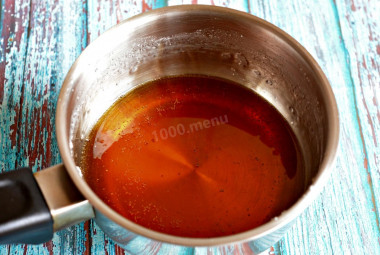
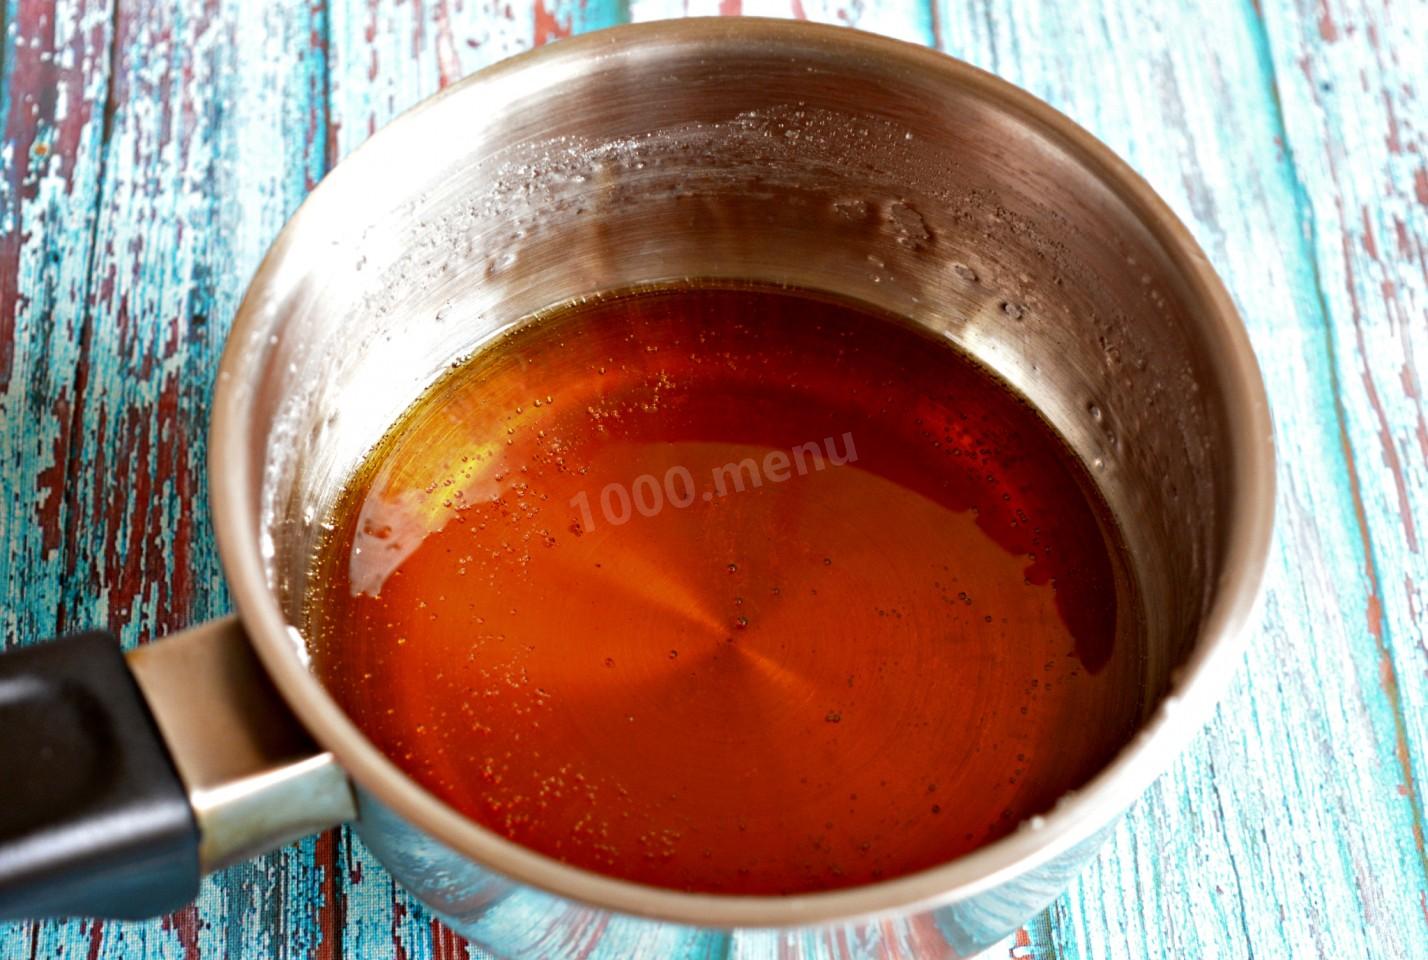
The finished caramel turns a lovely amber color. Set it aside for 1 to 2 minutes to let the foam settle.
-
Step 6:
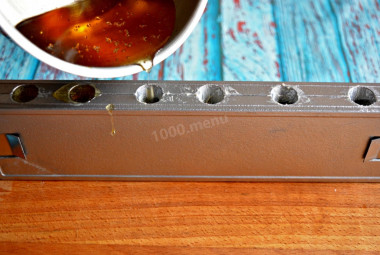
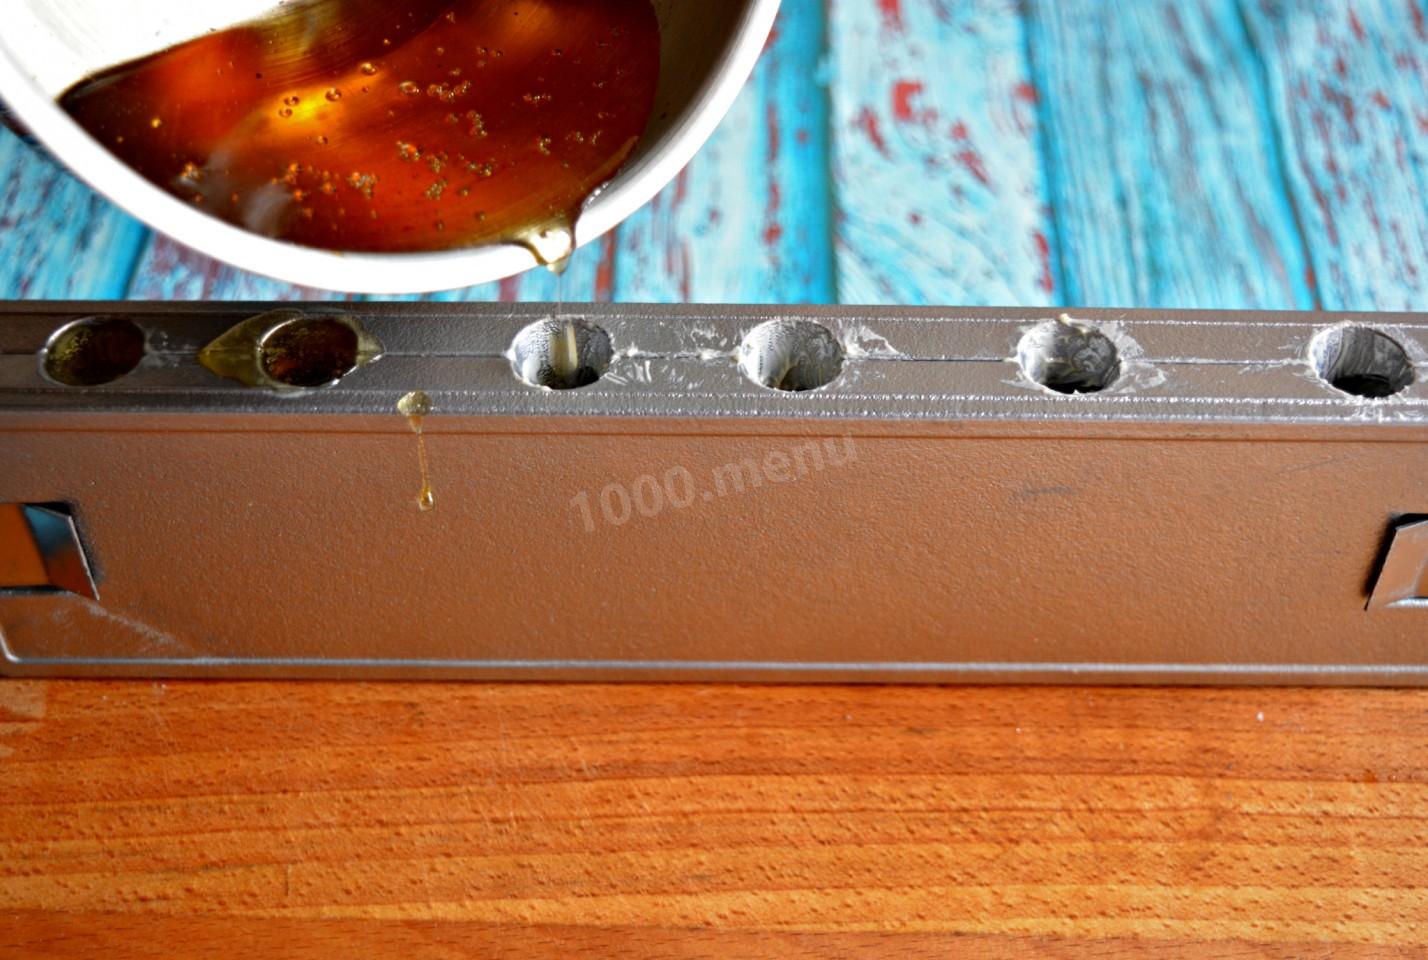
Pour the hot caramel into the cavities of the assembled, clamped, and pre-chilled mold.
-
Step 7:
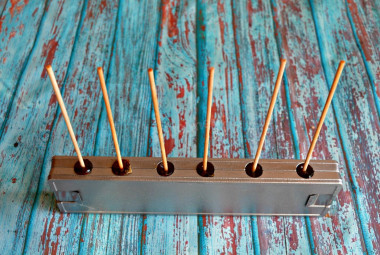
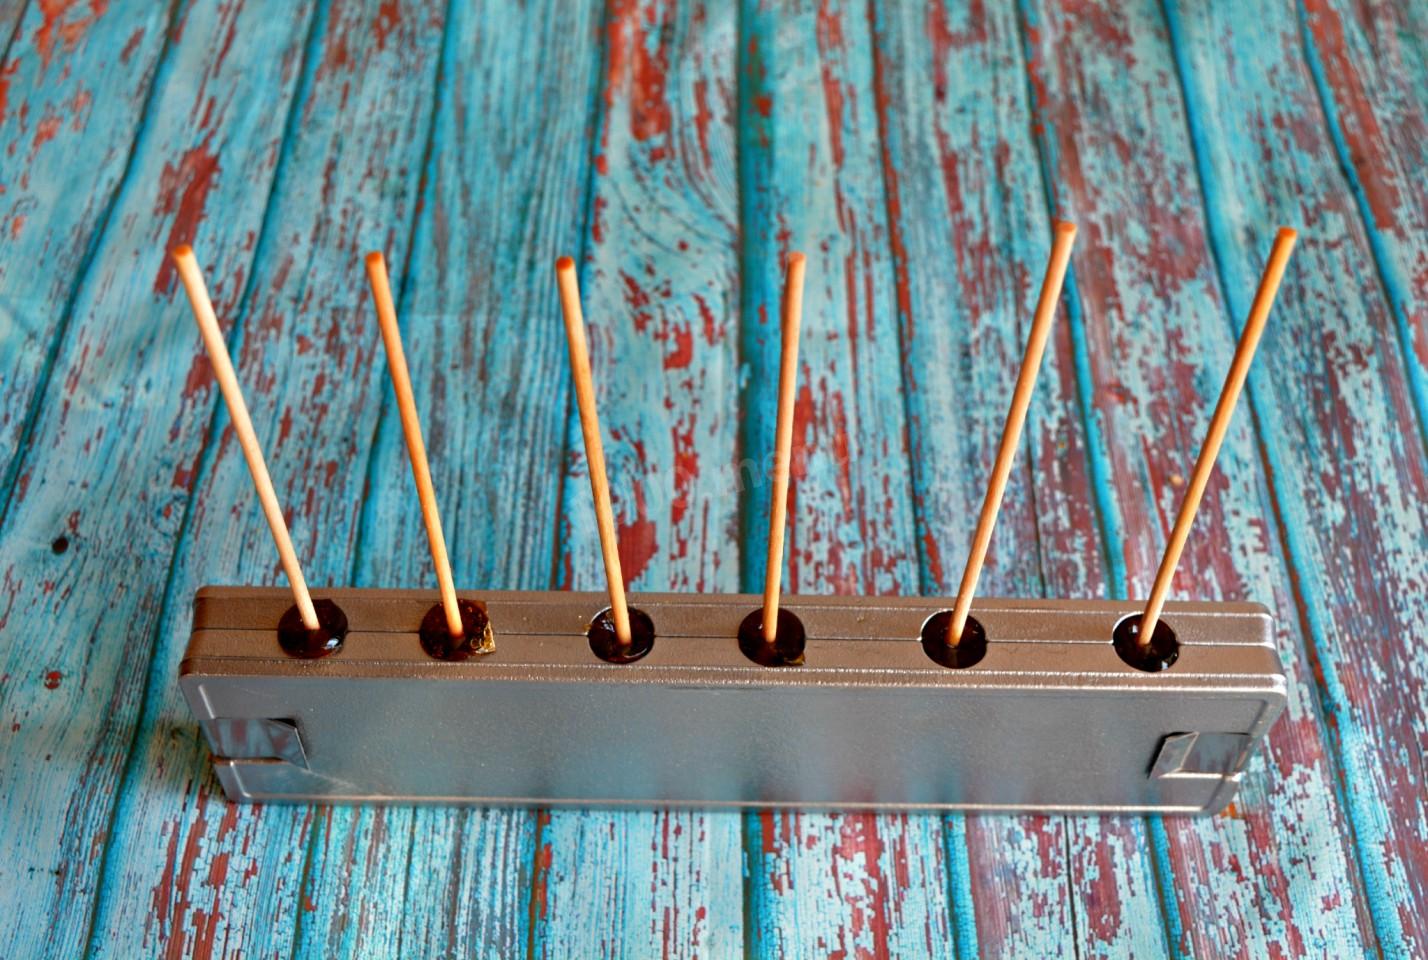
Once the candy has set up a little, push in the wooden sticks.
-
Step 8:
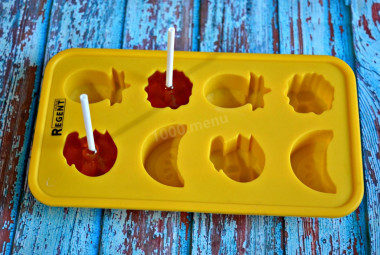
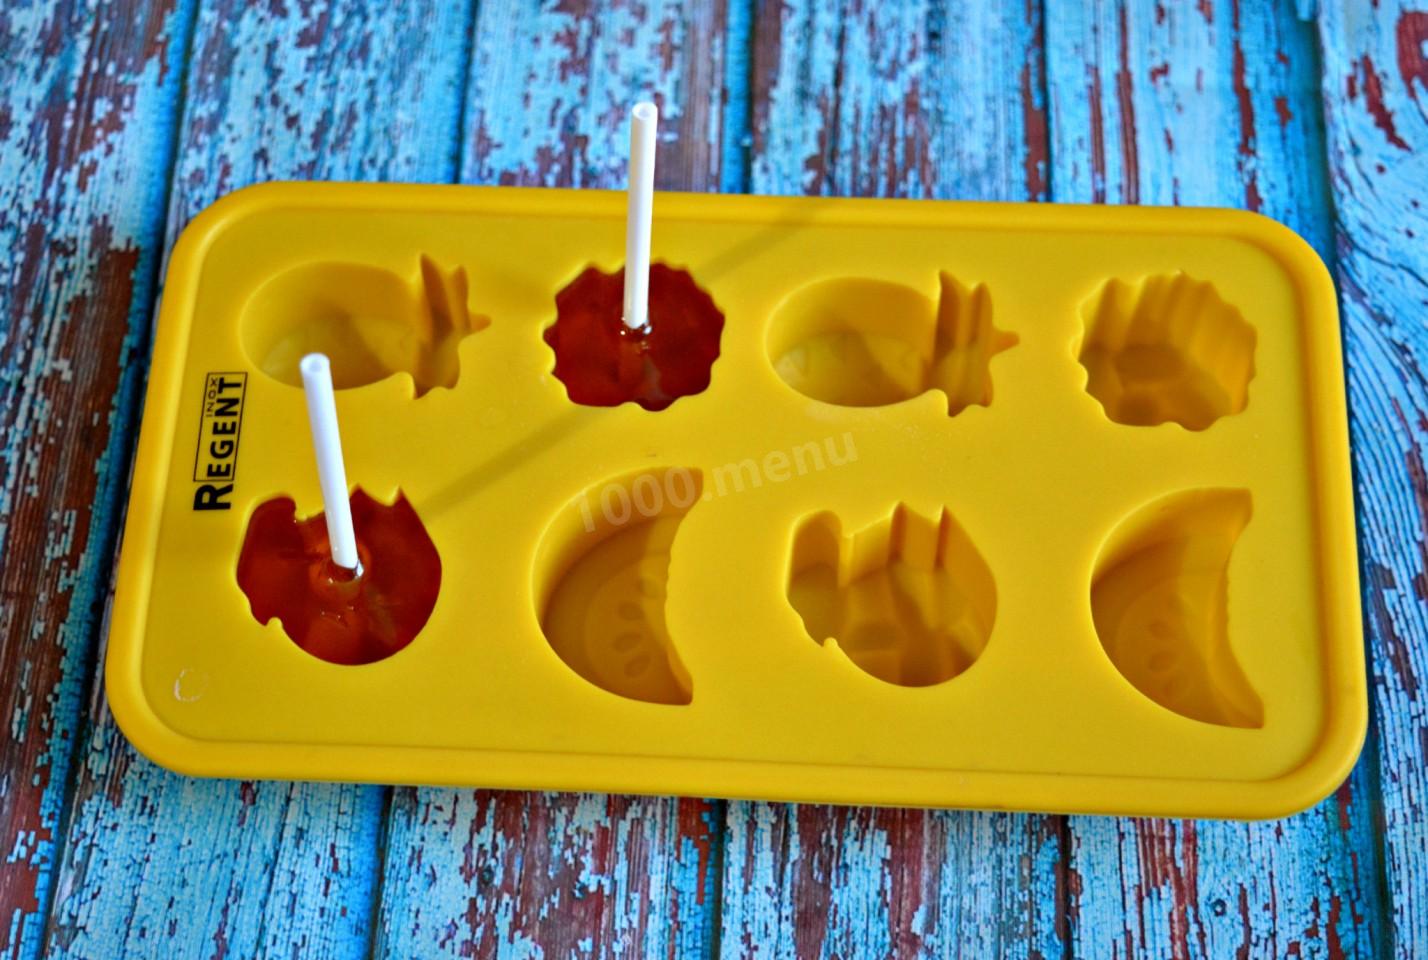
No dedicated metal candy mold? A silicone ice-cube tray works too. And in place of wooden sticks, lollipop sticks, skewers, or even matchsticks will do.
-
Step 9:
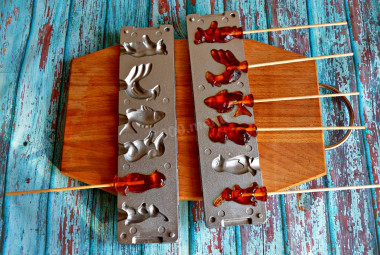
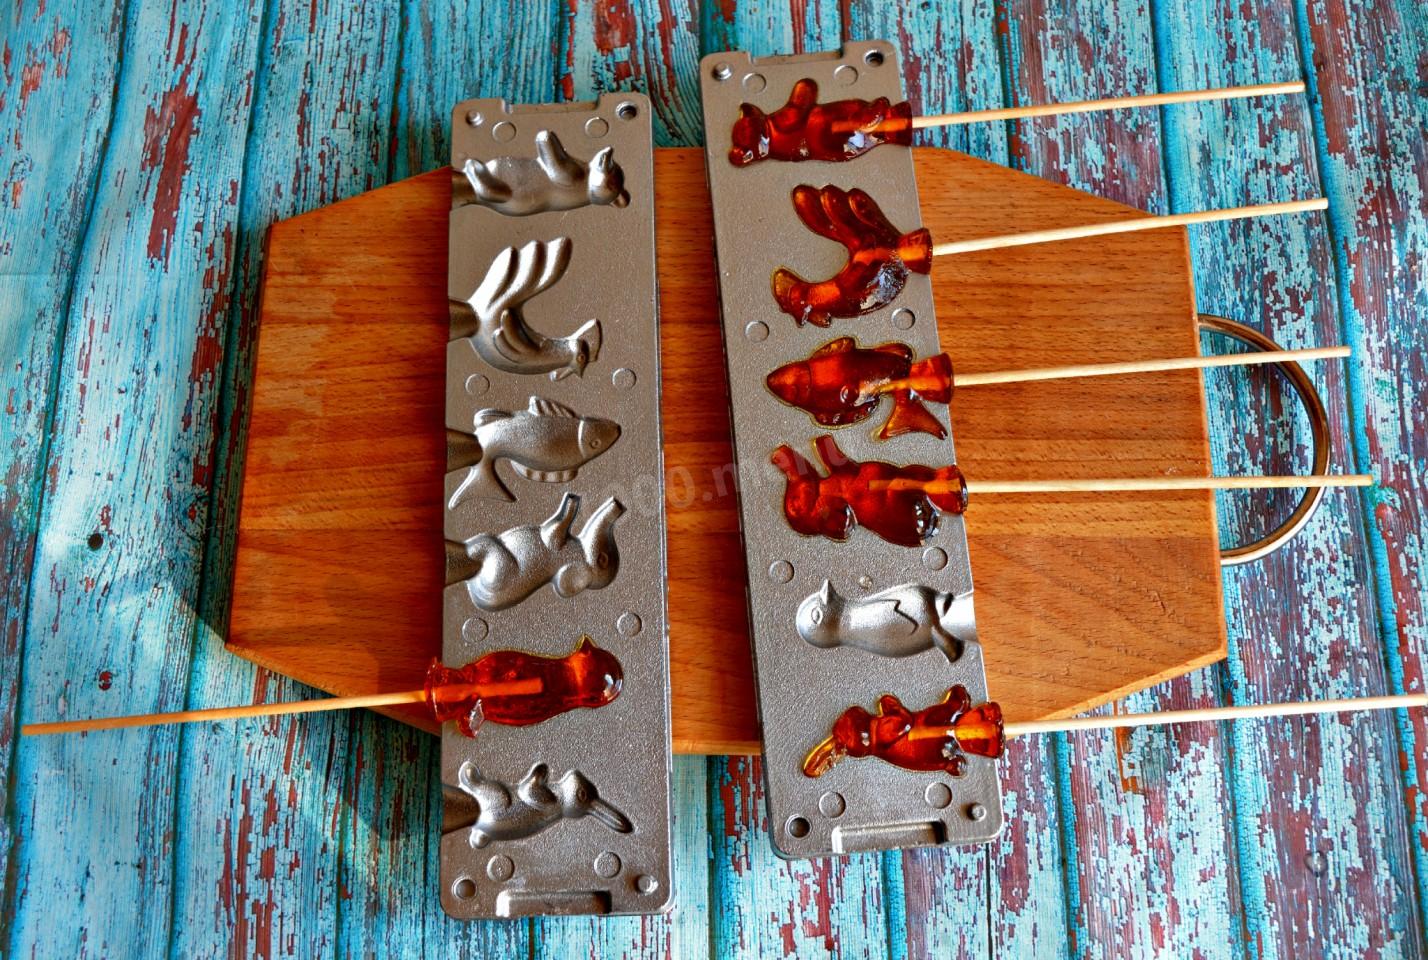
Let the lollipops sit for 1 hour to harden completely. Then release the clamps, open the mold, and pop out the candies. To loosen them, warm the mold by dipping it in boiling water for a few seconds — just keep the water away from the candy itself.
- To tint the candy, stir a natural dye or fruit/vegetable juice into the sugar as it cooks: red and pink come from pomegranate, raspberry, cranberry, strawberry, cherry, or currant juice; green from pressed spinach juice; brown from cocoa powder (though cocoa makes the candy opaque rather than clear); and orange from carrot juice. And if the candy scorches a touch, no harm done — burnt sugar is actually soothing for a sore throat and has long been used as a folk cough remedy. Have fun with it!
Caloric content of the products possible in the composition of the dish
- Granulated sugar - 398 kcal/100g
- Sugar - 398 kcal/100g
- Vegetable oil - 873 kcal/100g
- Citric acid - 0 kcal/100g
- Water - 0 kcal/100g
Similar recipes

- Festive table
- Children's recipes
- Dessert
- Sweet
- Spices seasonings spices
- Fats and oils
- Other
- Lemon acid
- Vegetable oil
- Water
- Cooking
- Homemade candies
- Dessert without flour
- For a children's holiday
- Child's birthday, angel's birthday
- Recipes for March 8
- For children's holiday
- No eggs
- Vegetarianism
- Recipes for lean dishes without butter
- Sugar