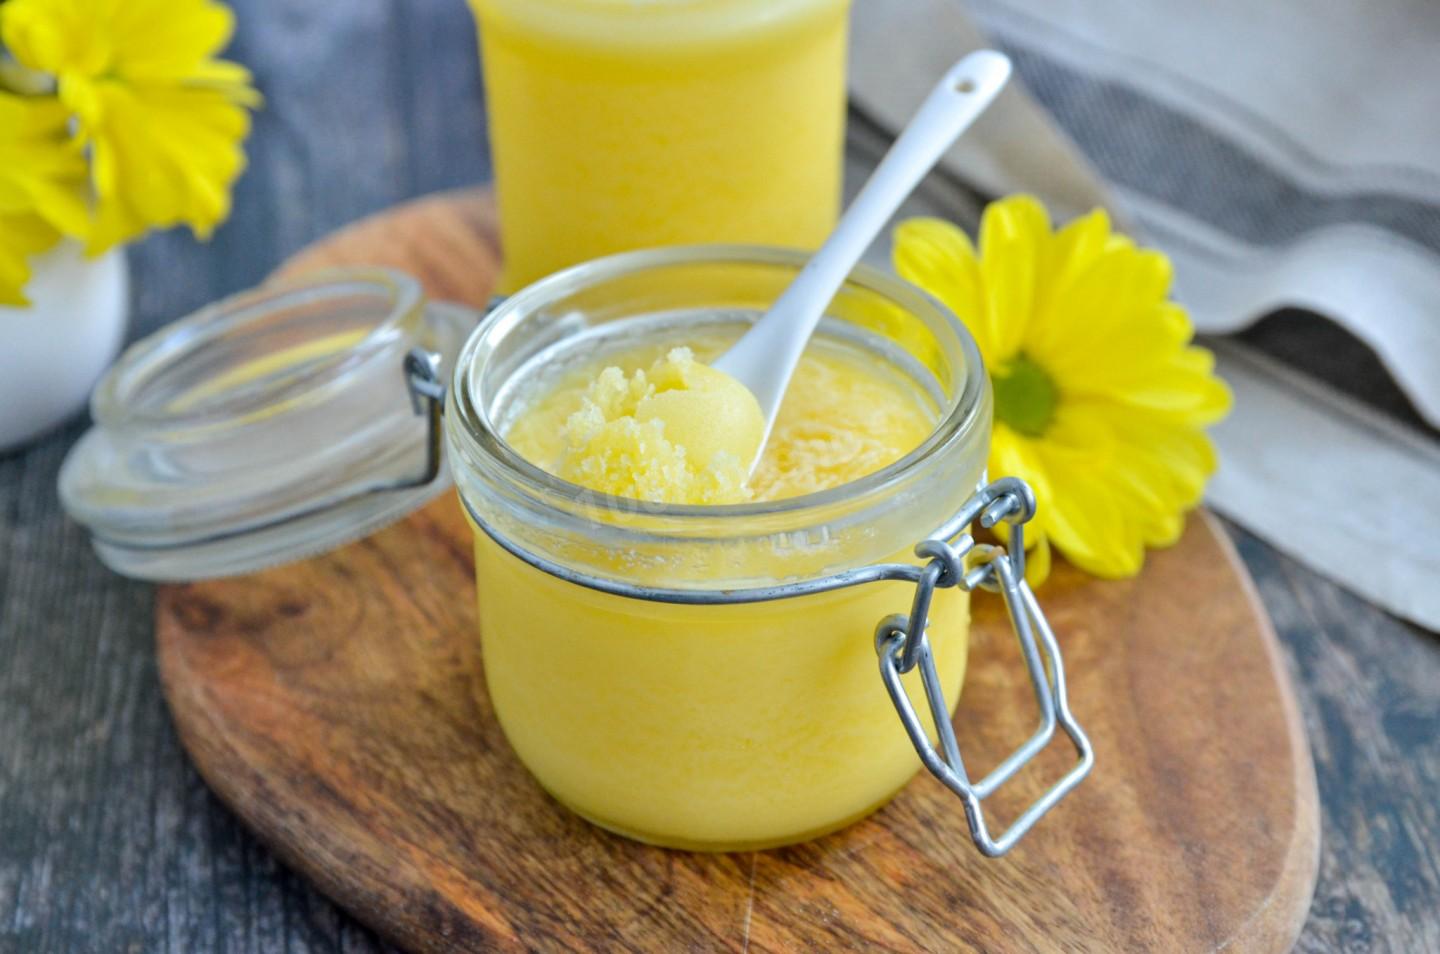
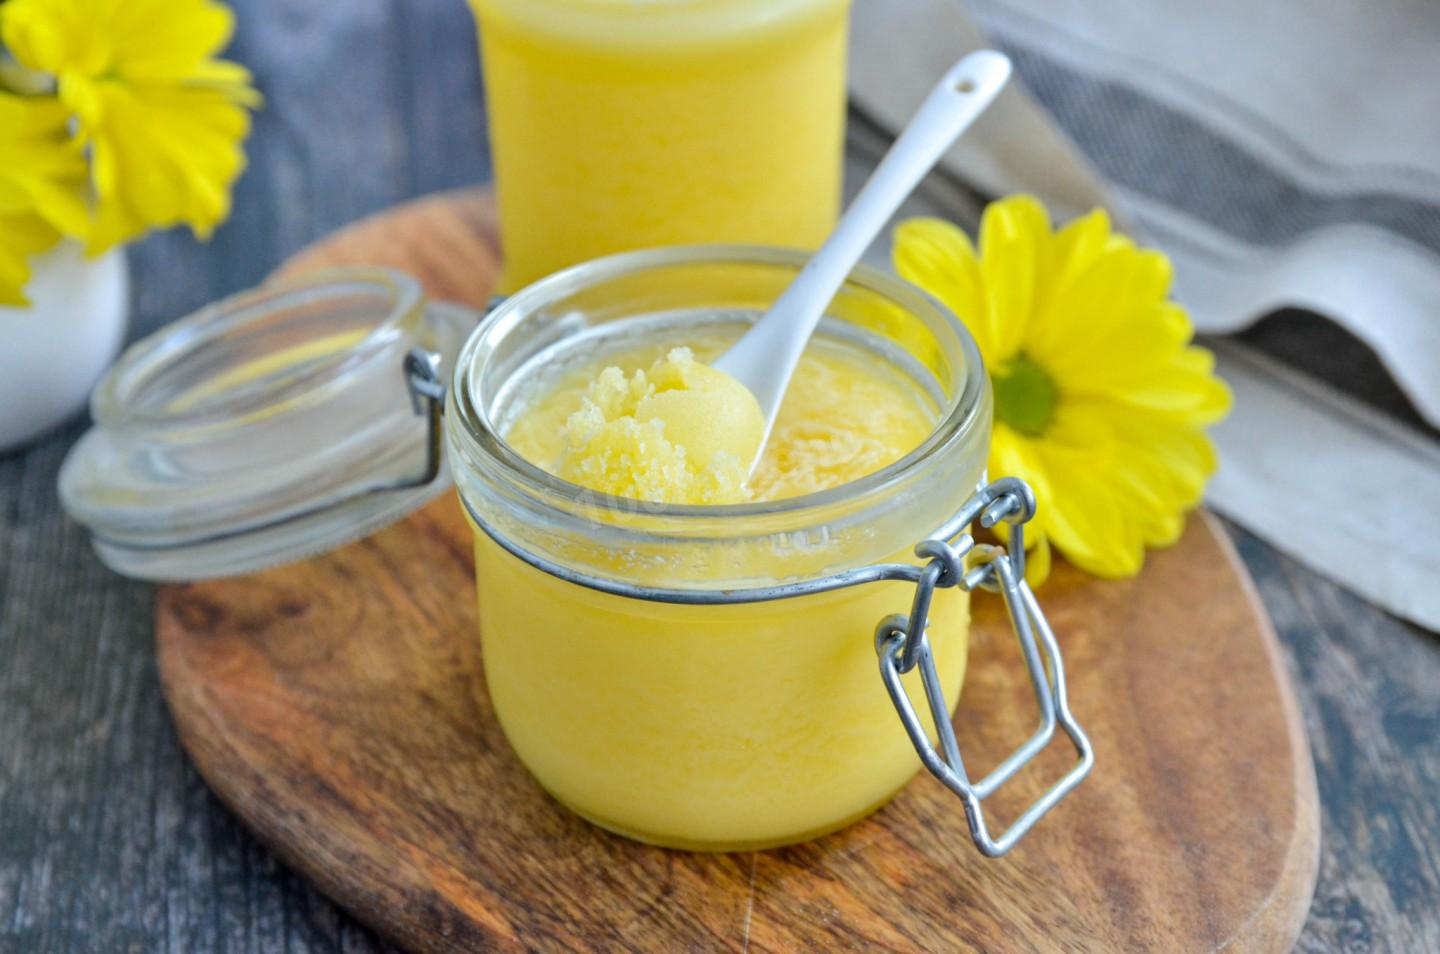
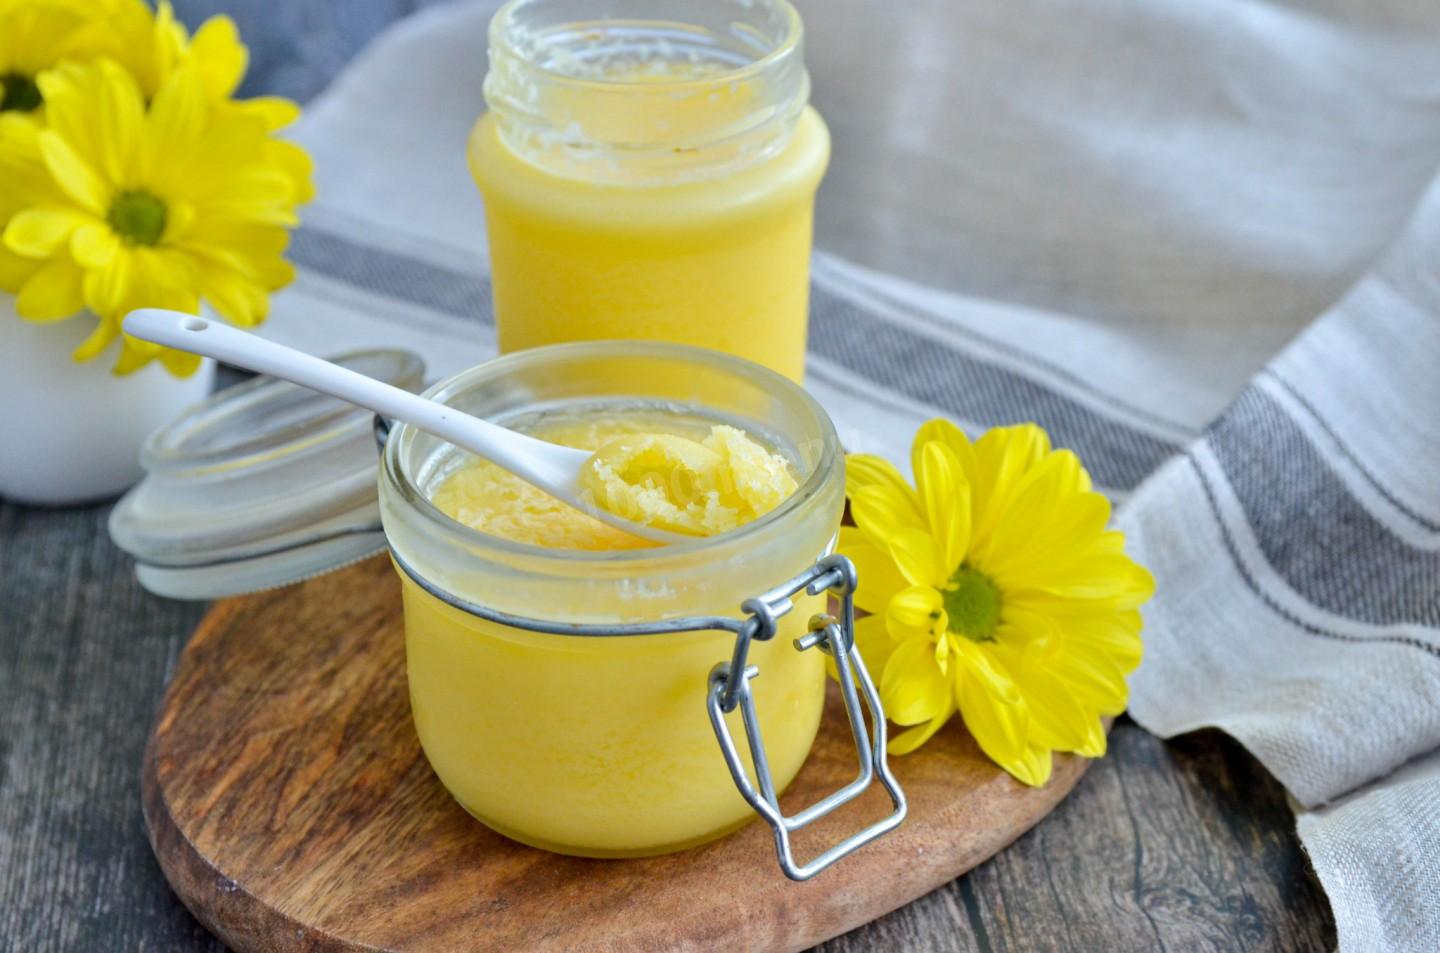
Homemade Ghee
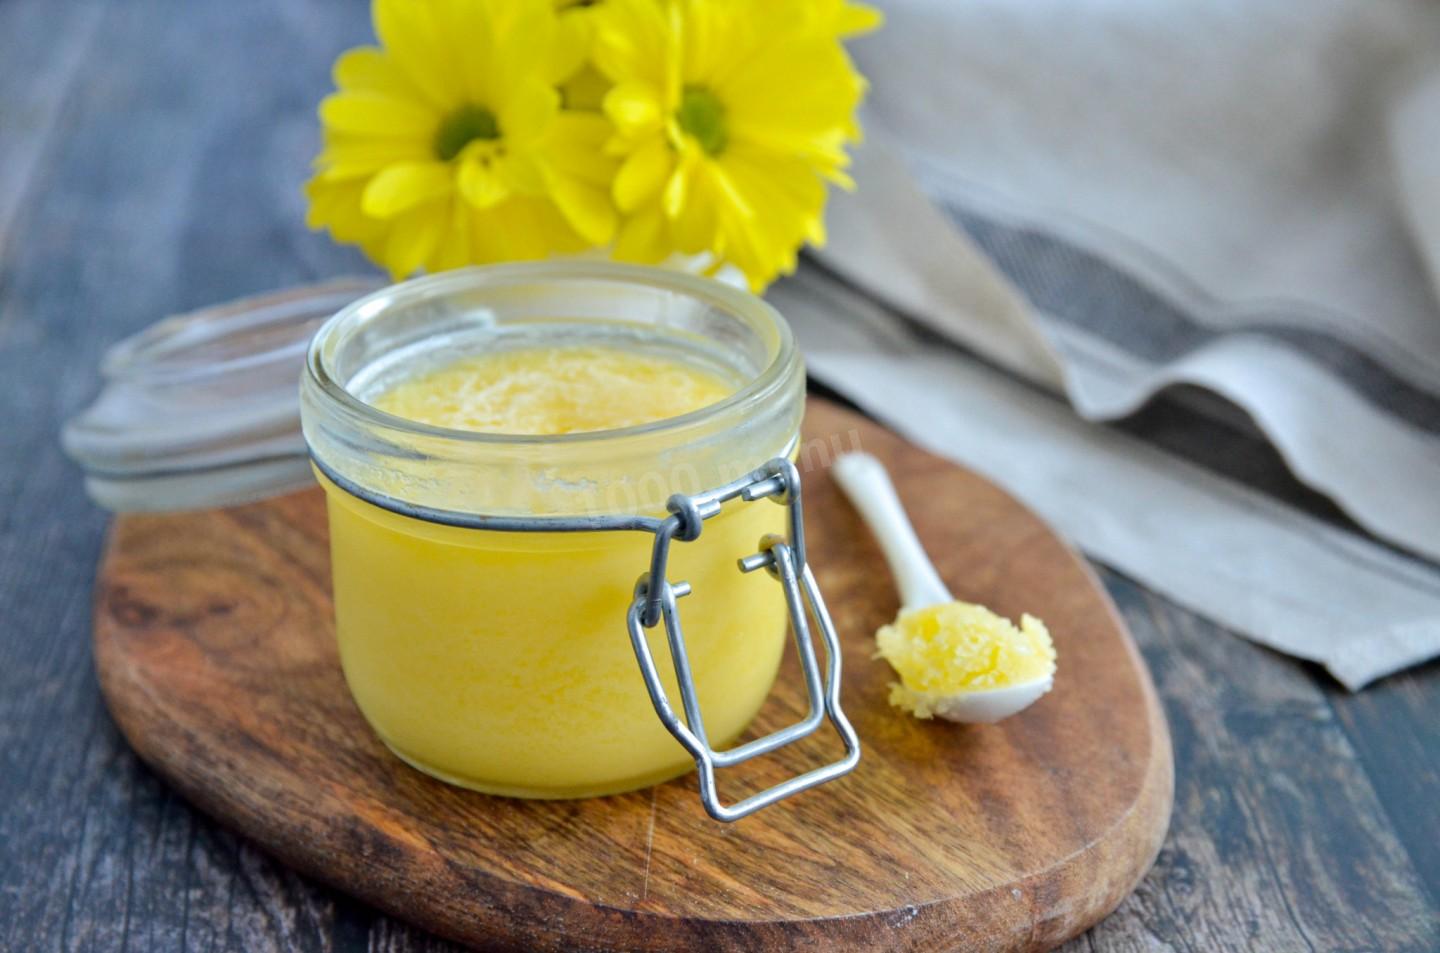
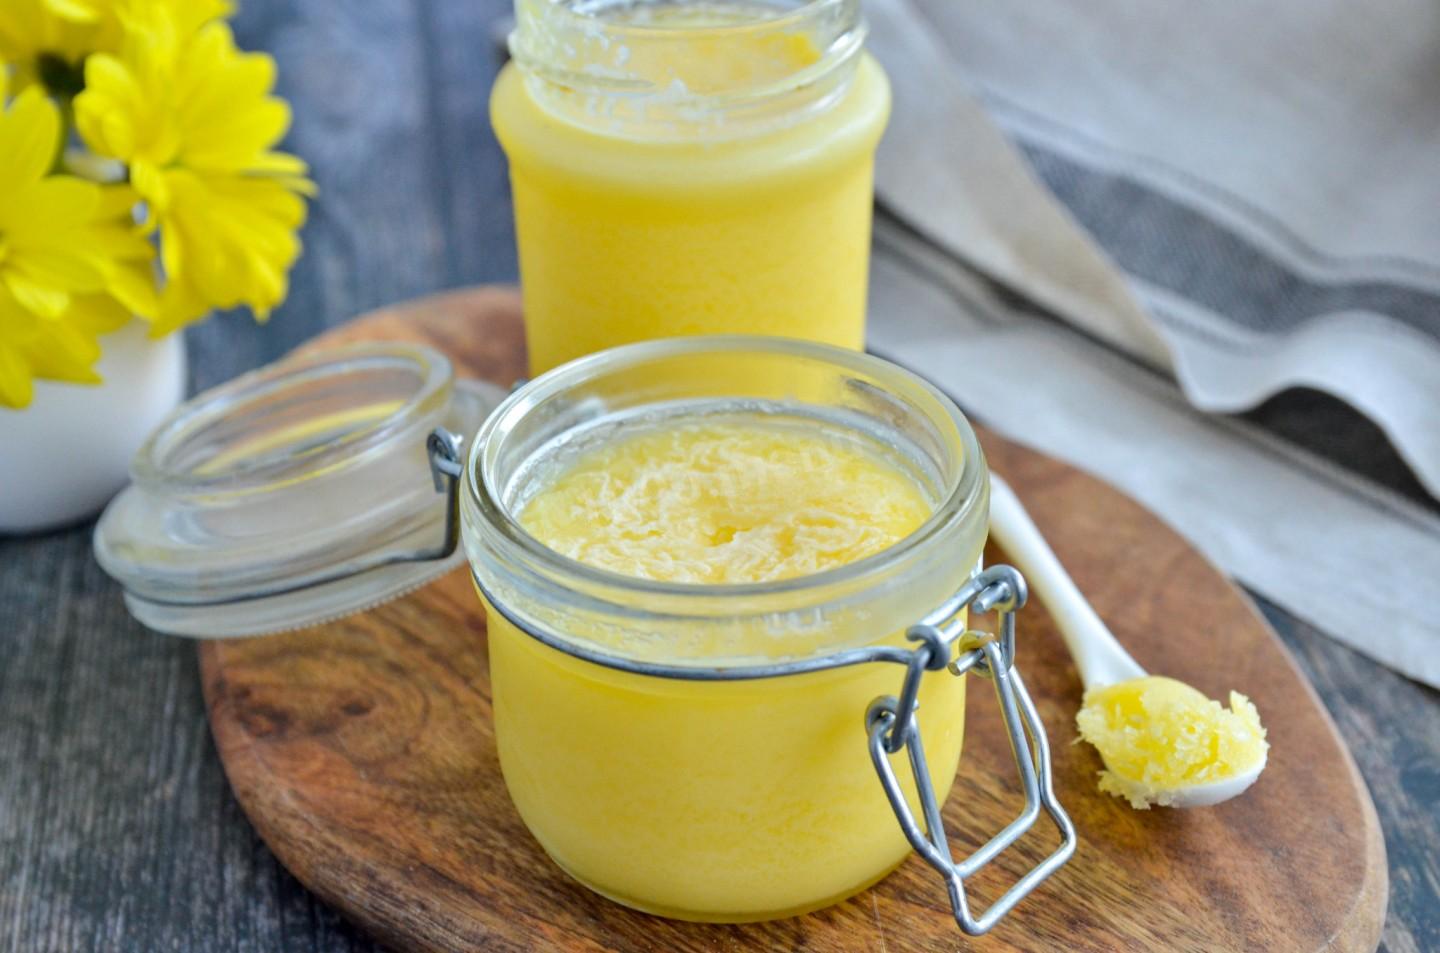
Homemade, fragrant, wholesome, and very tasty! Ghee is a versatile product — you can fry with it, add it to any dish, and it doesn't spoil or burn. As it's clarified, all the excess solids cook off, leaving only the pure fat. That's exactly why it keeps for so long.

Cooking method
-
Step 1:
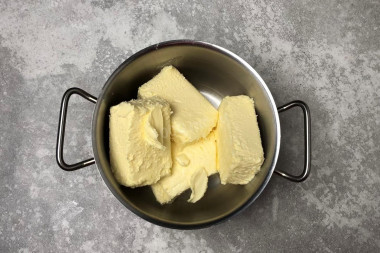
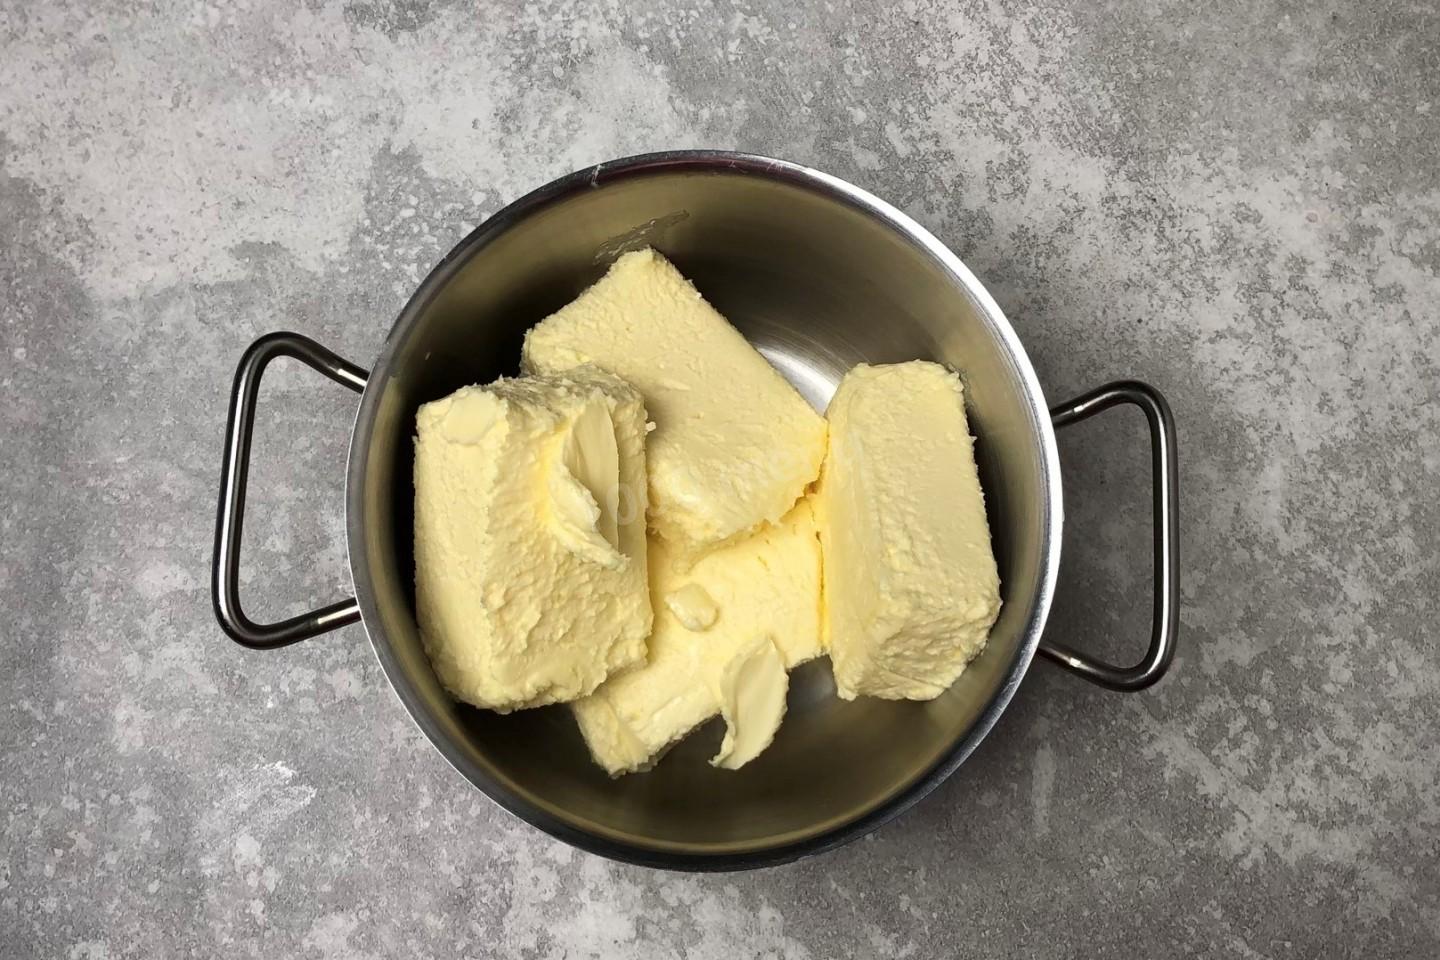
How do you make ghee? Get your butter ready. I recommend using at least 500 grams; with less, you'll end up with too little. Choose the best-quality, best-tasting butter, with no vegetable additives and a high fat content.
-
Step 2:
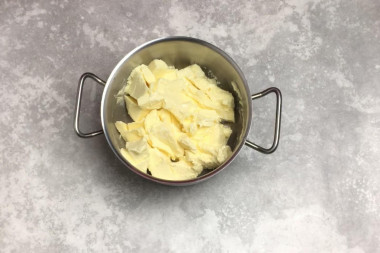
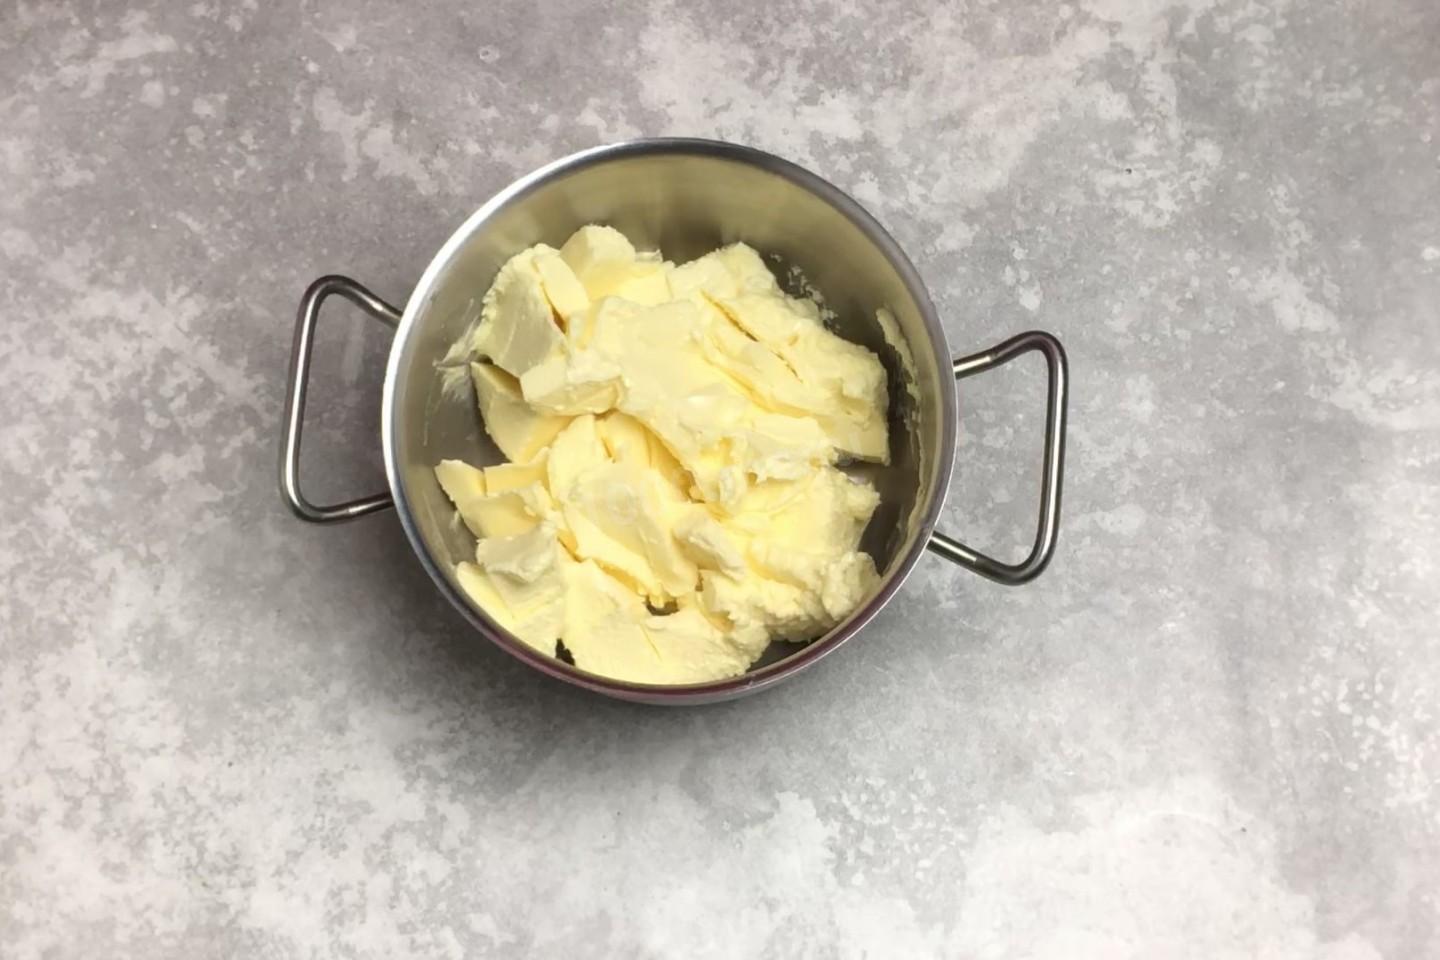
For clarifying, be sure to use a heavy-bottomed pot! This matters, because the butter can scorch as it cooks. Aluminum isn't suitable for this recipe. The best pot is cast iron, but a stainless one works too, as long as it has a thick bottom. Put the butter in the pot and leave it at room temperature for a couple of hours until it softens. Then cut it into smaller pieces.
-
Step 3:
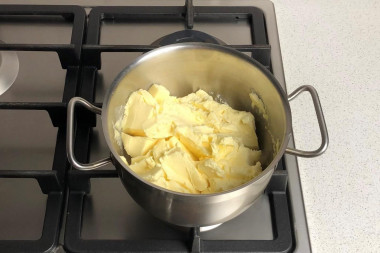
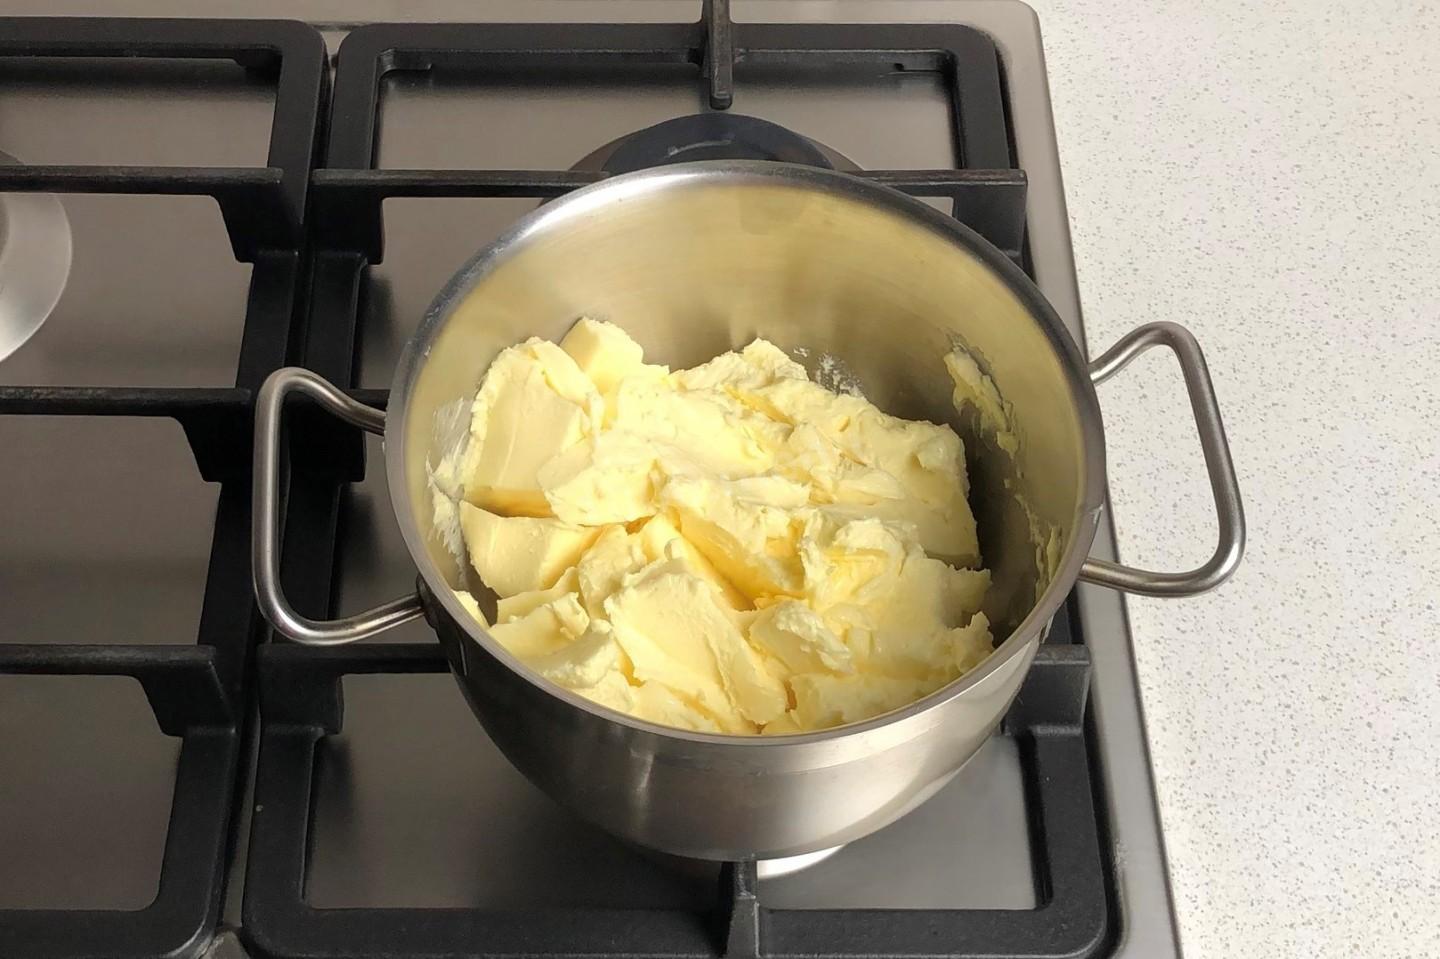
You can clarify the butter either on the stovetop or in the oven. I went with the first method, since it's easier to keep an eye on and easier to show you. :) Set the pot over low heat.
-
Step 4:
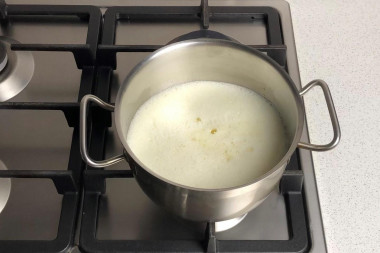
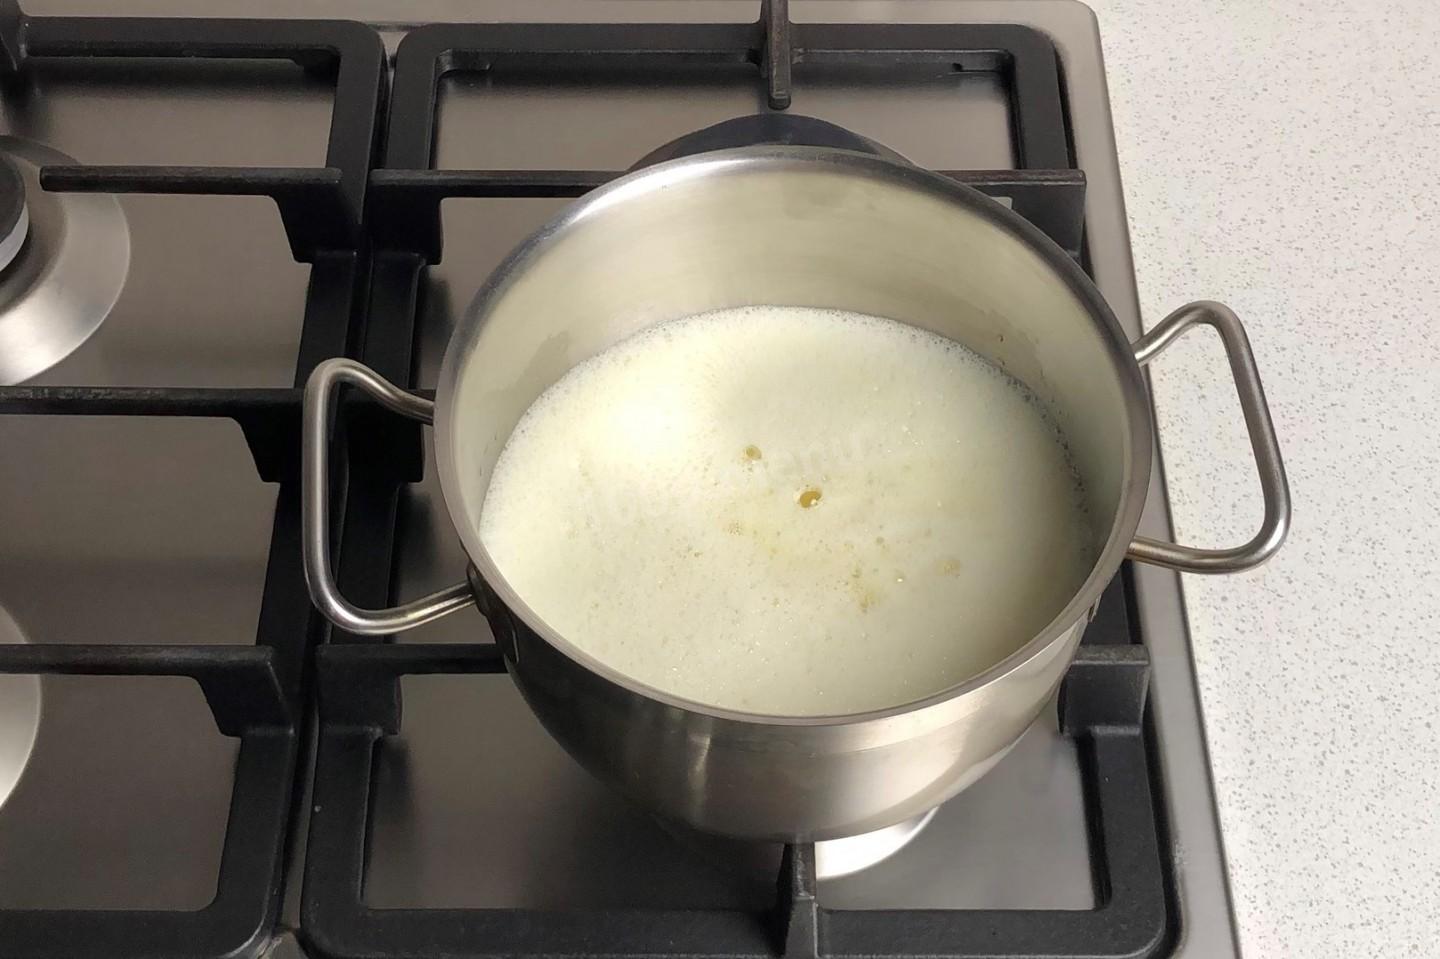
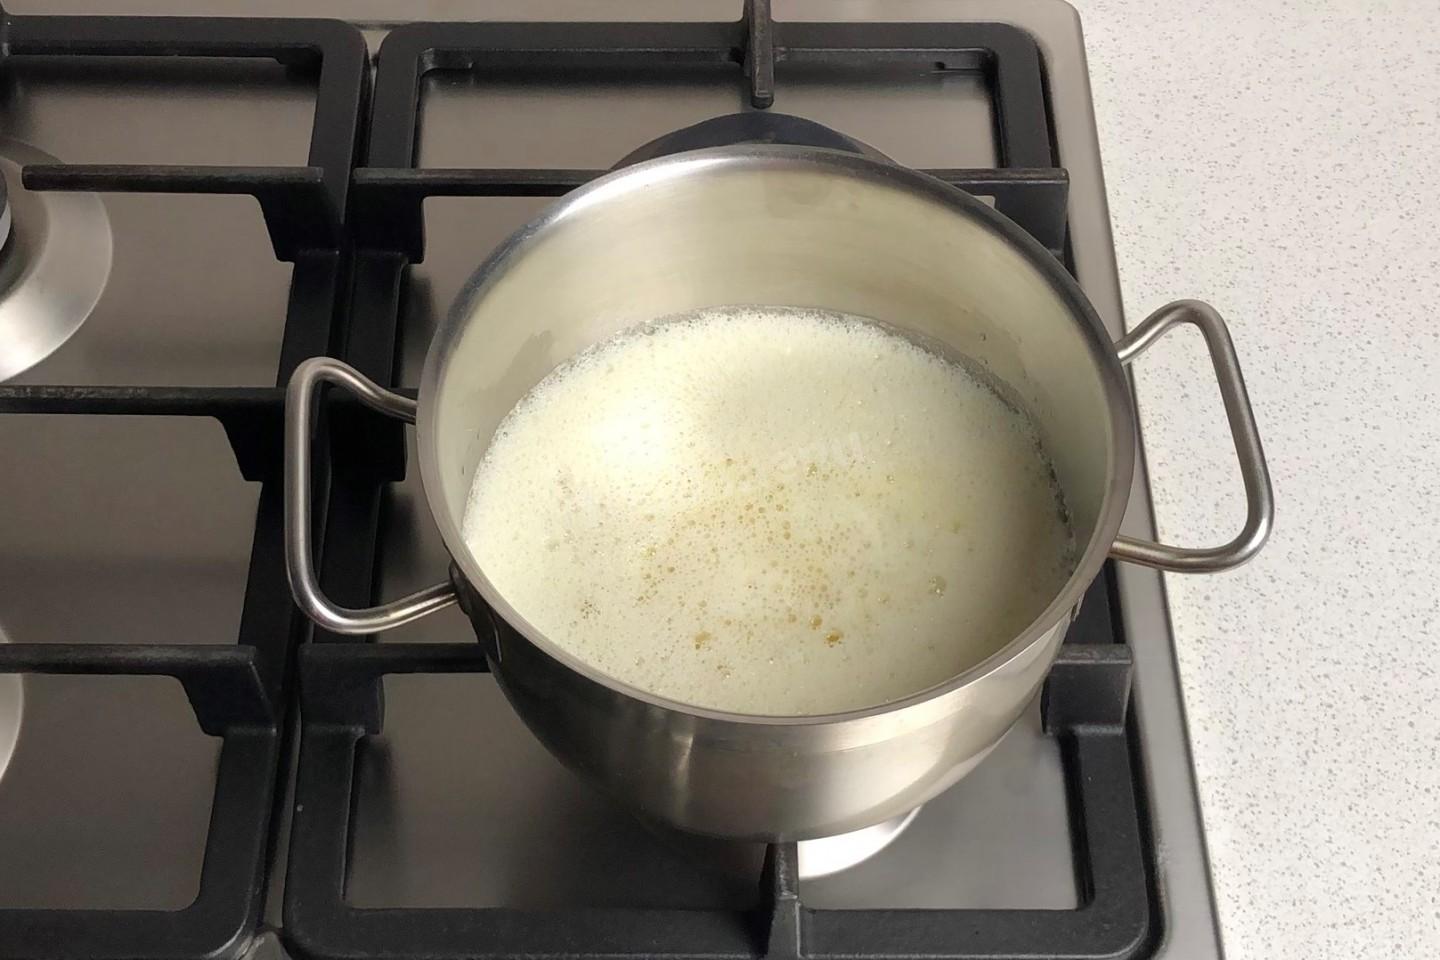
Wait until the butter has completely melted. You can stir it gently along the way. As soon as it comes to a boil, immediately turn the heat down as low as it will go. The butter should simmer and bubble gently — it should never boil hard. But you don't want it completely still either — a gentle simmer. Don't cover the pot.
-
Step 5:
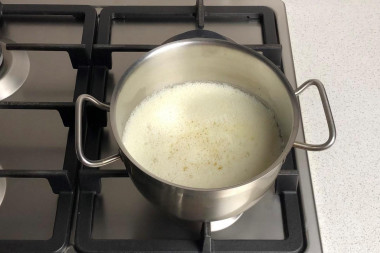
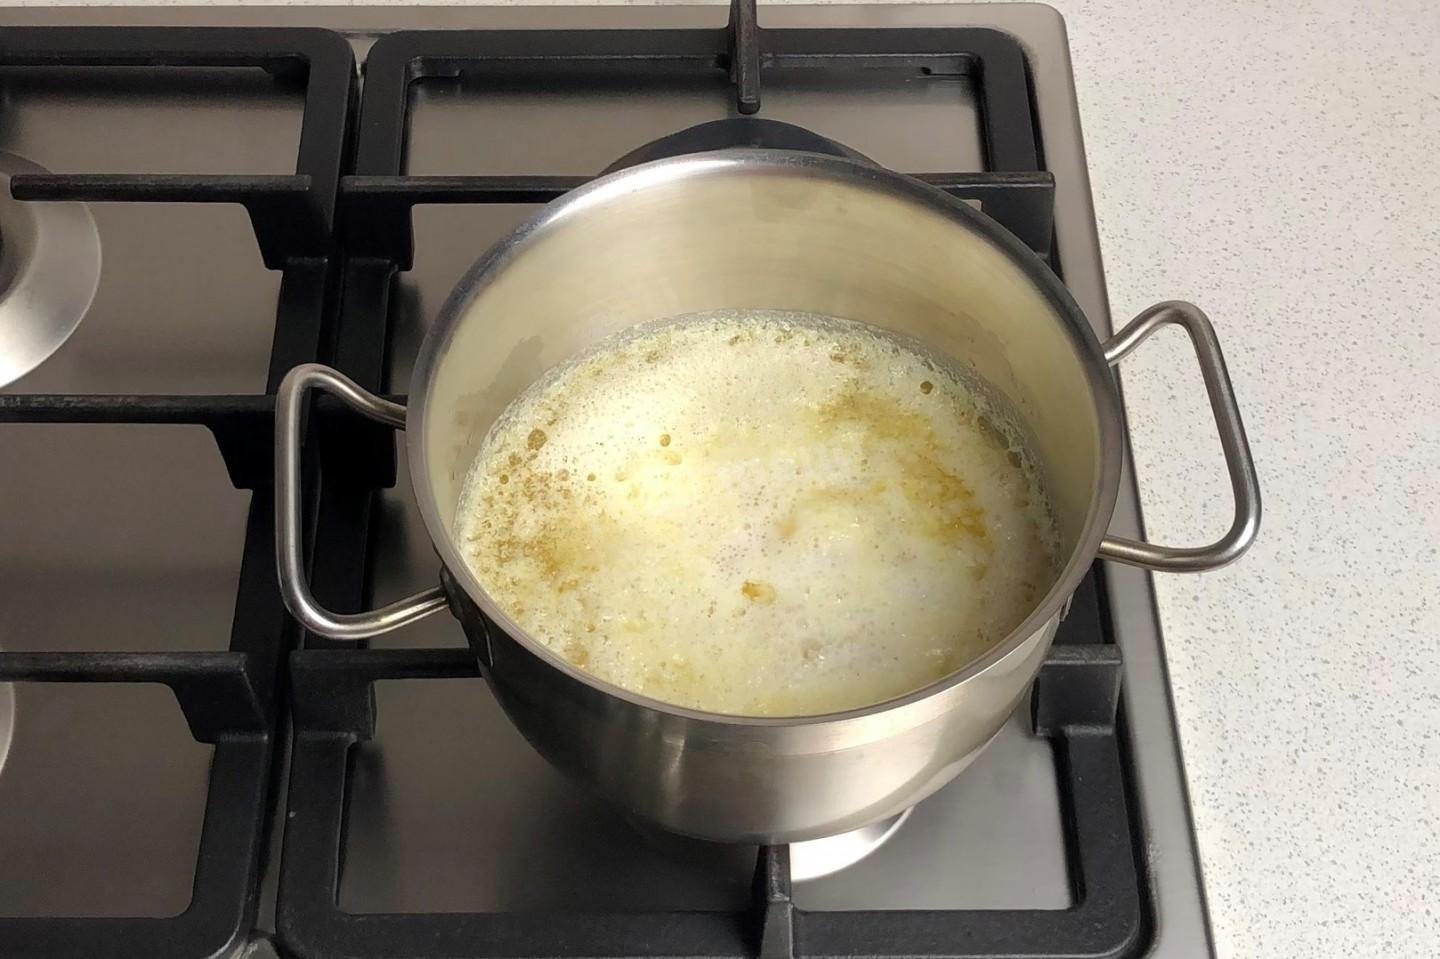
From time to time, skim off the foam that forms on the surface so the butter doesn't scorch.
-
Step 6:
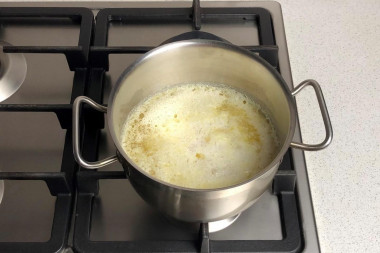
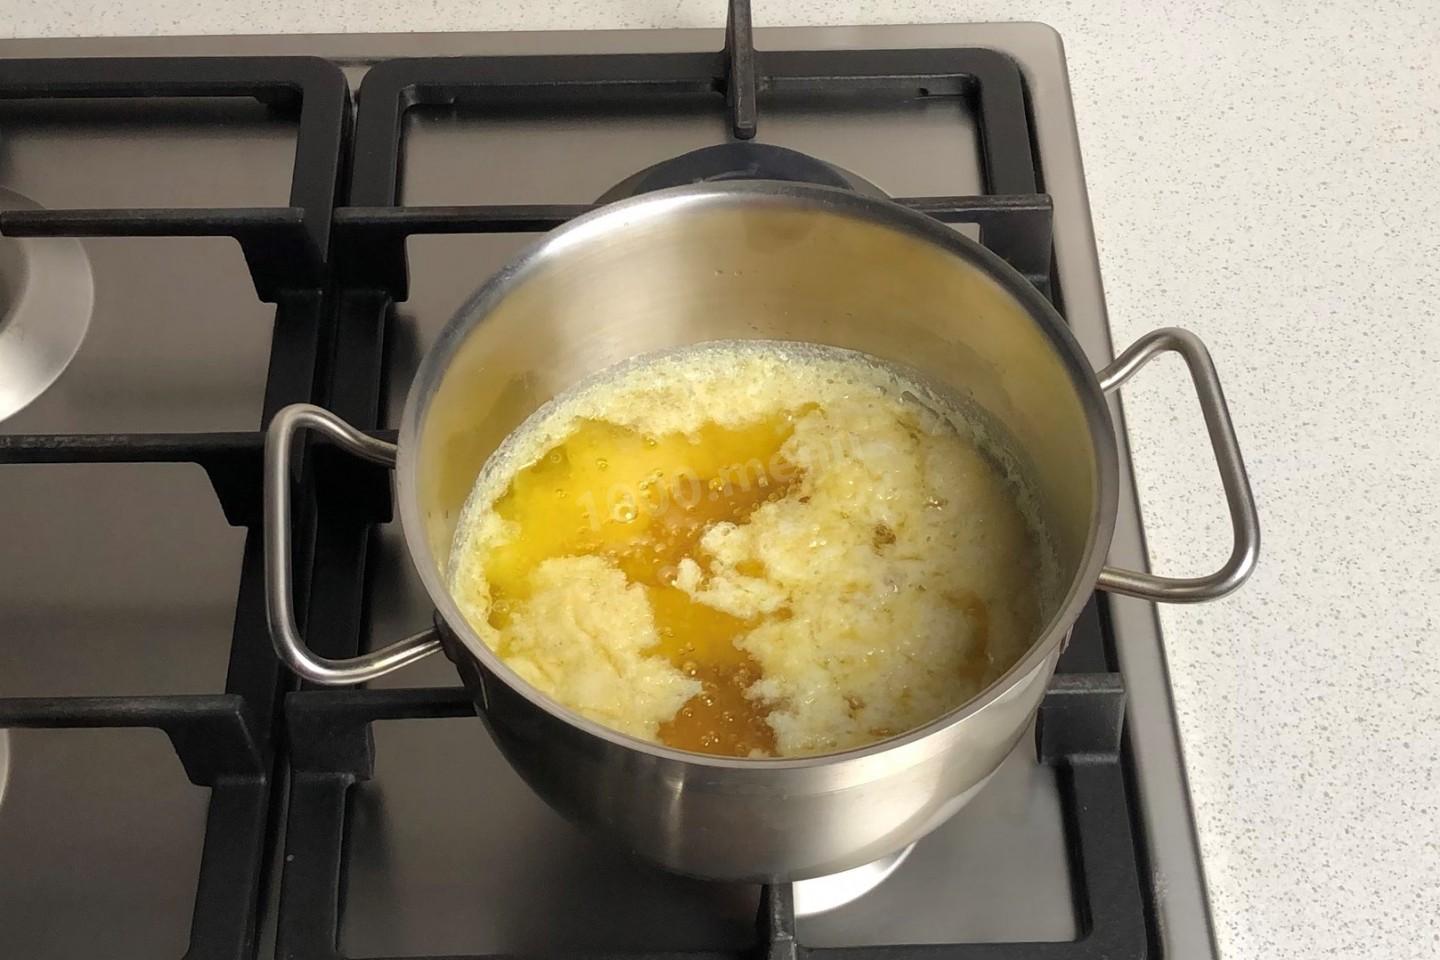
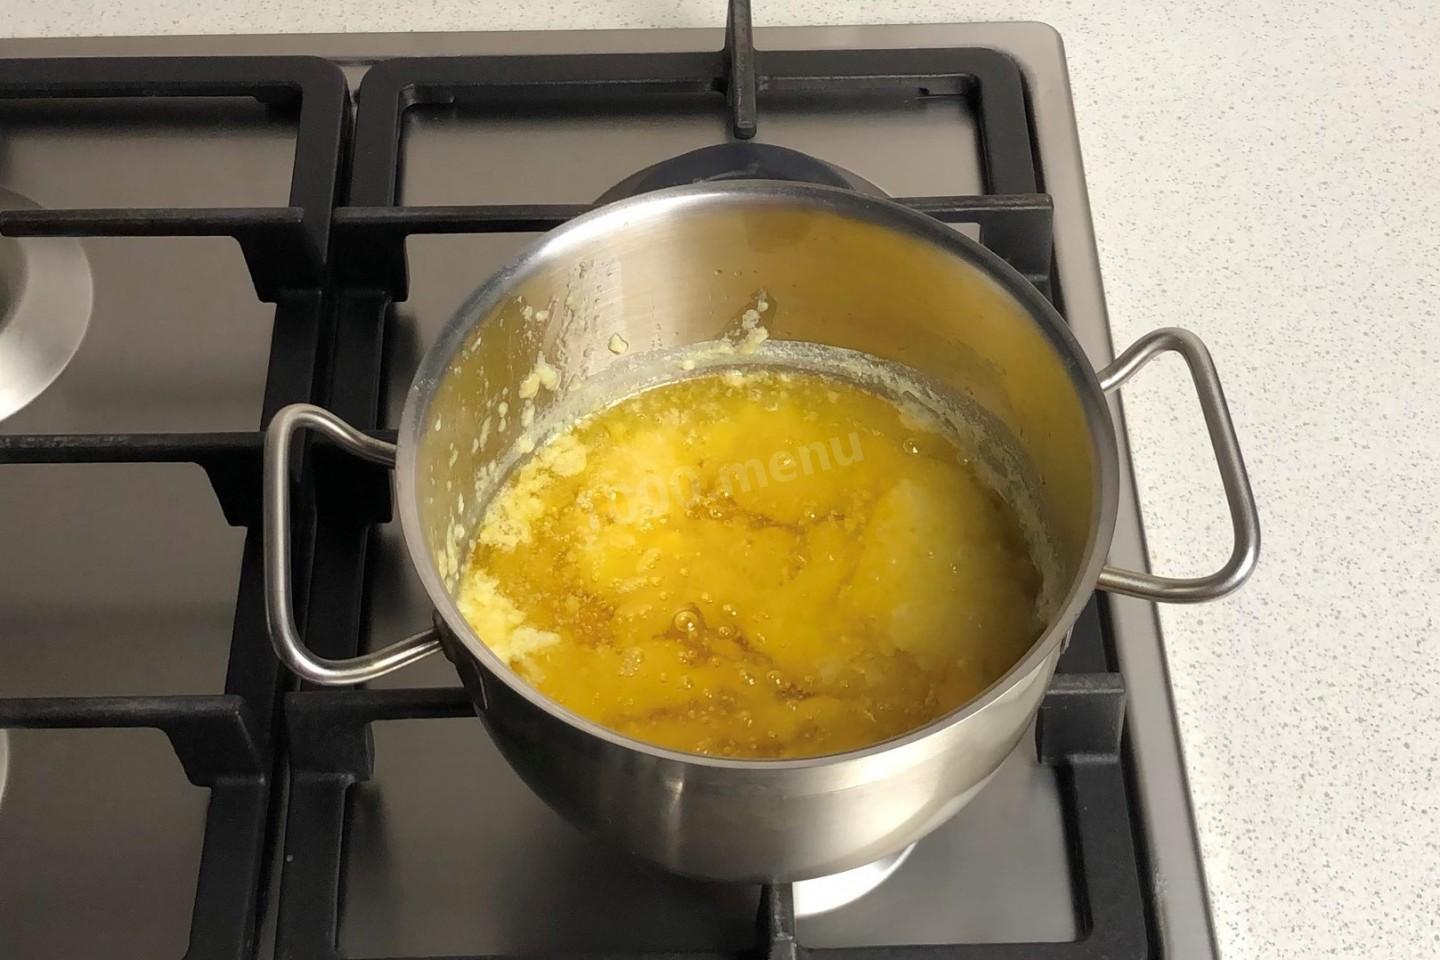
At first the butter is cloudy, with white flecks floating in it. When the white particles on the bottom and sides of the pot start to turn golden-brown and the butter becomes clear enough to see the bottom of the pot, that's the signal to turn off the heat. If you clarify the butter over too high a heat or for too long, it will darken and start to give off an acrid smell.
-
Step 7:
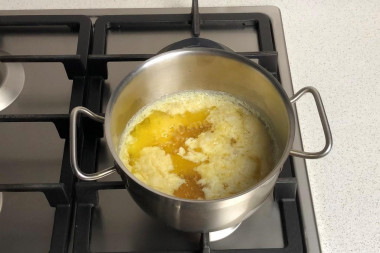
This process took me 2 hours. Keep in mind it may take more or less time — go by the state of your butter. Finished ghee has a golden color and is clear.
-
Step 8:
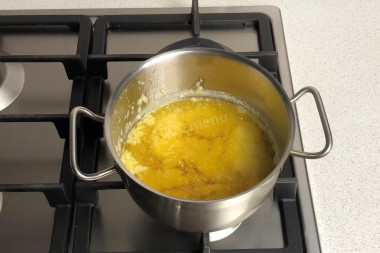
Skim off the foam with a small strainer or spoon. Don't throw the foam away — you can add it to porridge or other dishes. Try not to touch the bottom and sides of the pot, so you don't disturb the sediment.
-
Step 9:
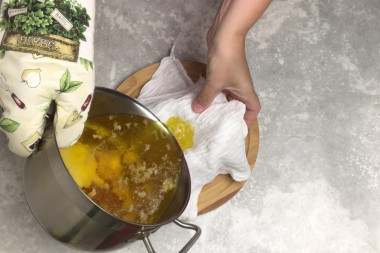
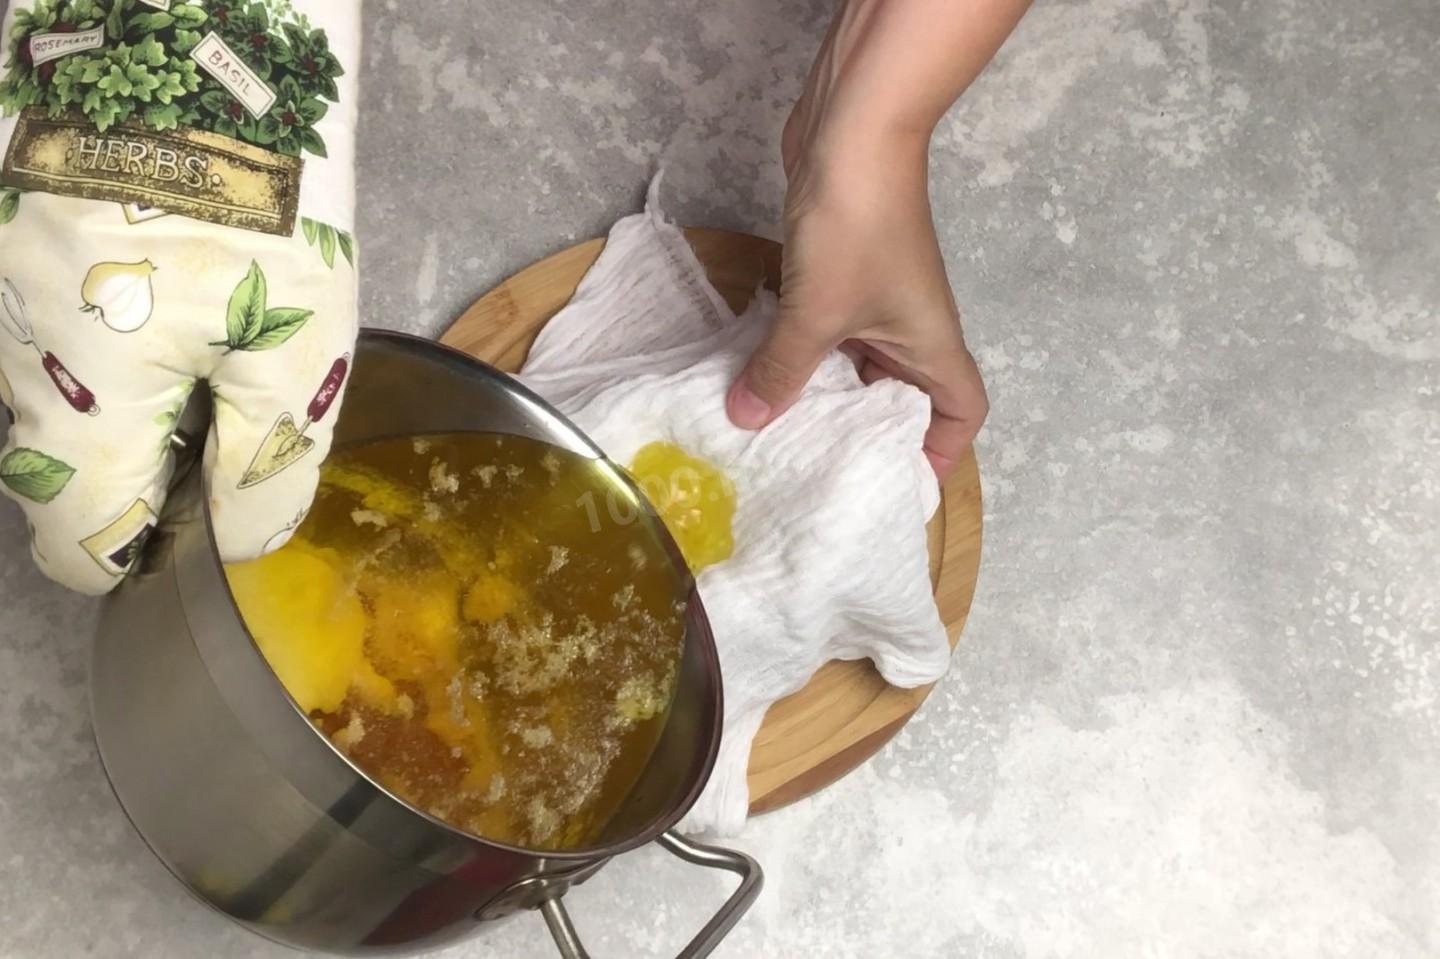
Take clean, dry jars. You'll also need cheesecloth folded into several layers. Strain the hot ghee into the jars through the cheesecloth. Pour it carefully — first, it's very hot, and second, pouring slowly keeps the sediment at the bottom.
-
Step 10:
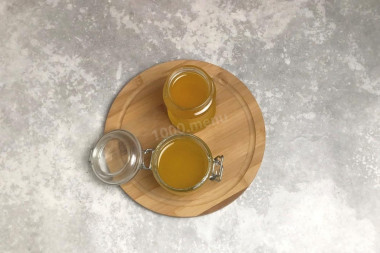
Hot ghee is clear, honey-colored, and very fragrant. Once it cools, put it in the fridge. There it will harden into the clarified butter we're all used to — firm and matte. Ghee can be stored in any cool place other than the fridge.
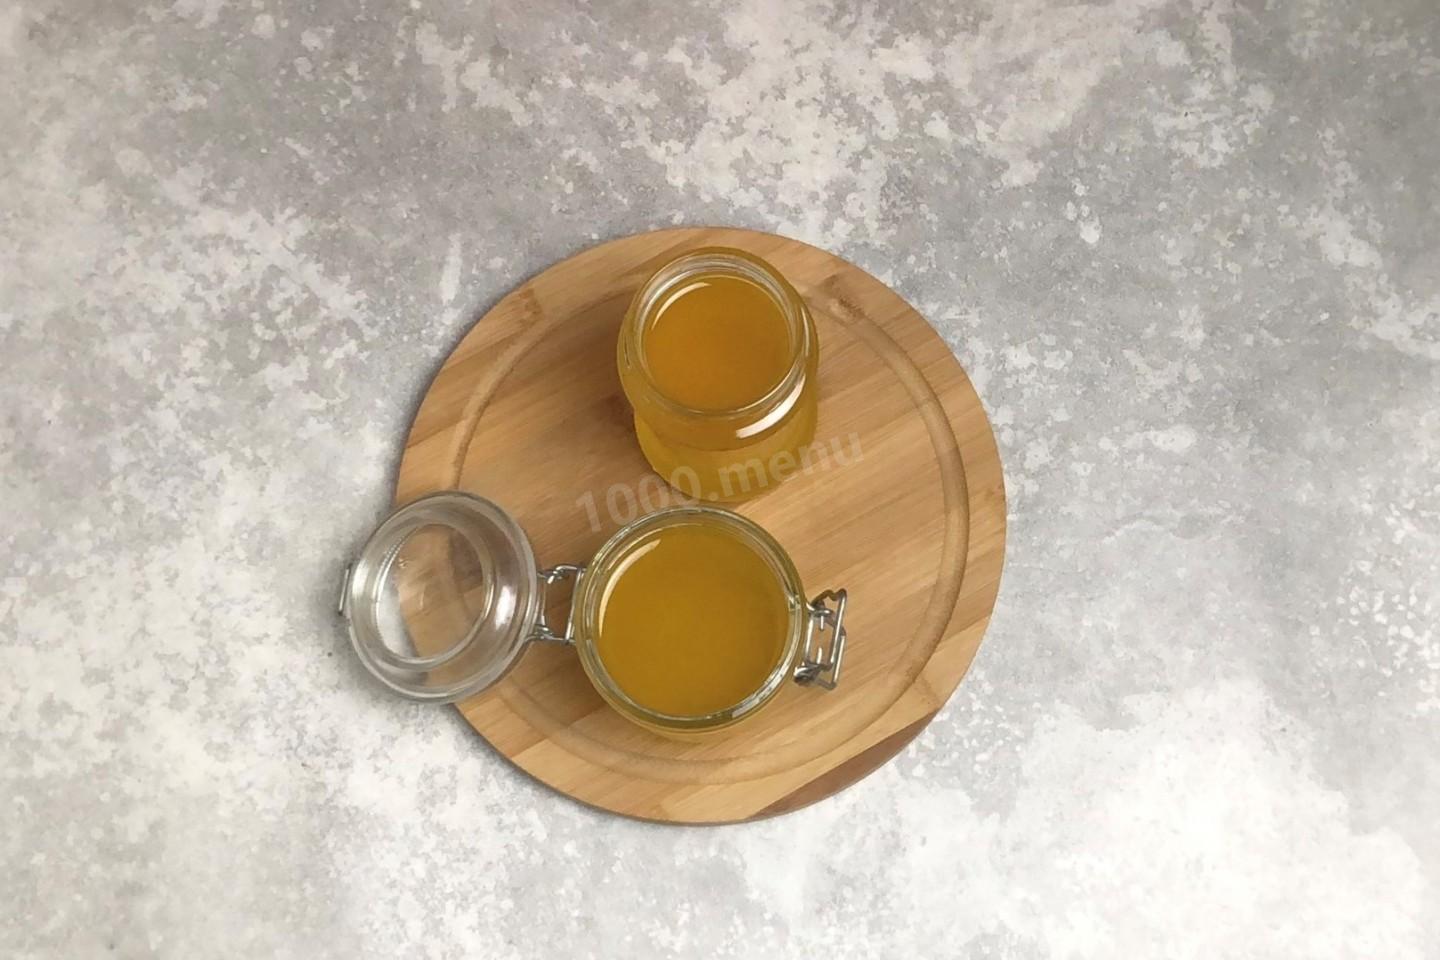
- I made ghee for the first time, and it turned out great! I'm looking forward to lots of delicious dishes with it.
Caloric content of the products possible in the composition of the dish
- Butter 82% - 734 kcal/100g
- Unsalted table butter - 709 kcal/100g
- Unsalted farmer's butter - 661 kcal/100g
- Salted farmer's butter - 652 kcal/100g
- Clarified butter - 869 kcal/100g