Sugar-Free Blueberries in Their Own Juice for Winter
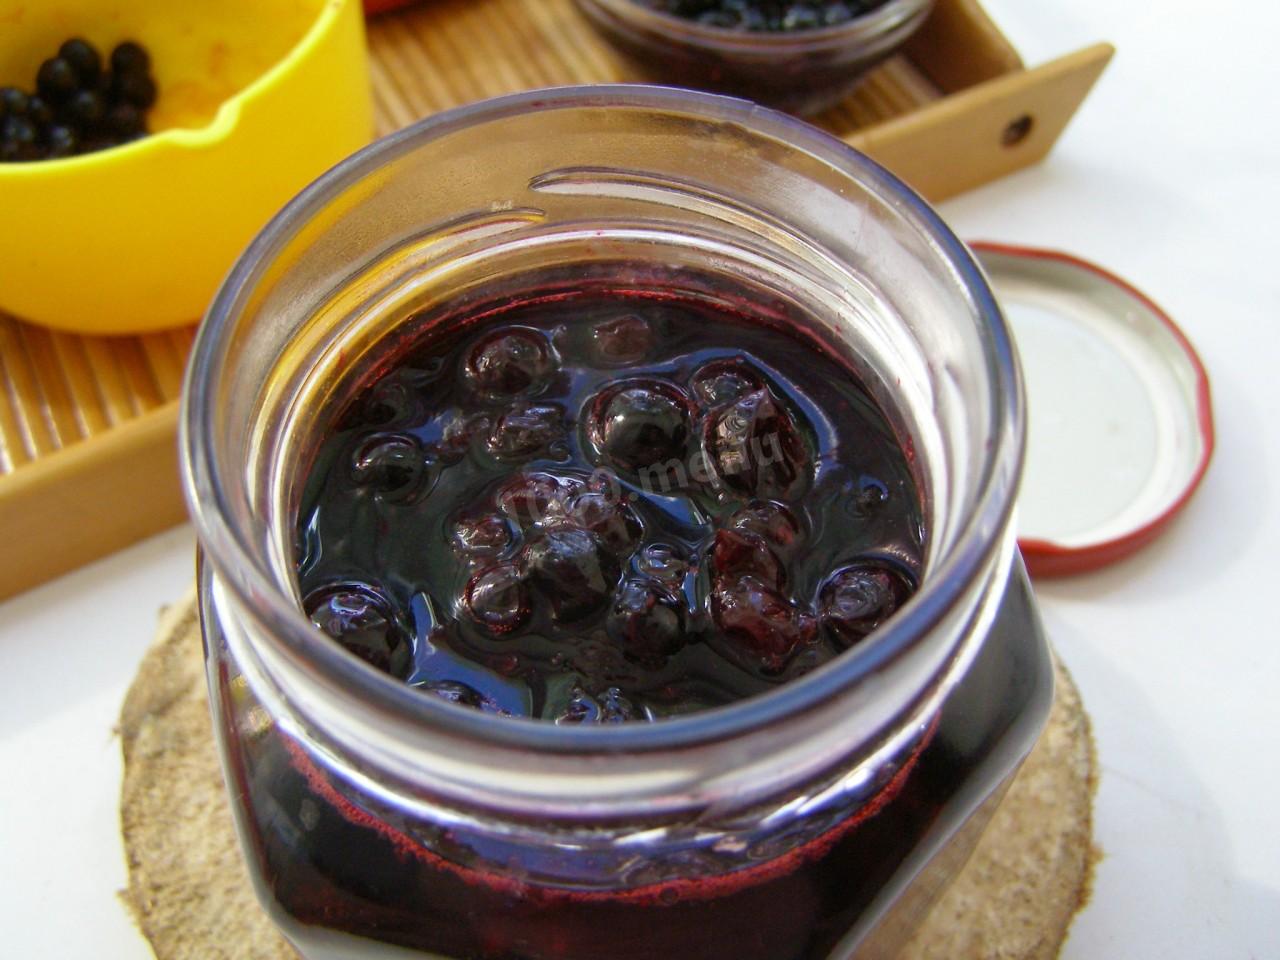
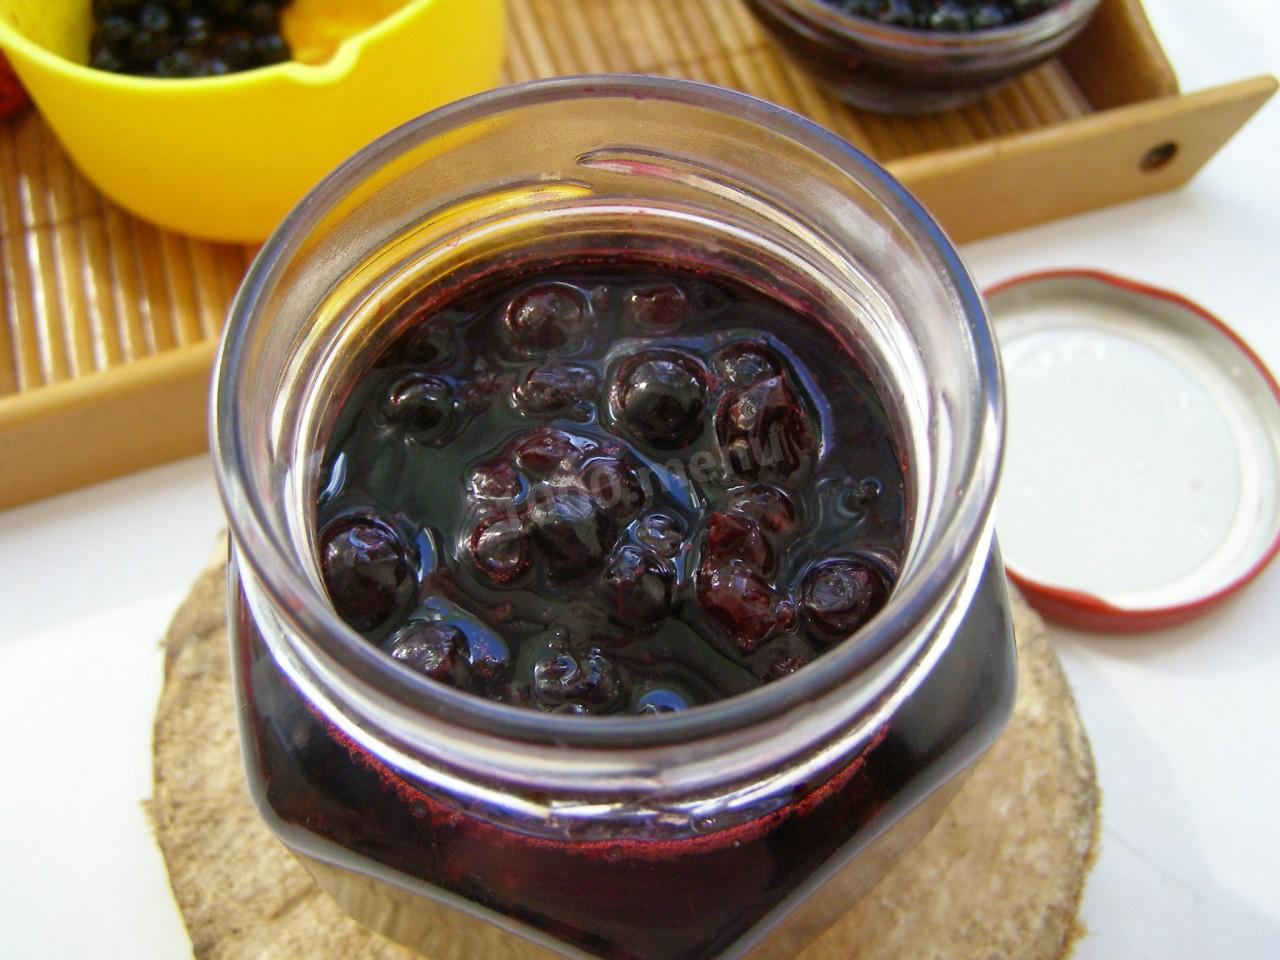
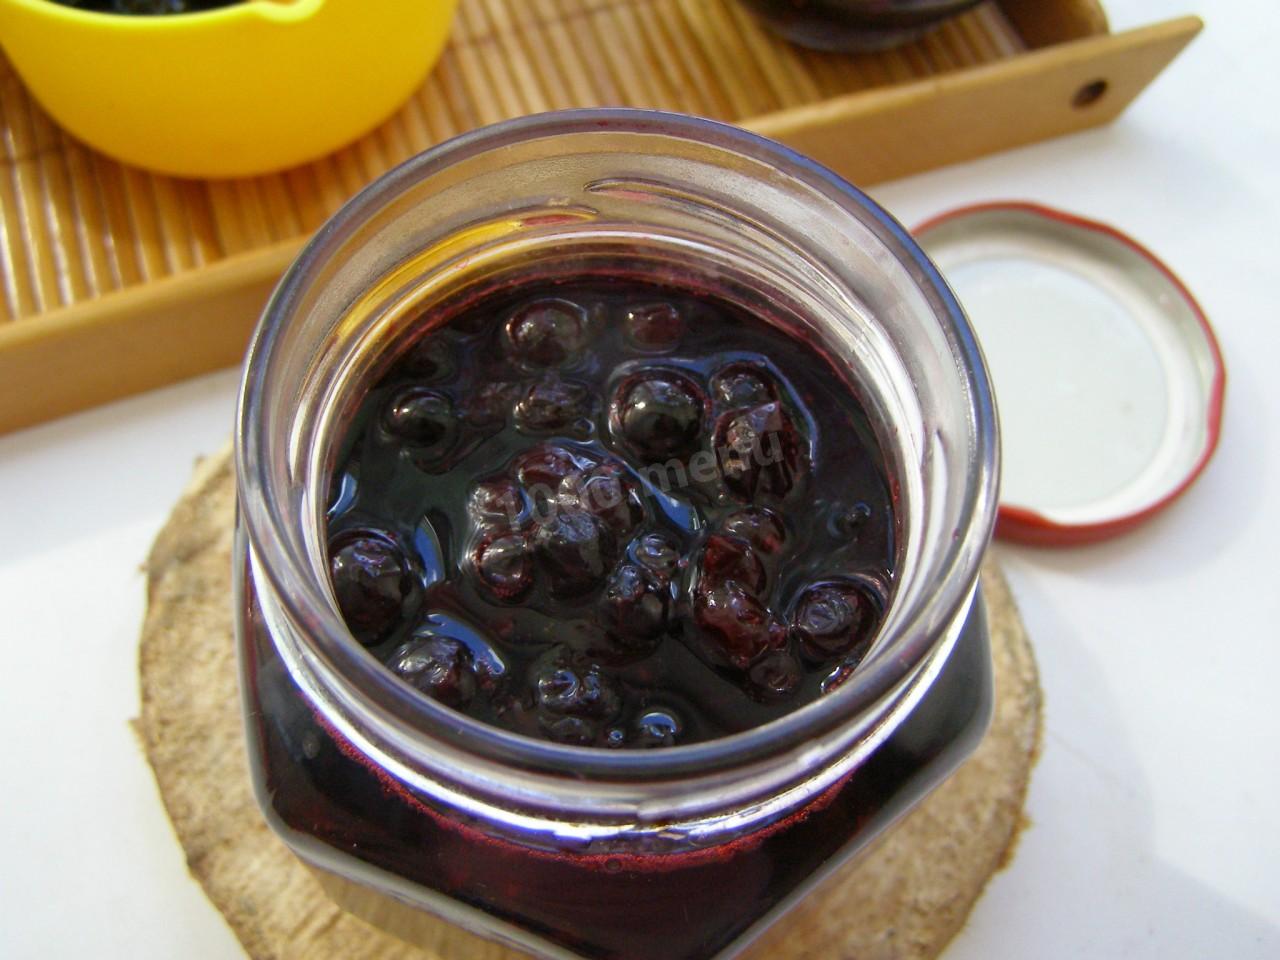
Blueberries canned in their own juice for winter—wholesome and versatile. This berry is loaded with anthocyanins, vitamin C, and other good things. How do you hold on to as much of that as possible when you put them up for winter, without adding any sugar? It's easy. Try it once and you'll do it this way every time. And it's versatile because blueberries work in so many recipes—above all baked goods, smoothies, compotes, pancakes, herbal teas, and more. This one is especially good for anyone managing diabetes or watching their waistline. It's also an ideal food for little ones.

Cooking method
-
Step 1:
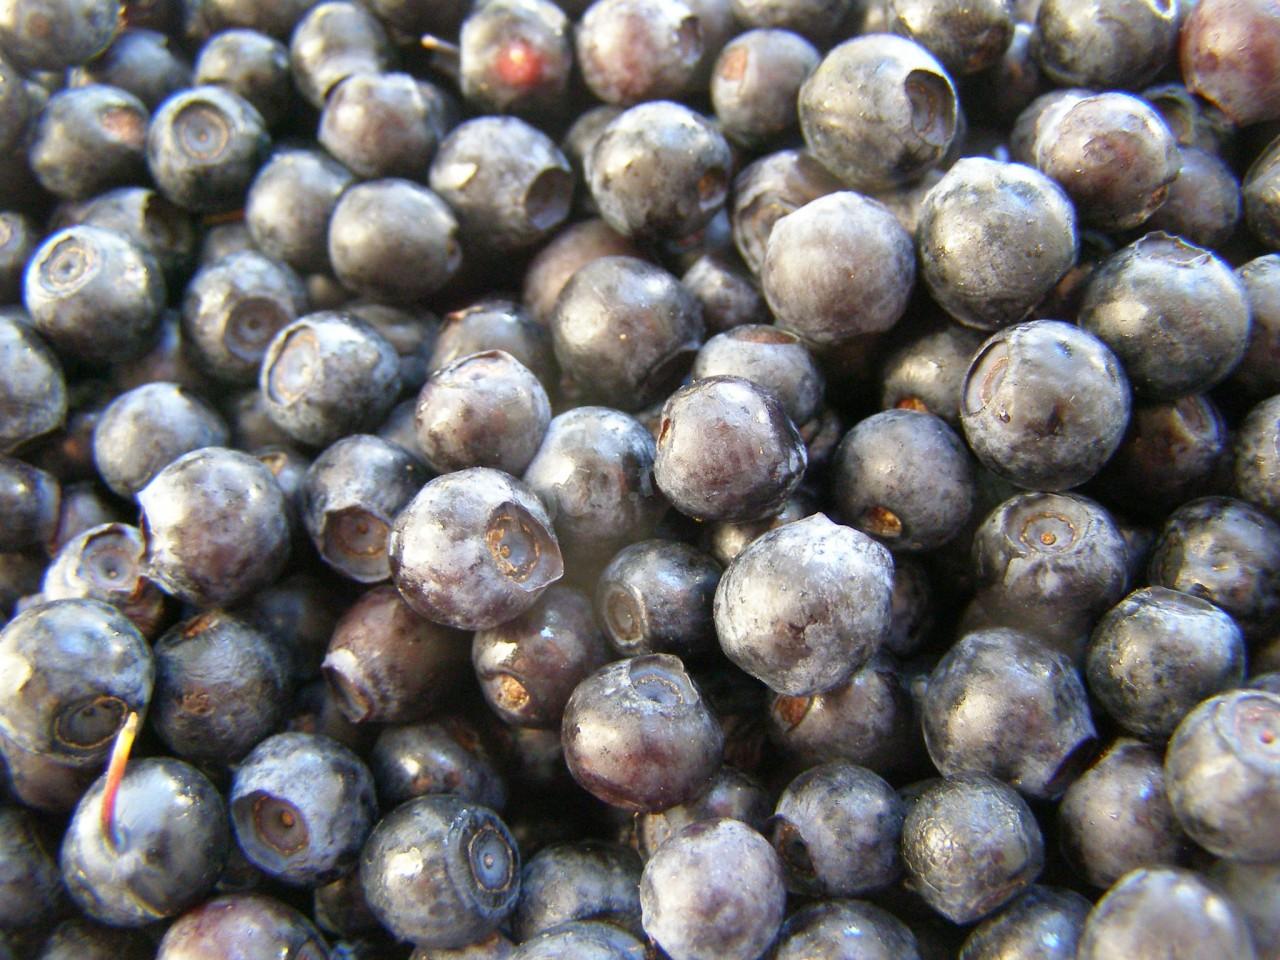
Be sure to sort through fresh blueberries—there can be quite a bit of debris and the odd rotten berry in there.
-
Step 2:
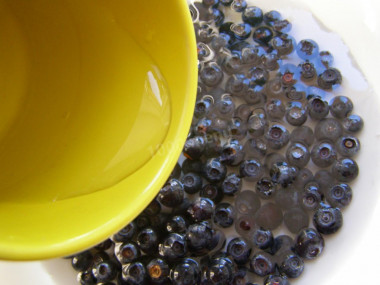
Tip them all into a basin and rinse the berries in water—do this several times.
-
Step 3:
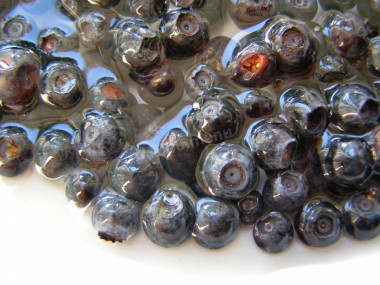
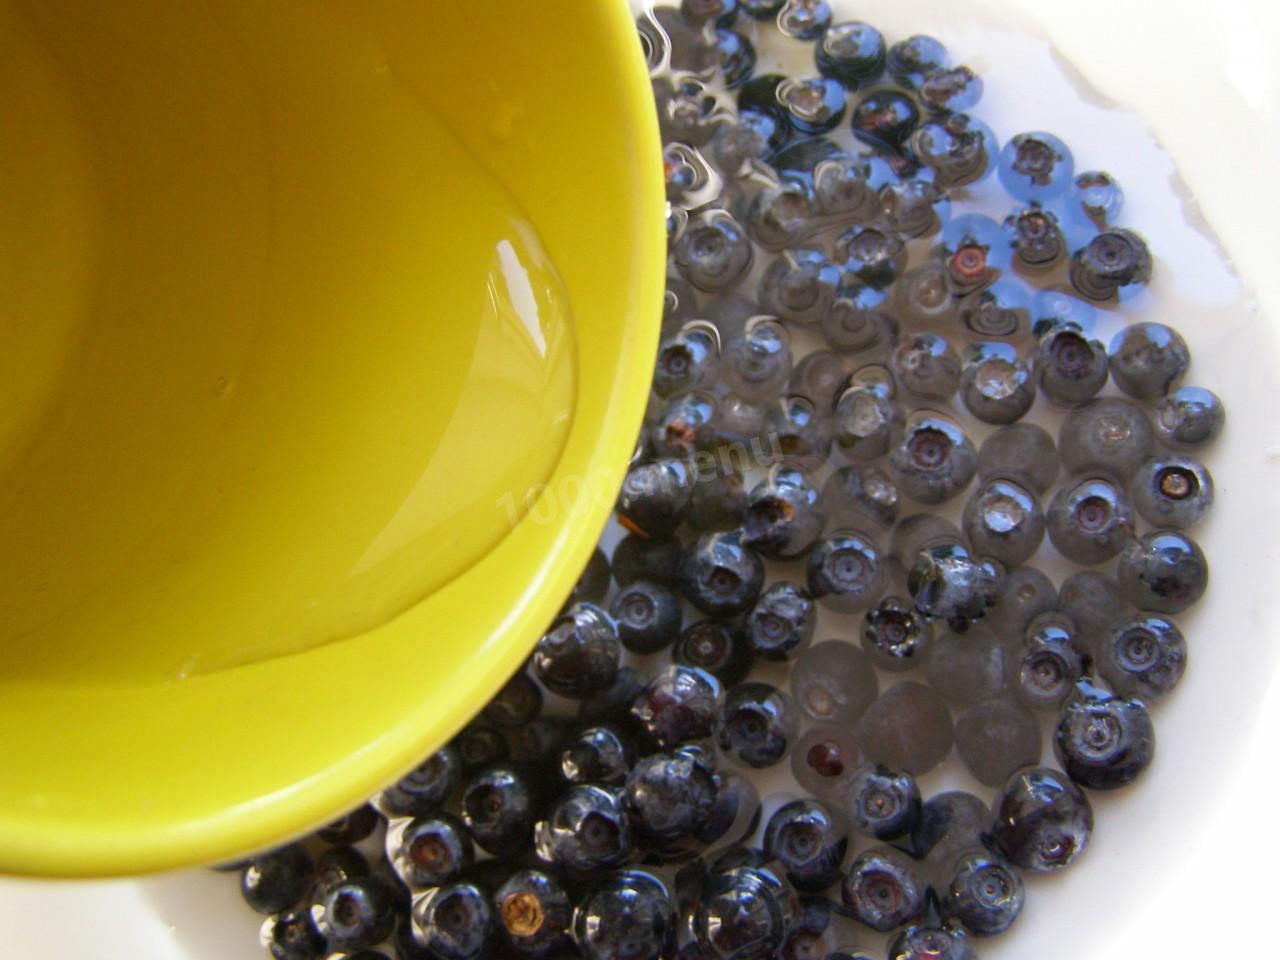
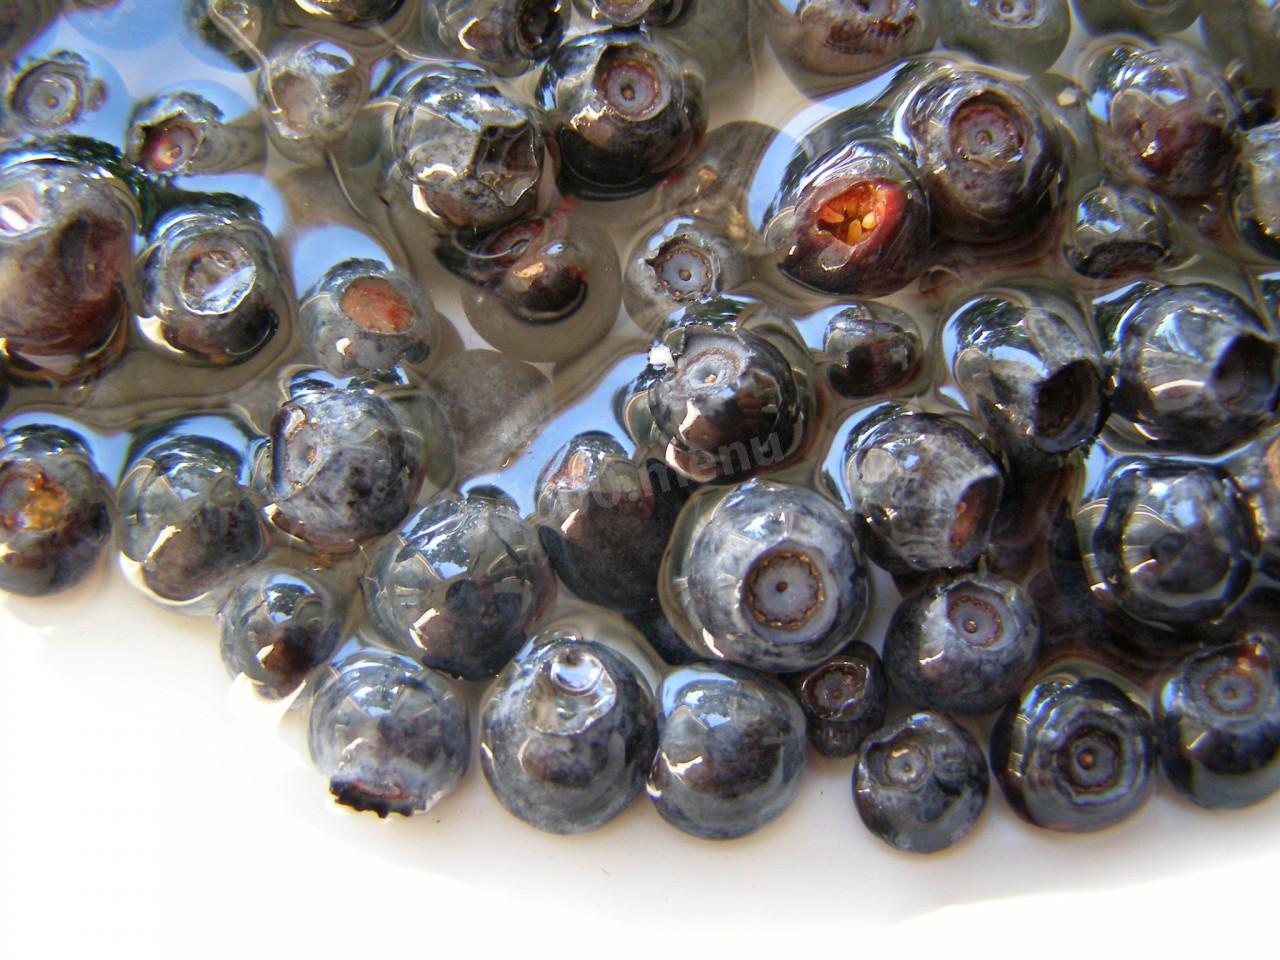
Then drain that water and cover the blueberries with cold water. Let them sit for about 30 minutes. In that time, any little gnats that may be hiding in there, along with anything else you don't want in your preserve, will float to the top.
-
Step 4:
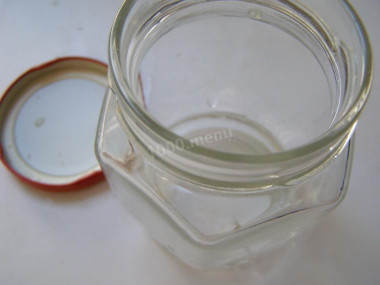
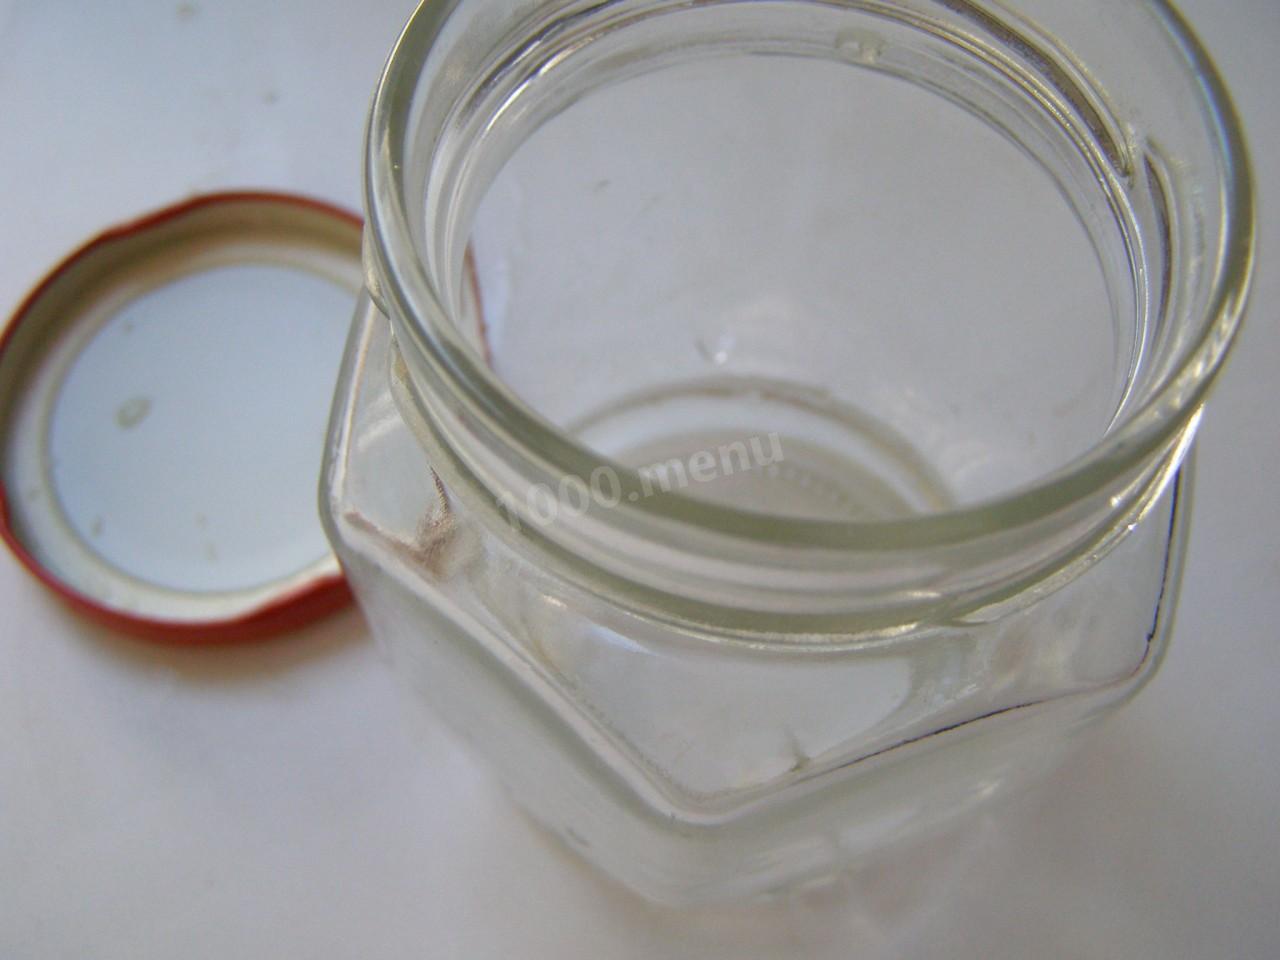
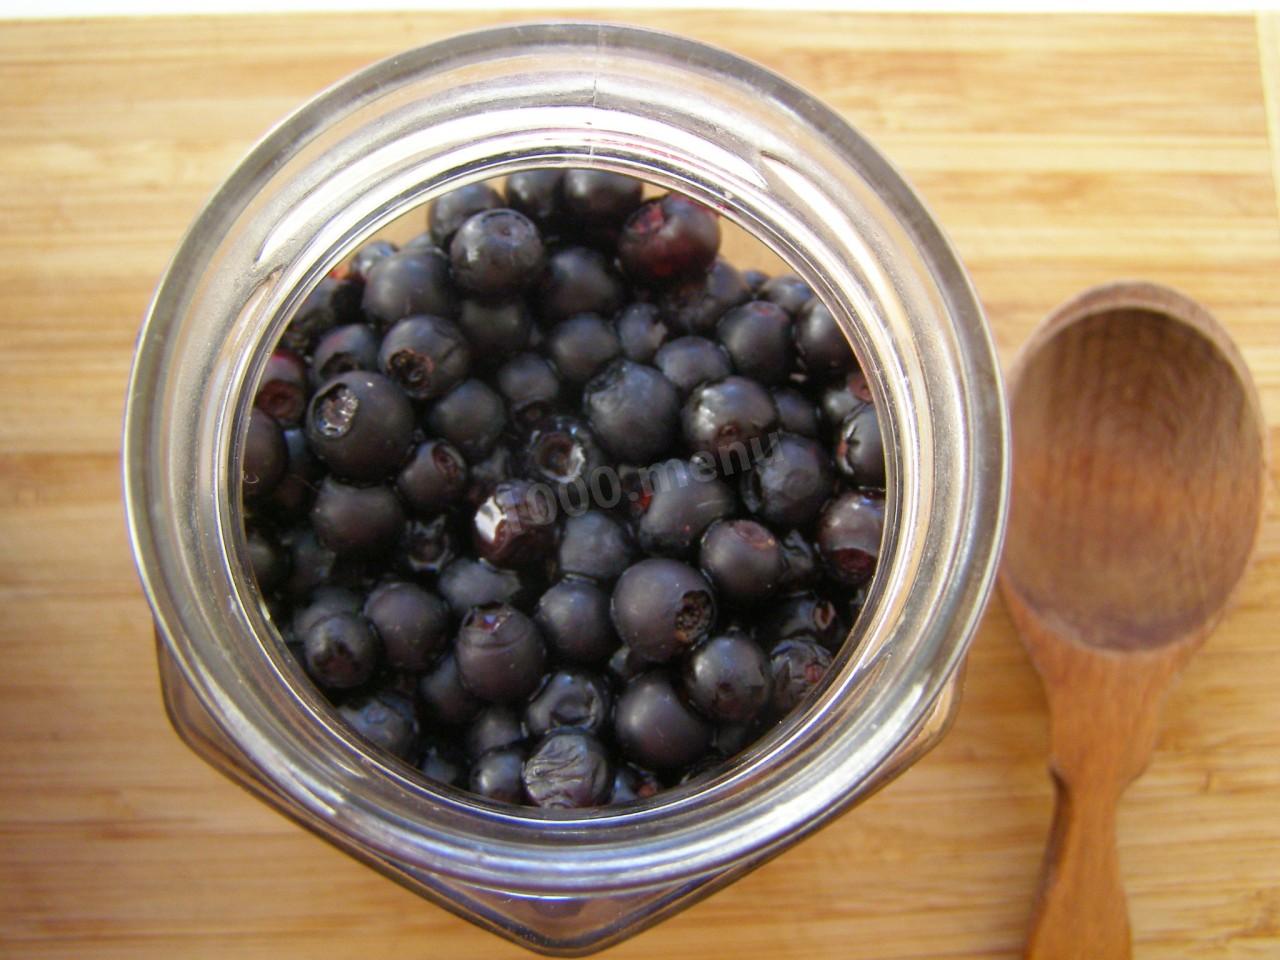
While that's happening, sterilize a jar and lid. I went with a small 150-gram jar—a handy size for storing blueberries.
-
Step 5:
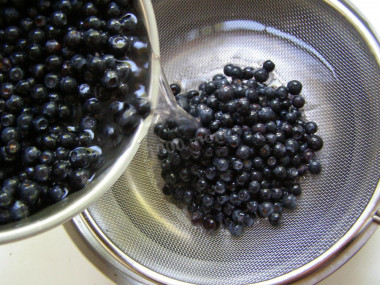
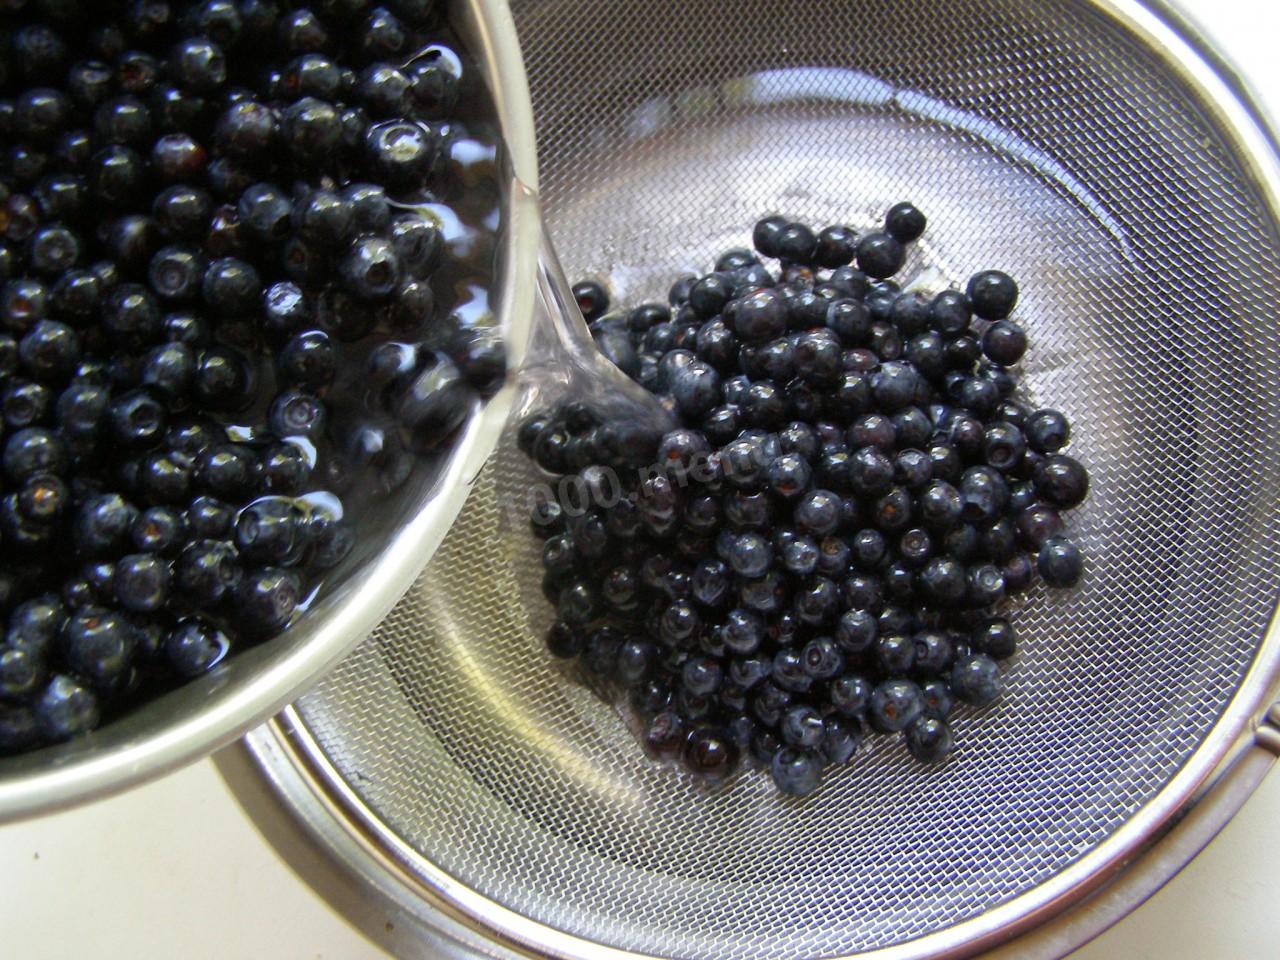
Once you're satisfied there's nothing unwanted left, drain the water. I used a sieve—even after rinsing, there was still plenty of junk left behind.
-
Step 6:
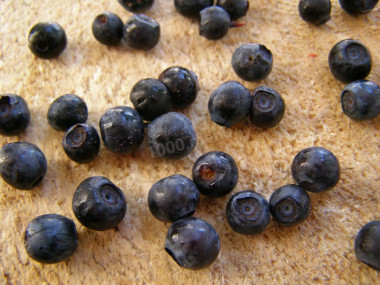
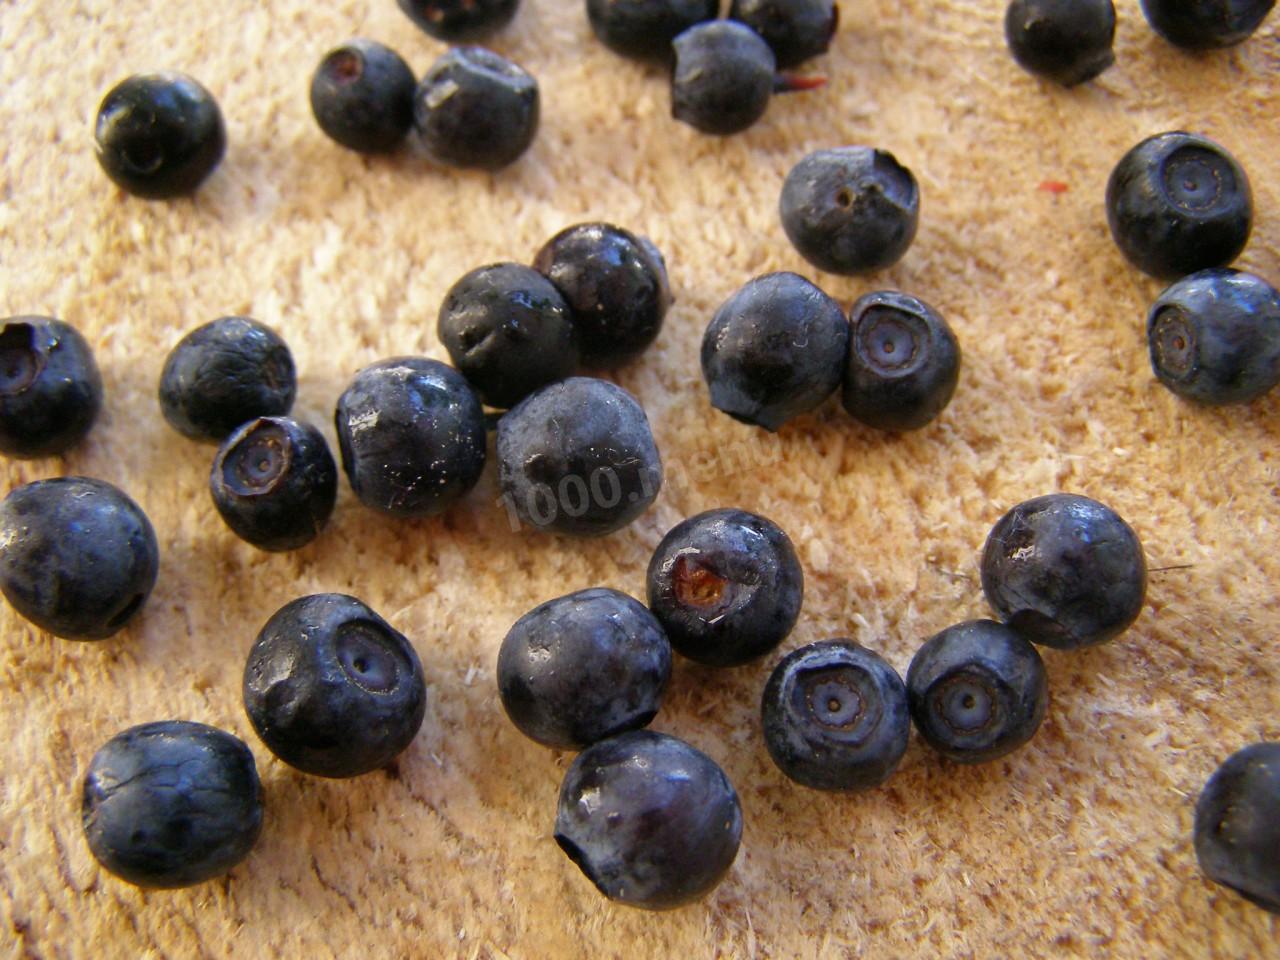
Now we need to dry the berries off as much as possible. I spread them out in a single layer, so they weren't touching, on a moisture-wicking surface. You can also lay the berries out on a clean towel.
-
Step 7:
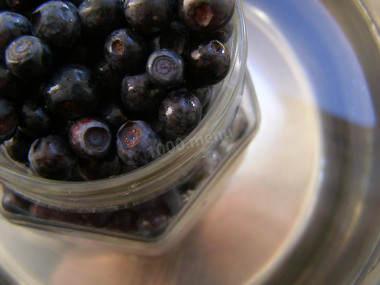
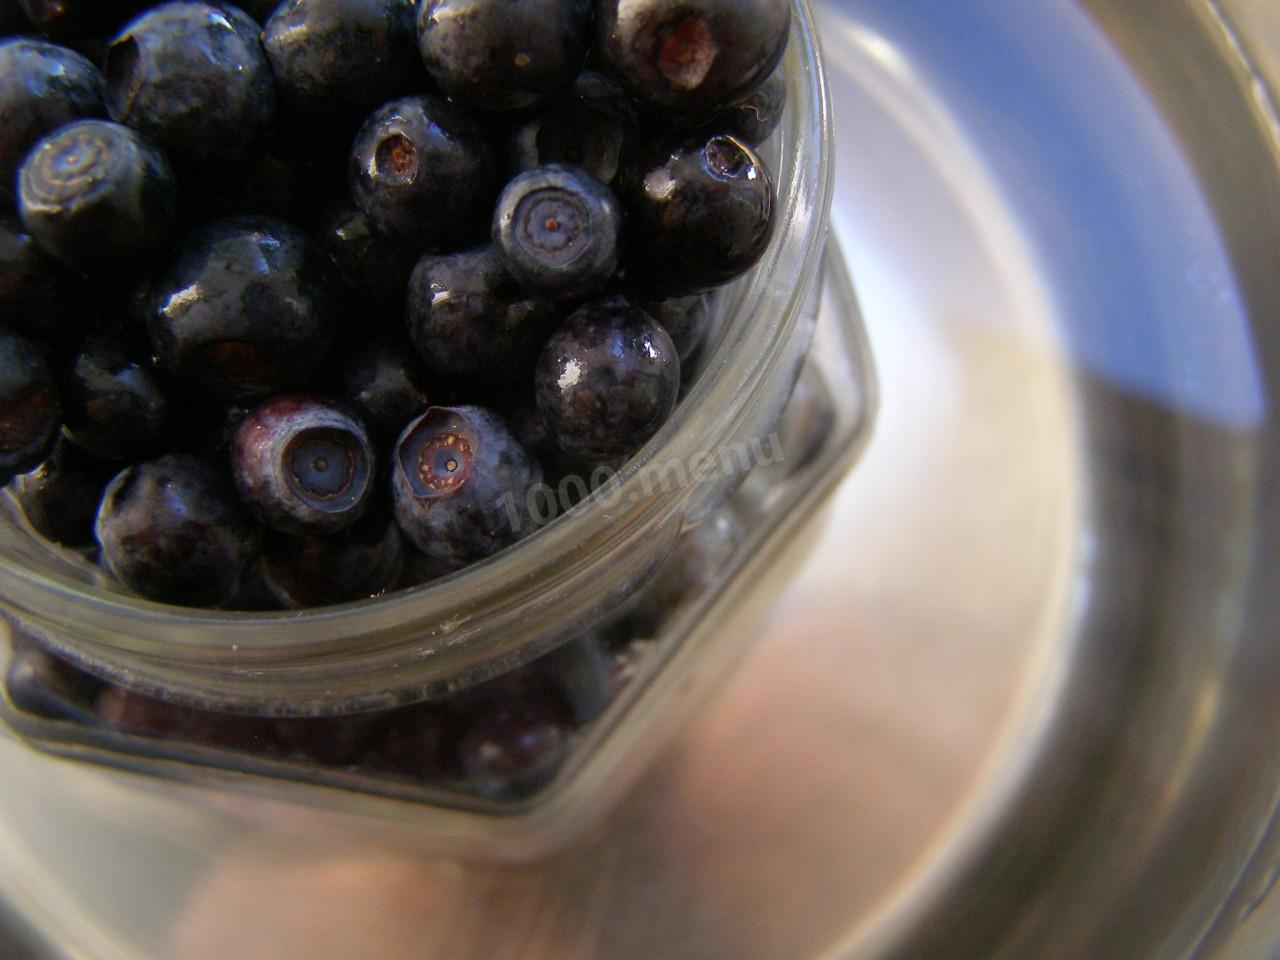
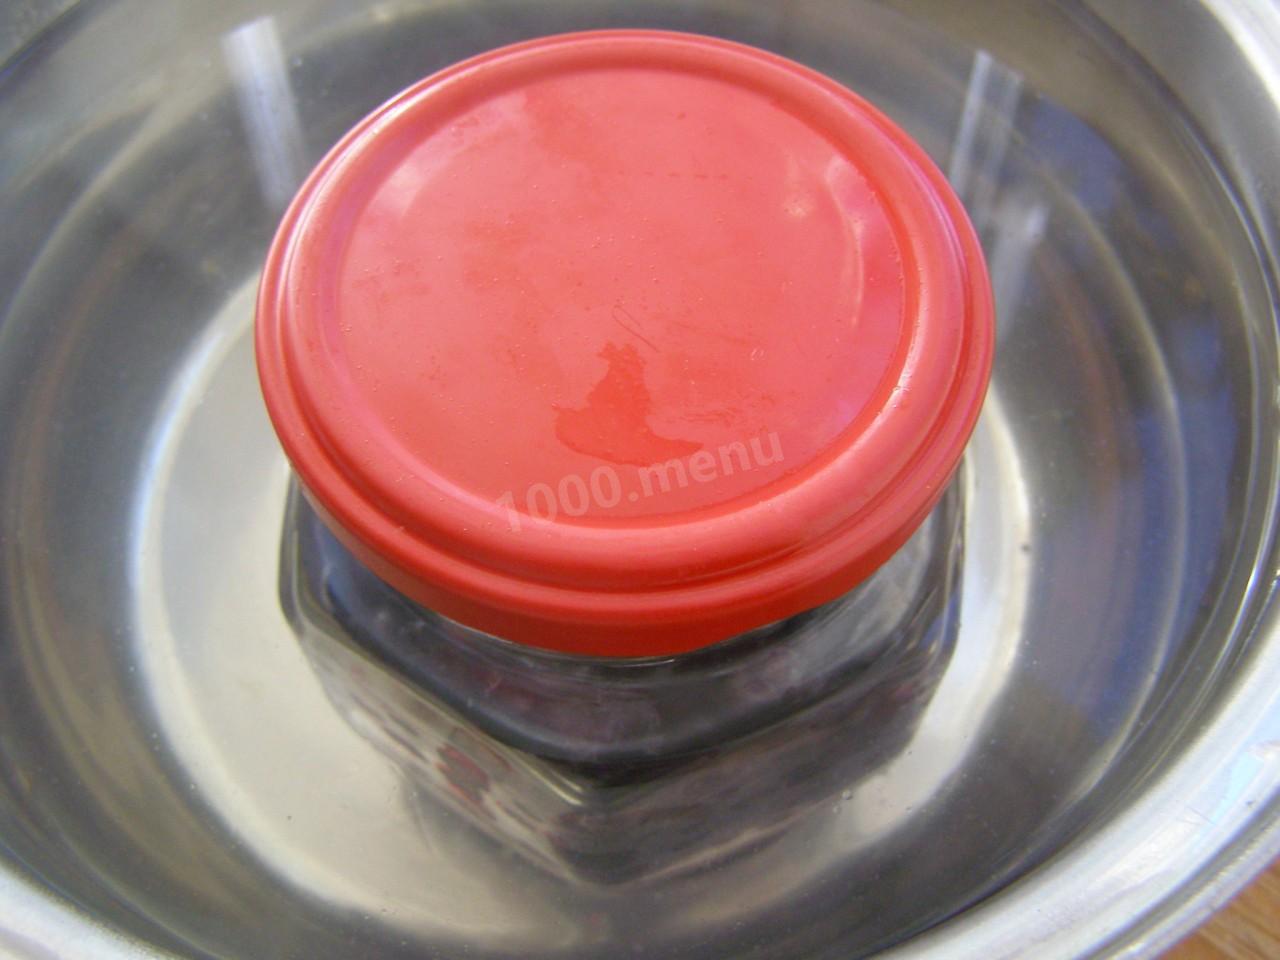
Now pour water into the pot you've chosen for this—it should be tall and wide enough. Fill the jar with berries and lower it into the pot. Note: the water should come up to the shoulders of the jar, but no higher.
-
Step 8:
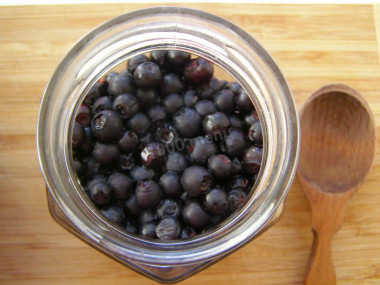
Bring the water to a boil. Lower the heat and let the berries process. Look at this photo—there are fewer berries now and they've softened, so we'll top the jar off with a fresh batch.
-
Step 9:
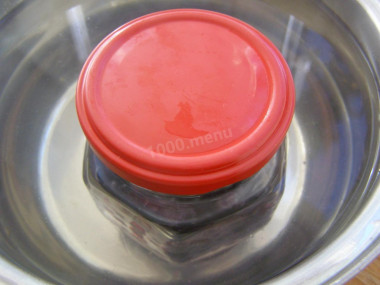
Once you see the volume holding steady—that is, the berries have stopped shrinking and are covered in their juice—process for about five minutes with the lid on, then turn off the heat.
-
Step 10:
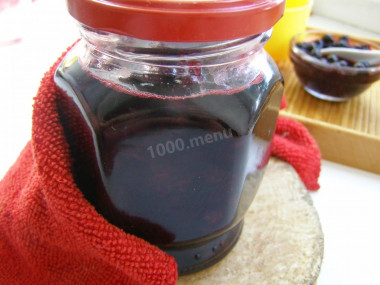
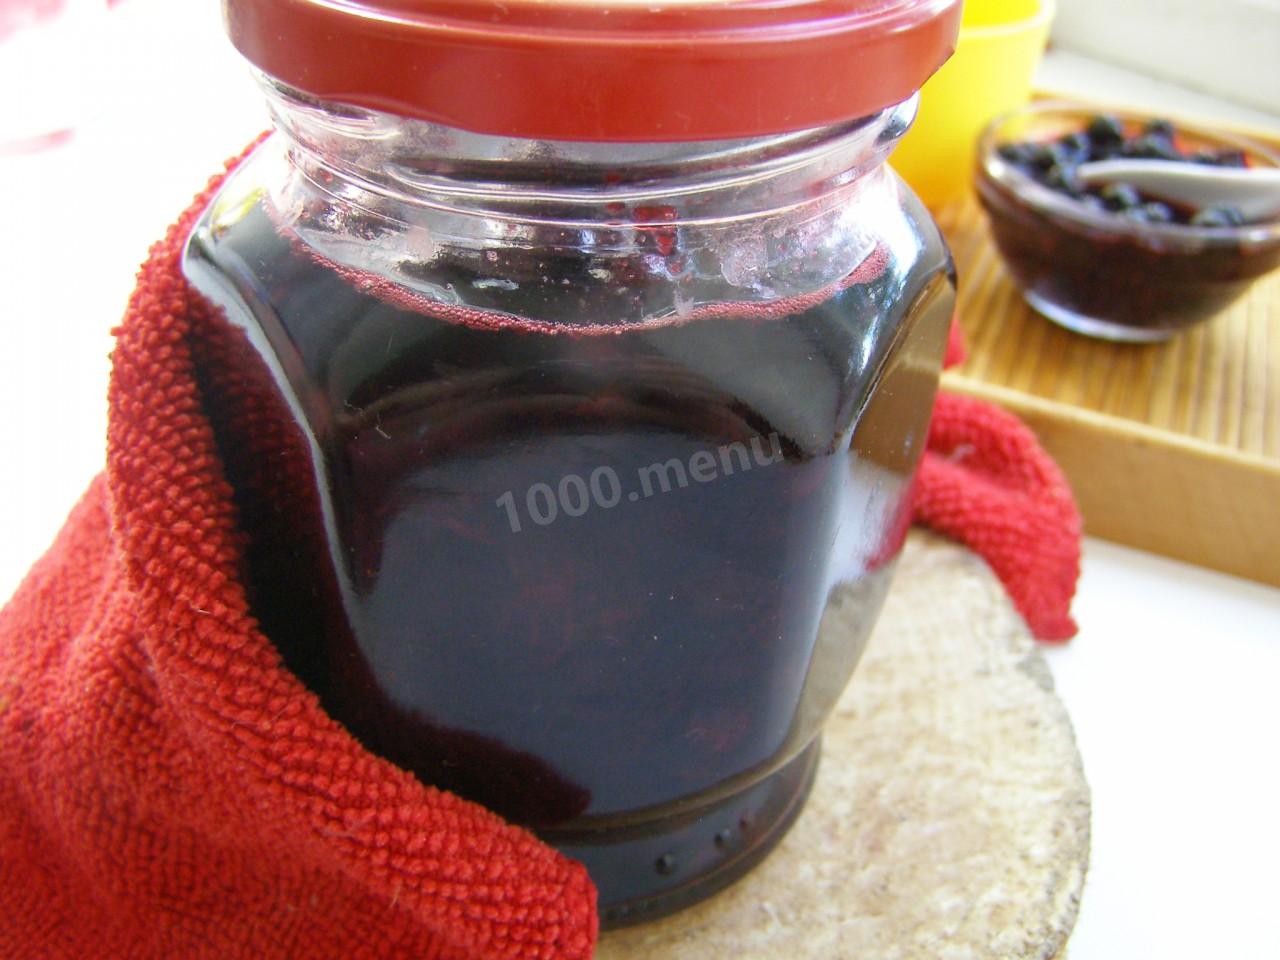
Seal the jar with a canning tool or screw the lid on tight. Wrap it in something warm and let it cool. Keep in mind, this preserve then needs to be stored somewhere cold—and it'll keep almost until spring. You can put up several of these little jars. From 300 g of fresh blueberries, I ended up with a little over 160 g.
- A few more tips. Some people may not love that the berries shrink during processing—but it's worth it. Just be ready for your blueberries to lose about 30 percent of their volume. Prep your jars for the sugar-free blueberries ahead of time—they must be dry and sterile. It's best to sterilize them with dry oven heat for half an hour, without any moisture. Keep in mind, too, that each jar takes a good while, so it's better to put up a large batch at once. To save time, you can skip topping off with fresh berries and instead pack everything into clean jars; then, once it's all done, transfer it to other dry jars and process once. BY THE WAY: the blueberries cook down to about half in the jar.
Caloric content of the products possible in the composition of the dish
- Blueberries - 44 kcal/100g
- Fresh frozen blueberries - 56 kcal/100g