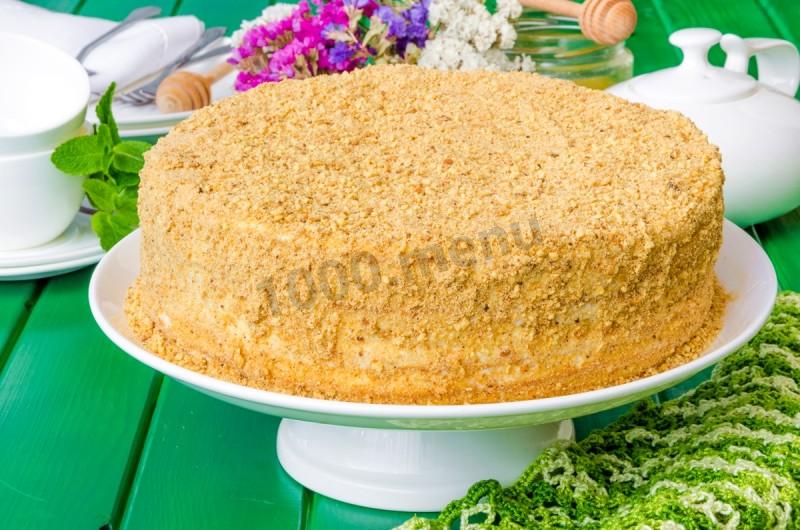
Skillet Honey Cake (Medovik)
Let's make a delicious homemade honey cake right in a skillet! This medovik recipe was a real revelation for me — I'd never made a layer cake in a skillet before. I'd seen recipes for it online, of course, but something always held me back — for no good reason. This skillet honey cake turns out tender, tasty, satisfying, and fragrant, and it's very simple to make — quick, too, if you don't count the time the dough needs to chill.

Cooking method
-
Step 1:
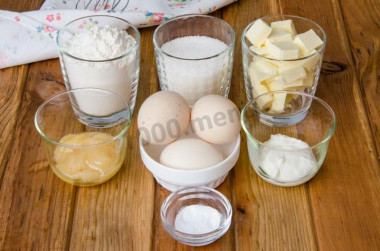
Let's make the dough.
-
Step 2:
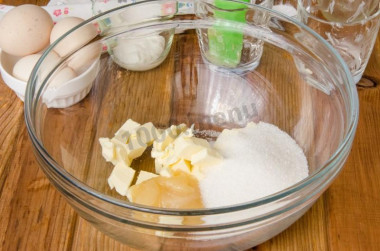
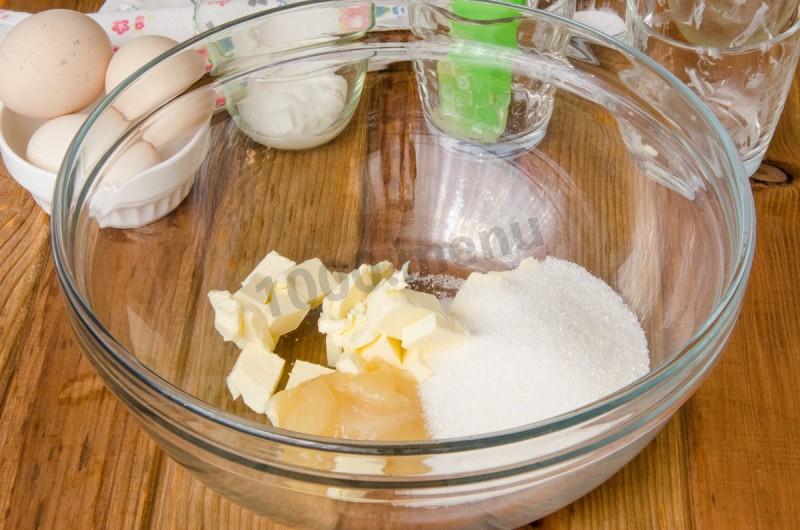
Put the butter, honey, and sugar in a heatproof bowl or a small saucepan.
-
Step 3:
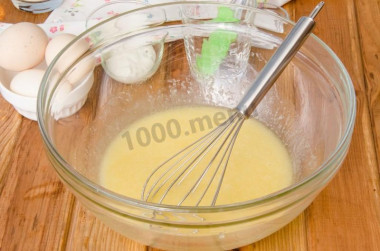
Set the bowl over a double boiler and warm it until the honey and butter melt completely and the sugar dissolves. Don't let the mixture come to a boil.
-
Step 4:
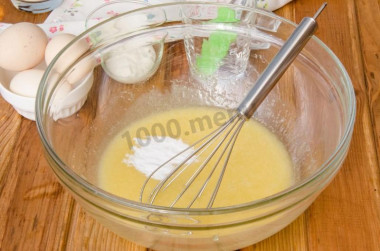
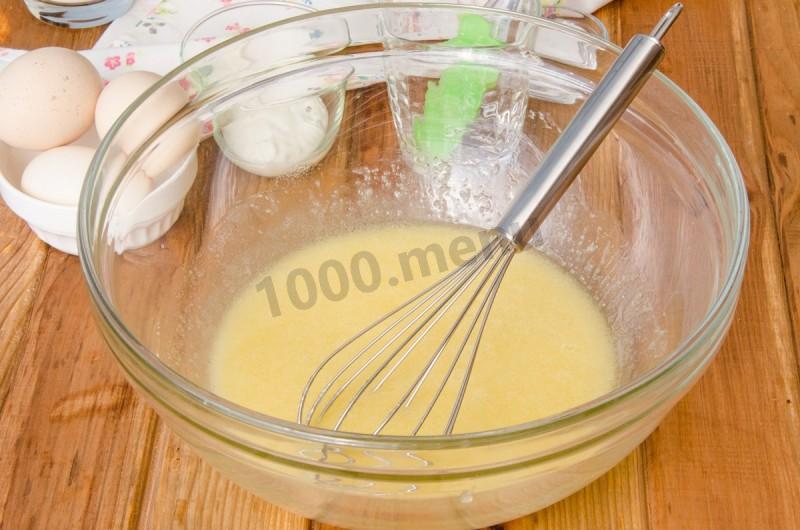
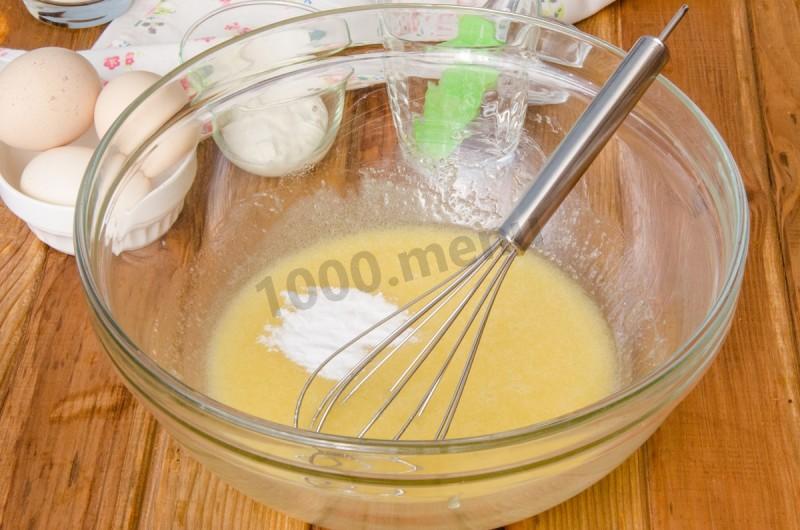
Take the bowl off the heat and add the baking soda.
-
Step 5:
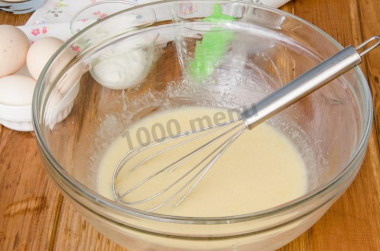
Stir thoroughly and let it sit for about 5 minutes. The mixture should foam up slightly.
-
Step 6:
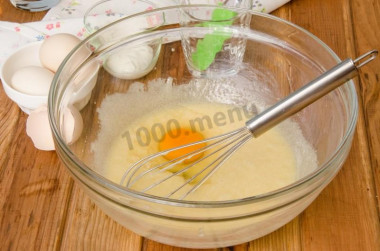
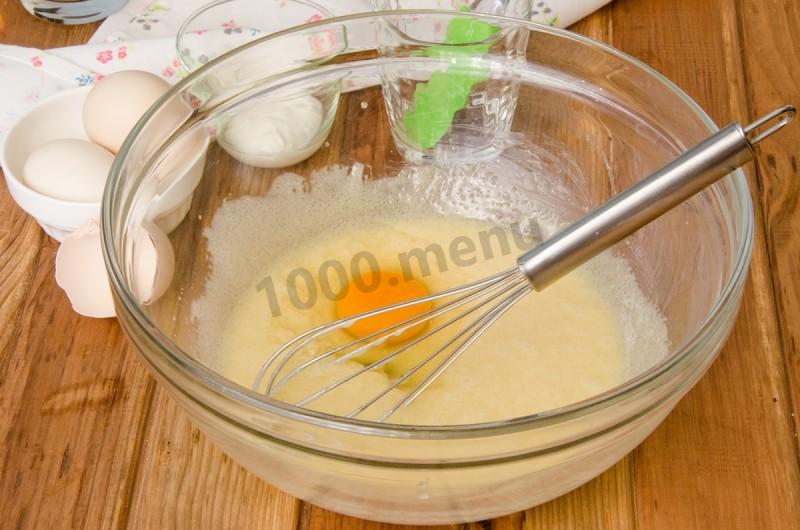
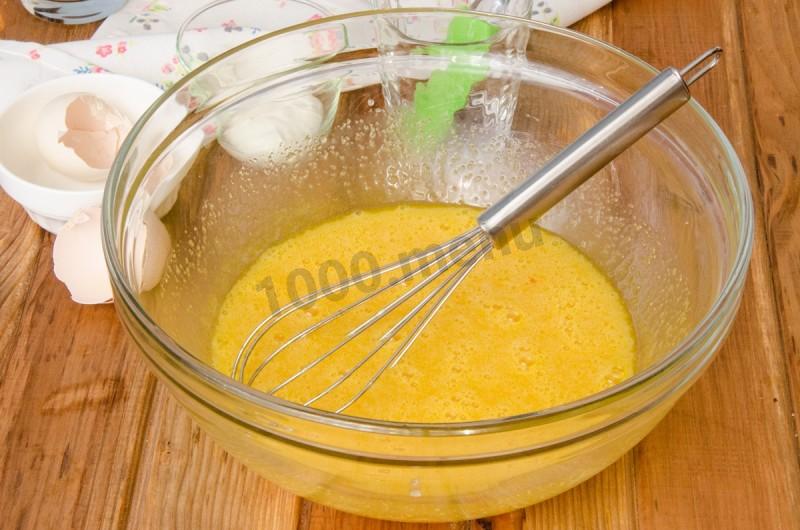
Add the eggs to the honey-sugar mixture one at a time. By now the mixture should have cooled a little so the eggs don't scramble, so be sure to check it with your hand first.
-
Step 7:
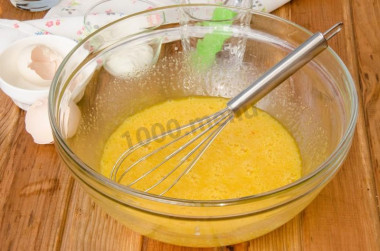
Mix everything thoroughly until smooth.
-
Step 8:
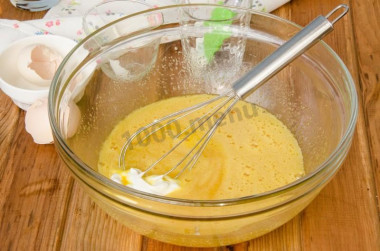
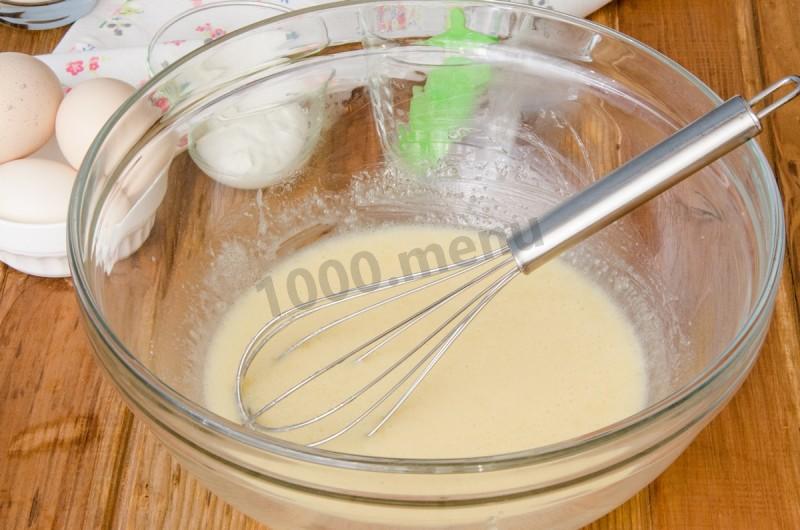
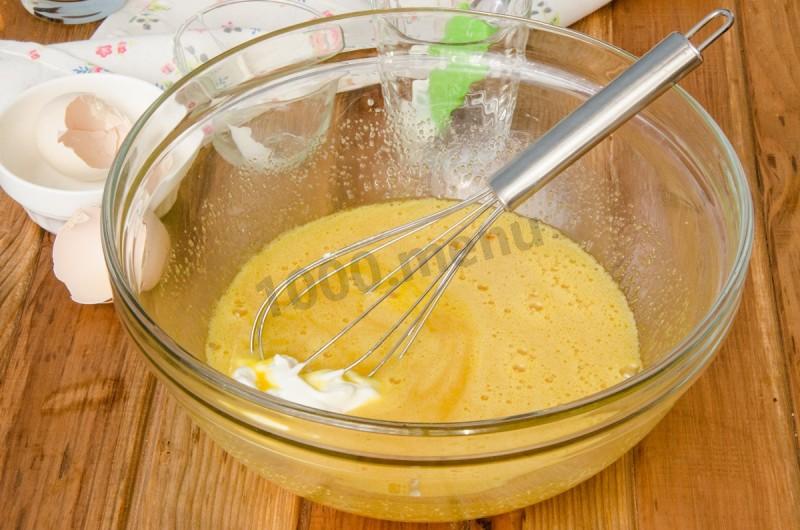
Add the sour cream (I used 20% fat) and stir.
-
Step 9:
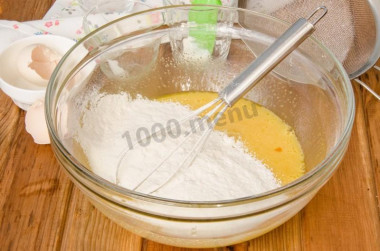
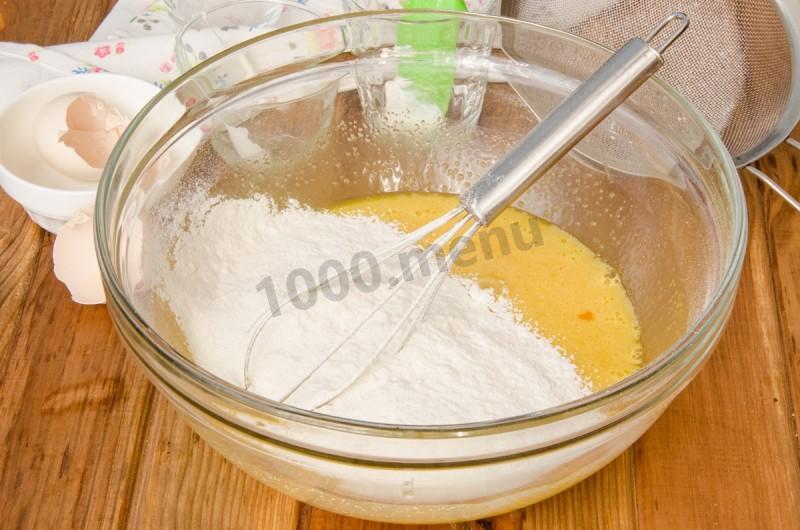
Add the sifted flour.
-
Step 10:
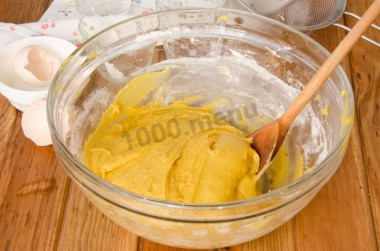
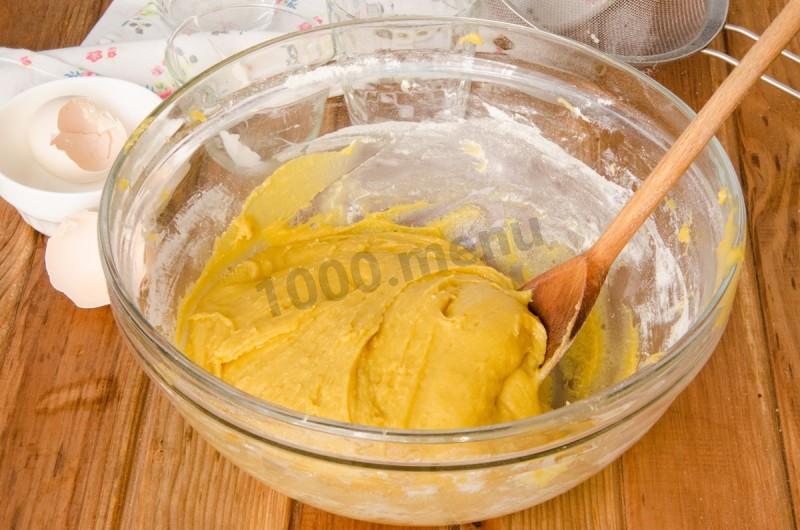
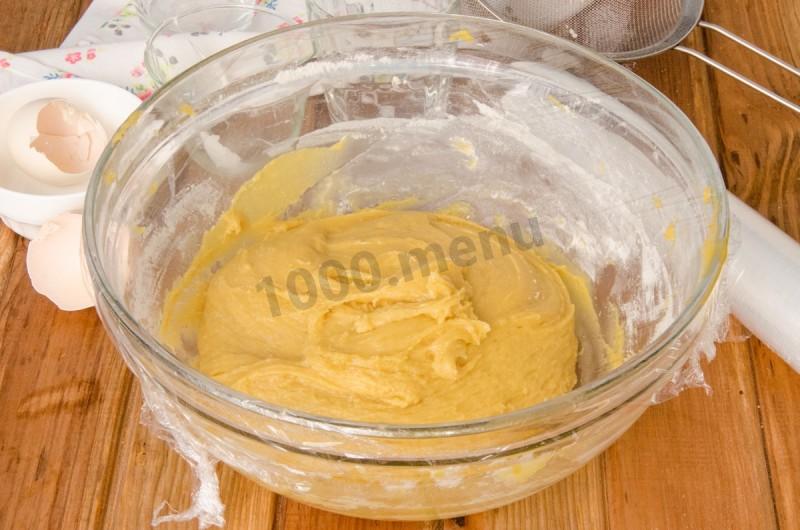
Mix into a very soft dough. It really is soft and sticky, so it's best to work it with a spoon from start to finish. The dough should be almost pourable — this matters, because the soft dough is what makes the layers so tender!
-
Step 11:
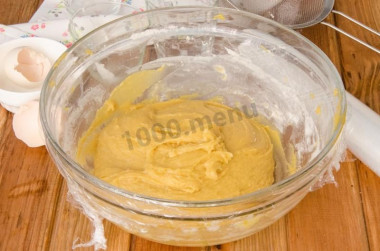
So try not to add more flour — but since flour varies a lot, go by the consistency (it's easy to see in the photo) and add a little more, or use a little less, as needed. Cover the bowl of dough with plastic wrap and chill it in the refrigerator for at least a couple of hours.
-
Step 12:
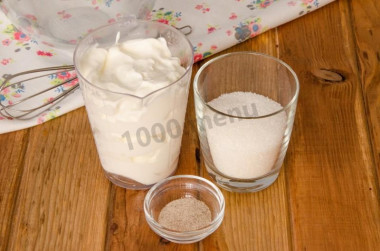
While the dough chills, make the frosting.
-
Step 13:
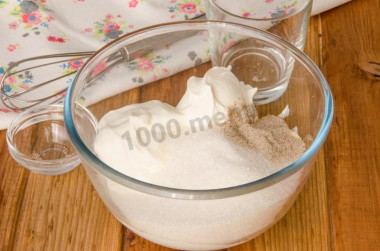
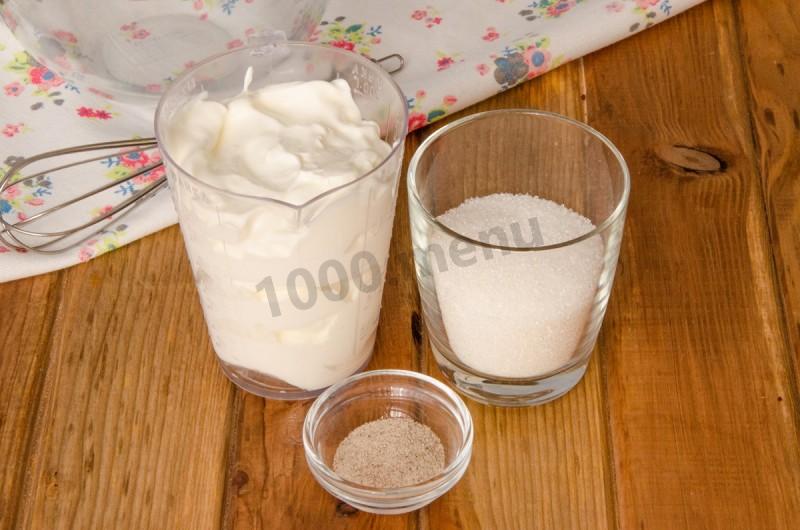
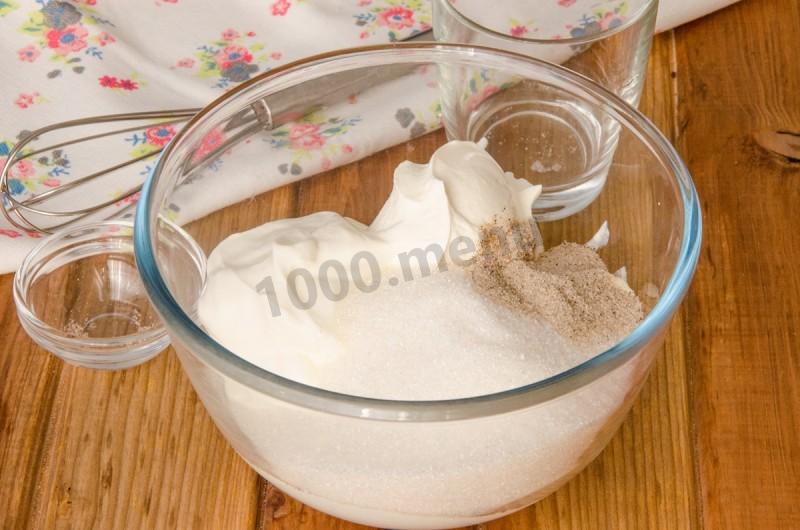
Put the sour cream (the richer, the better) in a bowl and add the sugar and vanilla.
-
Step 14:
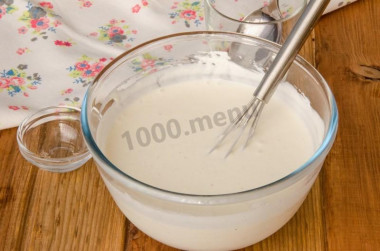
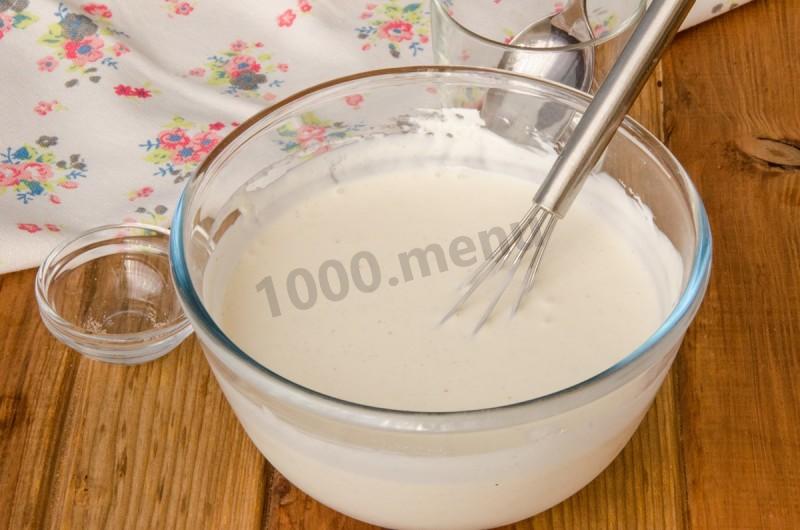
Whisk until the sugar dissolves. That's it — the frosting is ready! Its thickness depends on the sour cream's fat content: the richer it is, the thicker the frosting. If it comes out very runny, you can add a thickener, but don't overdo it — the frosting shouldn't be too stiff, or the cake won't soak through properly. Aim for a happy medium. Chill the frosting!
-
Step 15:
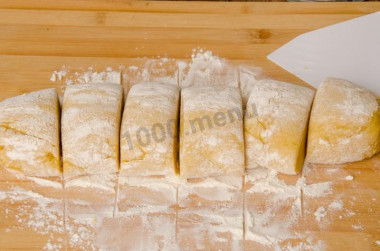
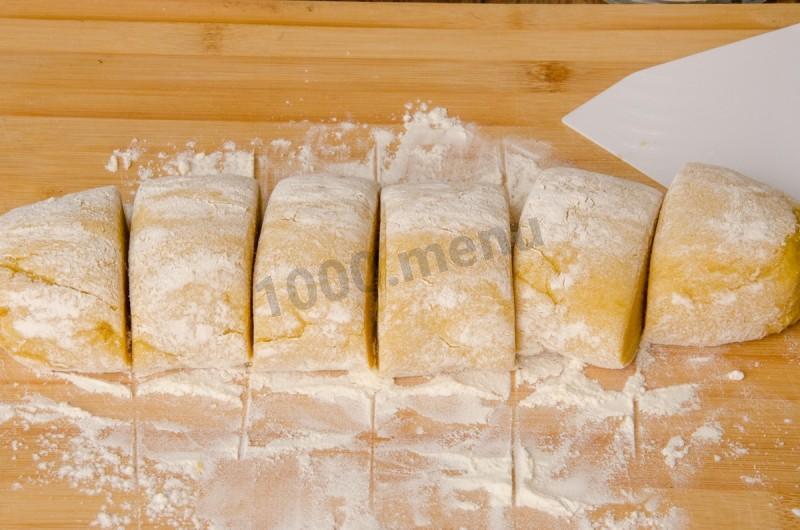
Once the dough has firmed up nicely, take it out of the fridge, put it on a flour-dusted work surface, roll it into a log, and divide it into 6 equal pieces (that's if you're cooking the layers in a 10-inch/26 cm skillet; if yours is smaller, divide it into more pieces).
-
Step 16:
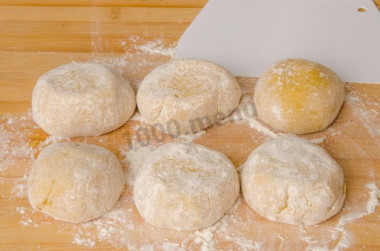
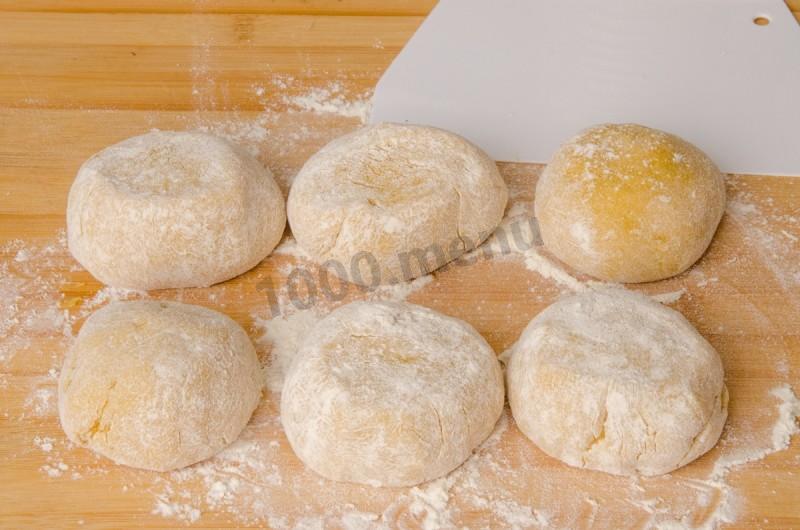
Shape each piece into a rough ball, keep one out to work with, and put the rest on a plate back in the refrigerator.
-
Step 17:
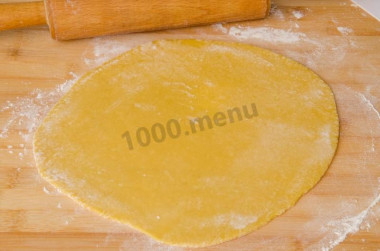
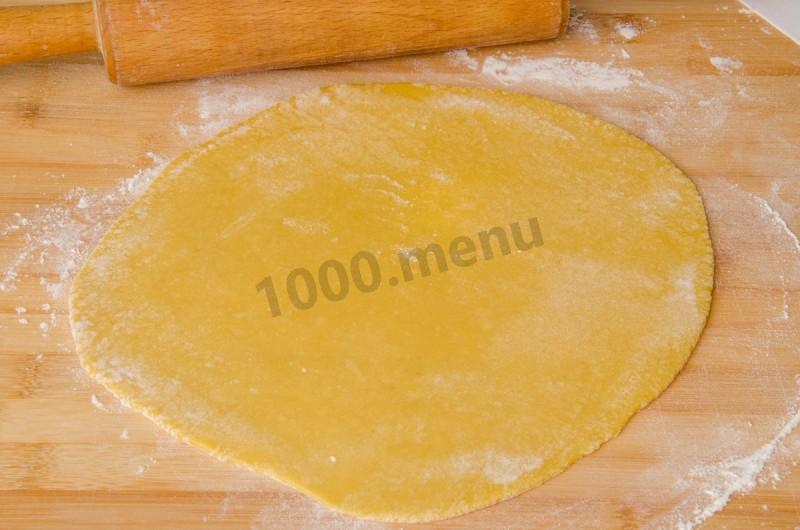
Roll each ball of dough into a circle of the right diameter.
-
Step 18:
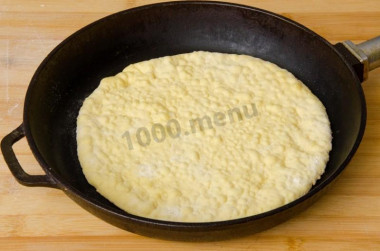
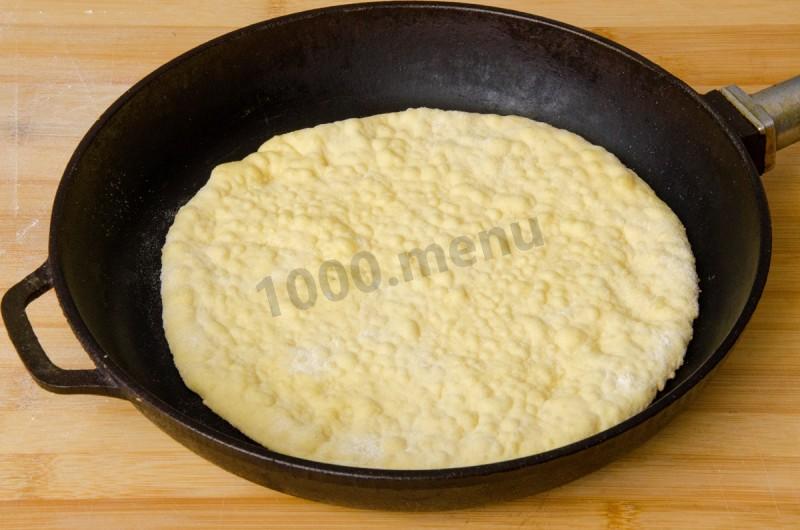
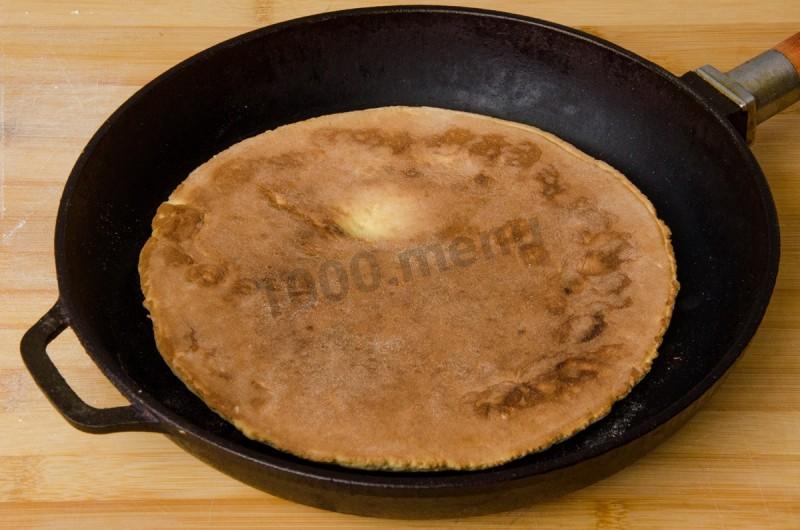
Heat the skillet (a heavy-bottomed one is best so the layer has time to cook through — mine is cast iron). Lay the rolled-out layer on the hot skillet. If it warps a little during the transfer, just reshape it right in the pan with your hands. Cook the layer over low heat, first on one side, until golden — the top should bubble up and turn matte, with no traces of raw dough.
-
Step 19:
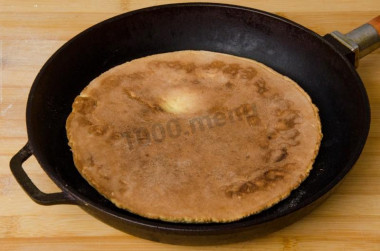
Flip the layer over with a spatula and cook the second side for another minute.
-
Step 20:
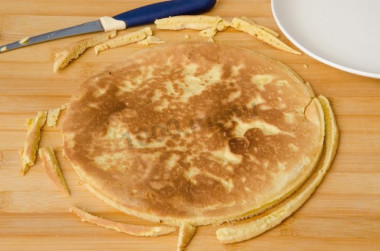
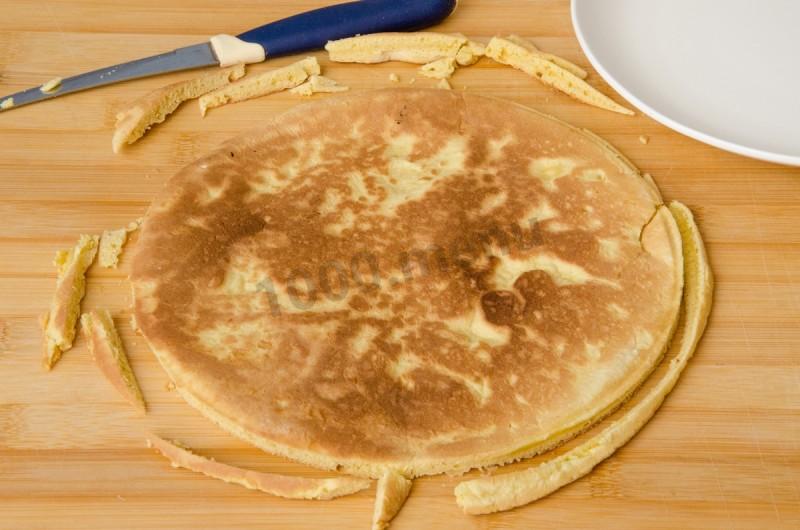
Move the finished layer to a flat surface and trim it to size right away (I used a 9-inch/22 cm plate as a guide).
-
Step 21:
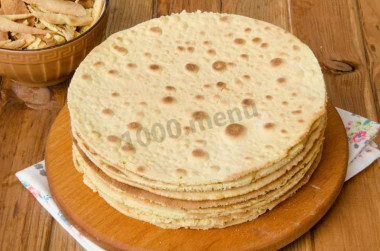
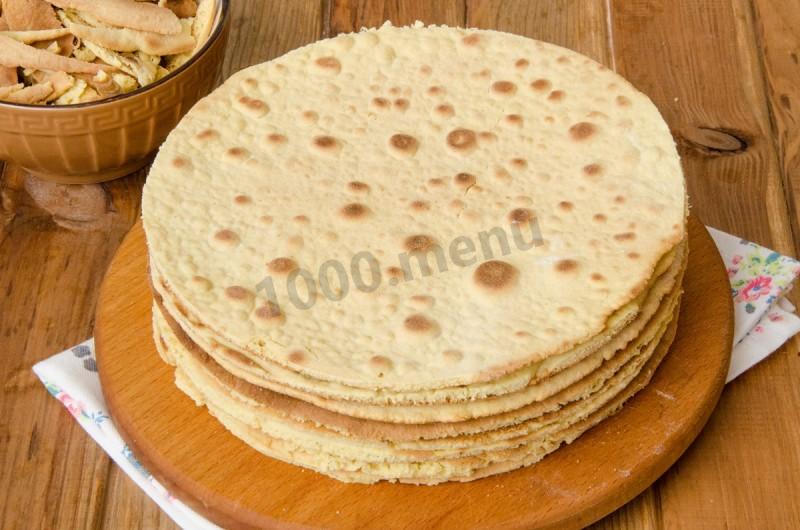
Cook all the layers this way, saving the trimmings together. I ended up with 7 layers about 9 inches (22 cm) across. Let the layers cool.
-
Step 22:
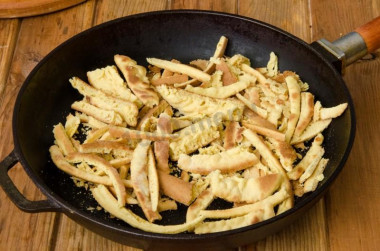
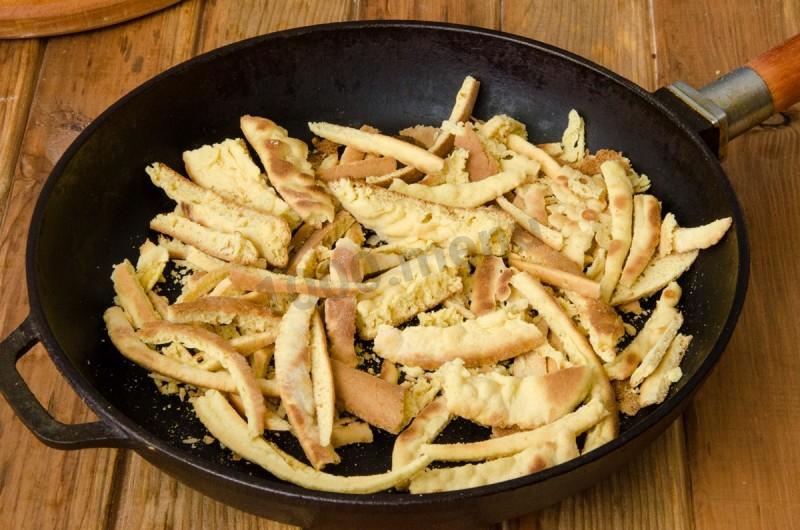
Put the trimmings in a dry skillet and toast them, stirring, until lightly dried out — this makes them easy to crush into crumbs. Once they're lightly golden and dry, take them off the heat and let them cool (I spread them out on a wide plate, where they cool completely in about 5 minutes).
-
Step 23:
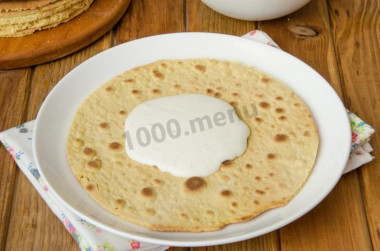
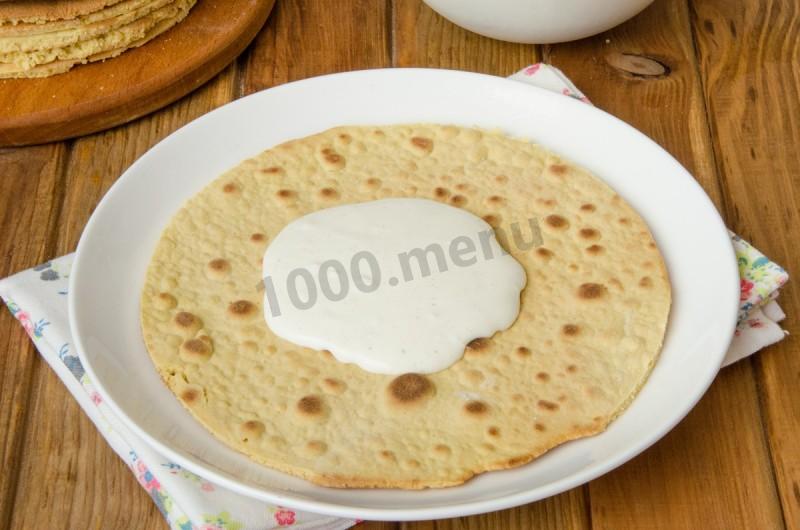
Assemble the honey cake. Spread each layer with a generous amount of frosting.
-
Step 24:
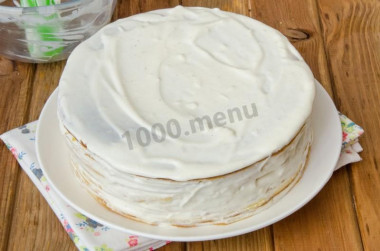
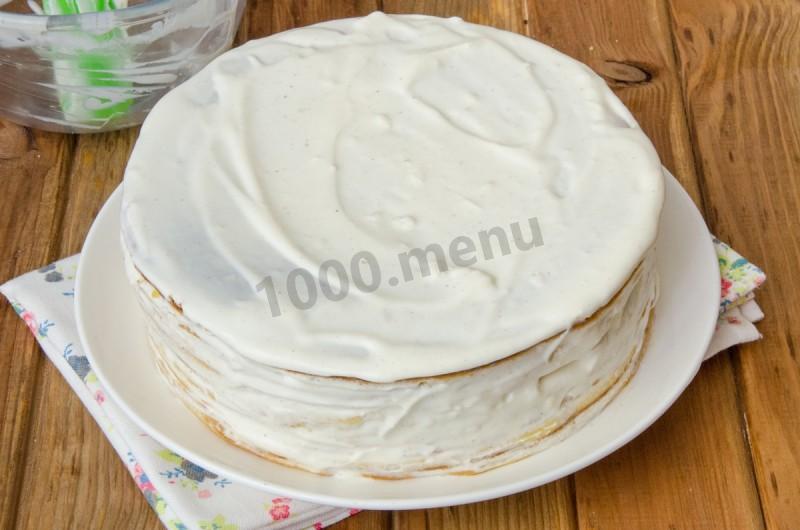
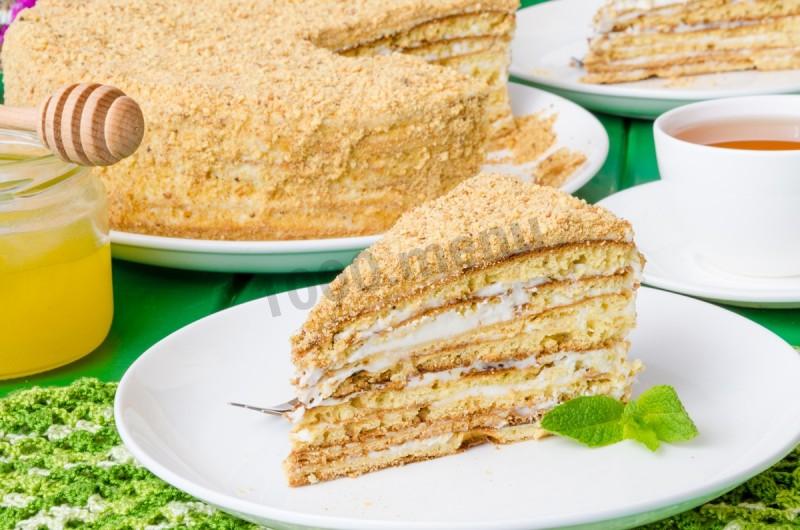
Stack the layers into a tight pile. Coat the top and sides of the cake with frosting as well.
-
Step 25:
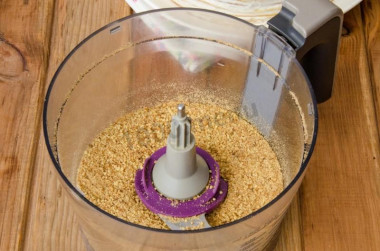
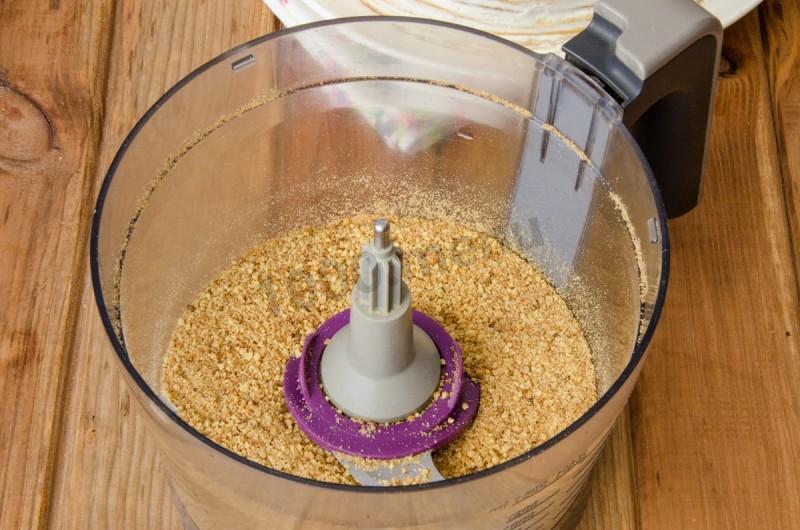
Crush the cooled trimmings into crumbs.
-
Step 26:
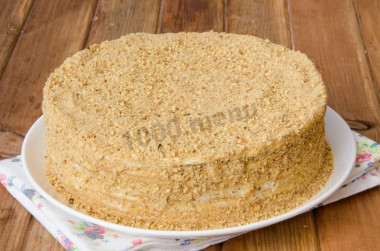
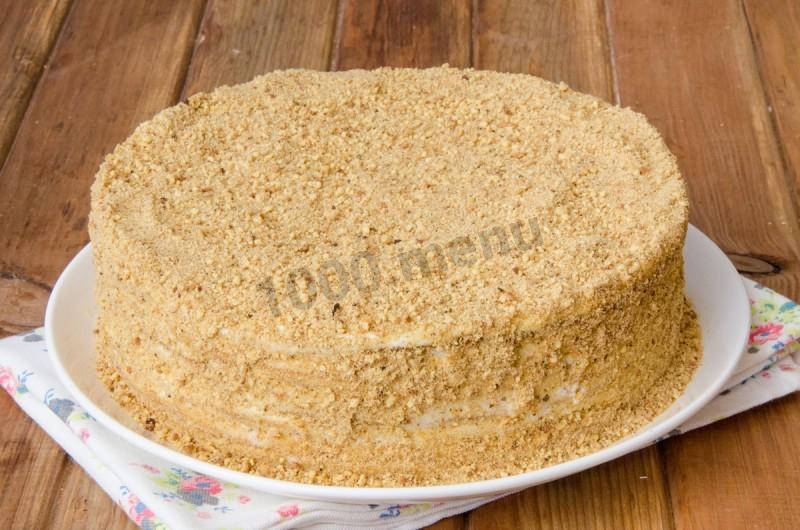
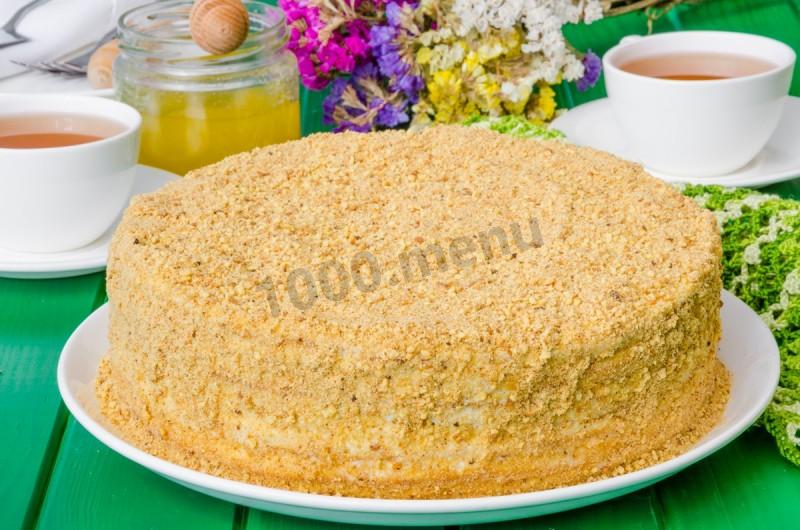
Press the crumbs onto the cake all over. Refrigerate the cake for 4 to 5 hours (or longer) so it soaks through.
-
Step 27:
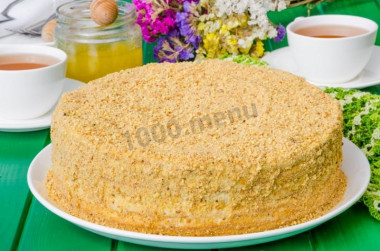
Our skillet honey cake is ready.
-
Step 28:
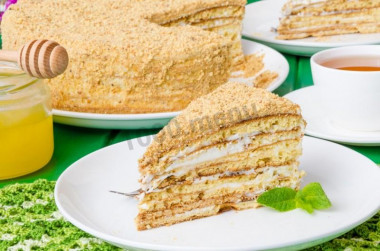
Enjoy!
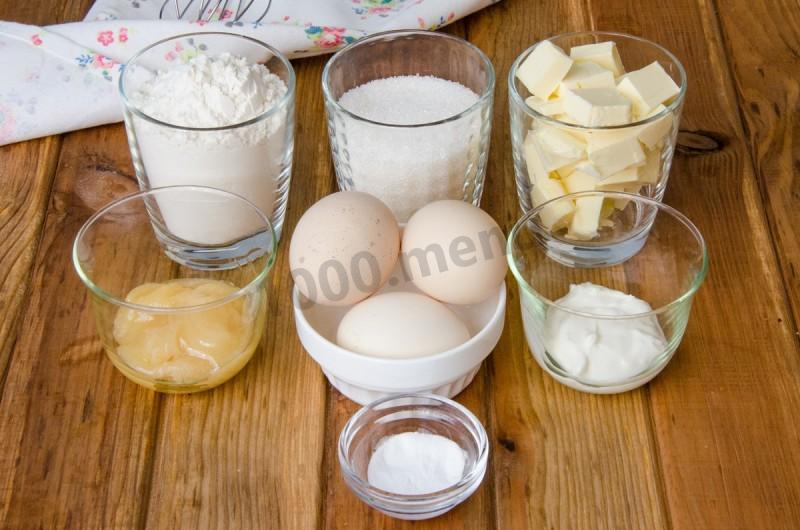
- Be prepared to use a bit more or less flour than the recipe calls for. Go by the consistency of the dough rather than the exact amount.
- Sifting the flour aerates it, so your baked goods come out light and rise well.
- The right pan matters, too. A poorly chosen skillet can spoil even the best recipe, so pick a good heavy-bottomed skillet for these layers.
Caloric content of the products possible in the composition of the dish
- Sour cream 30% fat - 340 kcal/100g
- Sour cream 25% fat - 284 kcal/100g
- Sour cream 20% fat - 210 kcal/100g
- Sour cream 10% fat - 115 kcal/100g
- Sour cream - 210 kcal/100g
- Chicken egg - 157 kcal/100g
- Egg white - 45 kcal/100g
- Egg powder - 542 kcal/100g
- Egg yolk - 352 kcal/100g
- Ostrich egg - 118 kcal/100g
- Honey - 400 kcal/100g
- Whole durum wheat flour fortified - 333 kcal/100g
- Whole durum wheat all-purpose flour - 364 kcal/100g
- Fine wheat flour - 348 kcal/100g
- Flour - 325 kcal/100g
- Granulated sugar - 398 kcal/100g
- Sugar - 398 kcal/100g
- Butter 82% - 734 kcal/100g
- Unsalted table butter - 709 kcal/100g
- Unsalted farmhouse butter - 661 kcal/100g
- Salted farmhouse butter - 652 kcal/100g
- Clarified butter - 869 kcal/100g
- Baking soda - 0 kcal/100g
- Vanilla sugar - 379 kcal/100g