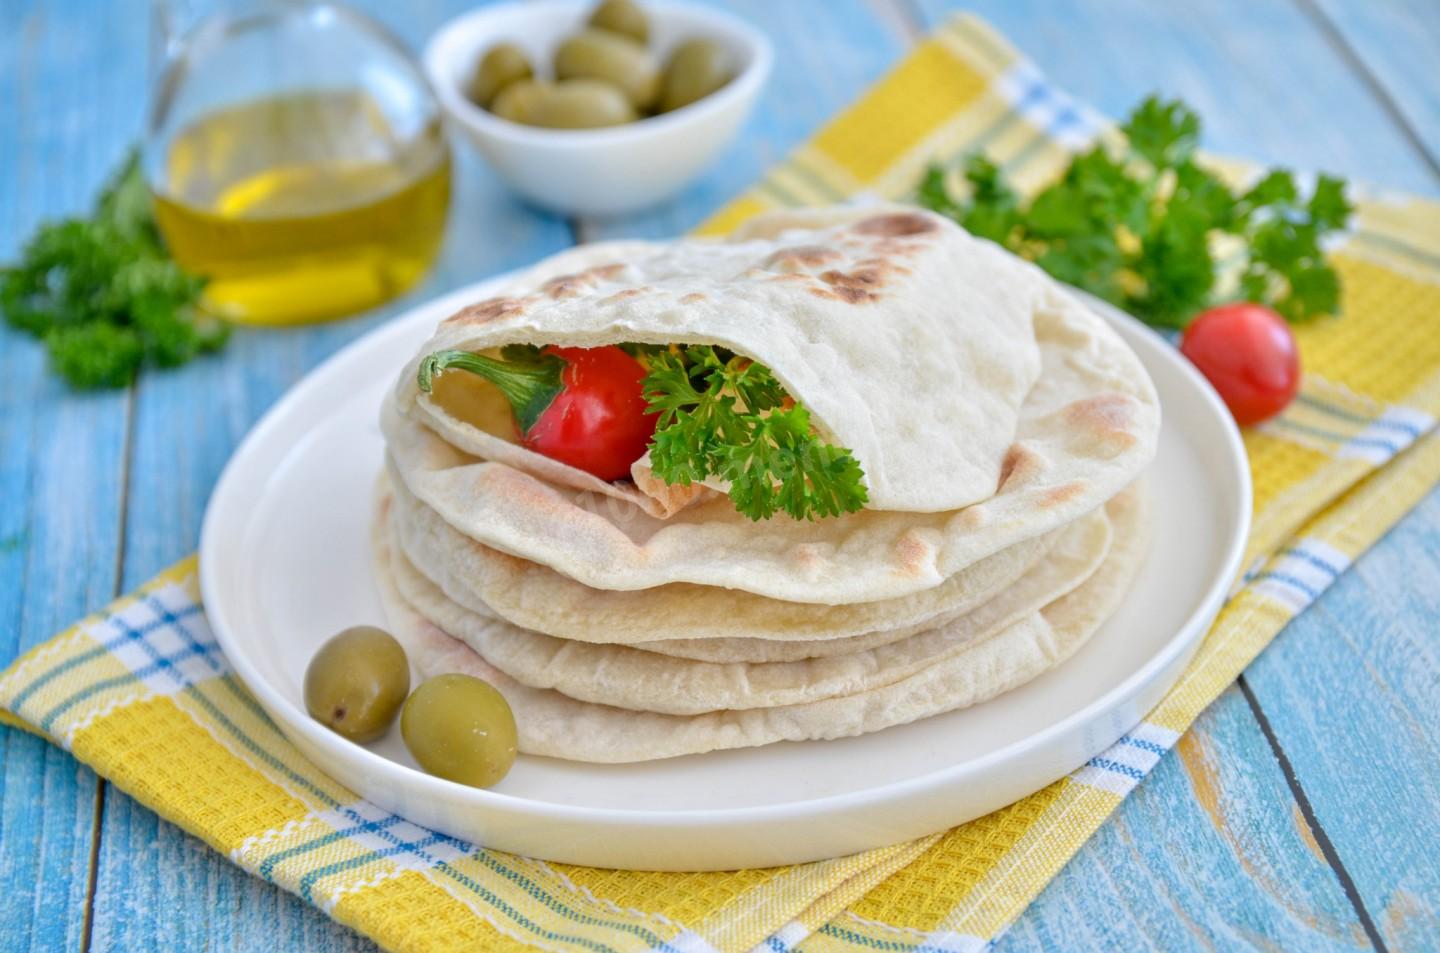
Homemade Pita Bread in a Skillet
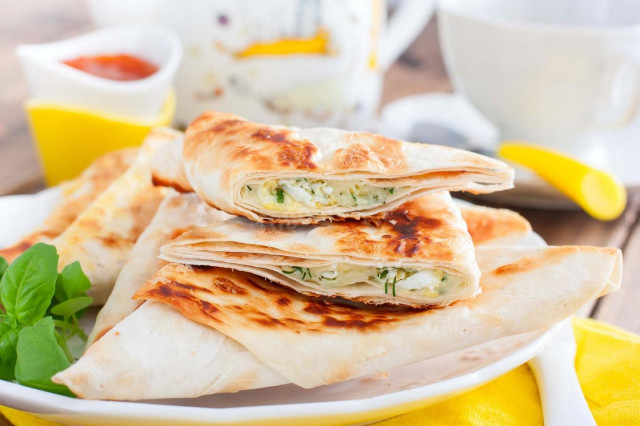
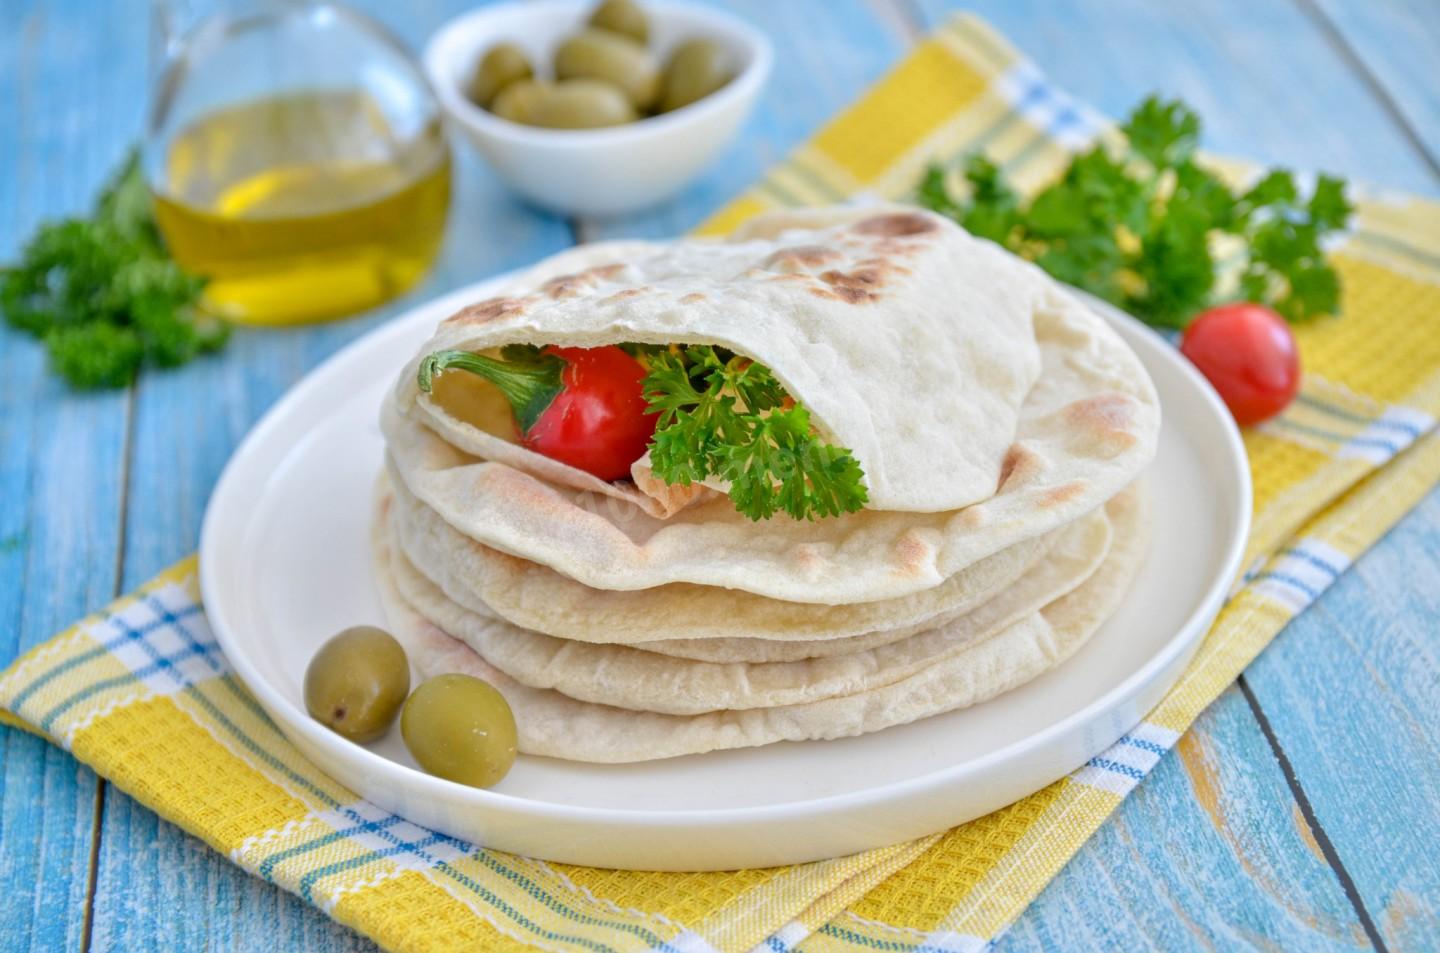
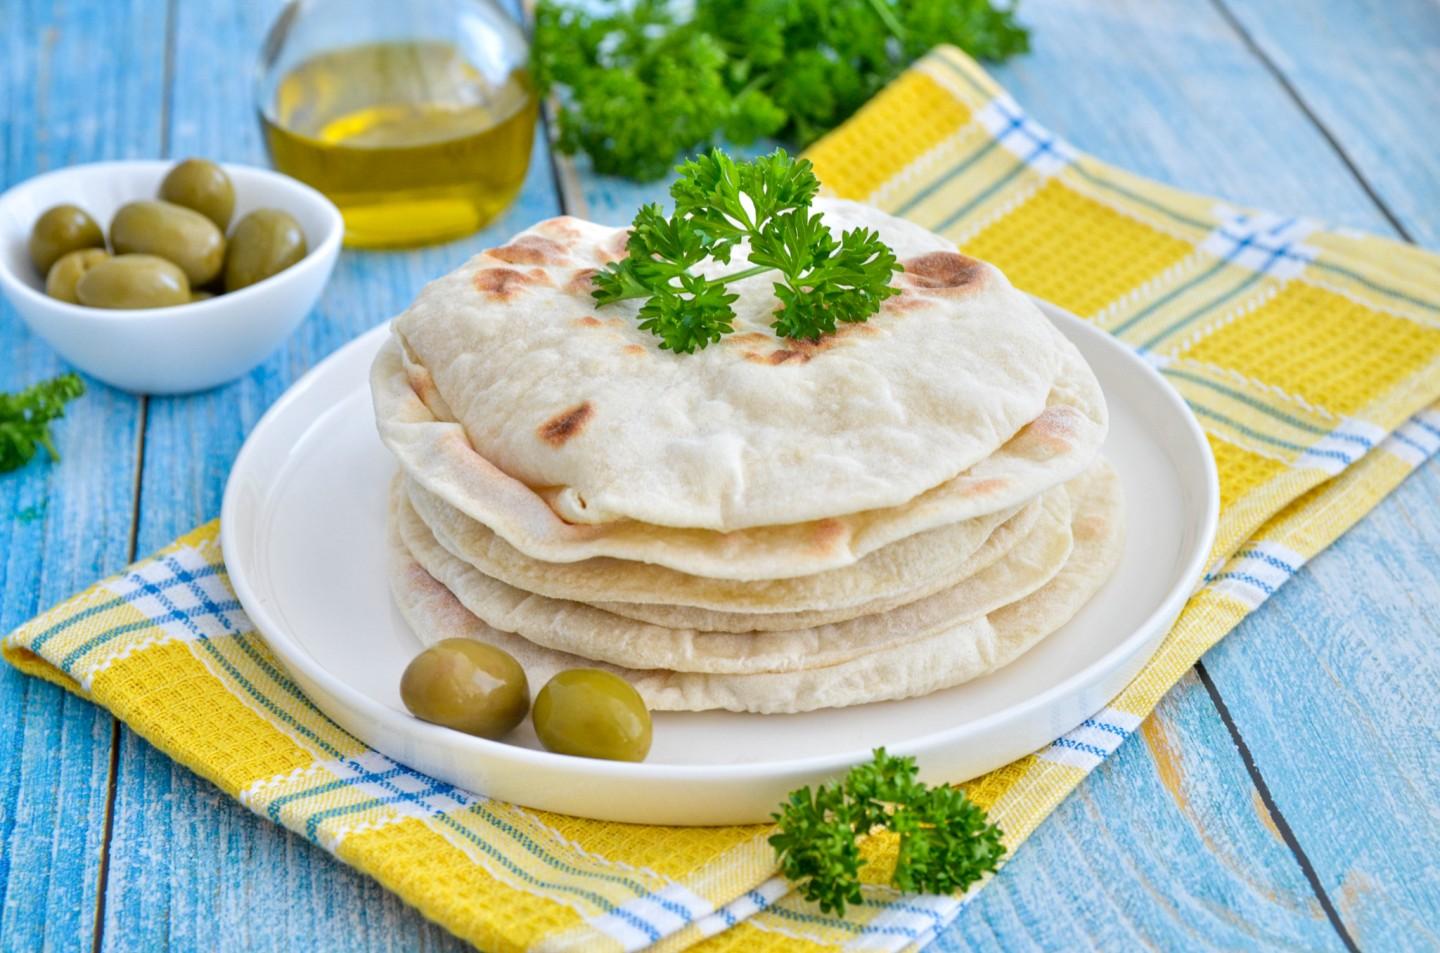
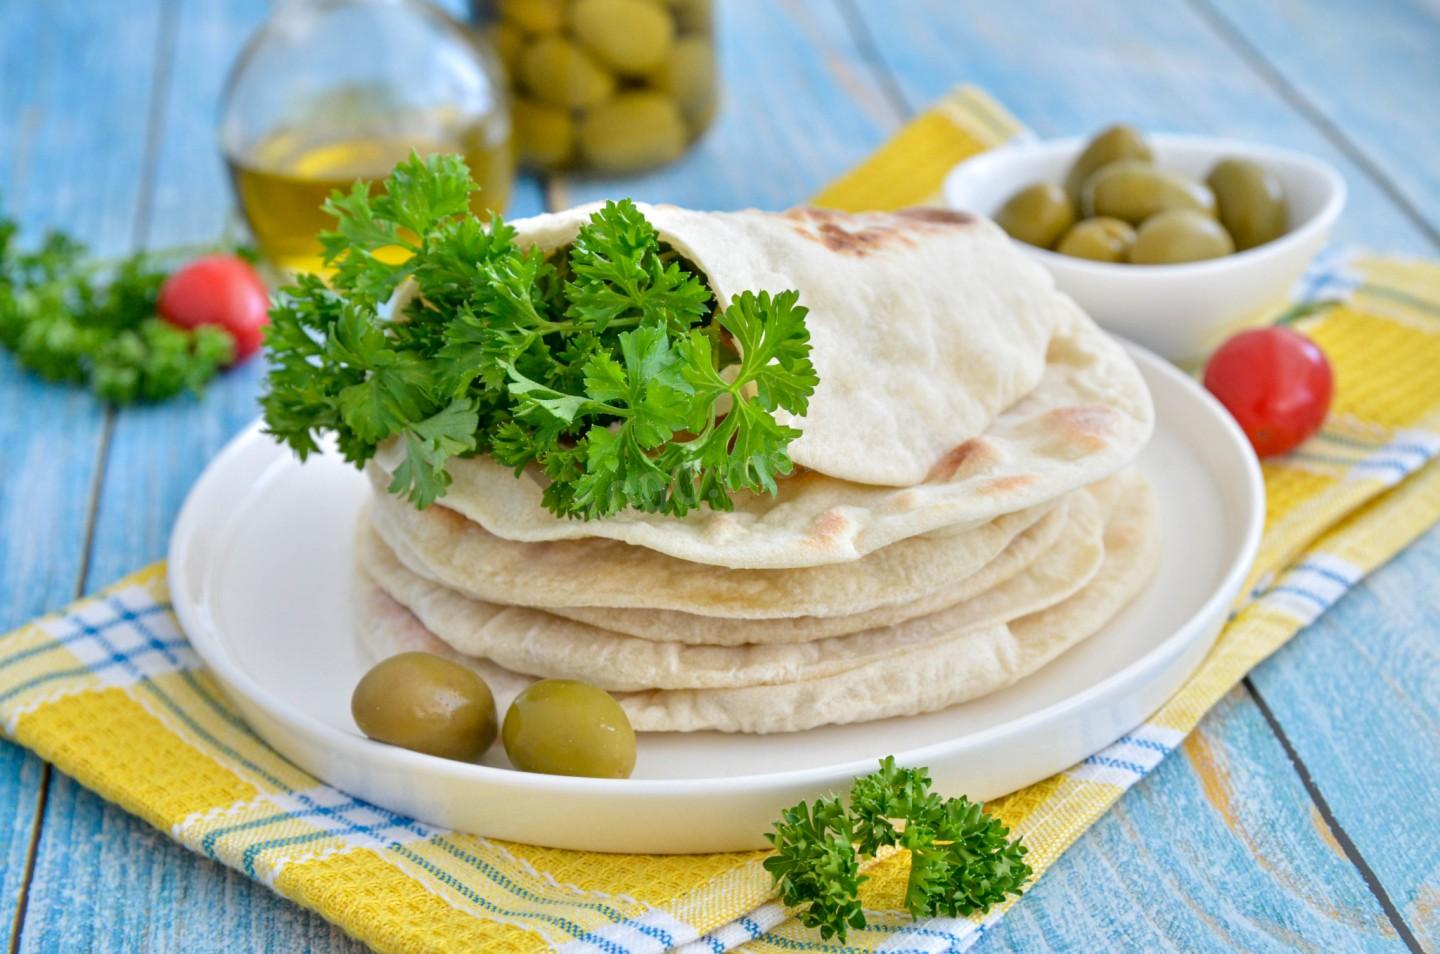
A round flatbread with a hollow pocket inside for filling. Pita tastes a lot like a soft flatbread, but its shape is more like a round pouch. Watching it cook is pure kitchen magic — a flat disk of dough suddenly puffs up into a balloon right in the pan. Split it open and stuff it with whatever you like, or serve it alongside a meal in place of bread.

Cooking method
-
Step 1:
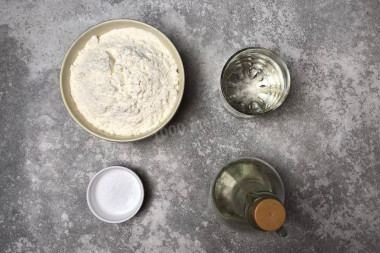
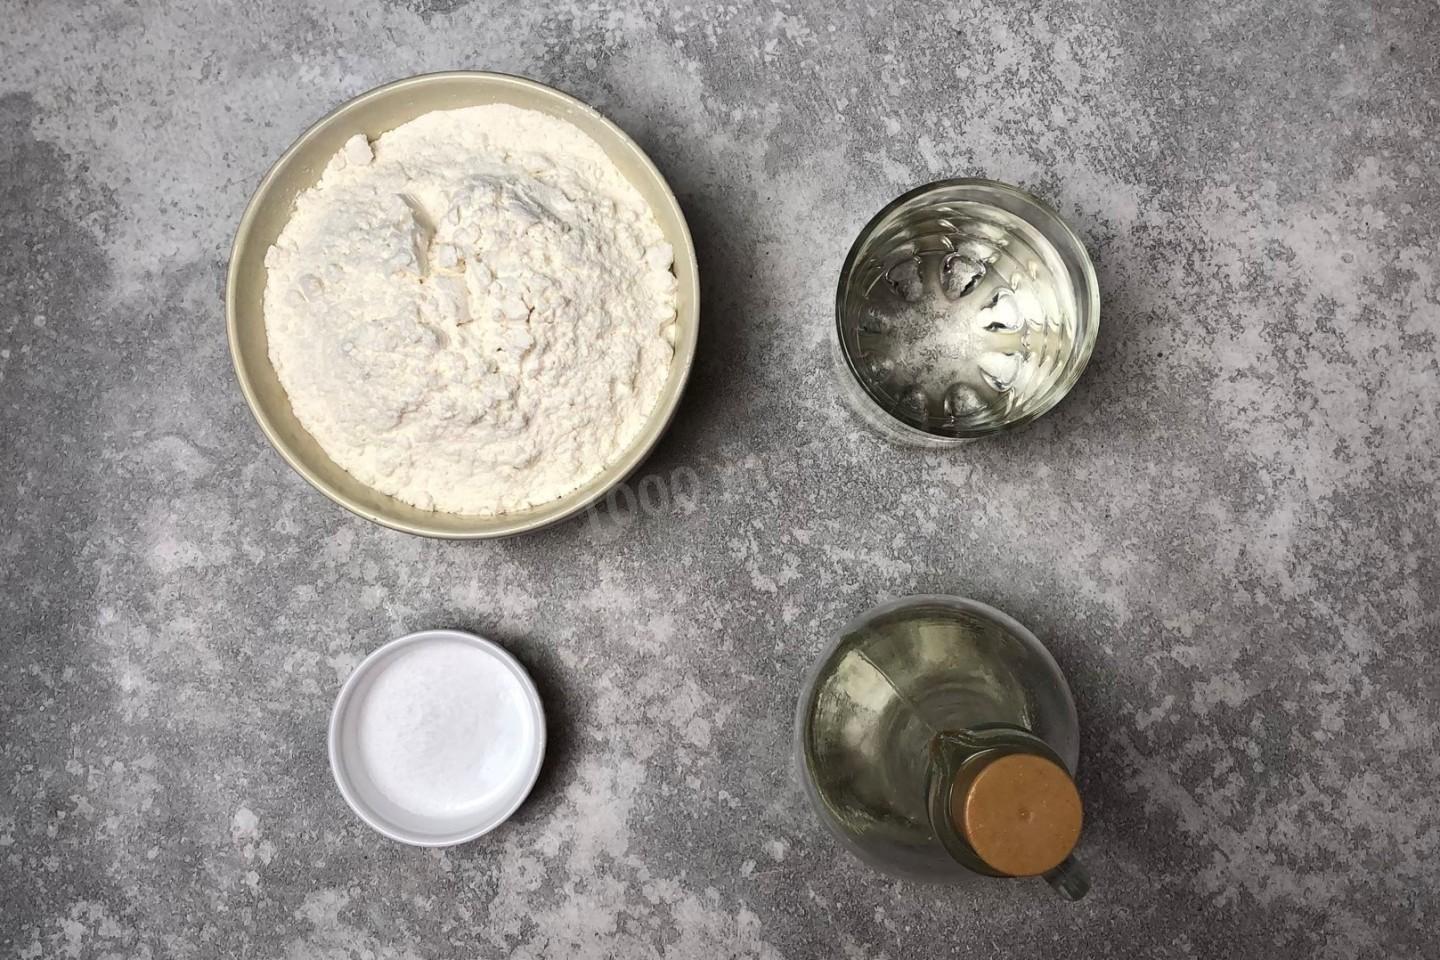
How do you make pita in a skillet? Gather everything on the ingredient list. You'll need the amount of flour called for, plus a little extra for dusting your work surface. Use a plain, neutral-flavored vegetable oil.
-
Step 2:
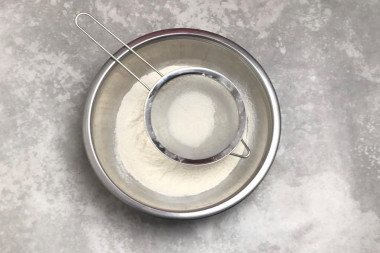
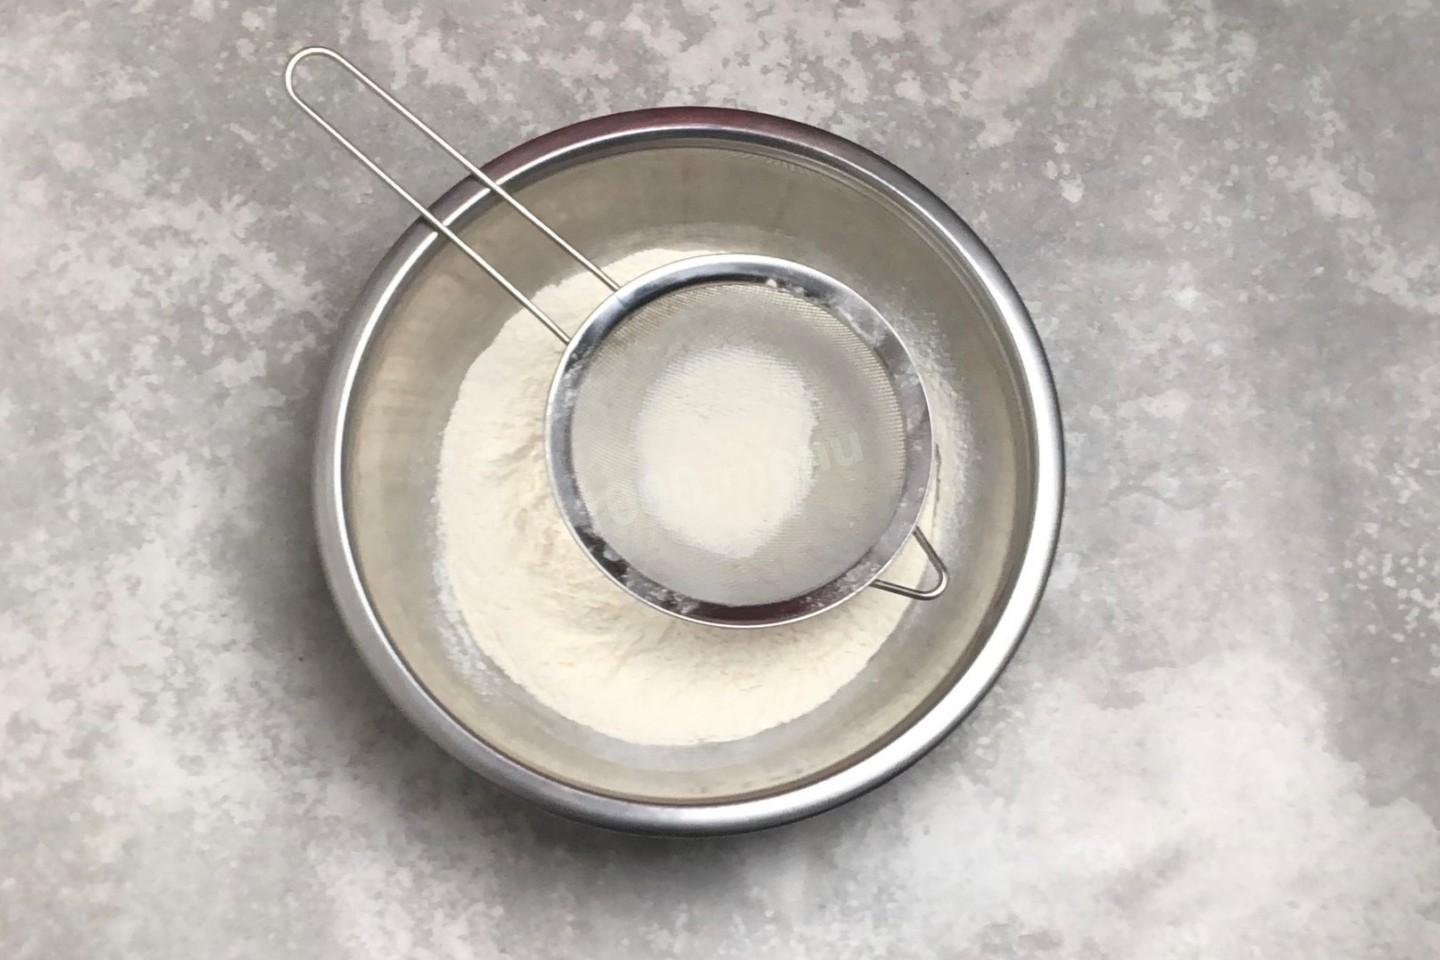
Sift the flour into a large bowl. This adds air and breaks up any lumps. Dough made with sifted flour is noticeably more supple, and the finished bread turns out lighter and airier.
-
Step 3:
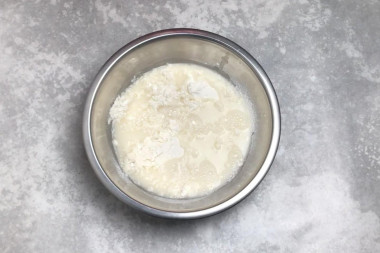
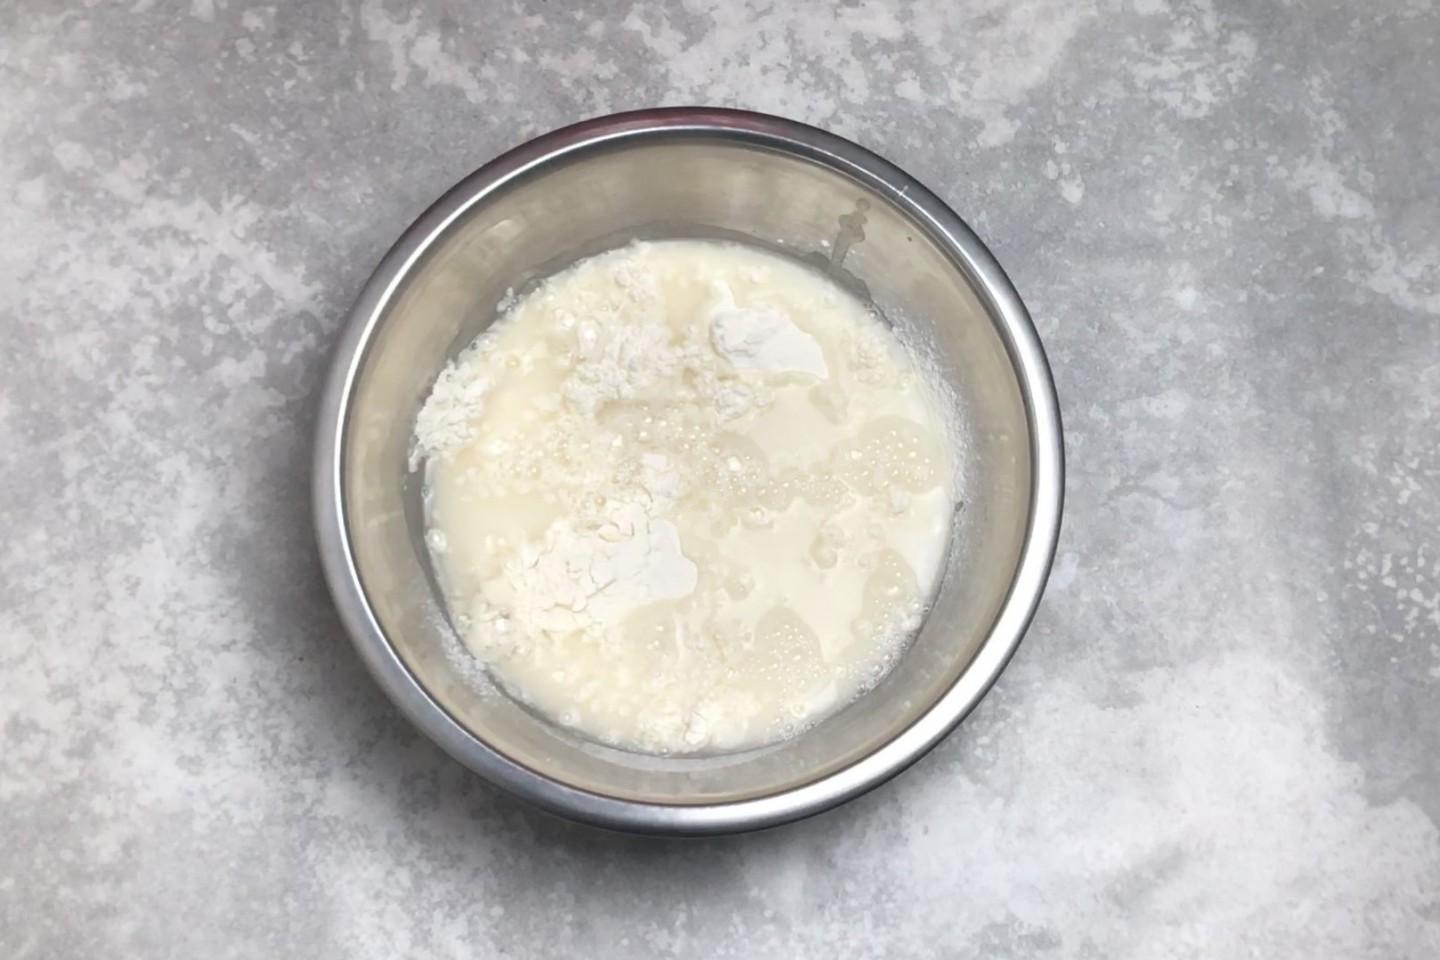
Bring the water to a boil, then let it cool slightly to about 175°F (80°C). Stir in the salt until dissolved, then pour the water into the flour.
-
Step 4:
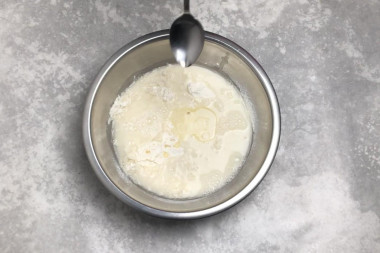
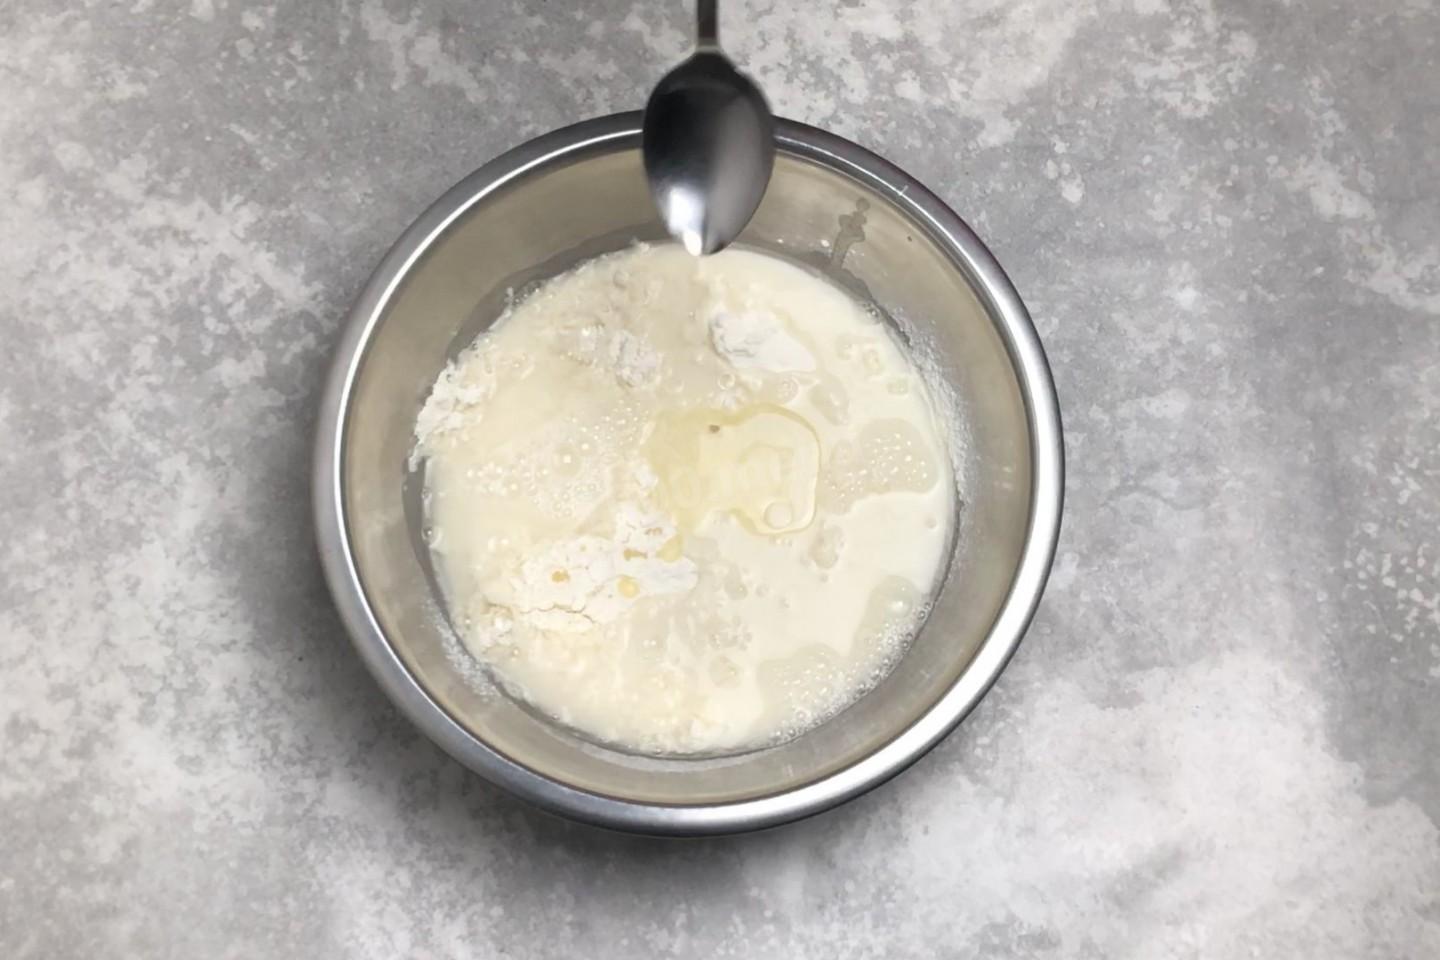
Add the vegetable oil right away. Stir the dough quickly with a spoon, since it's quite hot. Why use near-boiling water? The heat sets the gluten in the flour so that during cooking the steam can't escape — instead it forms pockets inside the dough. That's exactly what gives the pita its signature hollow pocket.
-
Step 5:
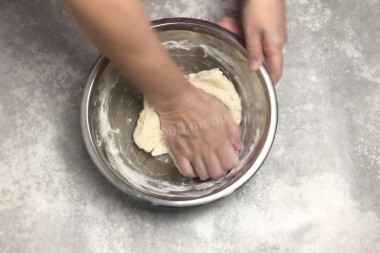
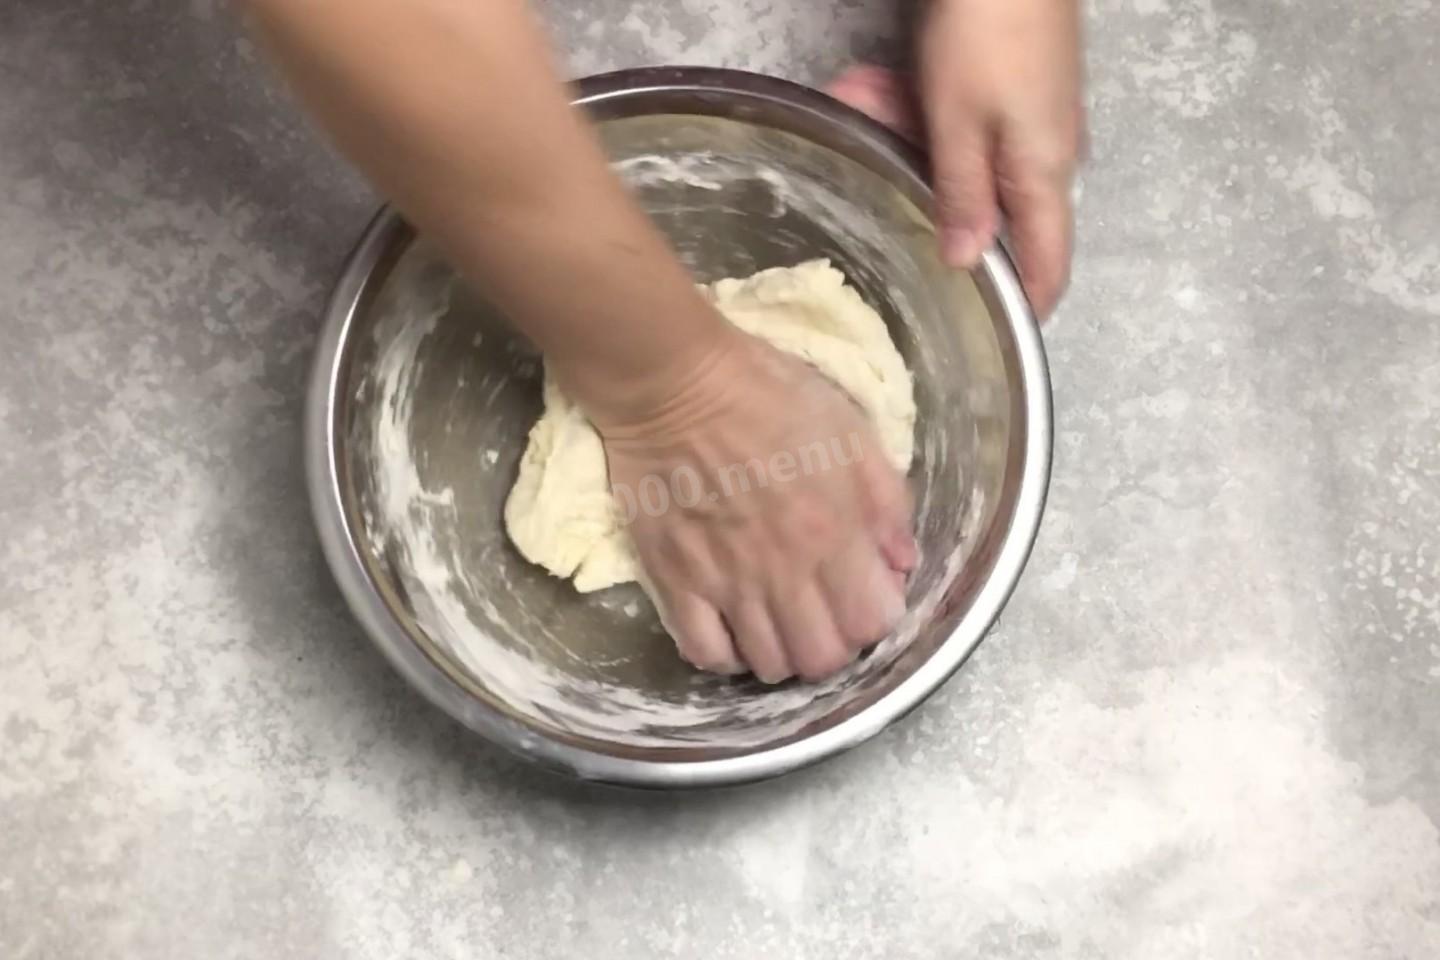
Once the dough has cooled enough to handle, start kneading it by hand. It comes together into a ball fairly quickly and stops sticking to your hands. This hot-water dough is a real pleasure to work with.
-
Step 6:
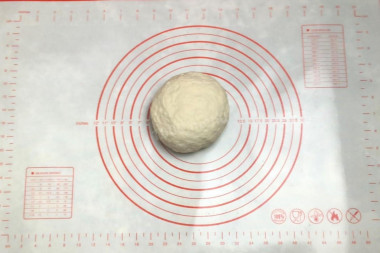
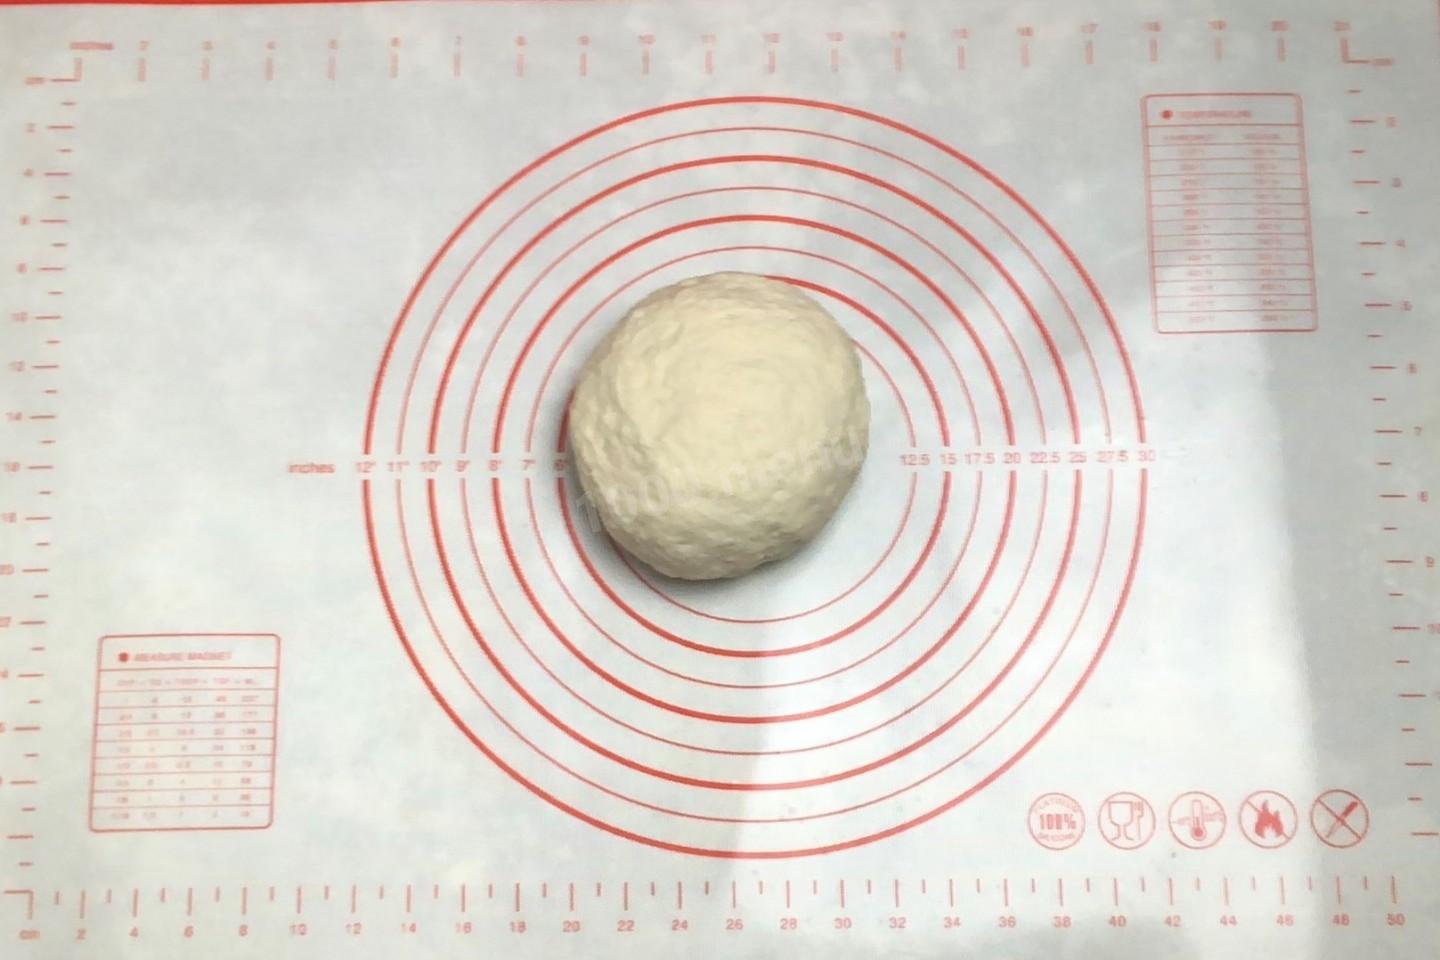
Turn the dough out onto your work surface — no need to flour it here. Knead until smooth and even, then gather it into a ball.
-
Step 7:
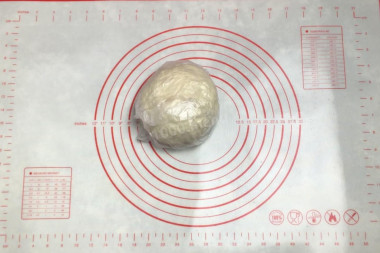
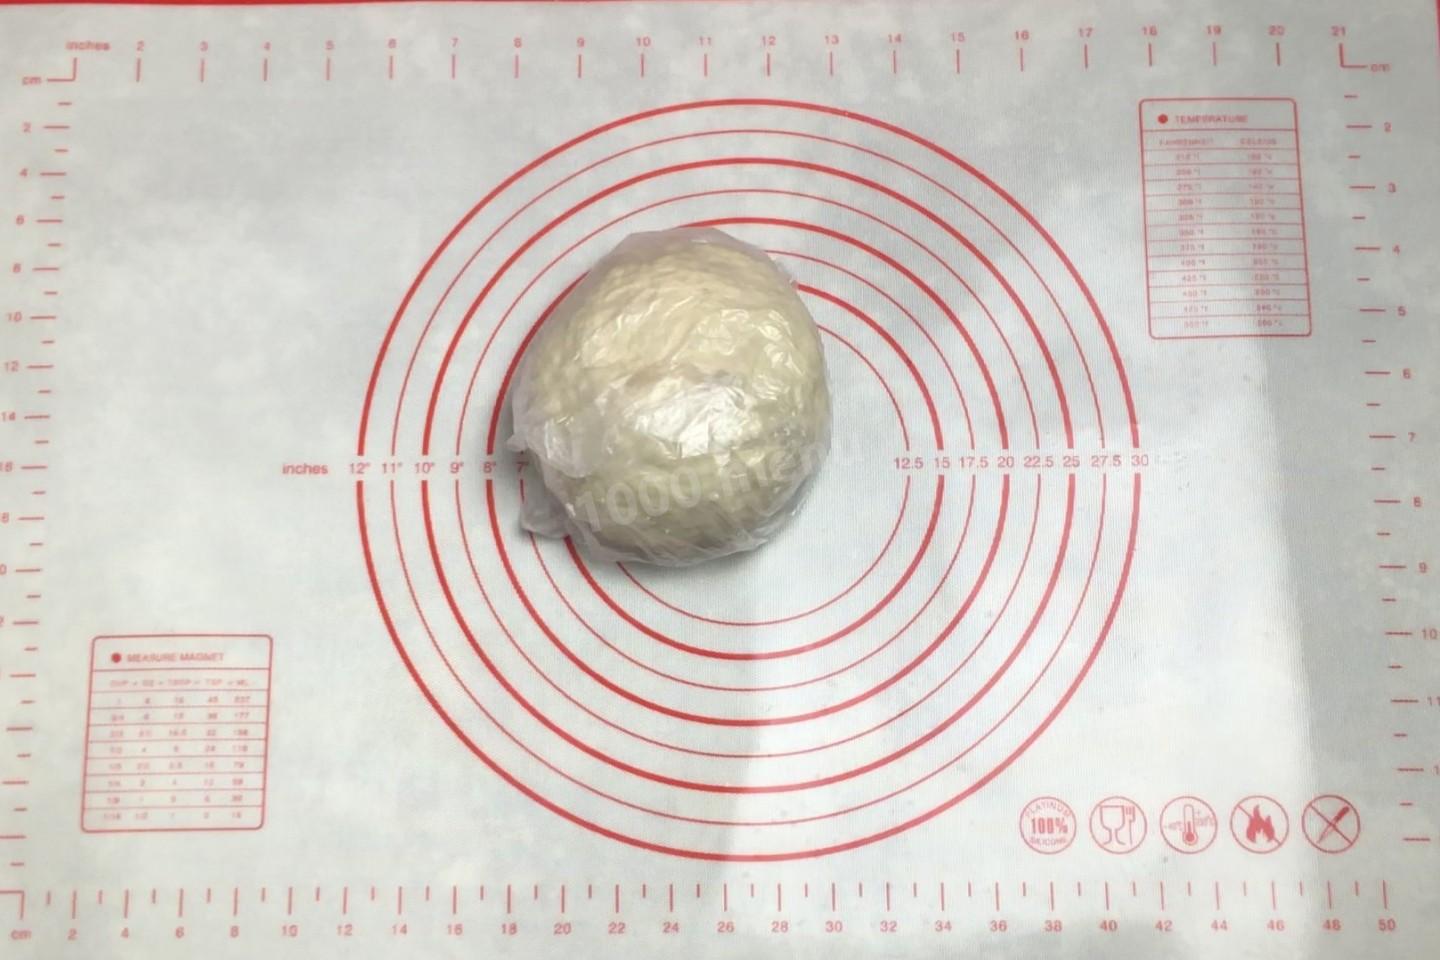
Wrap the ball in a plastic bag and let it rest for 20 minutes.
-
Step 8:
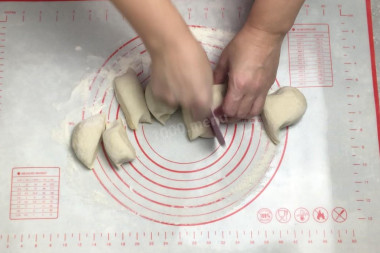
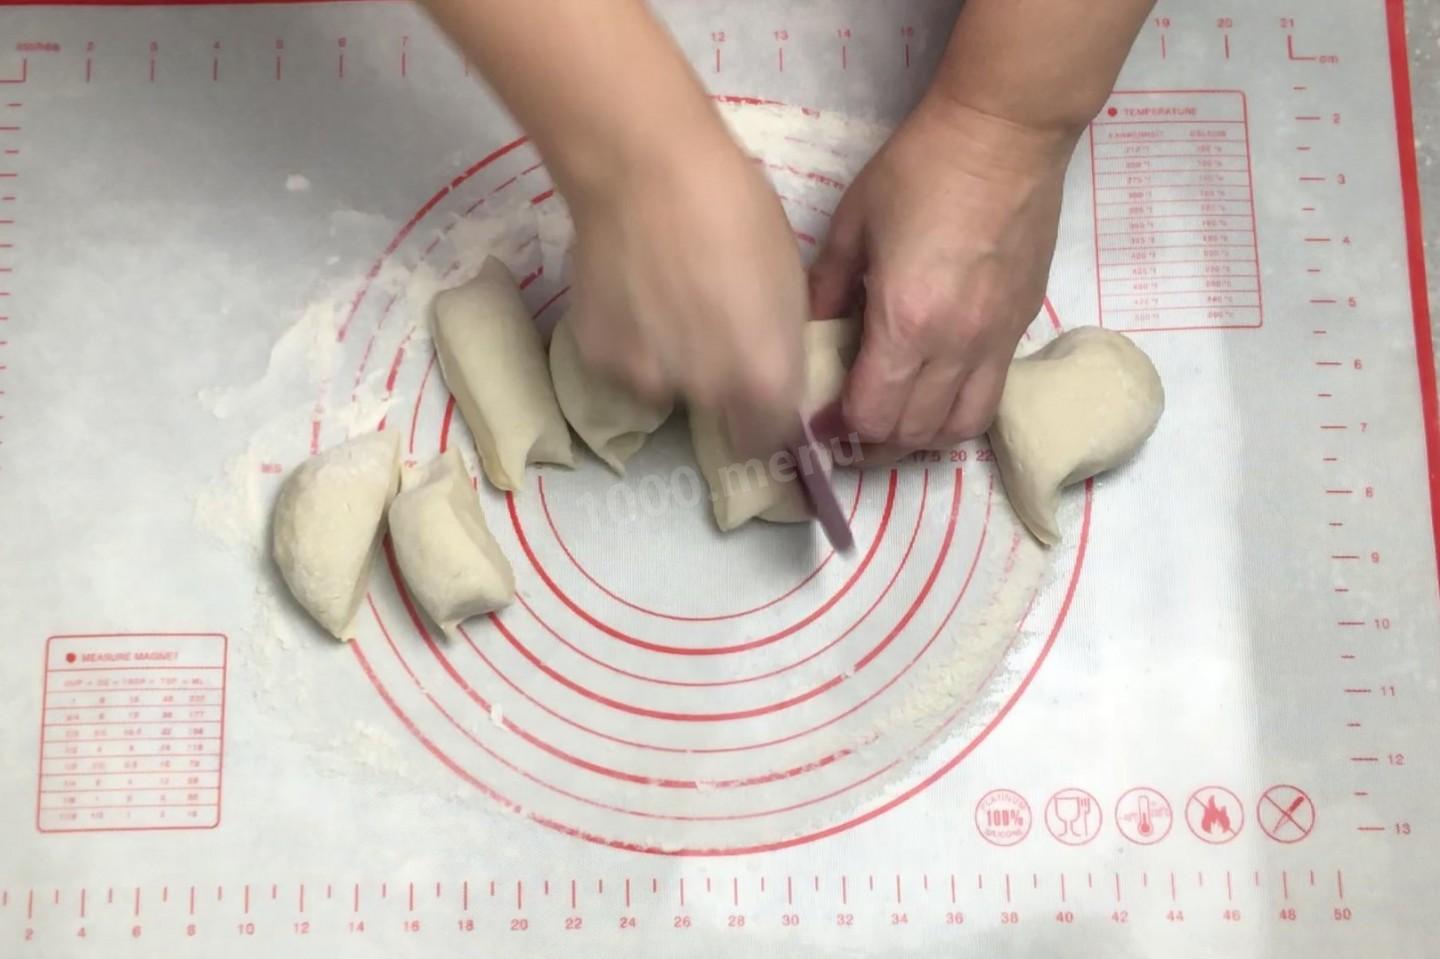
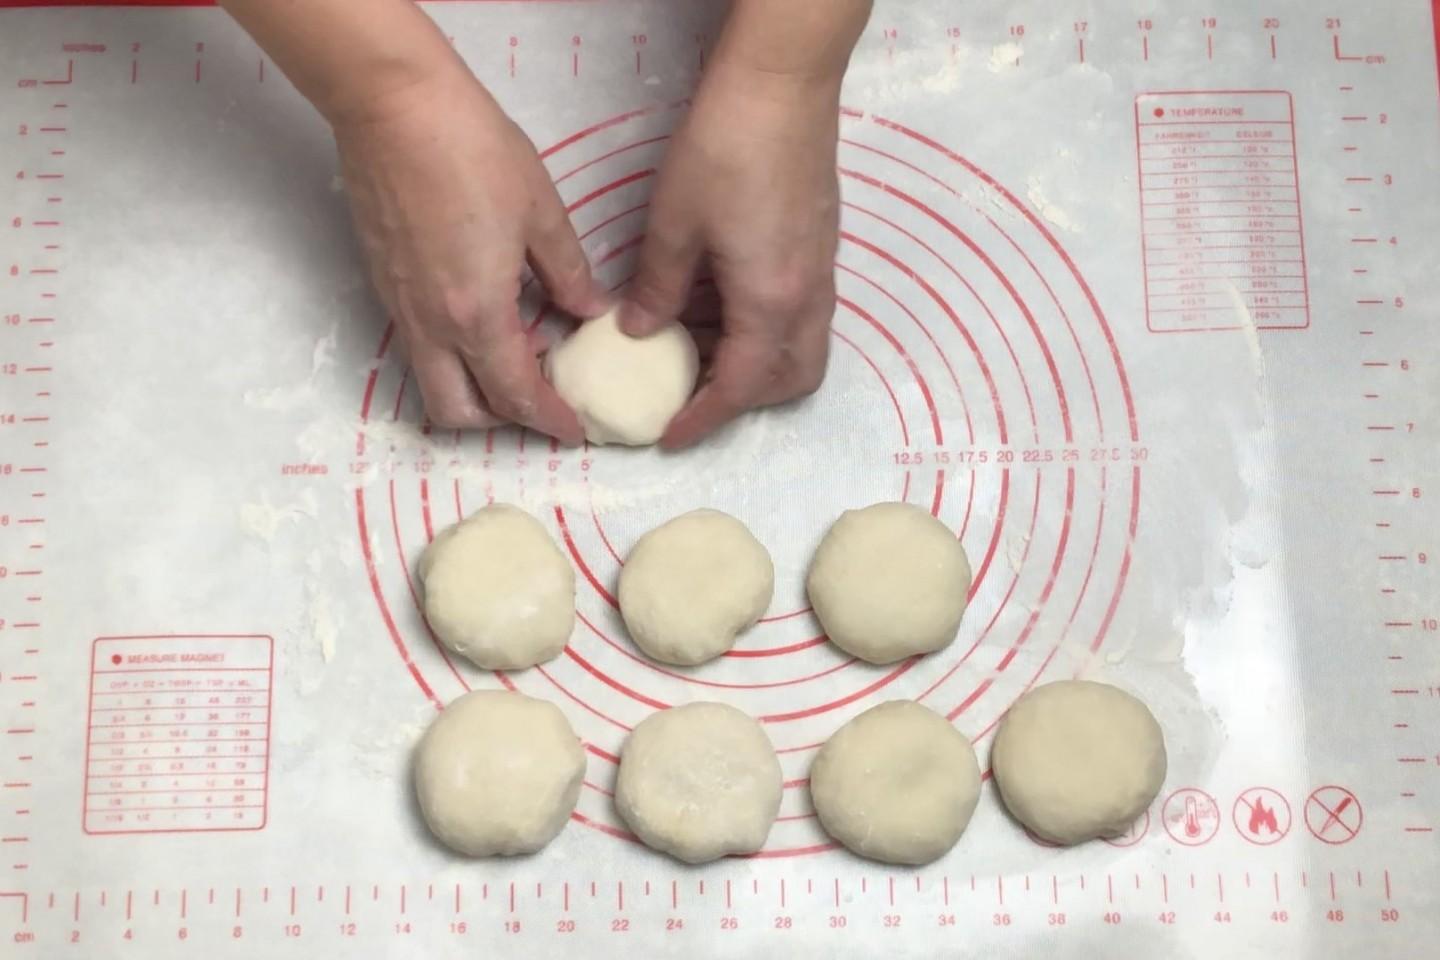
After resting, move the dough to a lightly floured surface and roll it into a rope. Divide it into 8 equal pieces — each should weigh about 70–80 grams (2.5–3 oz).
-
Step 9:
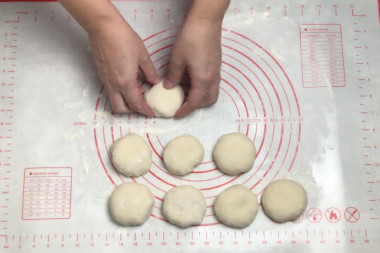
Roll each piece into a smooth ball.
-
Step 10:
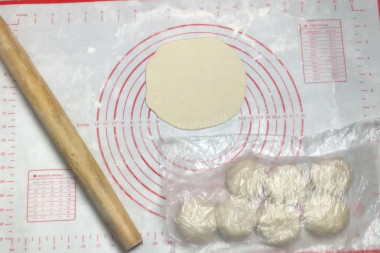
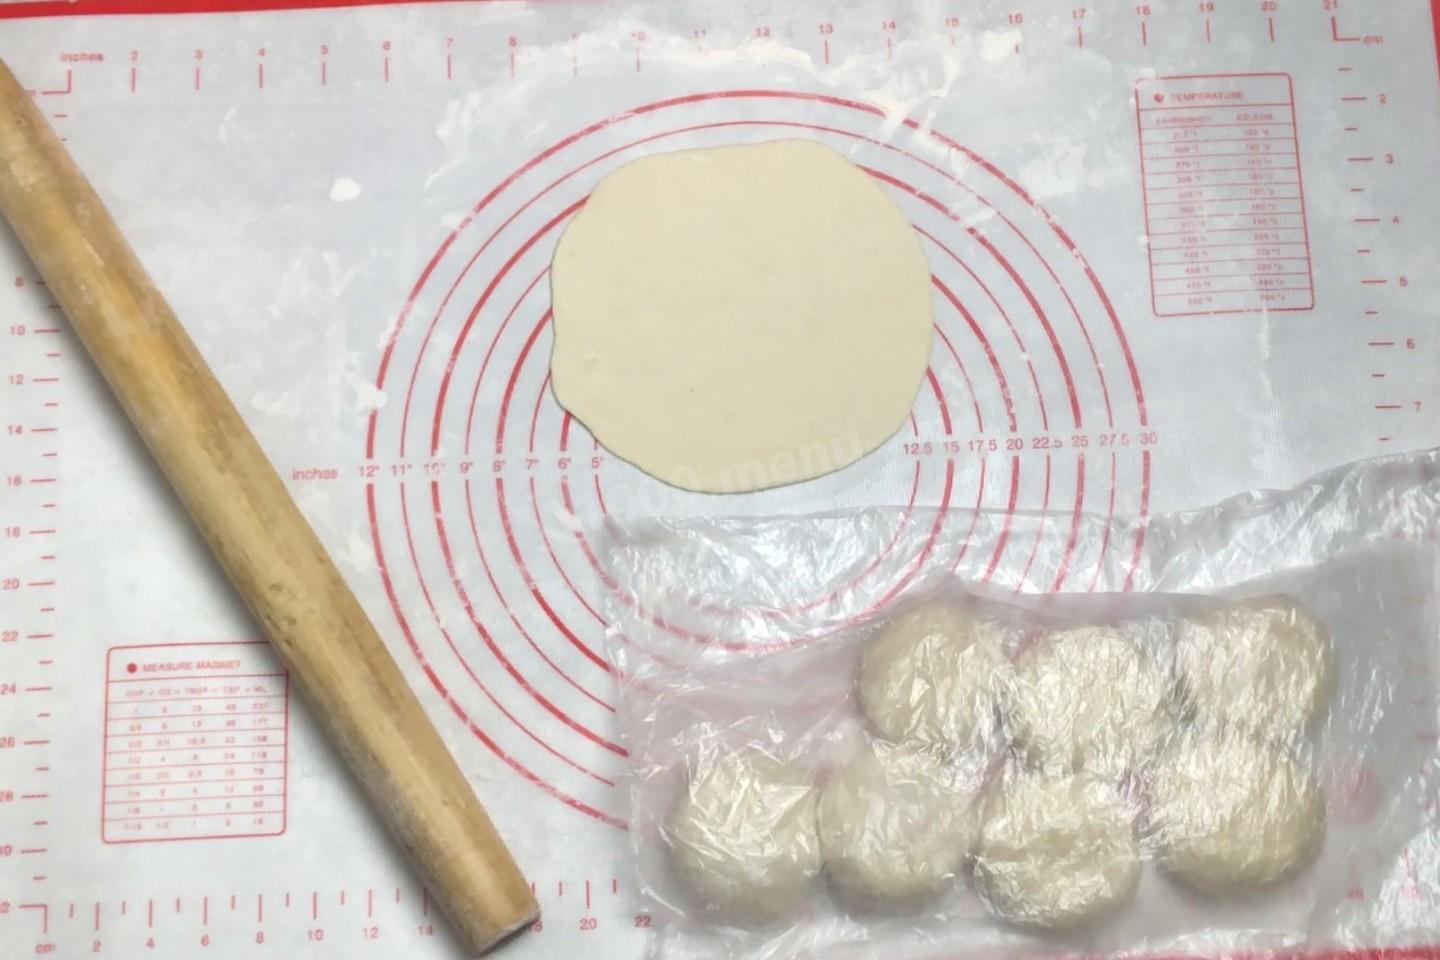
Cover the balls with a bag so they don't dry out. Take one and gently roll it into a thin, even round with smooth edges. Be careful not to tear the dough or let it stick — a damaged round won't puff up when cooked. Aim for a round about 6–7 inches (15–17 cm) across.
-
Step 11:
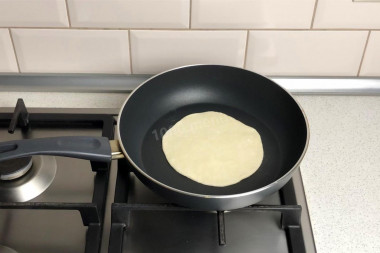
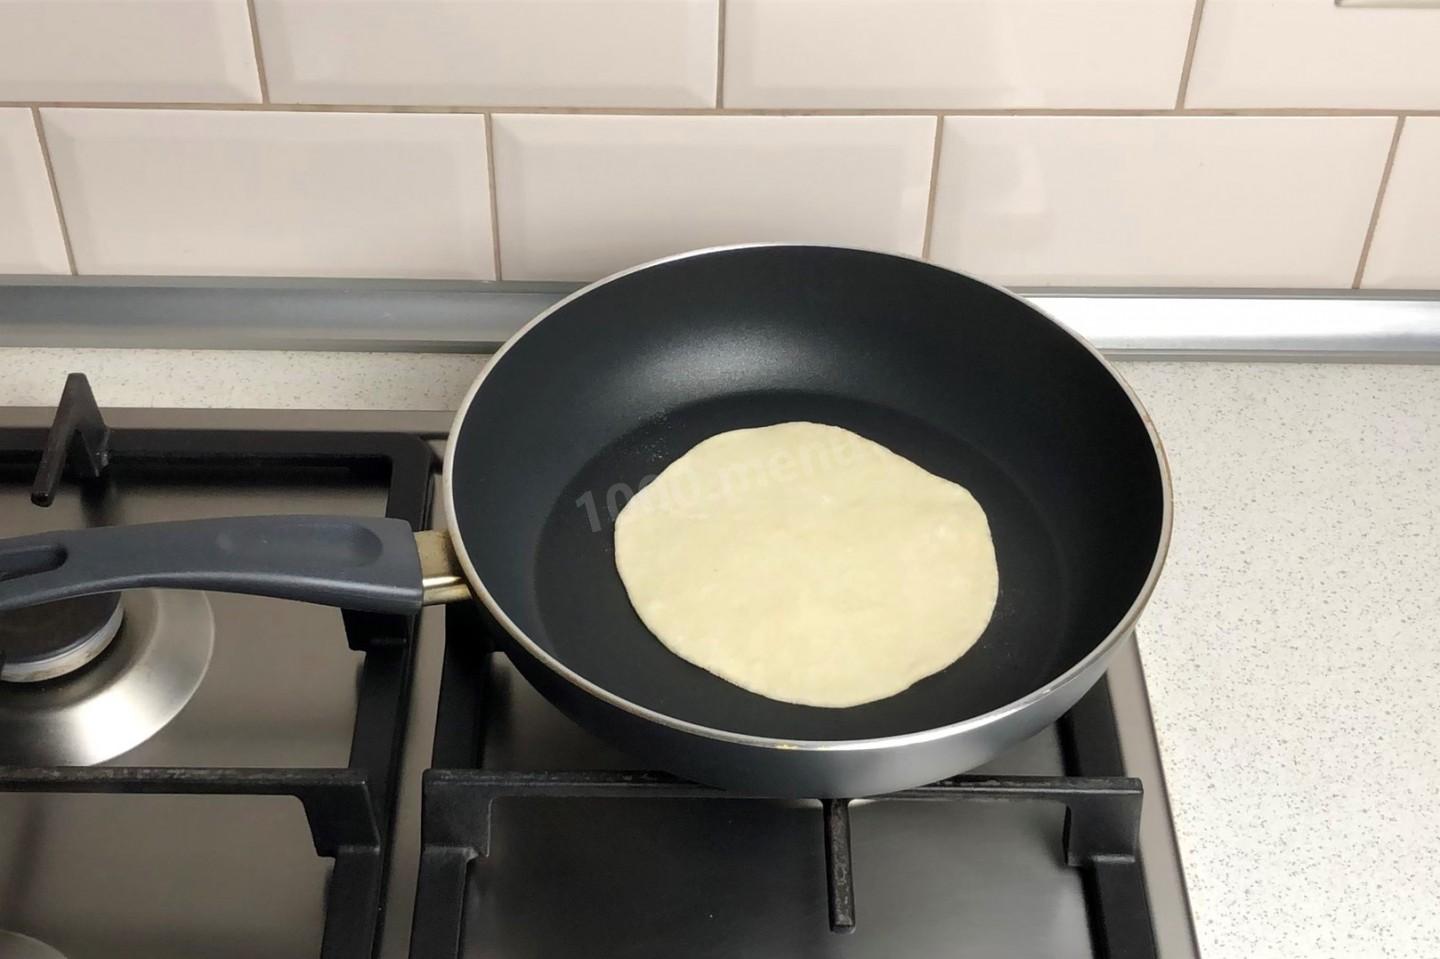
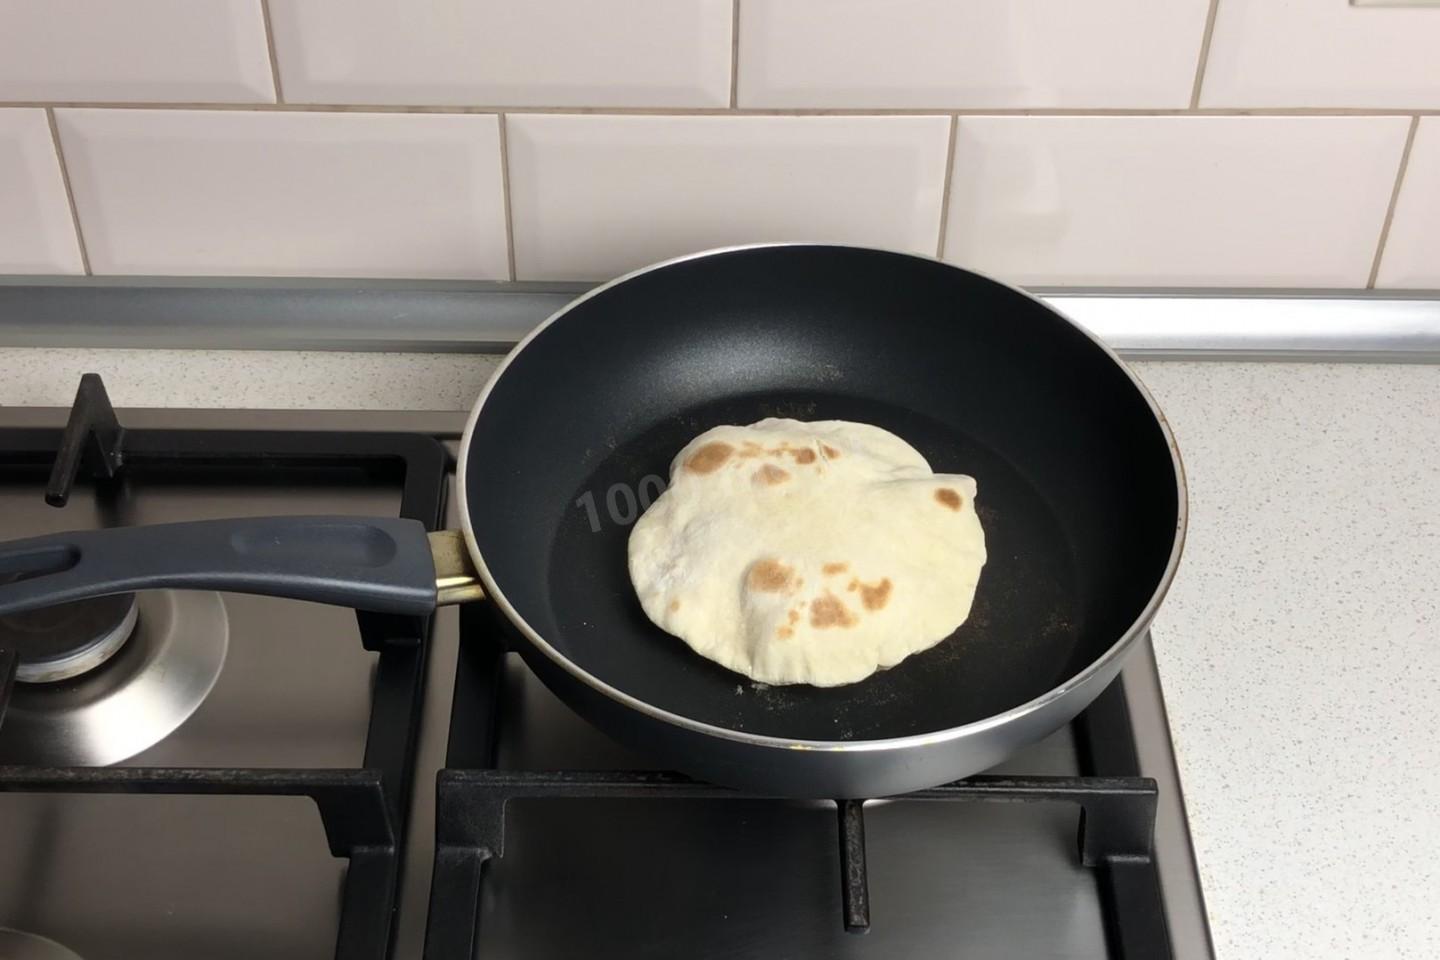
Heat a skillet until very hot — a heavy-bottomed pan works best. Lay a round of dough on the dry surface; there's no need to grease the pan, since pita cooks dry. As soon as the first bubbles appear on top, flip it over. This happens pretty fast.
-
Step 12:
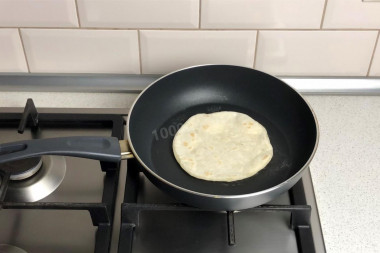
Cook the second side for about a minute.
-
Step 13:
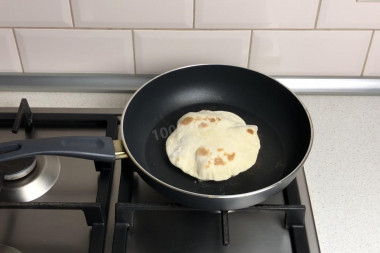
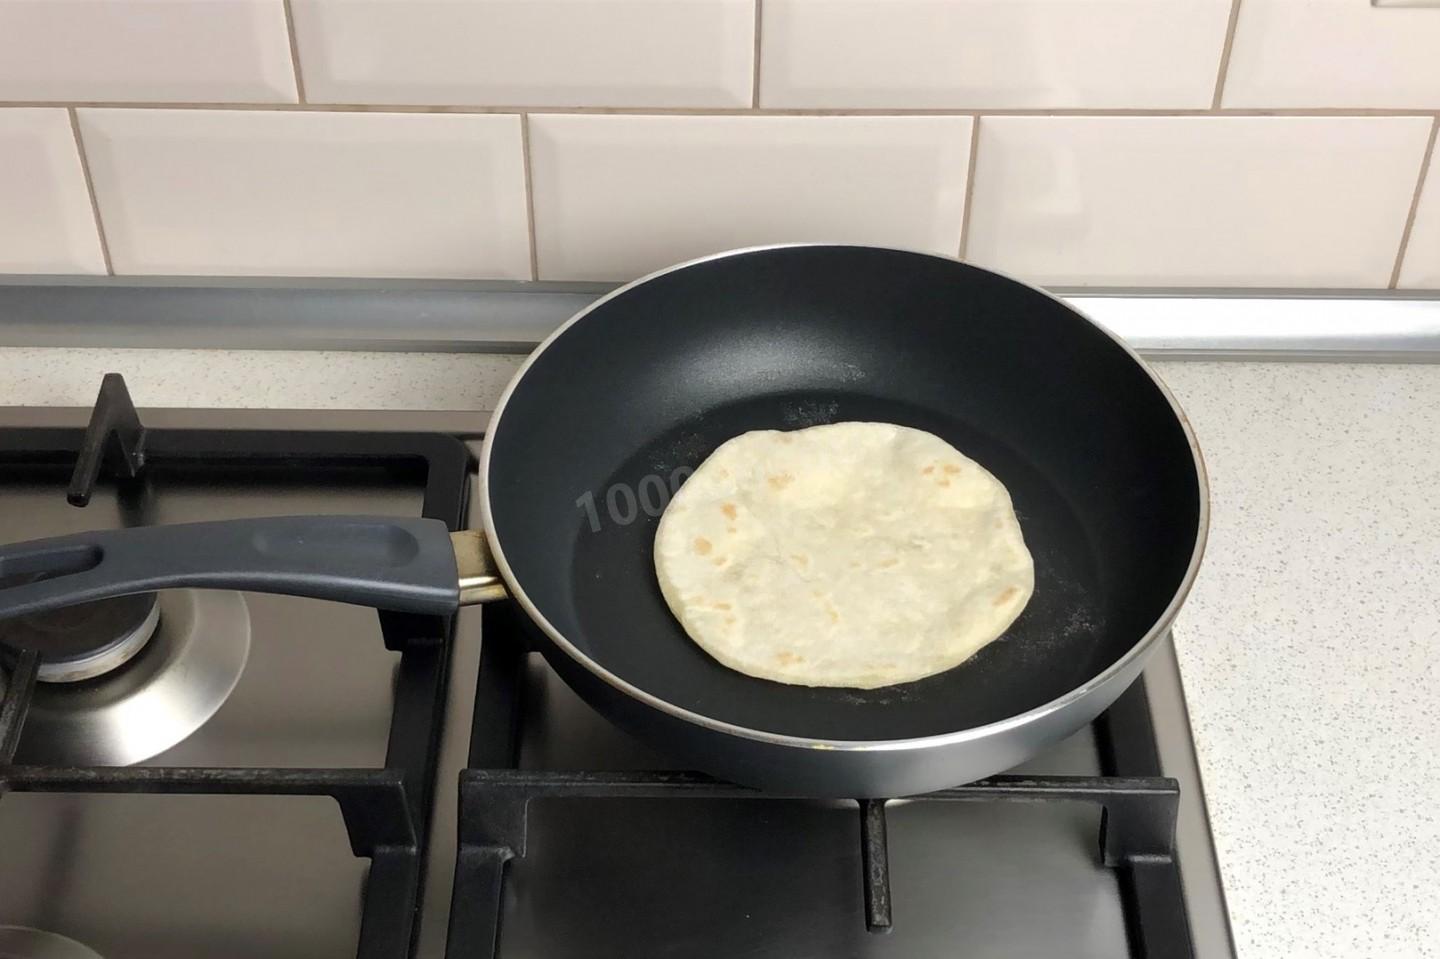
Flip it once more. Right before your eyes, the round will start to balloon up. Wait until it stops rising, then flip it one last time. About half a minute later the pita is done — lift it out of the pan.
-
Step 14:
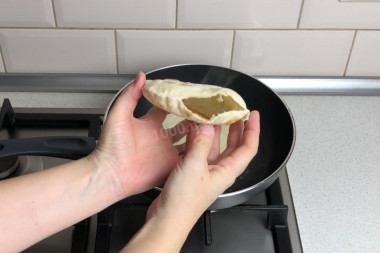
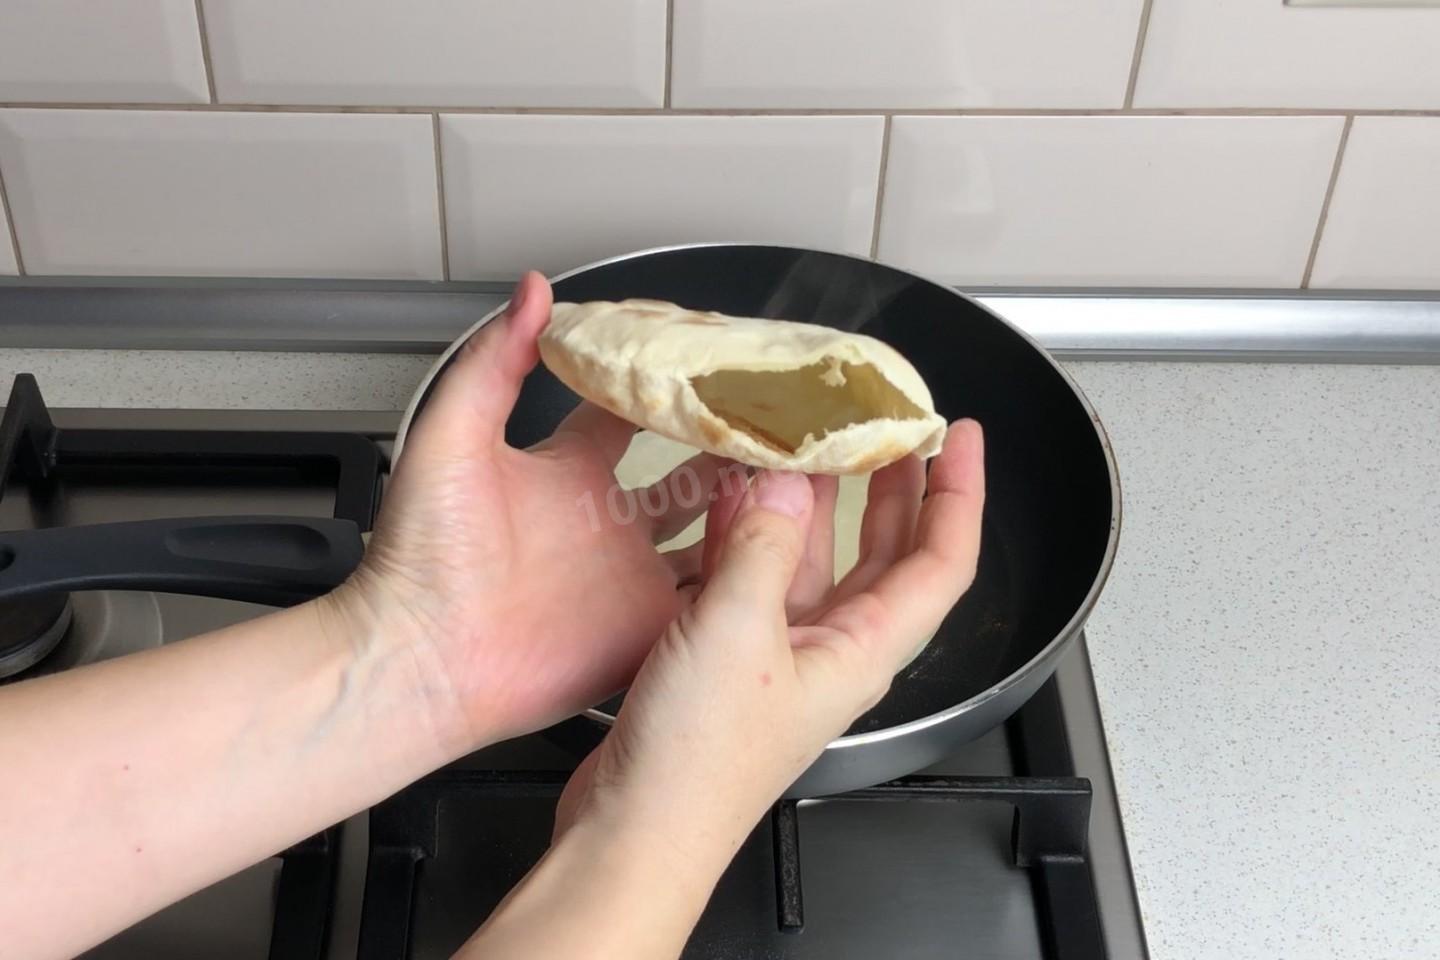
Here's the pocket you end up with inside the pita. Cook the rest of the rounds the same way. Finished pitas deflate fairly quickly — that's fine, the pocket stays put inside.
- Such a fun recipe! Watching the rounds puff up is mesmerizing. A couple of mine didn't fully inflate — I later learned that when that happens you can gently press on the big bubble and the air will redistribute evenly.
- If a pita just won't puff, don't worry — eat it flat, like regular bread. A few things can cause it: the round was rolled unevenly, the skillet wasn't hot enough, or you flipped it too soon. It also helps to hold back a little flour while kneading so the dough stays on the wetter side, since it's the trapped steam that makes the bread rise.
- Use filtered or bottled water with a neutral taste for the best results. Tap water can leave the bread with an off flavor.
Caloric content of the products possible in the composition of the dish
- Whole durum wheat flour fortified - 333 kcal/100g
- Whole durum wheat flour universal - 364 kcal/100g
- Flour krupchatka - 348 kcal/100g
- Flour - 325 kcal/100g
- Vegetable oil - 873 kcal/100g
- Salt - 0 kcal/100g
- Water - 0 kcal/100g