Sugar-Free Applesauce for Winter
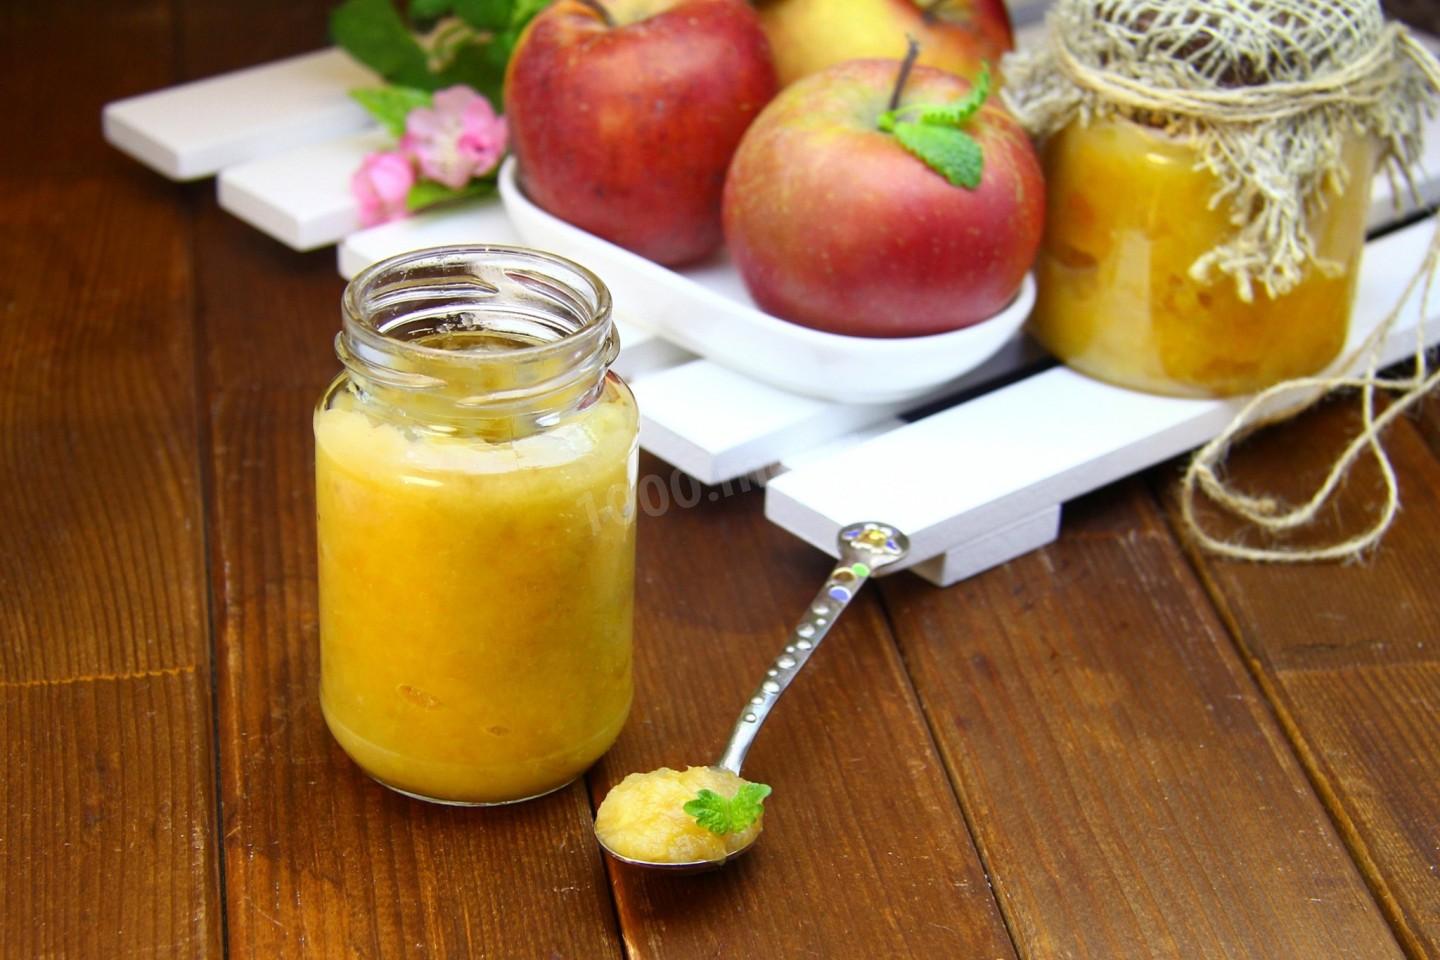
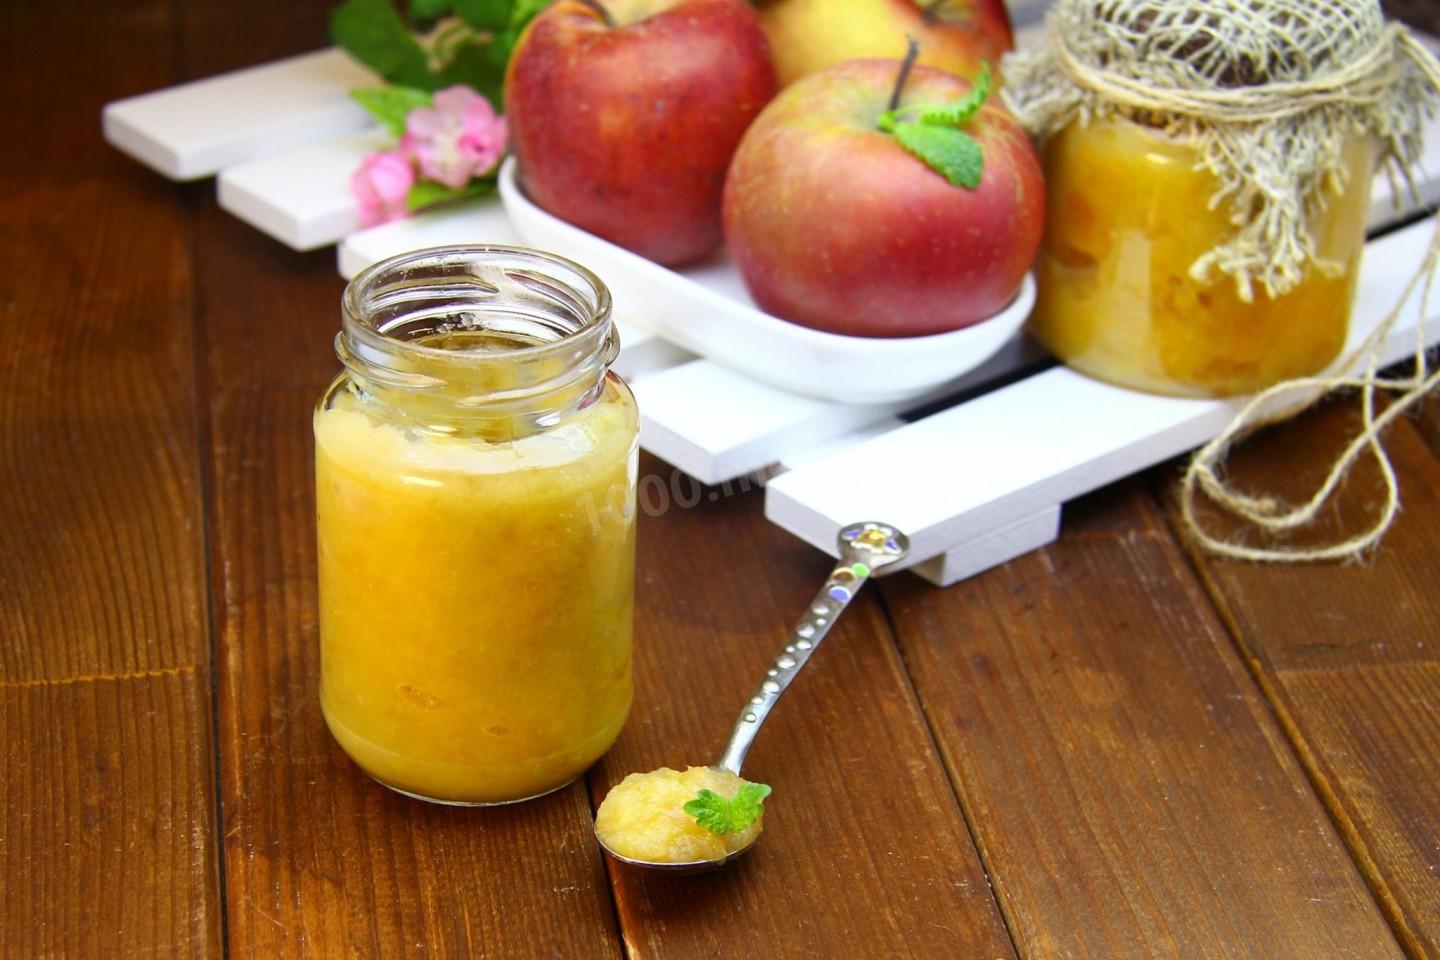
A natural, fragrant, and wholesome treat. Canning applesauce for winter is a wonderful way to lock in the vitamins and healthy fiber of fresh fruit for months to come. Served on its own as a dessert, applesauce is a hit with kids and grown-ups alike.

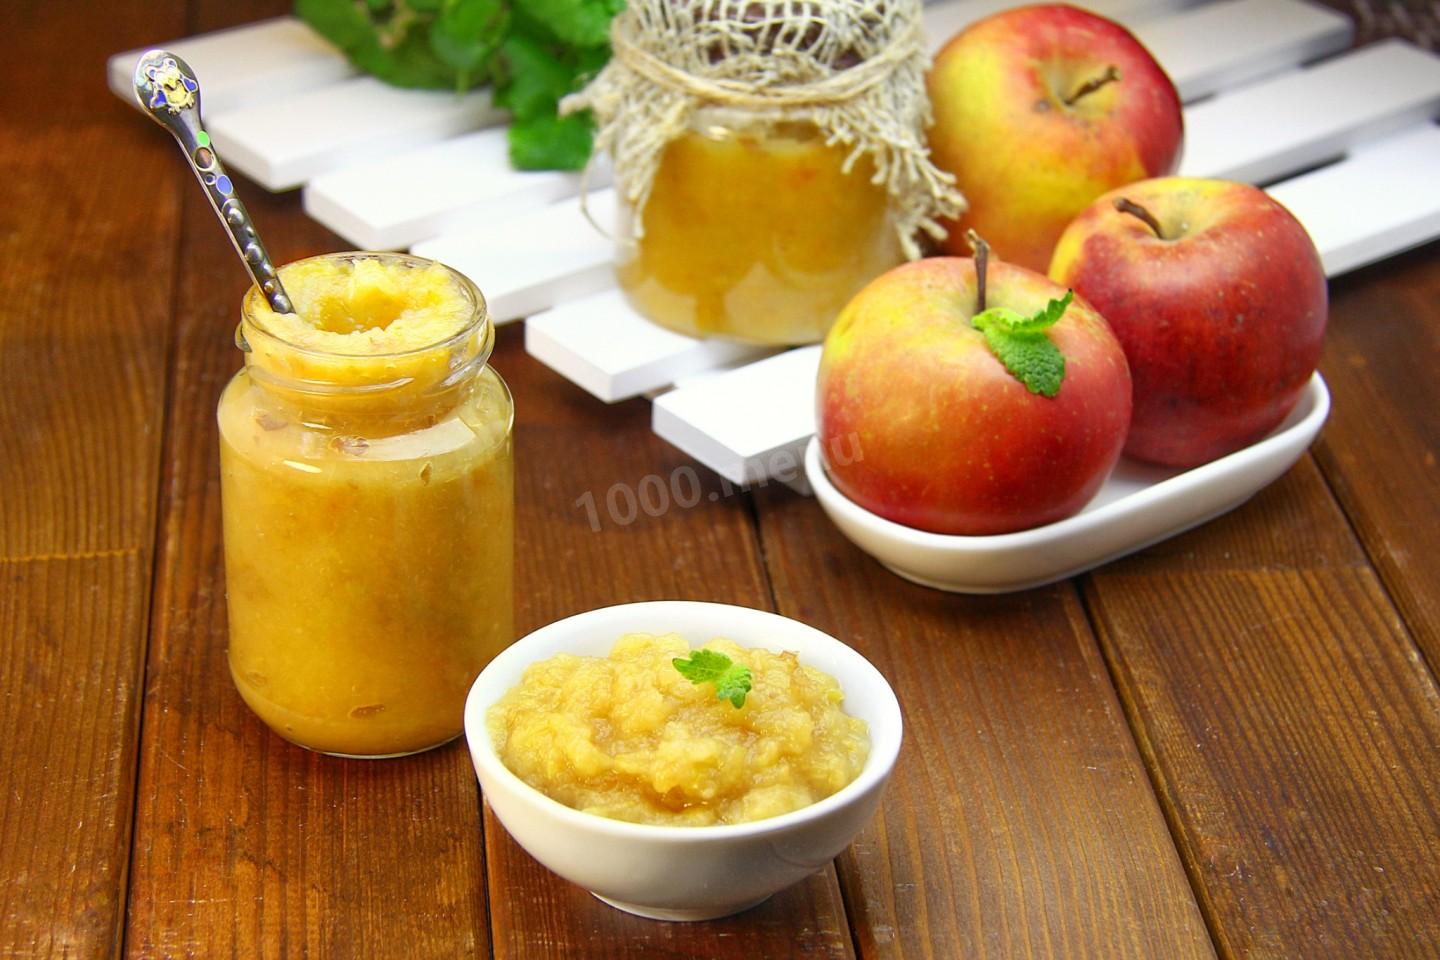
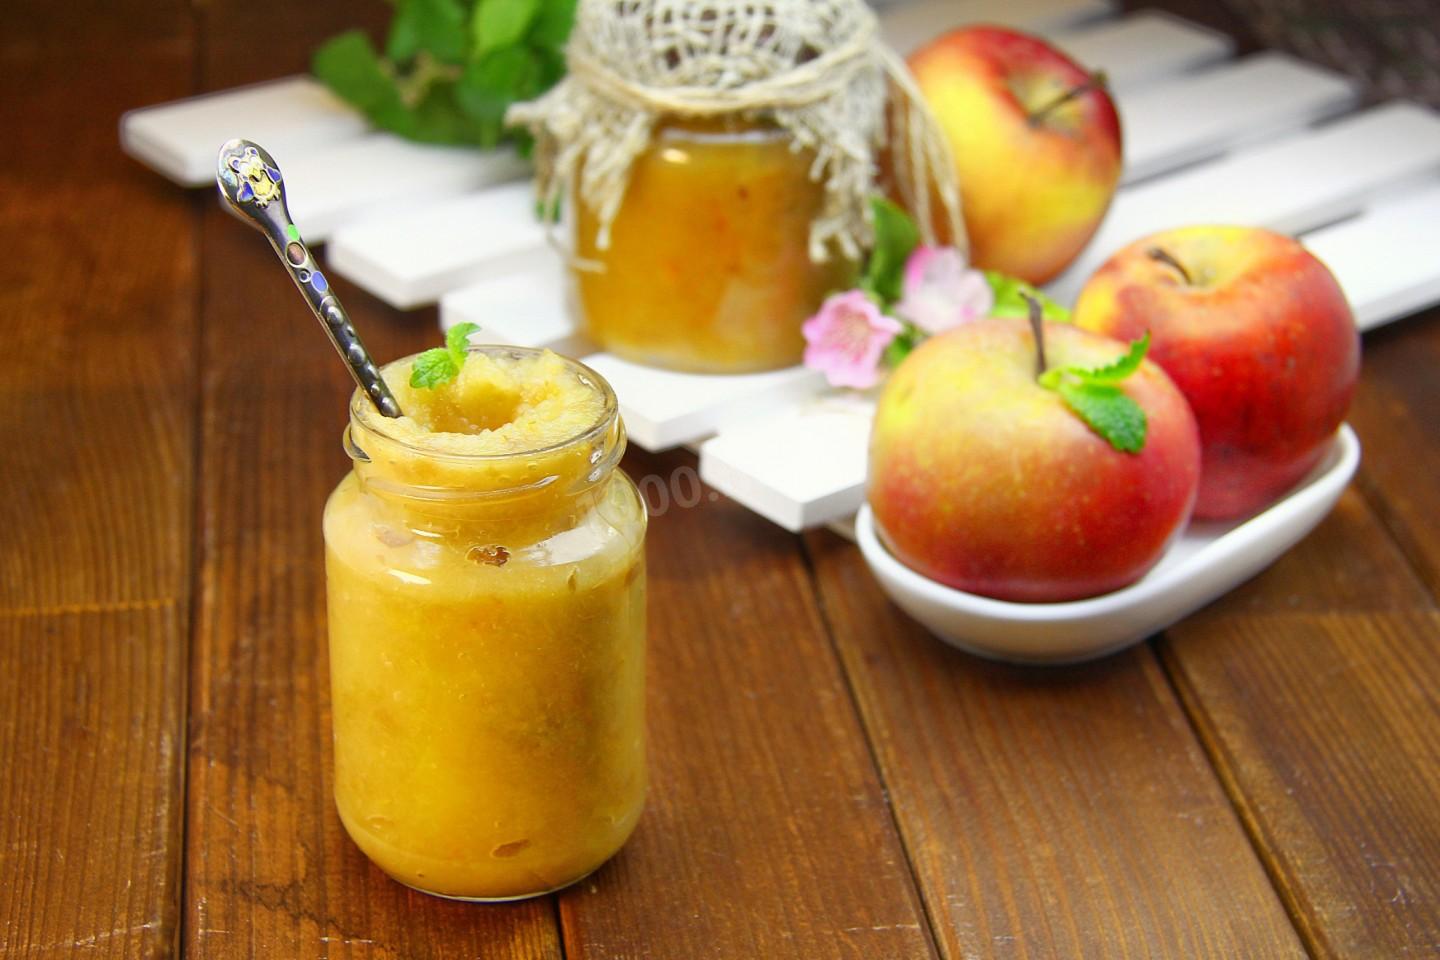
Cooking method
-
Step 1:
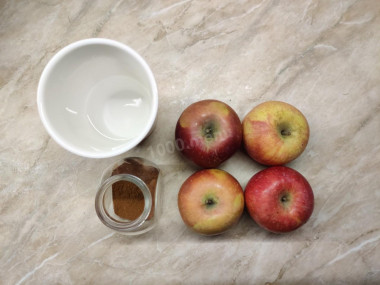
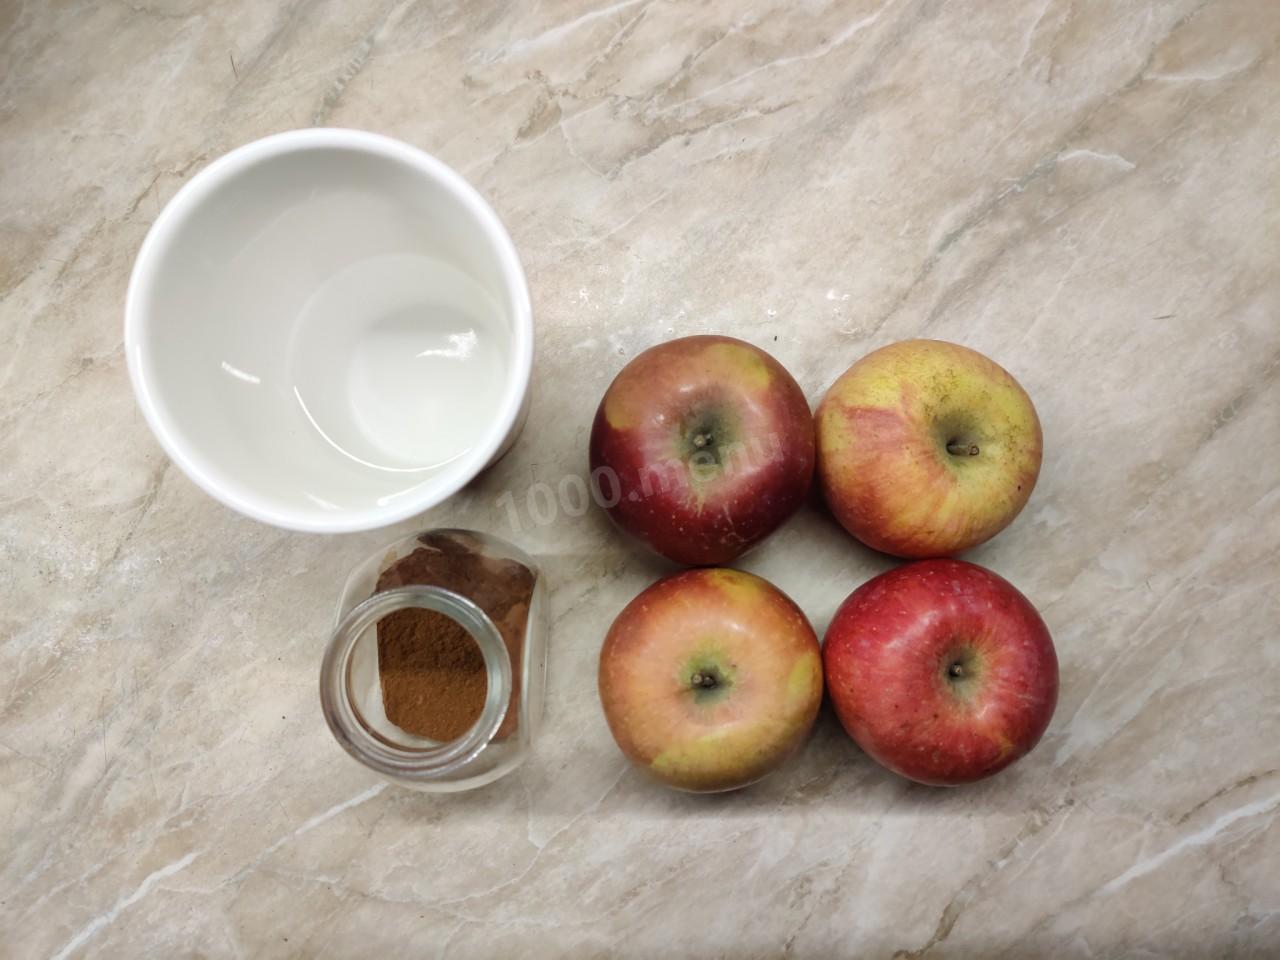
To can applesauce for winter, gather these ingredients: tart-sweet apples, cold drinking water, and ground cinnamon.
-
Step 2:
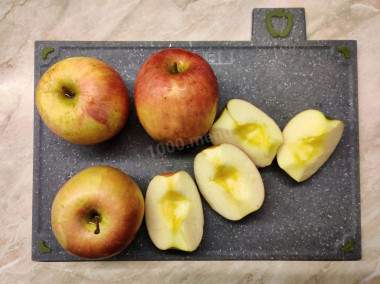
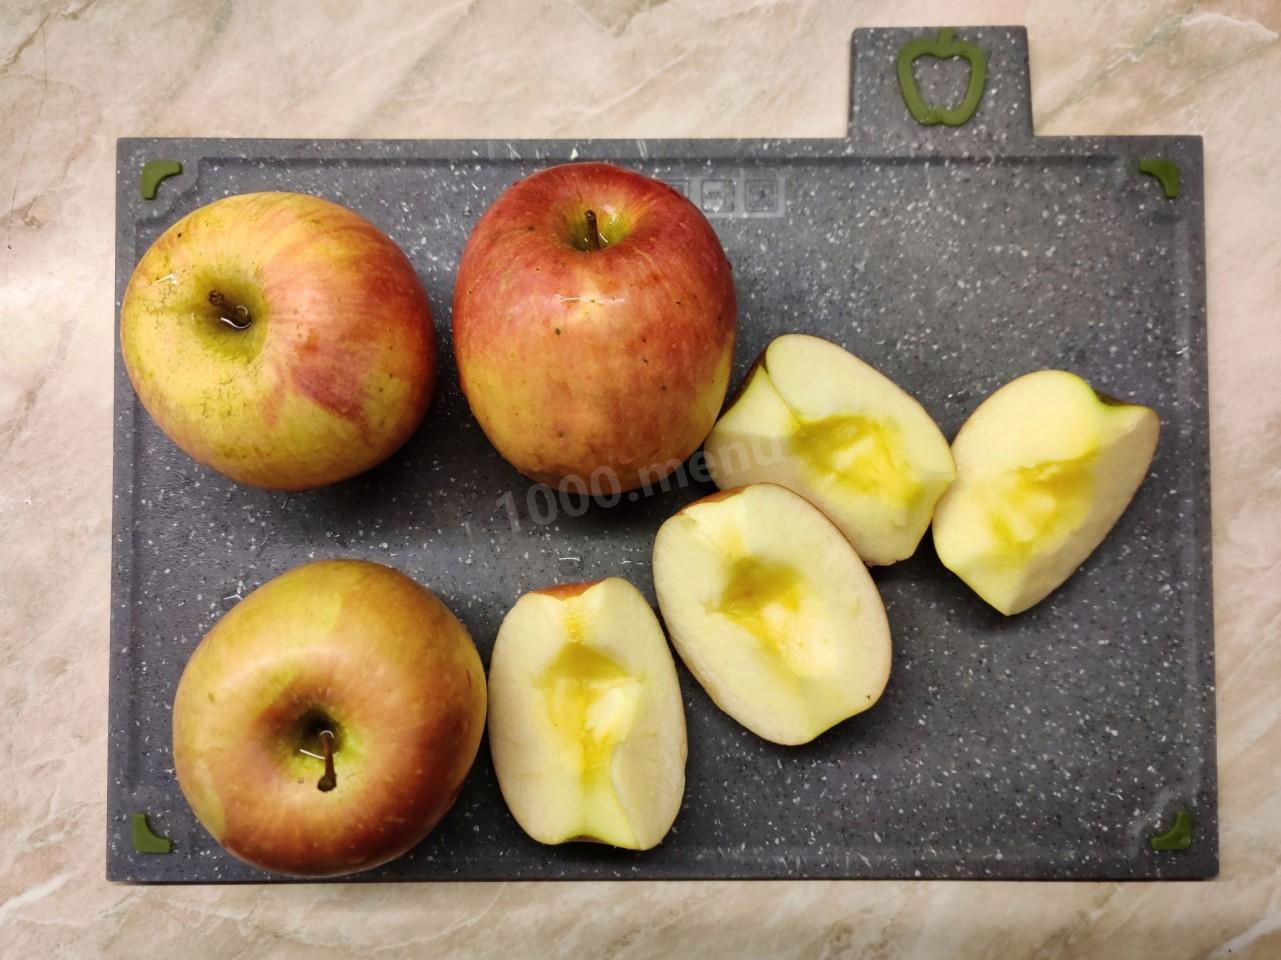
Choose apples free of bruises and blemishes, wash them under running water, and cut them in half. Use a sharp knife to cut out the cores and stems, then halve each piece again — smaller pieces cook faster. With homegrown apples you can leave the skin on, since it holds a lot of good fiber. But if the apples are store-bought and waxed, I'd peel them.
-
Step 3:
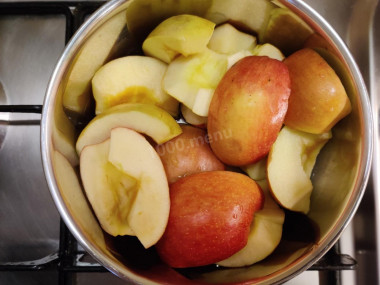
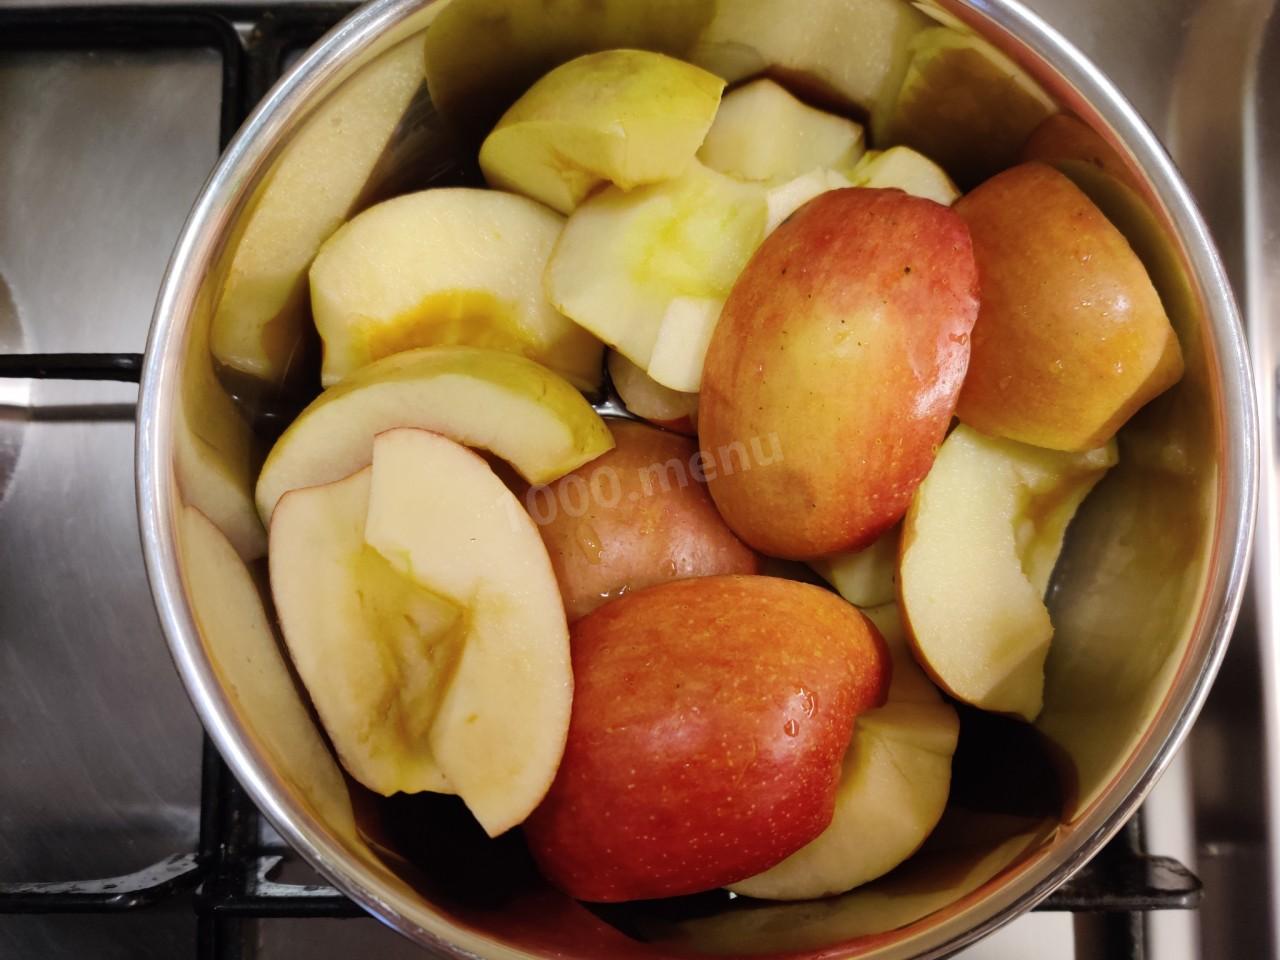
Once the apples are cut, cook them right away or they'll start to brown. Put them in an appropriately sized pot and add the water — I used a deep steel saucepan. Bring to a boil over medium heat and simmer, covered, for about fifteen minutes.
-
Step 4:
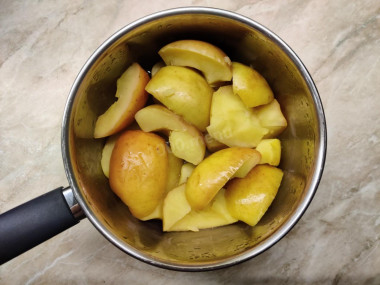
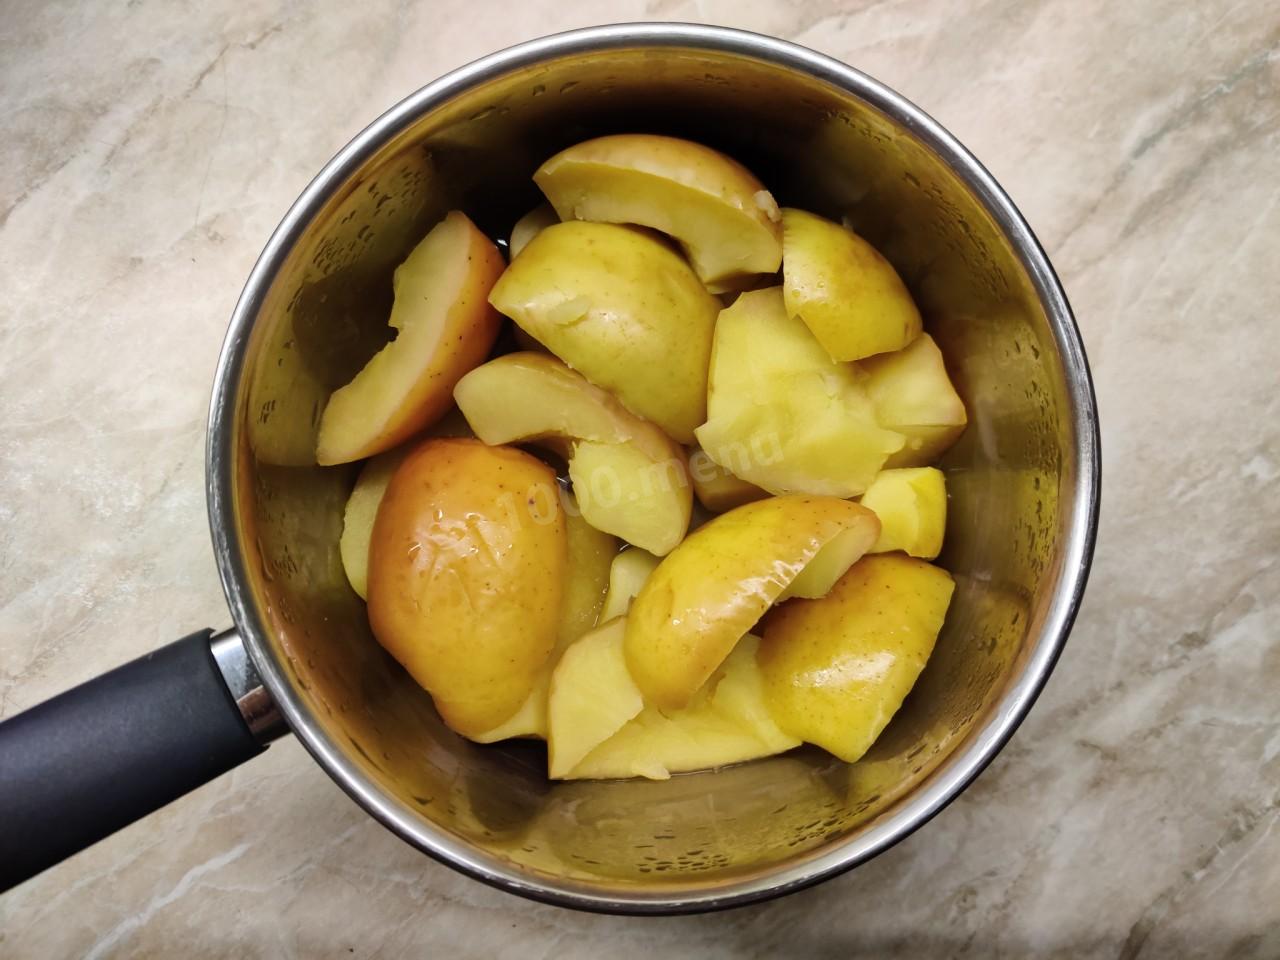
Cooking time can vary — test for doneness by piercing a piece with a knife. When the apples are soft, they're ready to come off the heat. Stir them now and then and check that the water hasn't cooked away; if it has, just add a little more. Wash the jars with a brush and baking soda. Pour 50 ml (about 3 tbsp) of water into each and sterilize in the microwave at 800 watts for 2 minutes — every microwave is different, so go by when the water boils. Wash the lids, cover them with boiling water, and set aside for now.
-
Step 5:
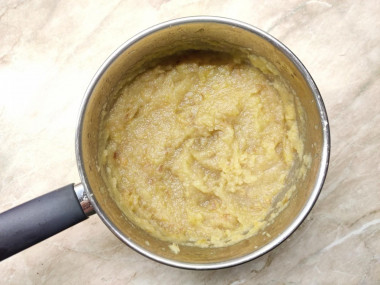
When the apples are done, transfer them to a container safe for an immersion blender (the blade can scratch a pot). At my own risk, I work right in the saucepan. Without waiting for them to cool, blend the apples into a smooth purée. Be careful not to get burned! About halfway through, add cinnamon to taste and keep blending so the spice distributes evenly.
-
Step 6:
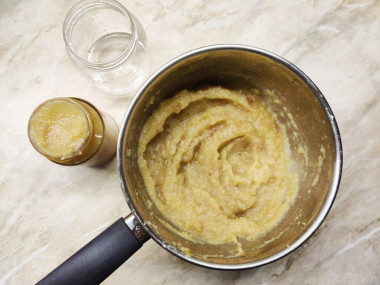
Ladle the still-hot applesauce into the prepared jars and seal them with the lids. Turn the jars upside down and wrap them in a towel. Let them cool completely at room temperature, then move them to storage.
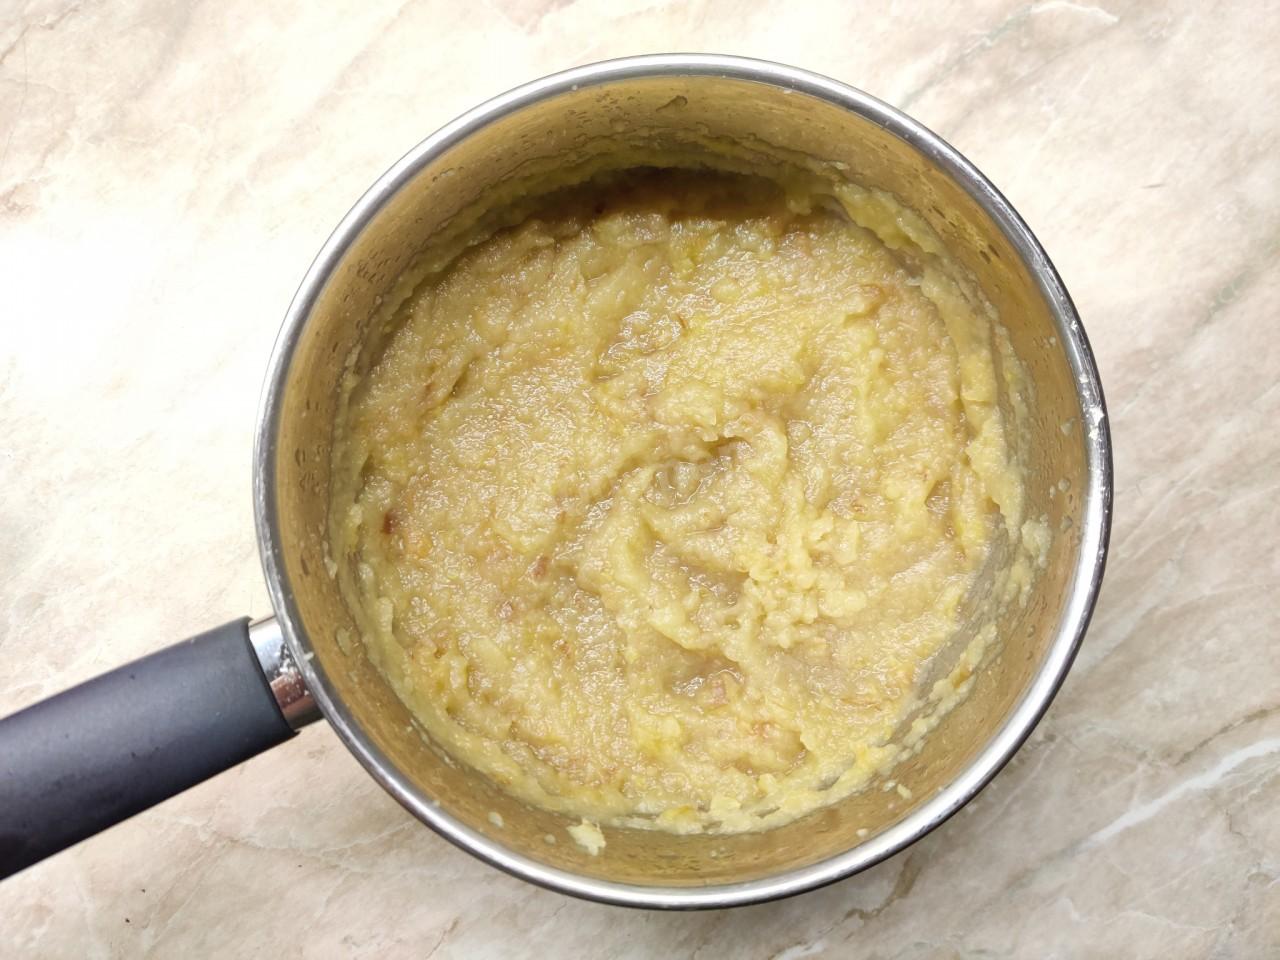
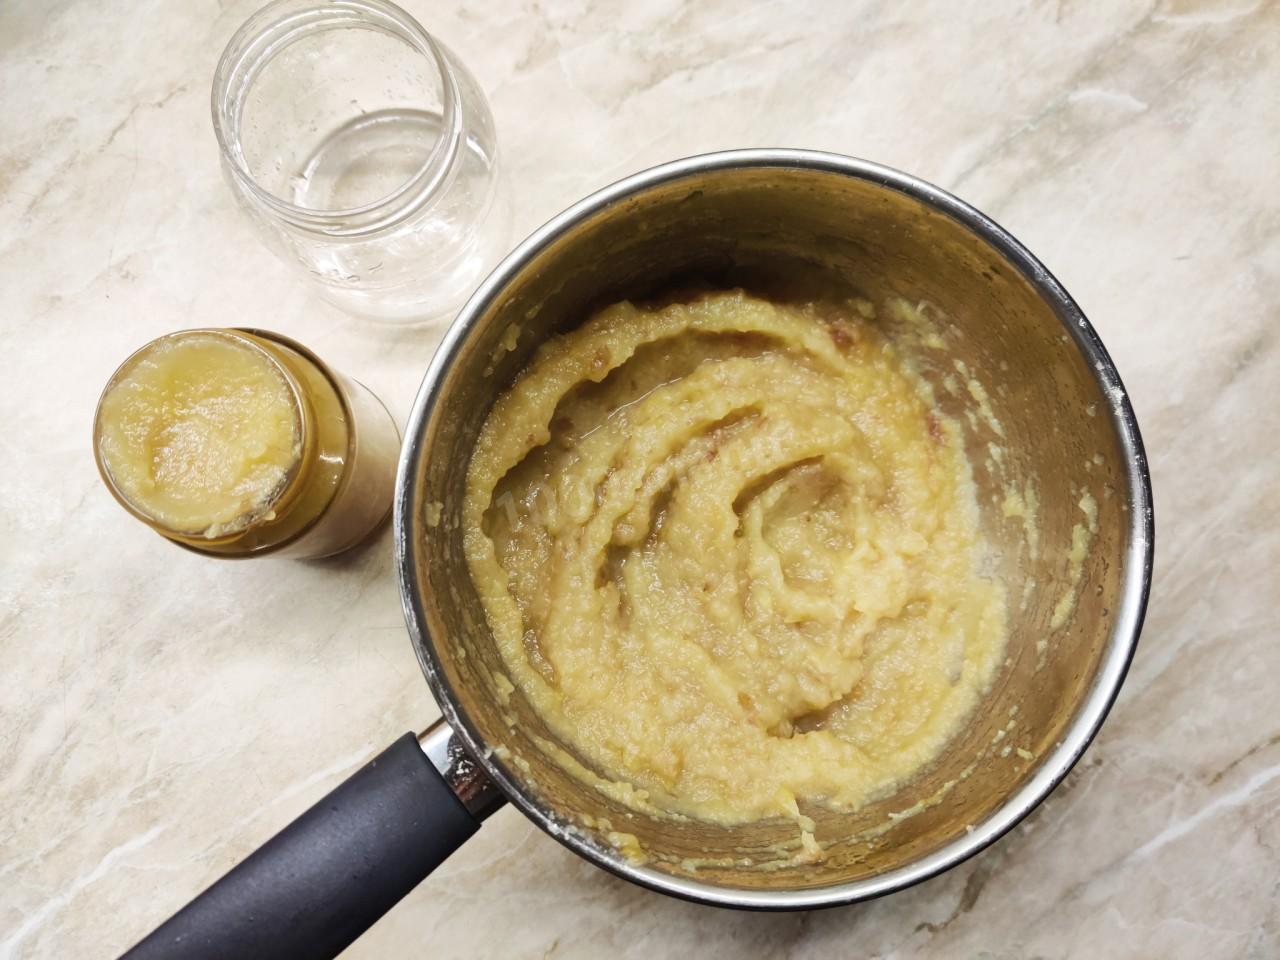
- If, like me, you leave the peel on, blend the apples very thoroughly so the purée comes out as smooth as possible. Be extremely careful with the immersion blender! Keep the blade head fully submerged the whole time — otherwise, at that high speed, the apple mixture can splatter. A few drops of hot purée instantly burned my wrist, so it may even be worth wearing kitchen mitts. I'd store this purée in the fridge, since it has no sugar — the main preservative. The aroma is absolutely incredible, made for anyone who loves all things natural. And the flavor, of course, depends on your apples: if you enjoy them fresh, you'll enjoy the sauce. Enjoy!
Caloric content of the products possible in the composition of the dish
- Apples - 47 kcal/100g
- Dried apples - 210 kcal/100g
- Canned apple mousse - 61 kcal/100g
- Cinnamon - 247 kcal/100g
- Water - 0 kcal/100g