


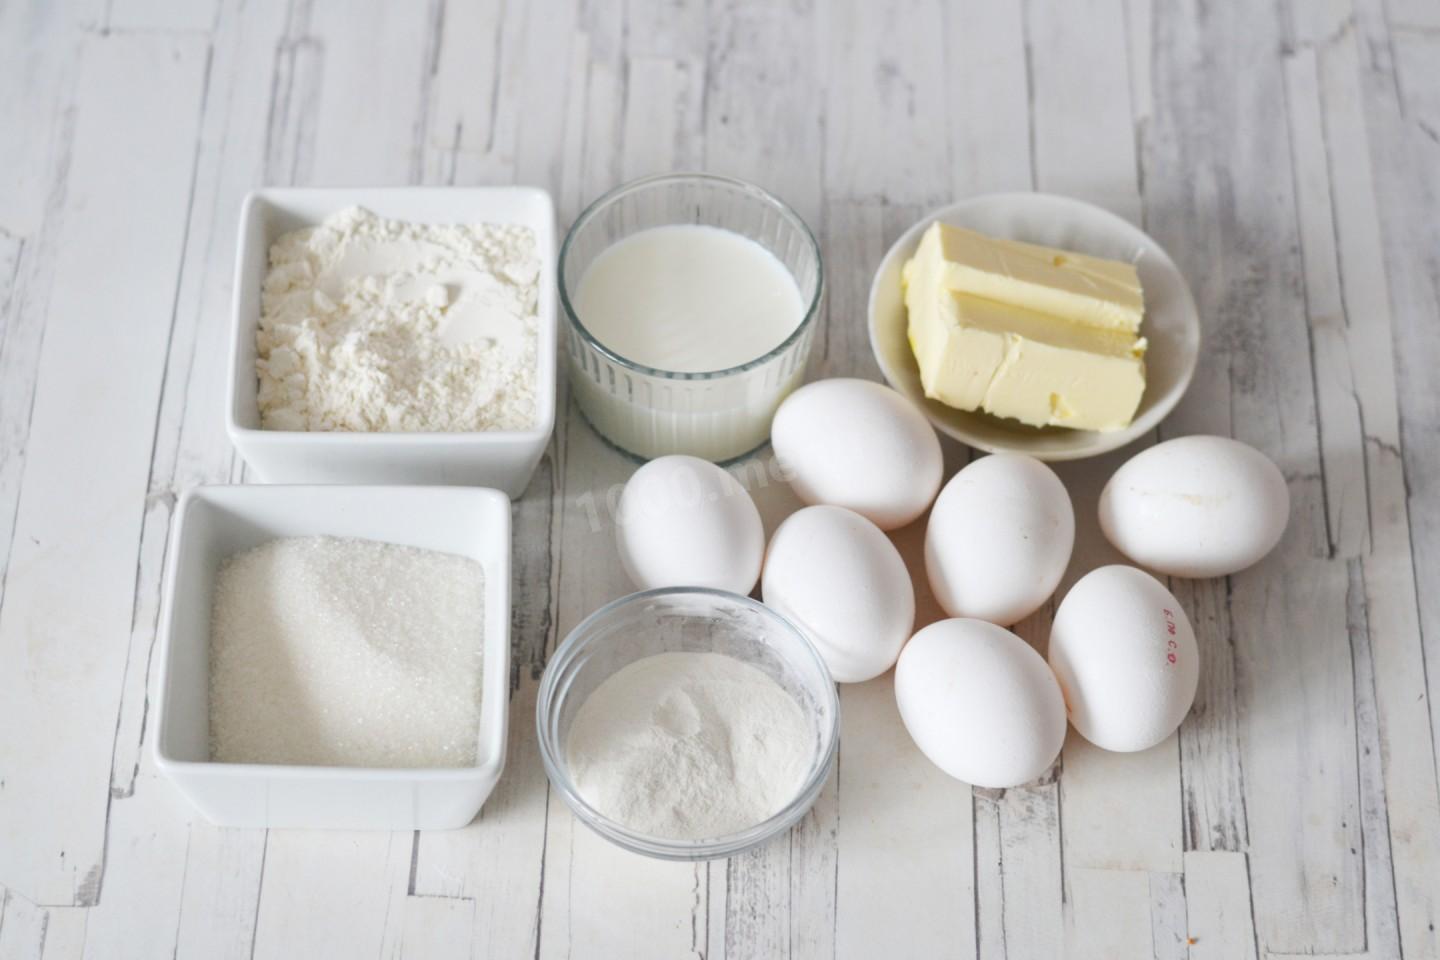
Composition / ingredients
Step-by-step cooking
Step 1:
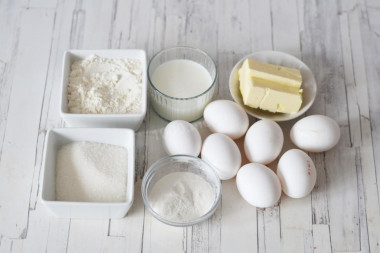
How to make Japanese cotton Castella sponge cake at home? First, prepare the necessary ingredients.
Step 2:
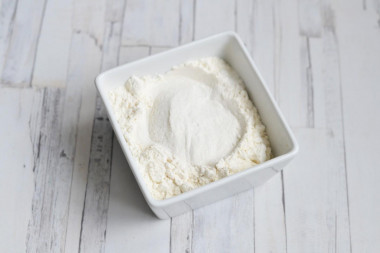
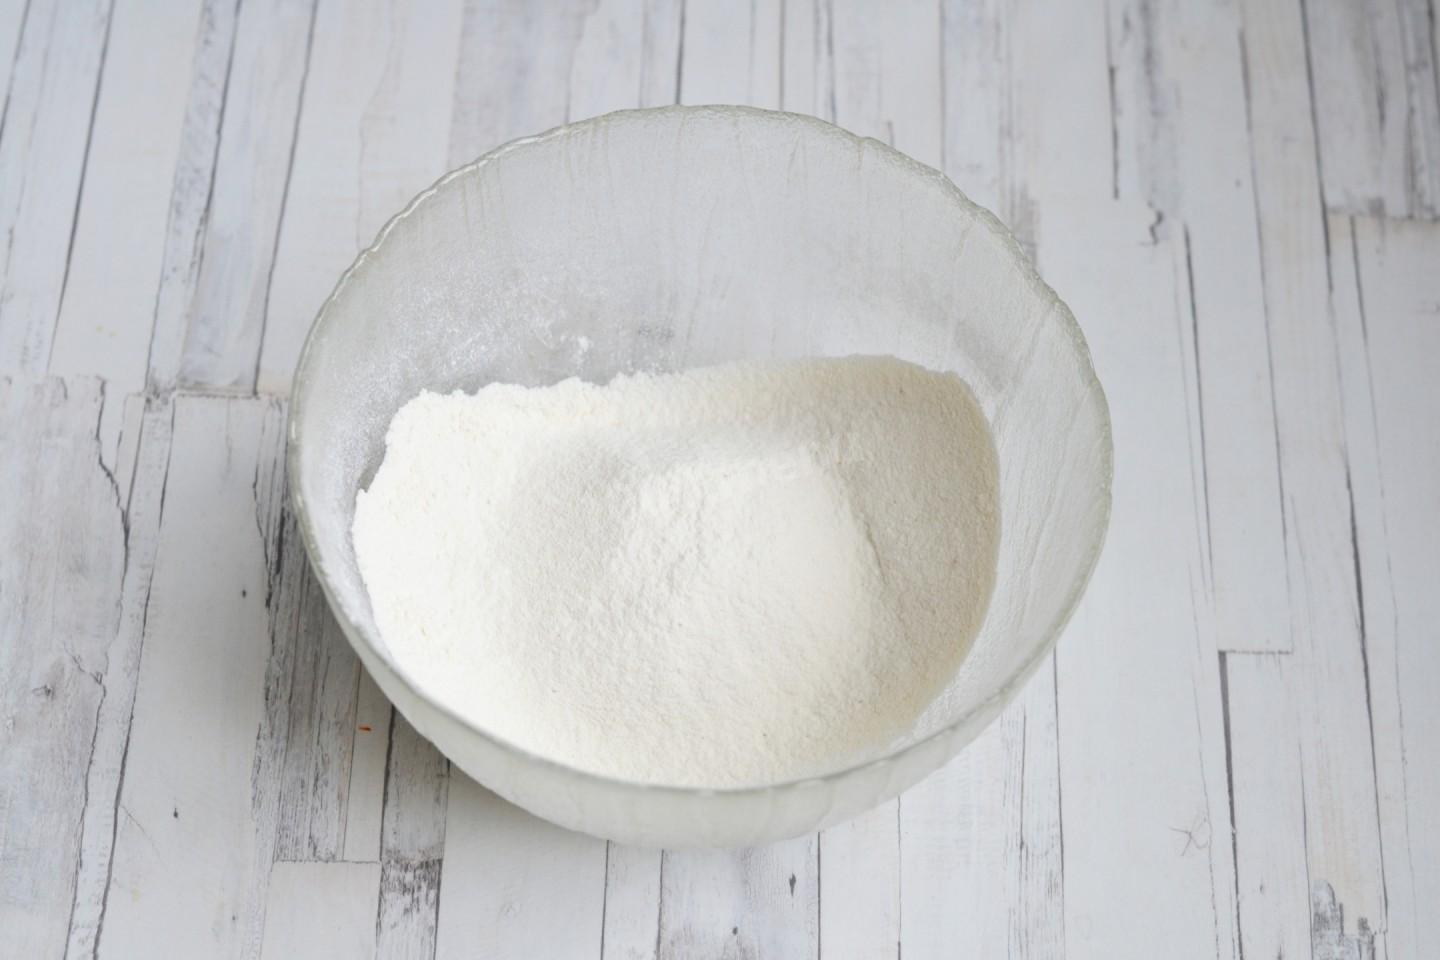
First prepare the flour mixture. Take flour with a protein content not higher than 10.3 g. Then, to reduce the gluten in the flour, take 2 tablespoons of flour from the bowl, and instead add 2 tablespoons of corn starch.
Step 3:
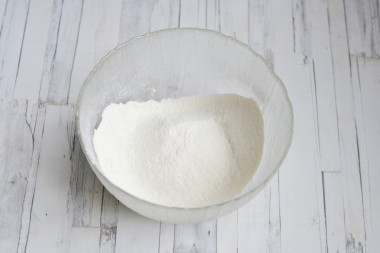
Sift the resulting mixture through a sieve 2-3 times. This is necessary for the uniform distribution of starch in flour.
Step 4:

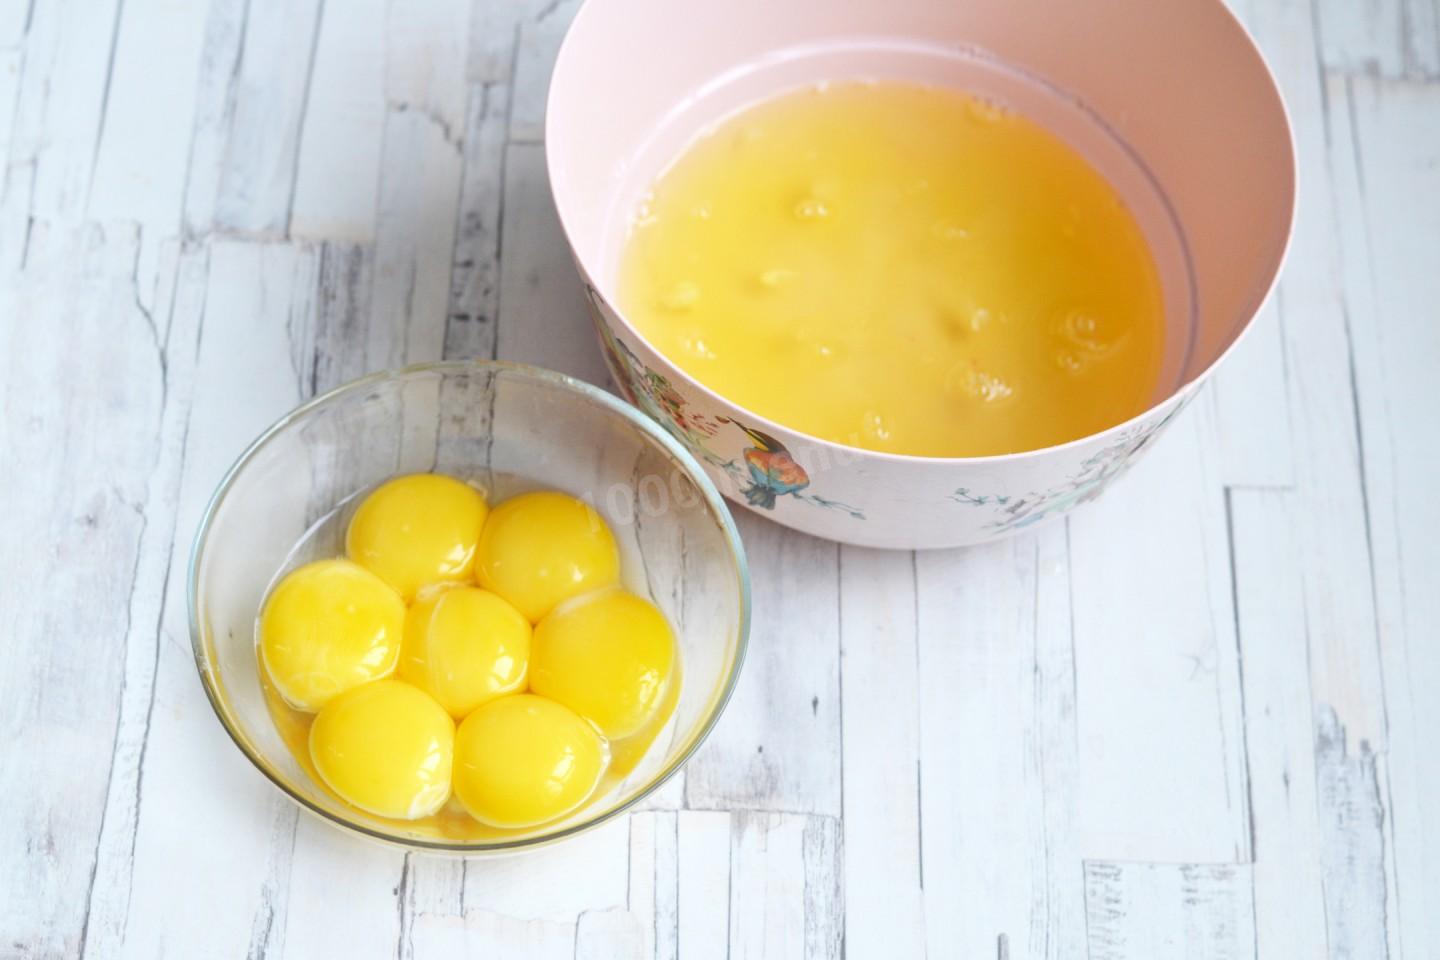
Divide the eggs into whites and yolks in clean and dry bowls, trying not to get a drop of yolk into the whites. If there is a yolk or water in a bowl with proteins, then the proteins will not climb into the foam. Put the proteins in the refrigerator immediately.
Step 5:

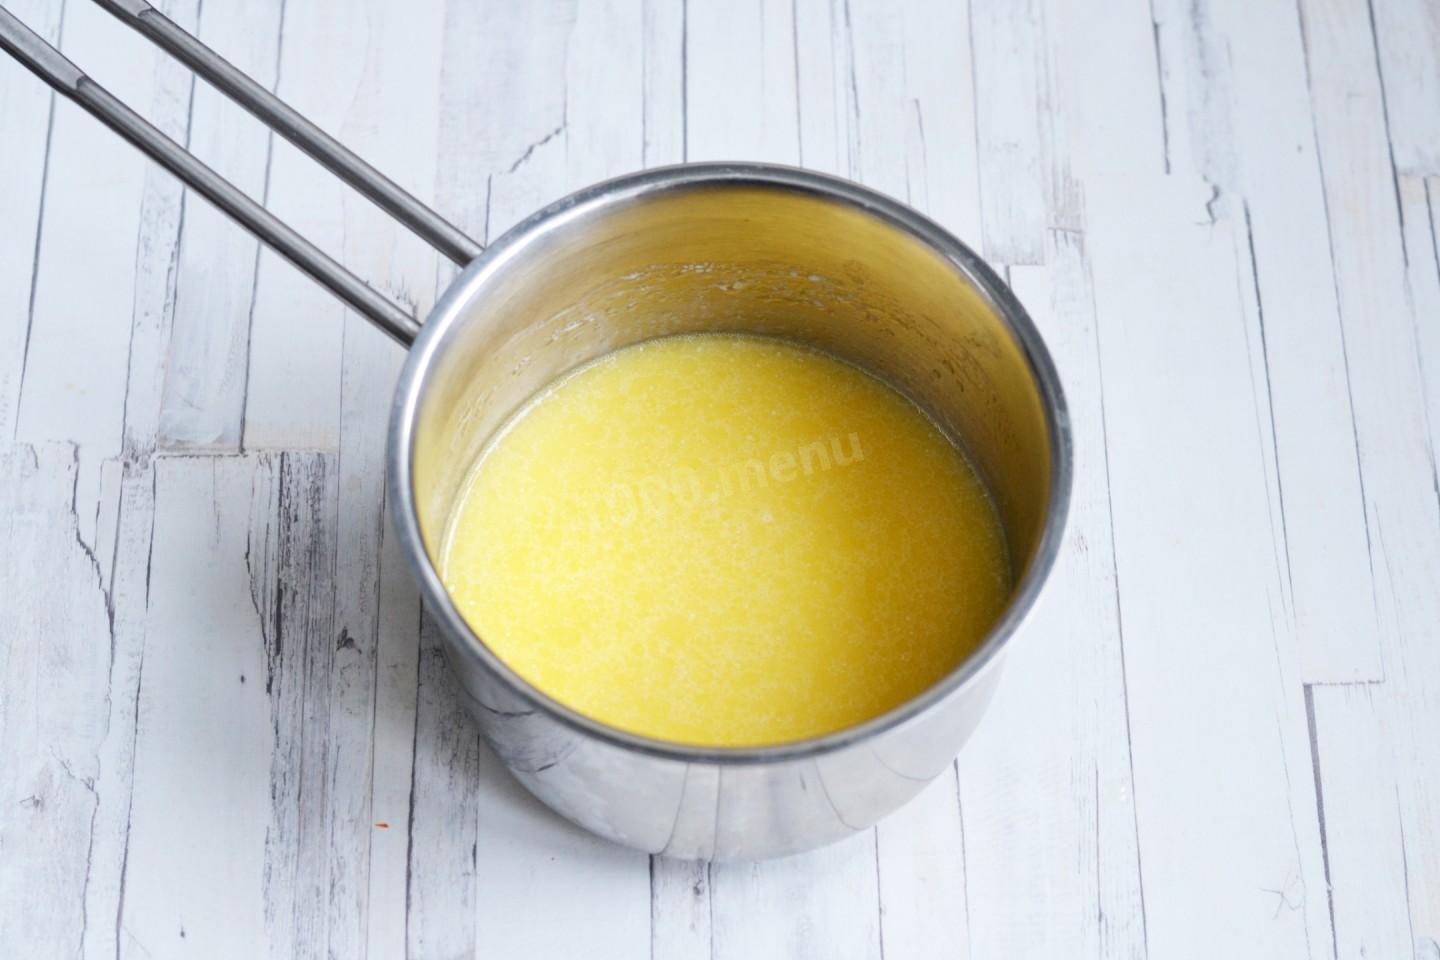
Pour milk into a saucepan, add butter. Heat everything over low heat until the oil dissolves. Then remove from the heat.
Step 6:

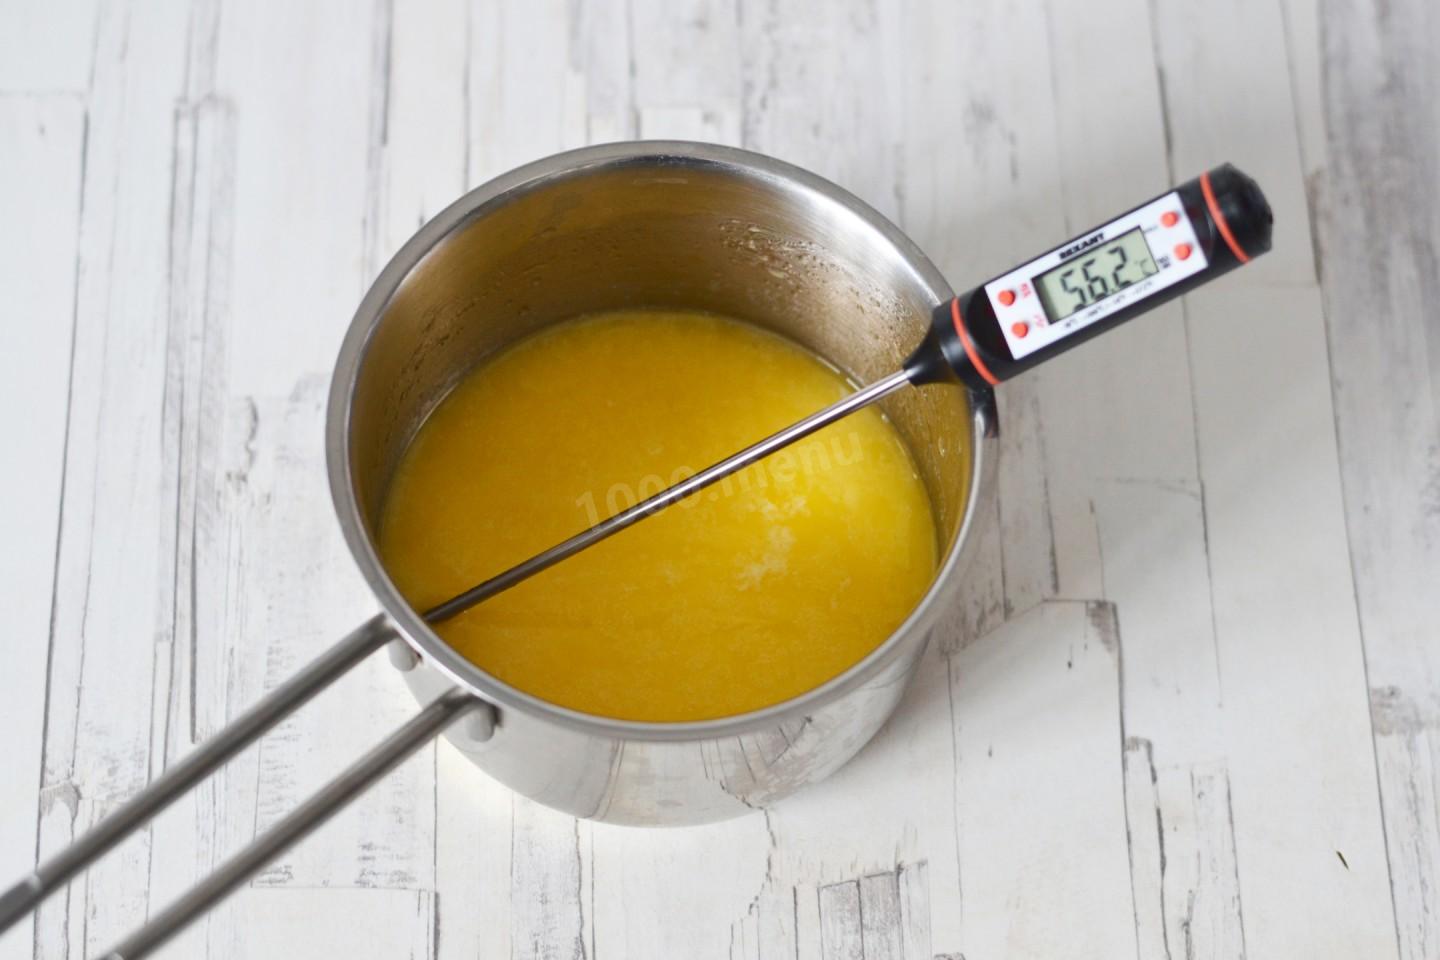
And cool the resulting mixture to 50-60 °C. It is better to check with a cooking thermometer.
Step 7:

Pour the milk-butter mixture into a bowl with sifted flour and mix with a whisk until smooth.
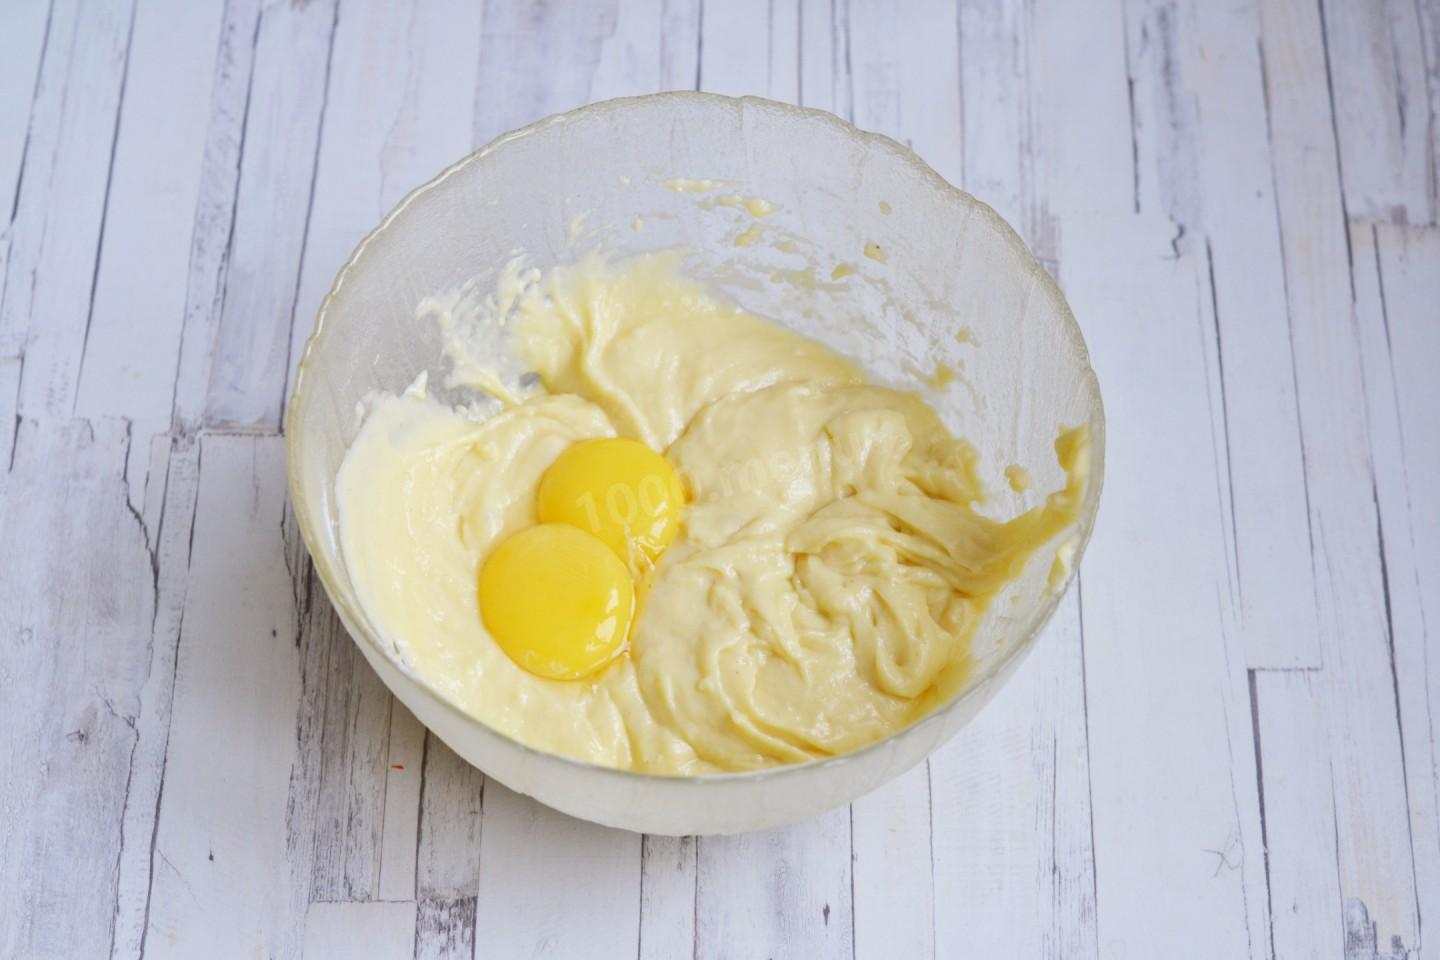
Step 8:

Add the yolks in parts, stirring thoroughly with a whisk or mixer at low speed after each serving. At high speed, it is better not to beat the dough to avoid a lot of large air bubbles.
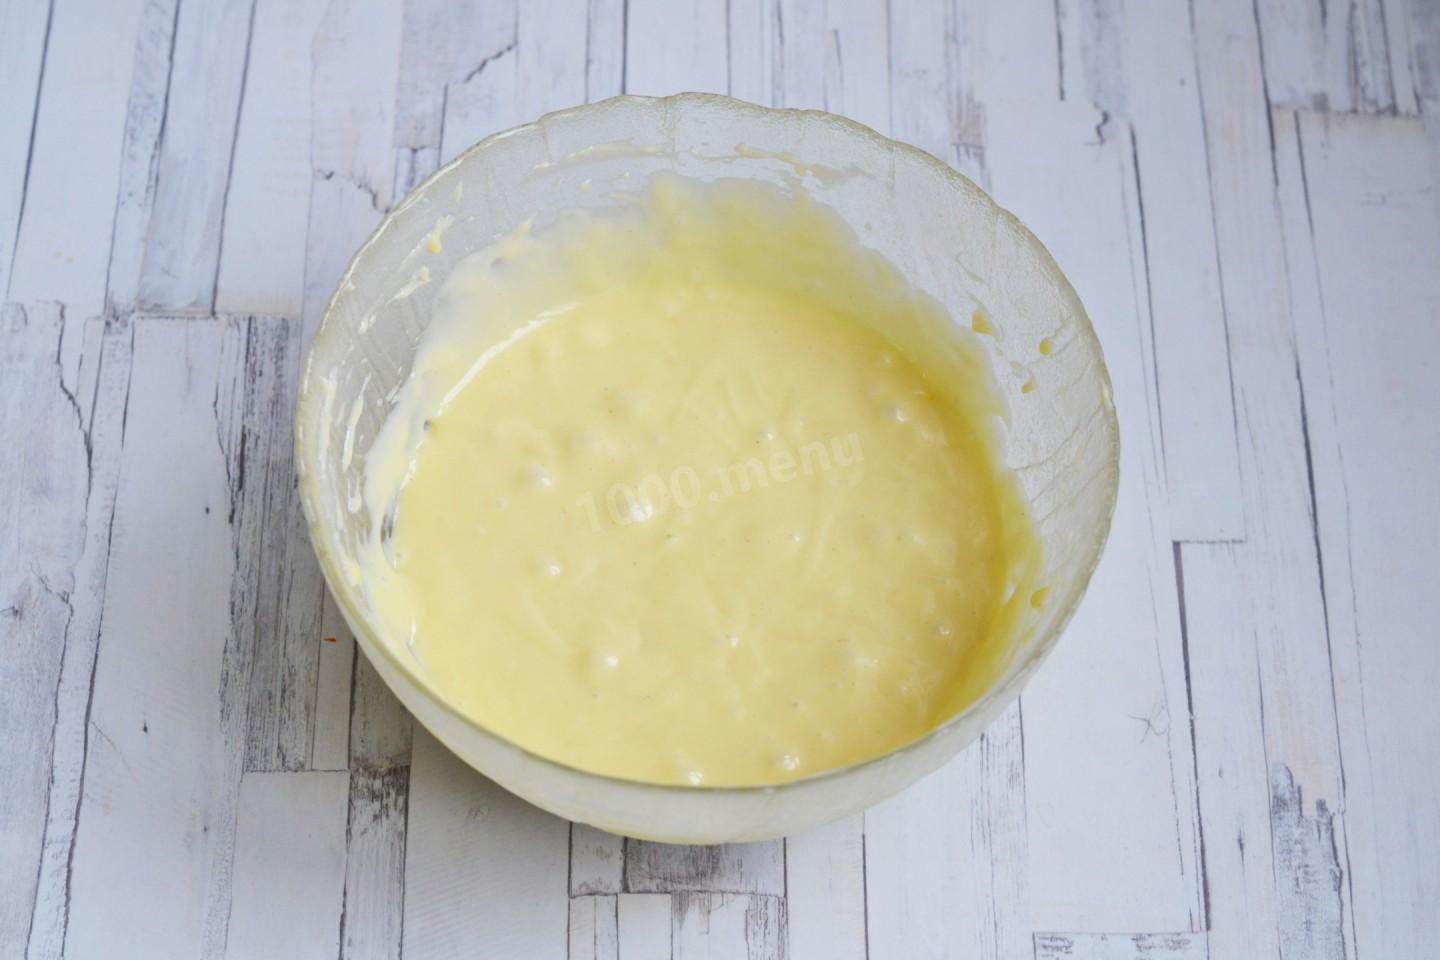
Step 9:

A homogeneous viscous mixture should be obtained.
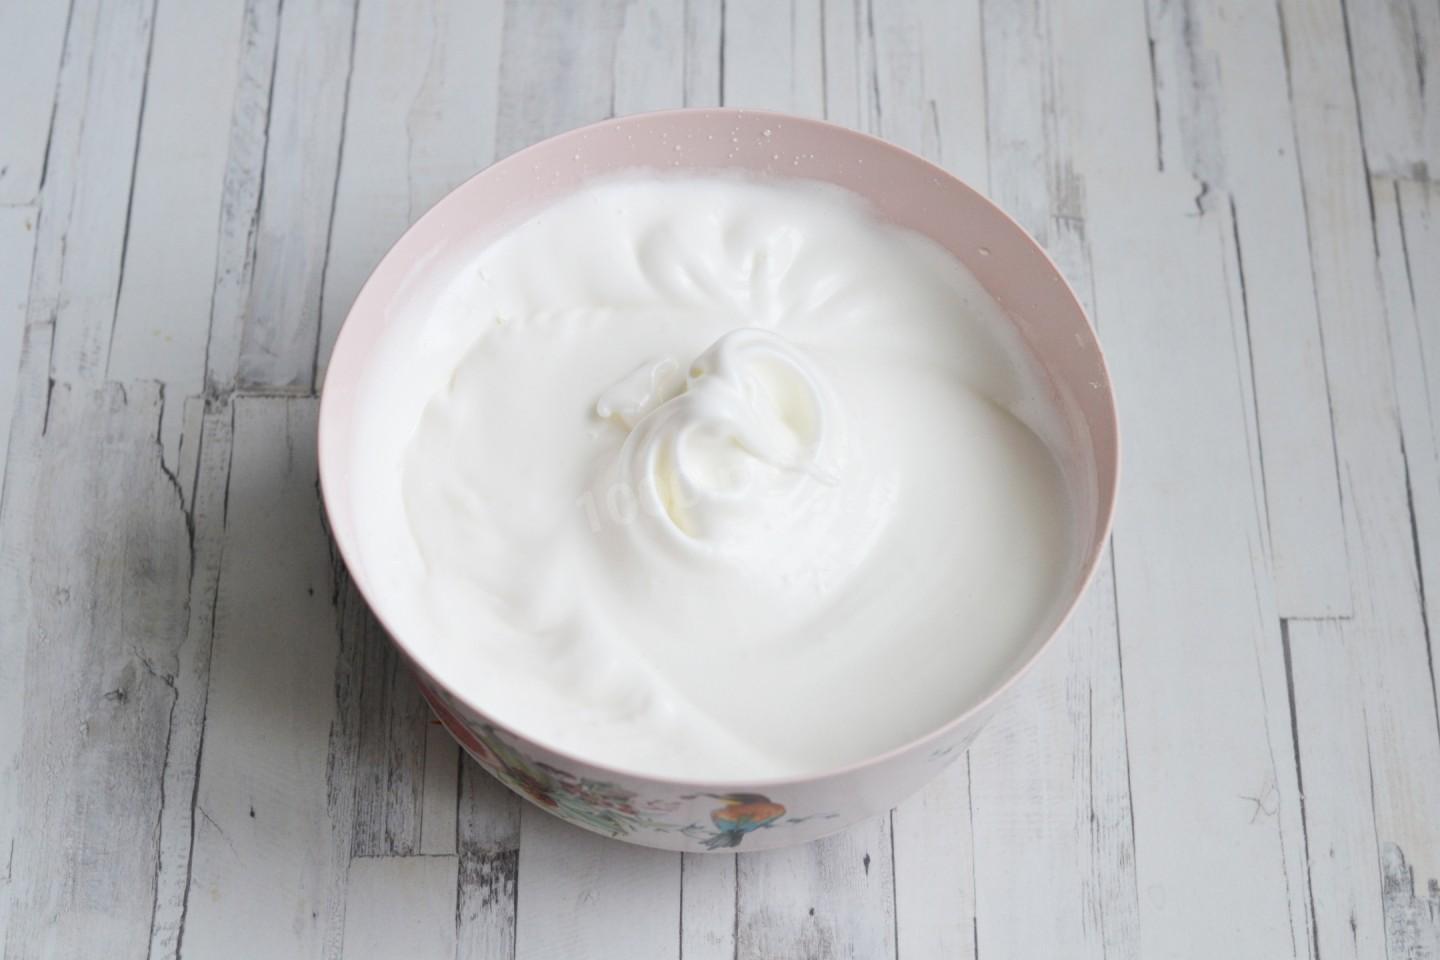
Step 10:
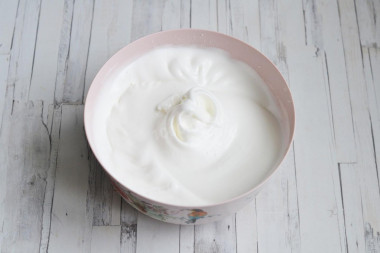
Whisk the whites with a mixer to steady peaks, gradually adding sugar. The consistency of whipped whites should be tender, airy but stable. Strongly interrupt proteins to a very dense state is not necessary. The biscuit will not turn out to be airy.
Step 11:
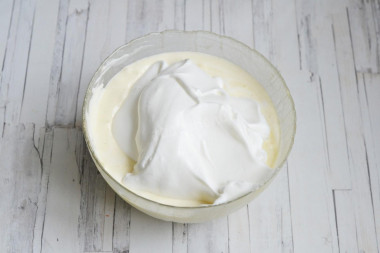
Mix the protein mass gently in small portions with a spatula into the flour mixture, trying not to precipitate the dough and getting the spatula to the very bottom of the bowl.
Step 12:
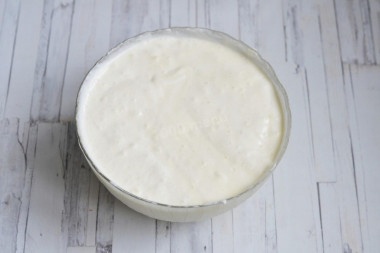
You should get such an airy homogeneous finely porous dough.
Step 13:
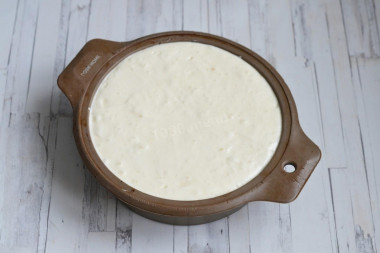
Line the bottom and sides of the baking dish (Ø 18-20 cm) with parchment. If the mold is made of thick silicone, you do not need to cover it with anything. It is advisable not to take a split form, but a whole one, so that water does not get inside and does not spoil the biscuit. Lay out the dough and smooth it out. Fill another mold or a larger diameter baking tray with water and put a mold with dough in it so that the water level is about 2 cm.
Step 14:
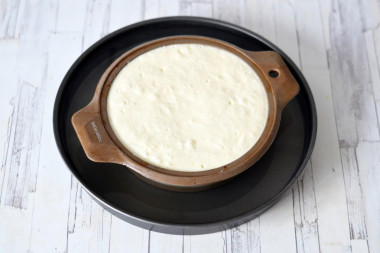
Bake the Castella sponge cake in preheated to 150°In the oven for about 70 minutes. Do not open the oven, otherwise the biscuit will settle. It is also necessary to cool the biscuit in a closed off oven. It is important to take into account that everyone has different ovens and it may take more or less time to bake. Therefore, focus on your oven and check the condition of the biscuit more often through the closed door.
Step 15:
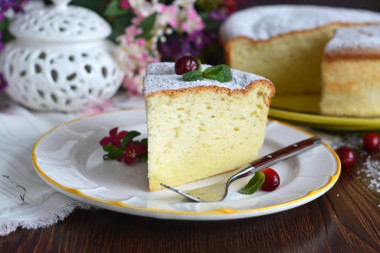
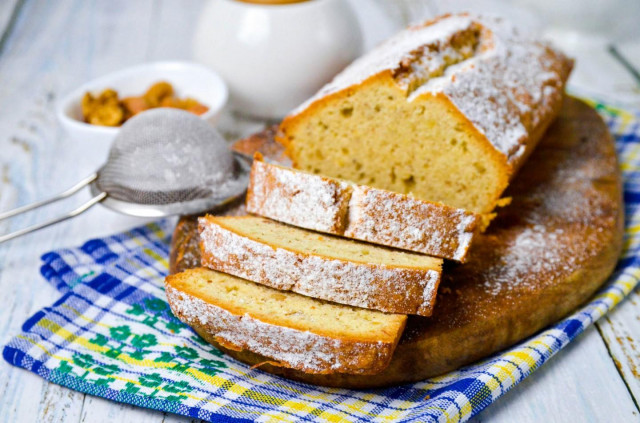
Remove the finished Japanese sponge cake from the mold onto a dish, sprinkle with powdered sugar and cut into pieces. The photo shows that the bottom edge of the biscuit is denser and yellow, and the top is more porous and light. This is normal, because the lower part of the sponge cake mold was in boiling water. Hence the color and consistency. At the same time, the biscuit is completely baked and equally tender throughout the depth. Enjoy your meal!


Keep in mind that everyone's ovens are different. The temperature and cooking time may differ from those specified in the recipe. To make any baked dish successful, use useful information about the features of ovens !
Be prepared for the fact that you may need more or less flour than indicated in the recipe. Focus not on the amount of flour, but on the desired consistency of the dough. To avoid mistakes, read about flour and its properties!
It is important to sift the flour to saturate it with oxygen. Then the baking will turn out to be airy and will rise well when baking.
Caloric content of the products possible in the composition of the dish
- Whole cow's milk - 68 kcal/100g
- Milk 3.5% fat content - 64 kcal/100g
- Milk 3.2% fat content - 60 kcal/100g
- Milk 1.5% fat content - 47 kcal/100g
- Concentrated milk 7.5% fat content - 140 kcal/100g
- Milk 2.5% fat content - 54 kcal/100g
- Chicken egg - 157 kcal/100g
- Egg white - 45 kcal/100g
- Egg powder - 542 kcal/100g
- Egg yolk - 352 kcal/100g
- Ostrich egg - 118 kcal/100g
- Whole durum wheat flour fortified - 333 kcal/100g
- Whole durum wheat flour, universal - 364 kcal/100g
- Flour krupchatka - 348 kcal/100g
- Flour - 325 kcal/100g
- Granulated sugar - 398 kcal/100g
- Sugar - 398 kcal/100g
- Butter 82% - 734 kcal/100g
- Amateur unsalted butter - 709 kcal/100g
- Unsalted peasant butter - 661 kcal/100g
- Peasant salted butter - 652 kcal/100g
- Melted butter - 869 kcal/100g
- Corn starch - 329 kcal/100g