Homemade "Bird's Milk" Candies with Agar-Agar
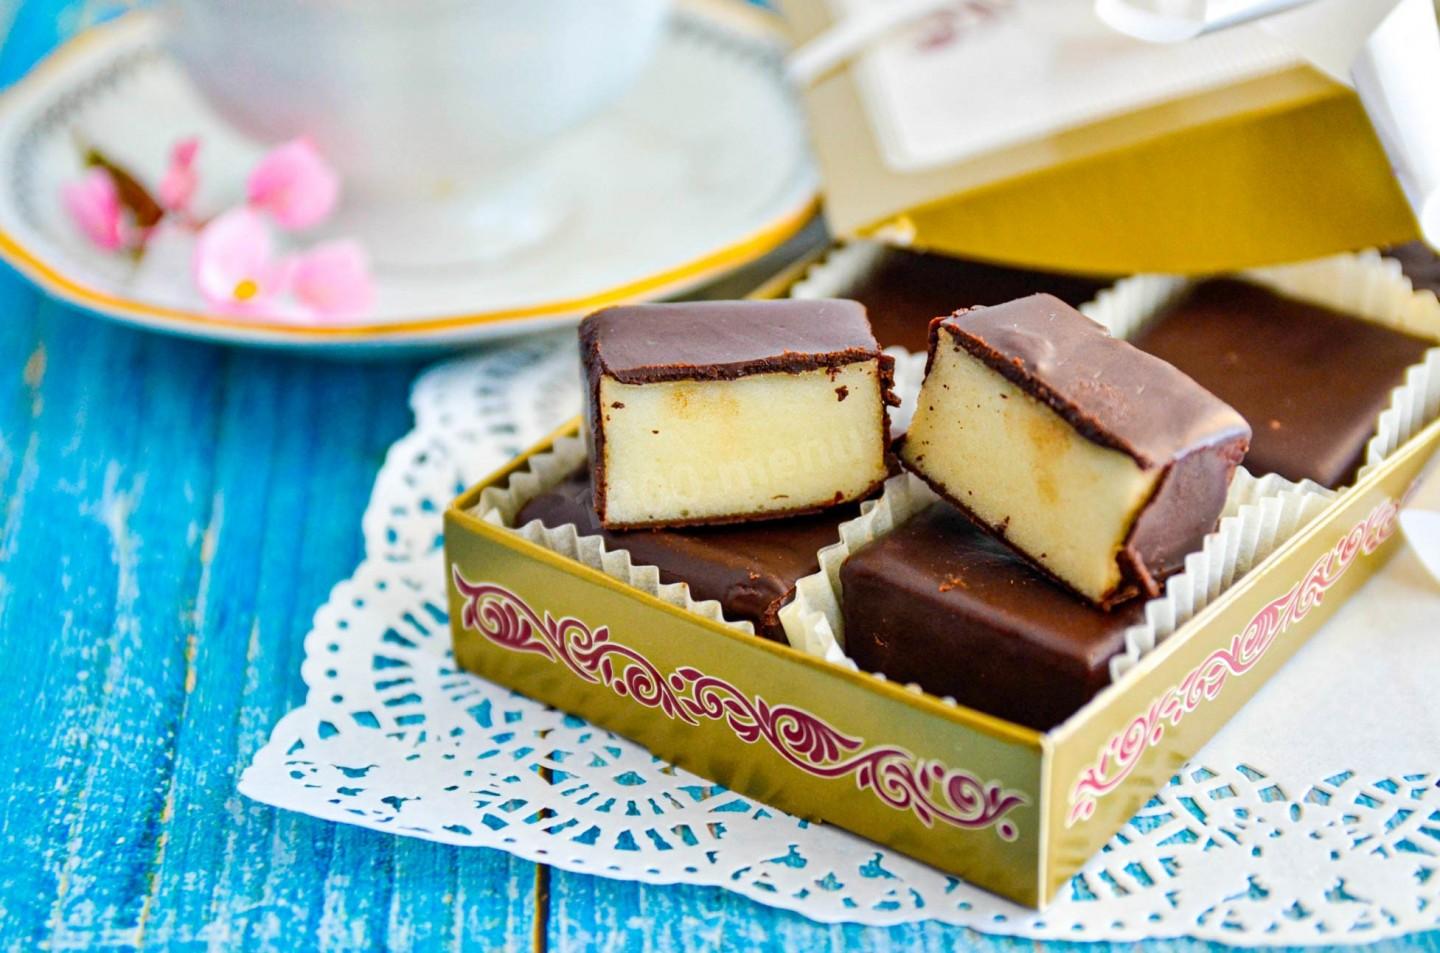
Natural homemade candy from everyday ingredients! These homemade "Bird's Milk" candies made with agar-agar are a recipe you'll have to fuss with a bit — it calls for some cooking skill and a kitchen thermometer. Do give them a try; the result is well worth the effort!


Cooking method
-
Step 1:
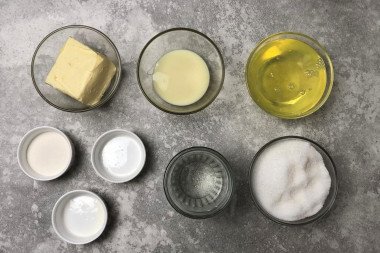
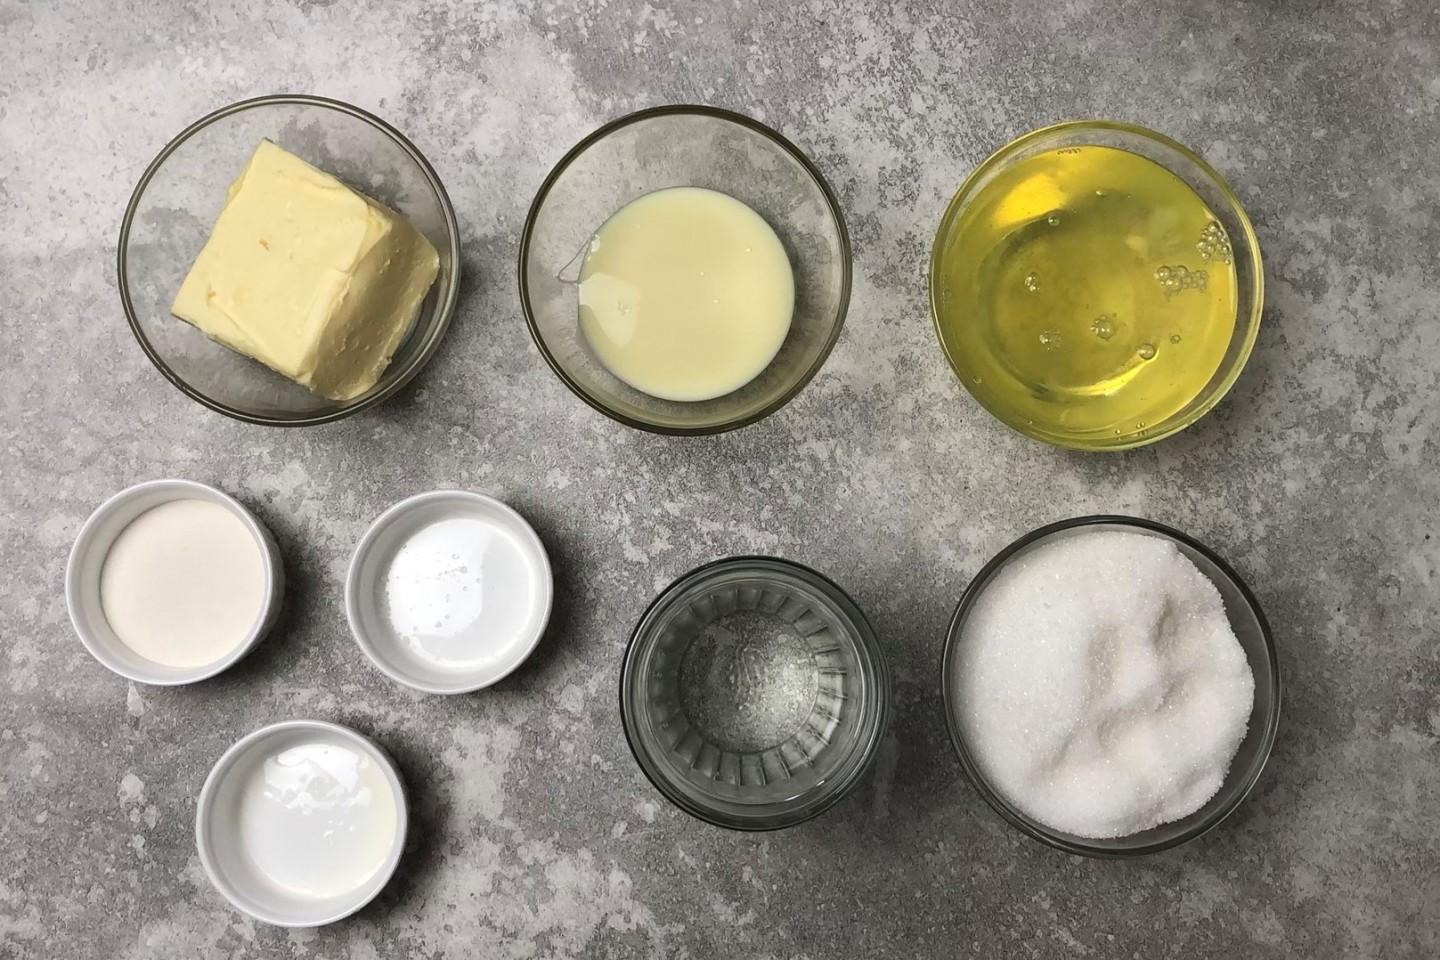
How do you make homemade "Bird's Milk" candies with agar-agar? Get your ingredients ready. Take the butter out of the fridge ahead of time so it has a chance to soften. Weigh everything on a kitchen scale — including the egg whites. 200 grams is roughly the weight of the whites from 6–7 eggs. The whites should be at room temperature, too. Separate them from the yolks very carefully, one at a time. Even a small drop of yolk will keep them from whipping up.
-
Step 2:
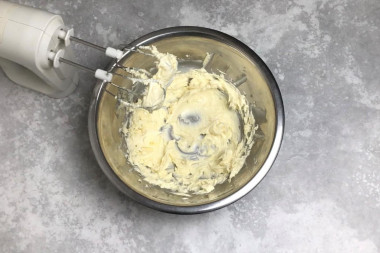
Beat the softened butter with a mixer for a few minutes until fluffy.
-
Step 3:
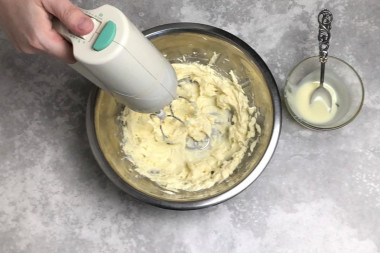
Still beating, add the condensed milk a spoonful at a time. You should end up with a thick, airy cream.
-
Step 4:
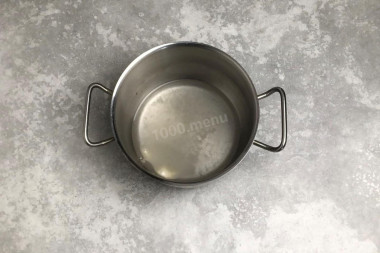
Put the agar in a saucepan and cover it with clean cold water. Set the pan over low heat. Have the egg whites and the mixer ready right away — you'll need to heat the agar and whip the whites at the same time. A stand mixer makes this easiest, but if you have a helper, a hand mixer will do.
-
Step 5:
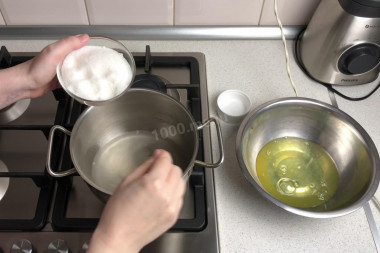
Heat the agar, stirring constantly, until it dissolves. Before it comes to a boil, pour in the sugar.
-
Step 6:
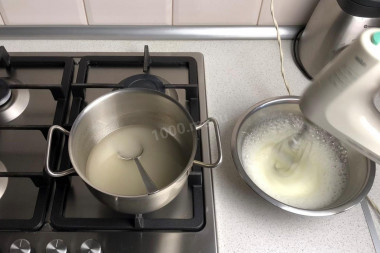
At the same time, start whipping the egg whites. Add a pinch of citric acid to them — it helps them whip up faster and keeps them from deflating. Don't forget the syrup: keep stirring it. Soon it will boil. Add a few drops of lemon juice to prevent it from caramelizing. As you keep stirring, start watching its temperature.
-
Step 7:
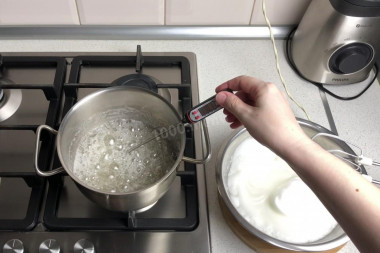
Bring the syrup to 110°C (230°F). By then the whites should be whipped to stiff peaks. If they get there before the syrup is ready, turn off the mixer.
-
Step 8:
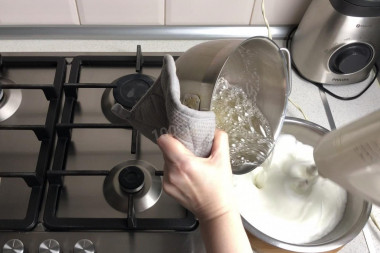
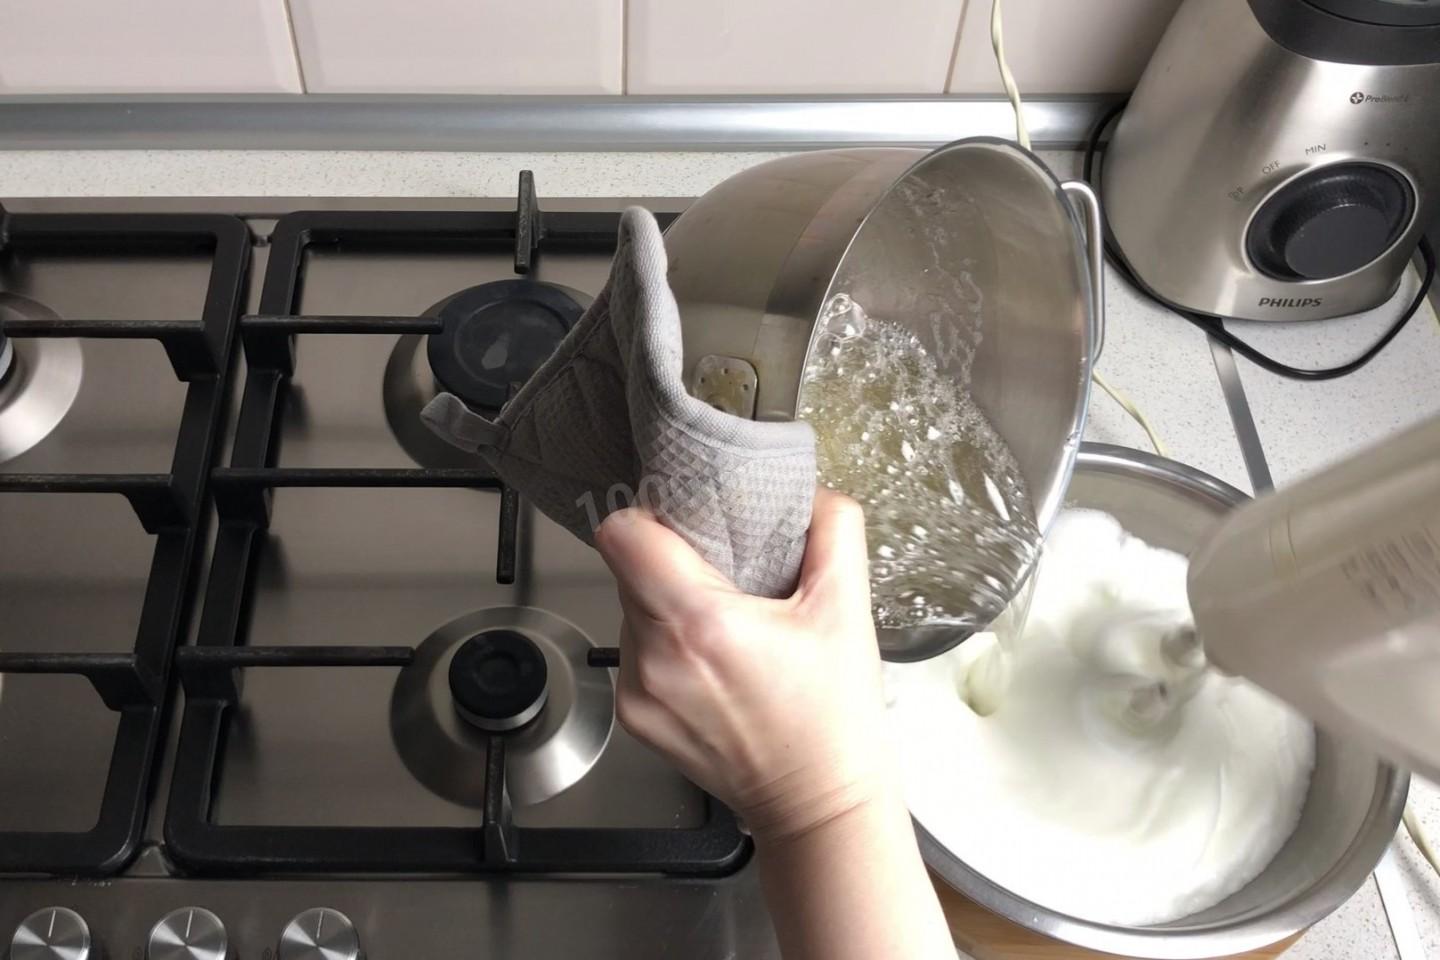
As soon as the syrup reaches the right temperature, turn off the heat. Without stopping the mixer, pour the syrup into the whites in a thin stream, trying not to hit the beaters. The mixture will swell in volume before your eyes. Beat it for 1–2 minutes.
-
Step 9:
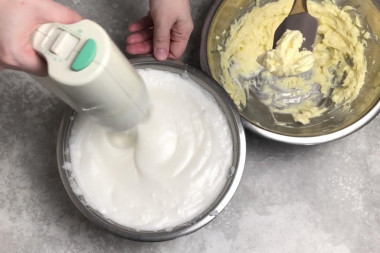
Still beating, start adding the butter-and-condensed-milk cream a little at a time. Once it's in, the soufflé will loosen up, because the butter melts in the heat. Beat it for another couple of minutes.
-
Step 10:
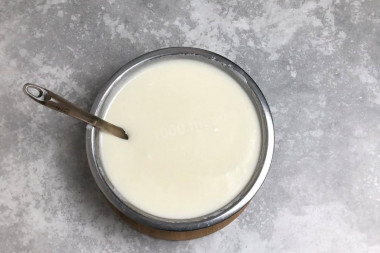
Why do you have to work fast while beating? Because agar starts to set at just 40°C (104°F), and the hot syrup will cool to that temperature very soon.
-
Step 11:
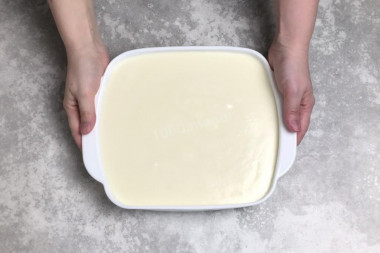
Pour the liquid soufflé into a suitable mold. I used a rectangular glass dish, 25×20 cm (10×8 in.). You can grease it with butter first, but I skipped that step and everything came out fine — nothing stuck. Put the soufflé in the fridge to cool and set. A couple of hours is enough.
-
Step 12:
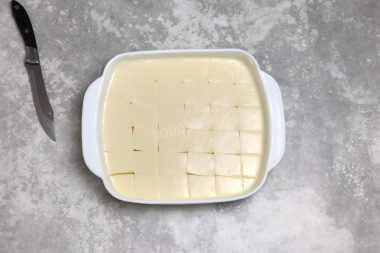
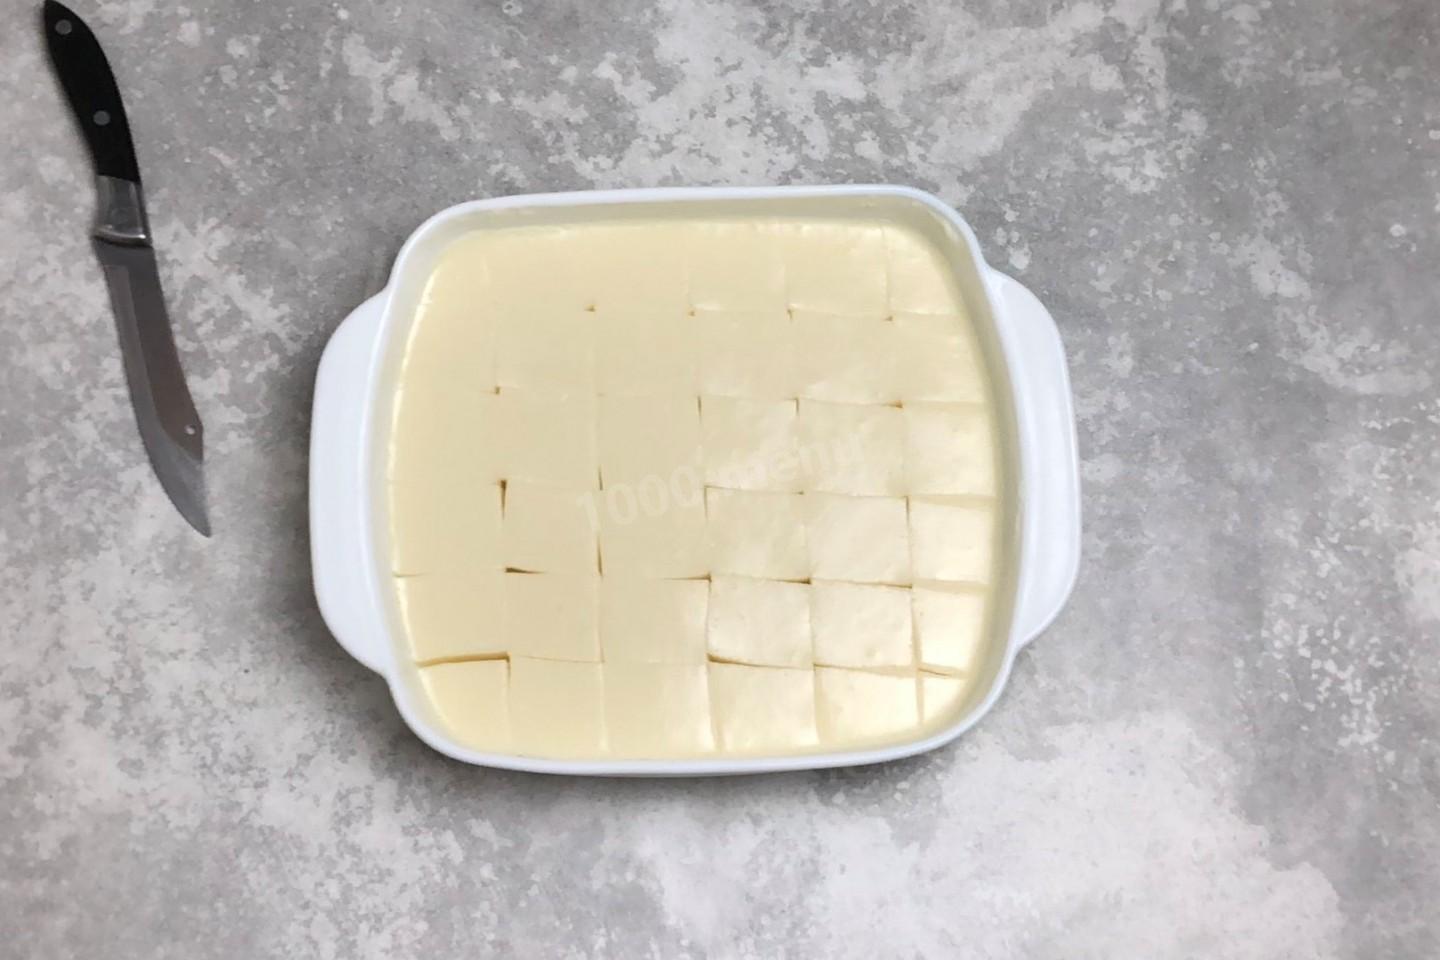
Cut the set soufflé into candies of any shape. I cut mine into squares.
-
Step 13:
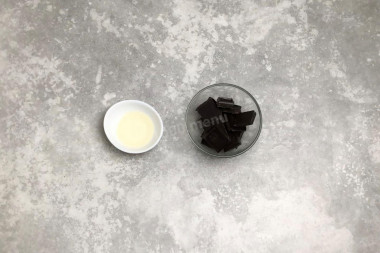
Get the ingredients ready for the coating. Use good-quality dark chocolate — it tastes better and has more cocoa.
-
Step 14:
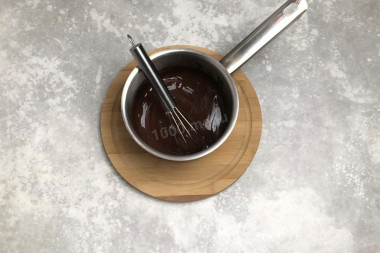
How do you make the coating? Melt the chocolate any way you like — in the microwave or over a water bath. I used a water bath. Pour the vegetable oil into the melted chocolate; this thins out the coating. Stir it well with a whisk.
-
Step 15:
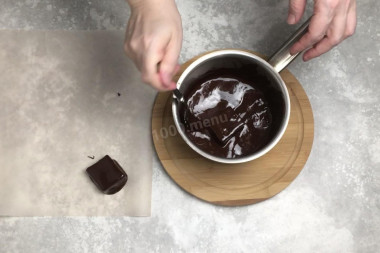
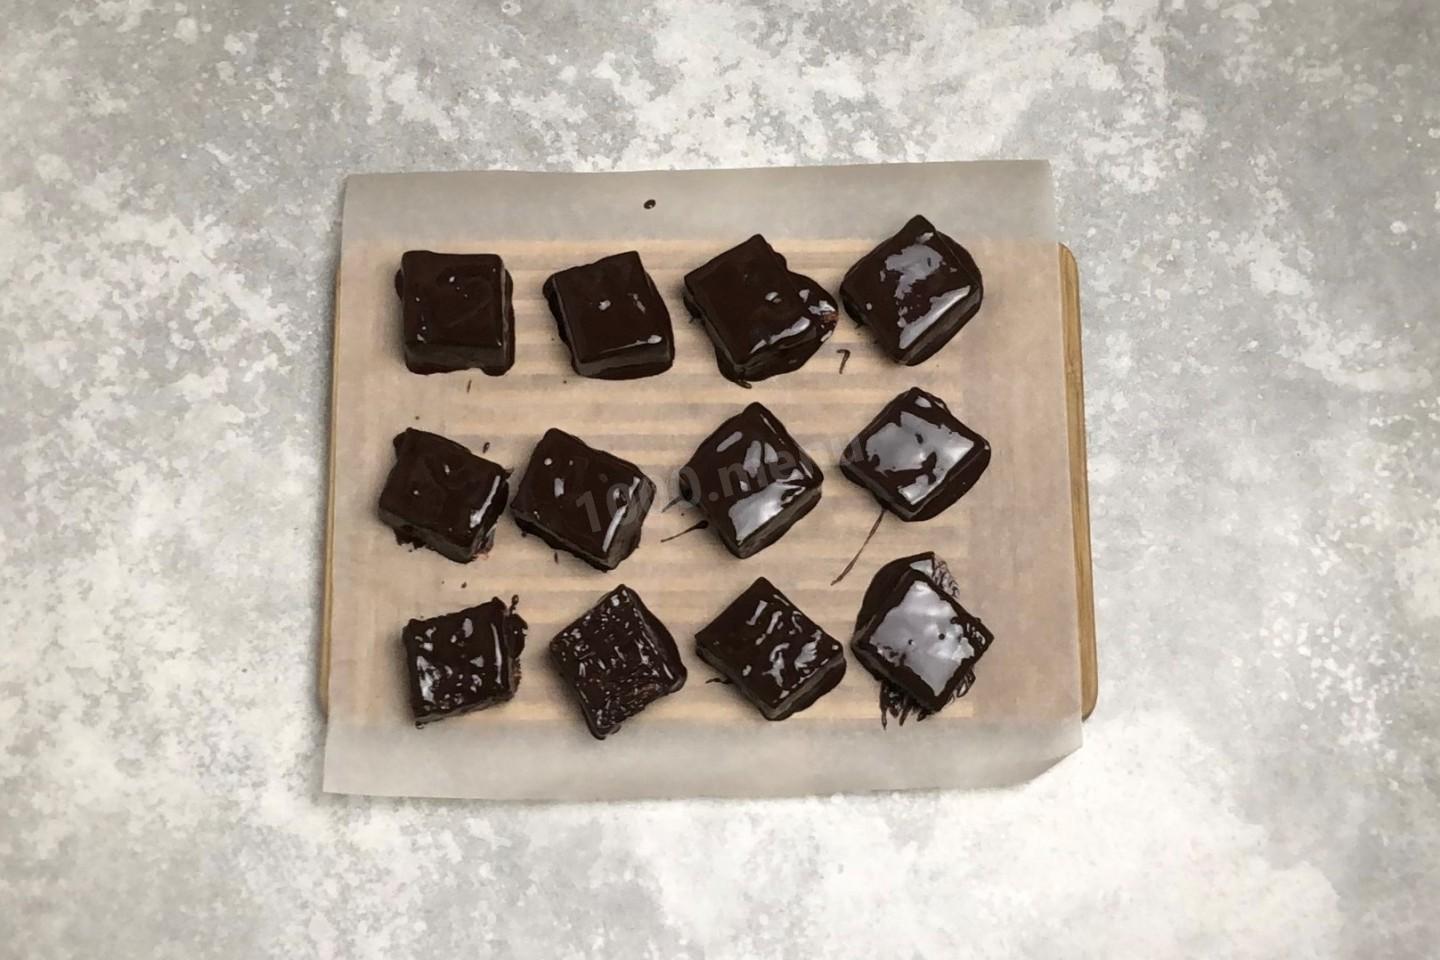
Dip the candies into the coating, turning them with a fork so they're coated on all sides. Lift out the coated candies and set them on parchment. Work quickly, because the chocolate thickens as it cools.
-
Step 16:
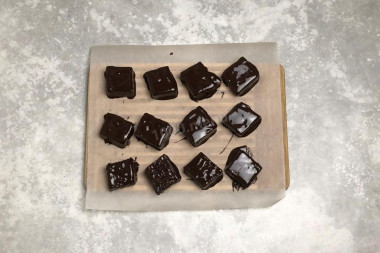
Put the finished candies in the fridge for an hour to let the coating set. I trimmed off the chocolate that pooled on the paper with a knife to get neat, even candies. Then serve them. Enjoy!






- Some people say egg whites can't be whipped without sugar. That's a misconception — whites whip up beautifully to stiff peaks, and sugar makes no difference there. If anything, you can add a pinch of salt for fast results and firm peaks. Or, as in this recipe, a little citric acid.
- The candies came out very much like store-bought ones, only coated in real chocolate. Delicious!
- For why agar-agar sometimes doesn't set, how to work with it correctly and avoid frustrating mistakes, and all the fine points of cooking various dishes with this gelling agent, read the article on agar-agar.
- Always wash eggs before using them, since even a shell that looks clean can carry harmful bacteria. It's best to use a food-safe detergent and a brush.
- Choose good-quality, trusted condensed milk with no vegetable fats or additives. The ingredient list should have only two items: milk and sugar. The quality of the condensed milk will determine the taste and quality of the finished candy.
Caloric content of the products possible in the composition of the dish
- Granulated sugar - 398 kcal/100g
- Sugar - 398 kcal/100g
- Sweetened condensed milk - 324 kcal/100g
- Butter, 82% - 734 kcal/100g
- Unsalted sweet-cream butter - 709 kcal/100g
- Unsalted farmhouse butter - 661 kcal/100g
- Salted farmhouse butter - 652 kcal/100g
- Ghee - 869 kcal/100g
- Vegetable oil - 873 kcal/100g
- Citric acid - 0 kcal/100g
- Water - 0 kcal/100g
- Lemon juice - 16 kcal/100g
- Chocolate, 70% - 539 kcal/100g
- Dark chocolate - 539 kcal/100g
- Egg whites - 44 kcal/100g
- Agar-agar - 301 kcal/100g
Similar recipes
- Festive table
- Children's recipes
- National cuisine
- Dessert
- Cakes
- Eggs
- Dairy products
- Sweet
- Spices seasonings spices
- Fats and oils
- Other
- Lemon acid
- Vegetable oil
- Butter
- Gelatin
- Water
- From juice
- Soviet recipes
- Cooking
- Gelling
- Cooling
- Homemade candies
- Chocolate dessert
- Dessert without flour
- Chocolate cake
- Condensed milk cake
- Bird's milk cake
- Jelly cake
- Souffle cake
- Recipes for March 8
- Egg whites
- Condensed milk
- Sugar
- Chocolate