Homemade Georgian Khinkali
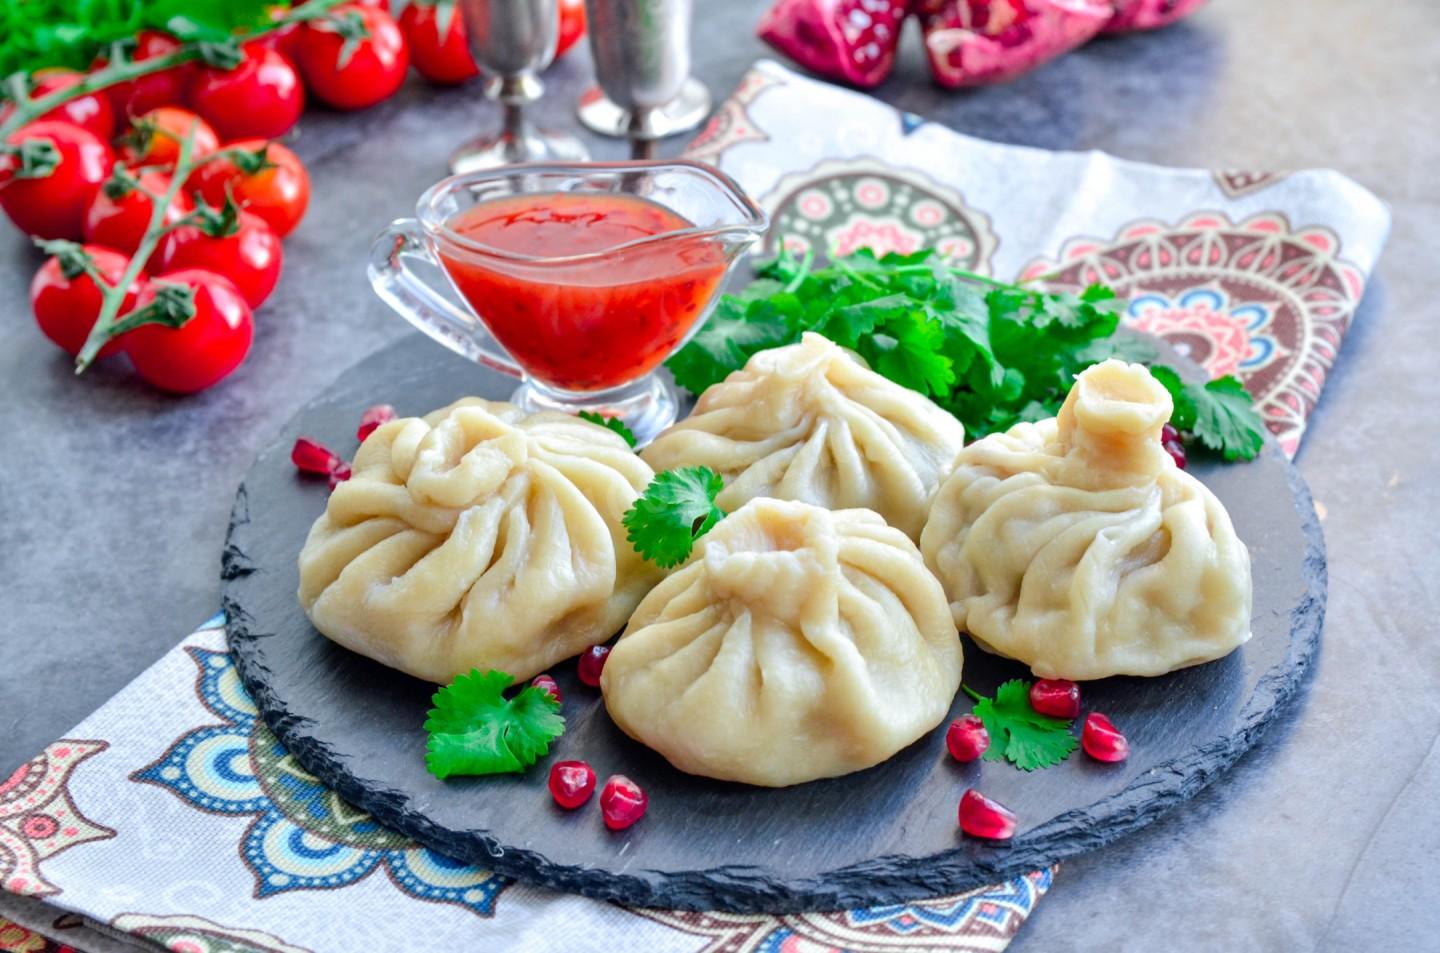
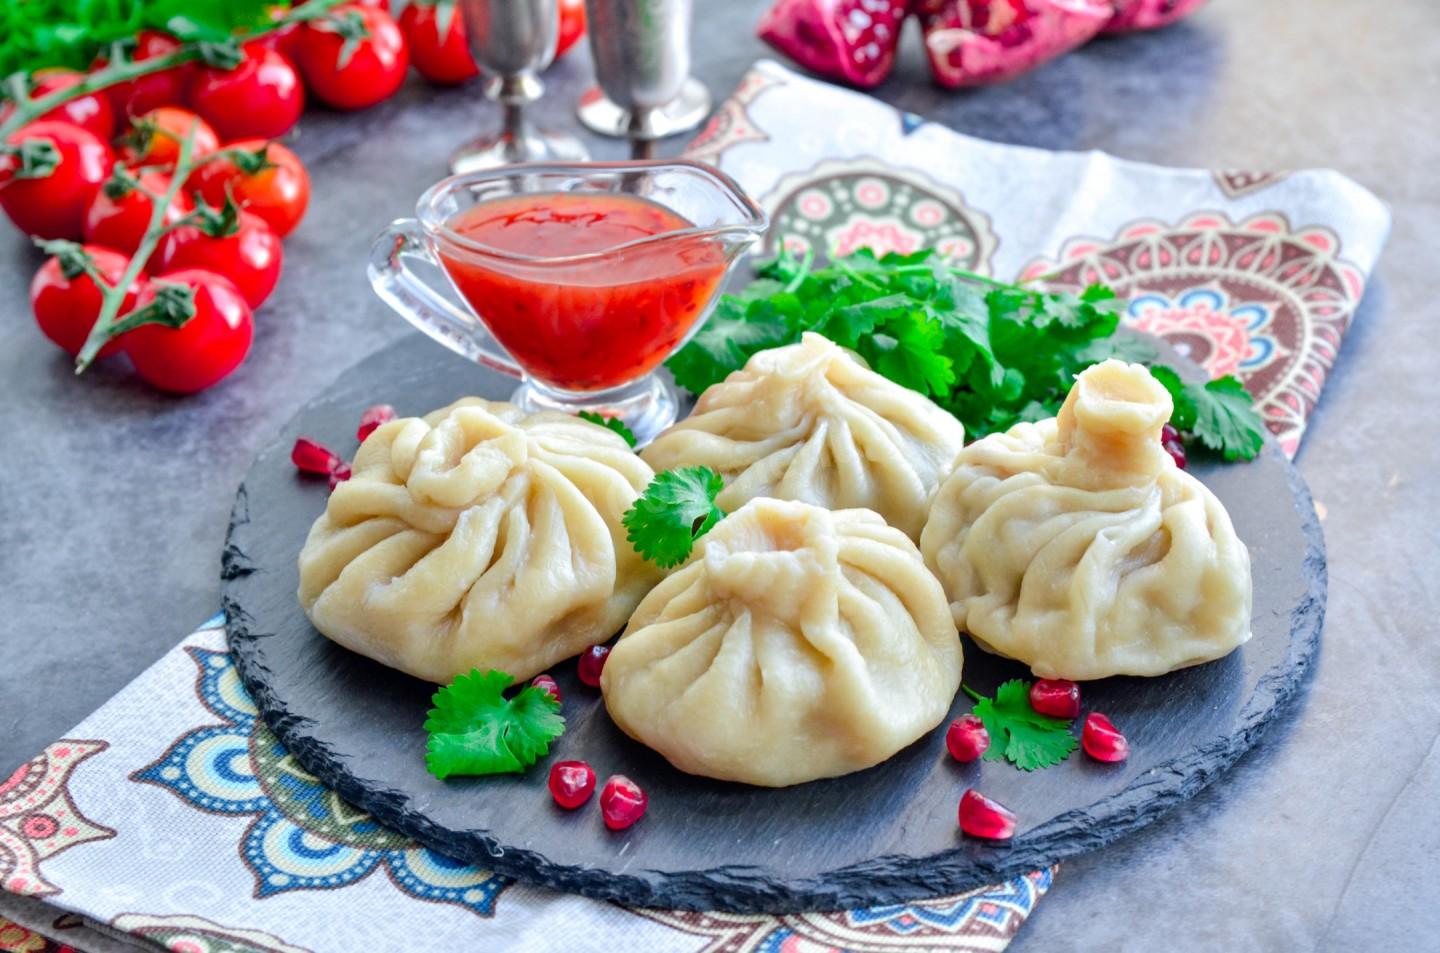
So tasty, so juicy, made from simple ingredients, and perfect as a main course! These homemade Georgian khinkali come out fragrant and savory, packed with plenty of meat and broth inside. They're not hard to make, and folding the little pouches is great fun!

Cooking method
-
Step 1:
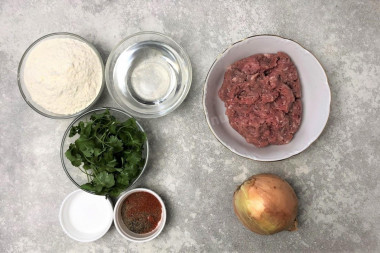
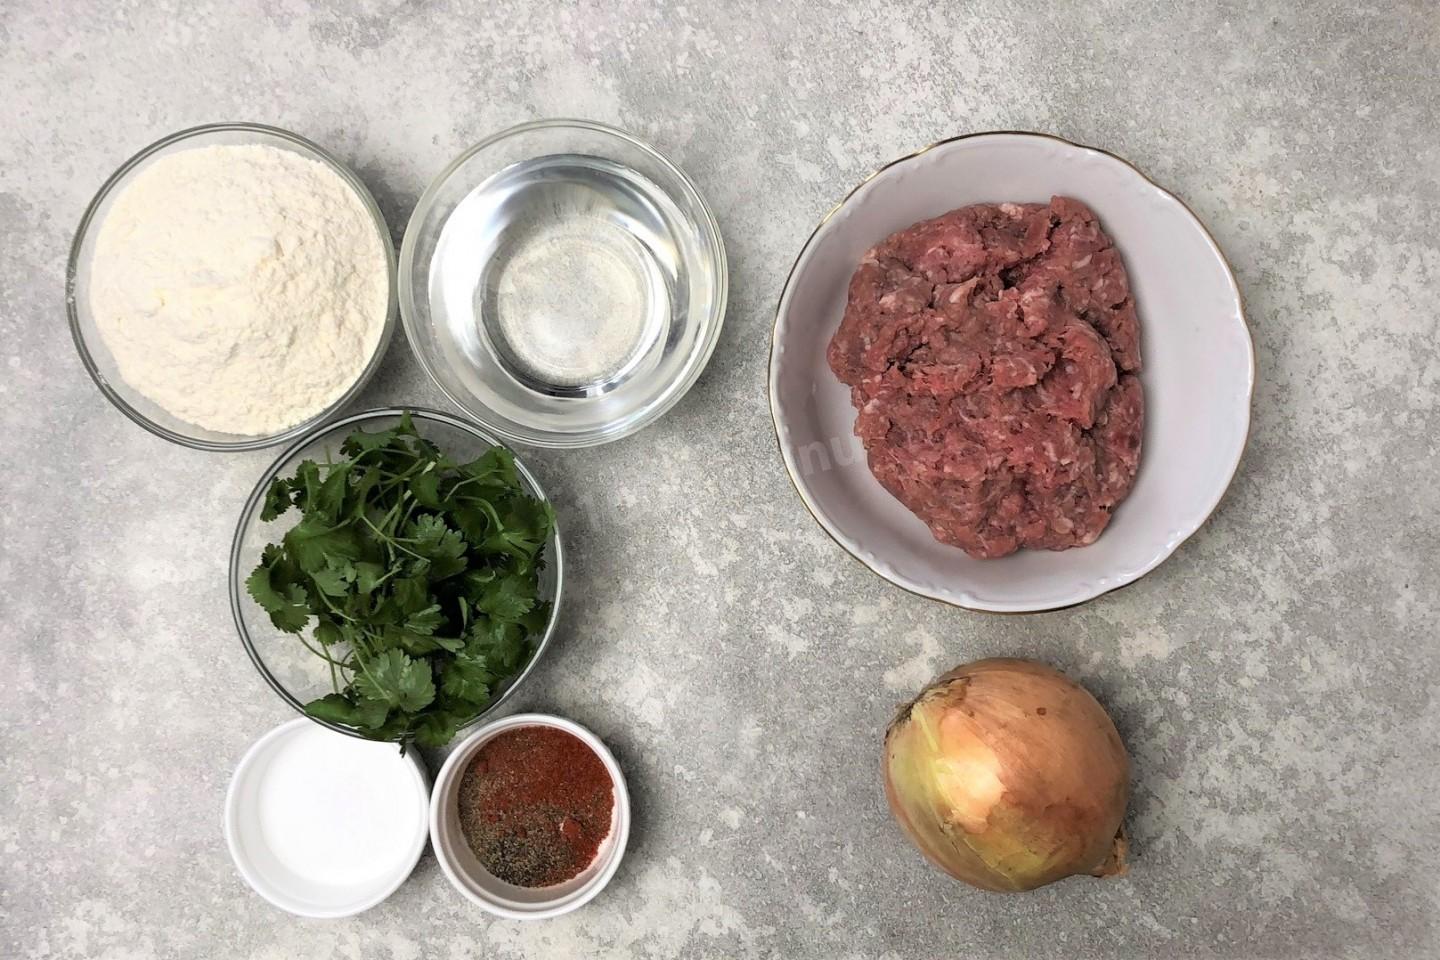
How do you make homemade Georgian khinkali? Get your ingredients ready. I used store-bought ground beef and skipped the parsley. Be sure to chill the water before you start. The amount of flour can vary, so go by the feel of the dough.
-
Step 2:
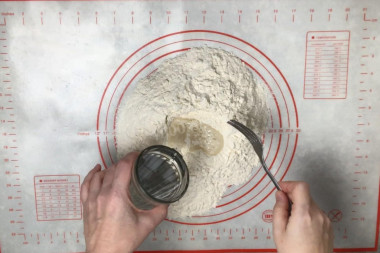
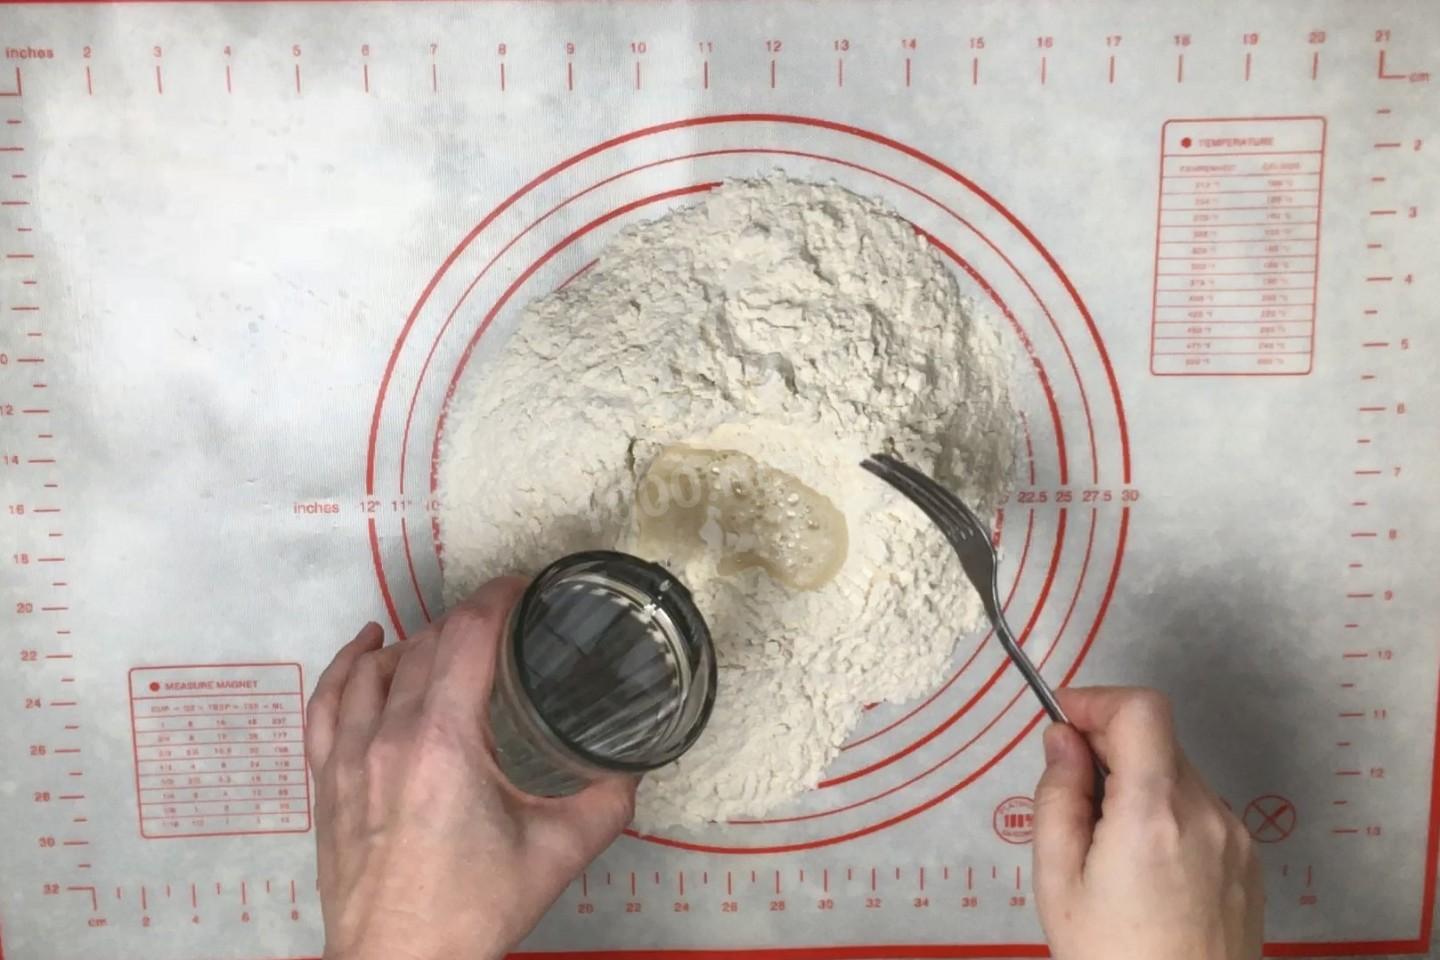
Sift the flour onto your work surface. Make a crater-like well in the center and pour the salt into it. Start pouring the water into the center a little at a time, drawing the flour in from the edges toward the middle.
-
Step 3:
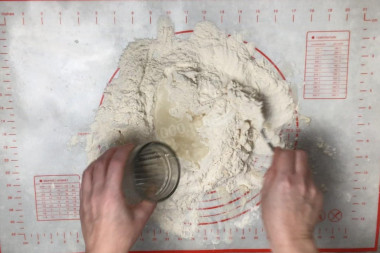
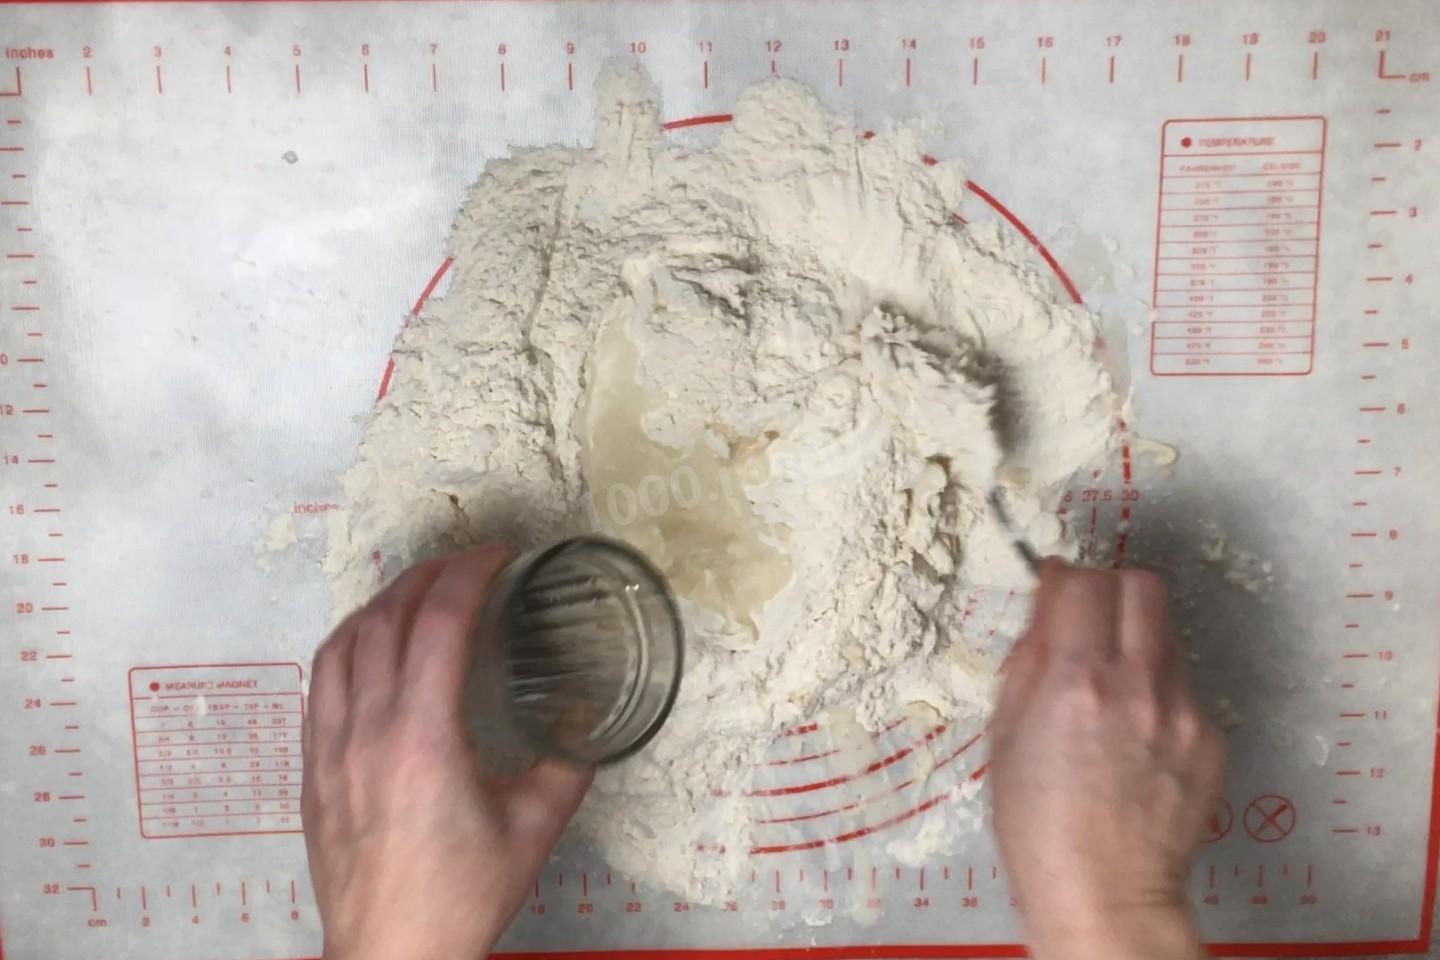
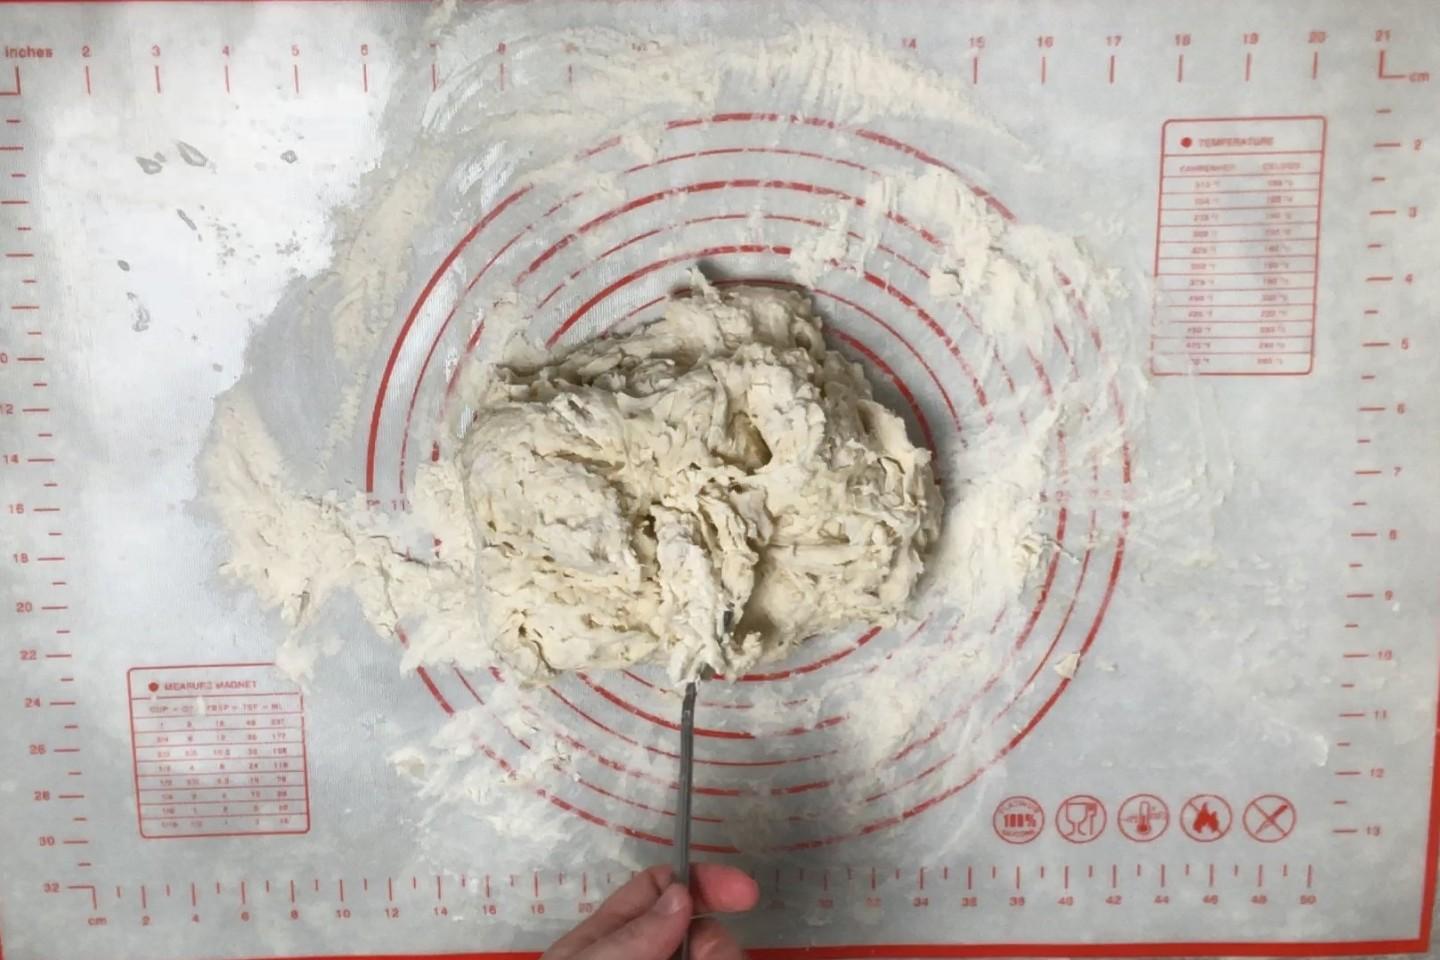
Work with a fork only — add water, mix, and keep going like that until all the water is used up.
-
Step 4:
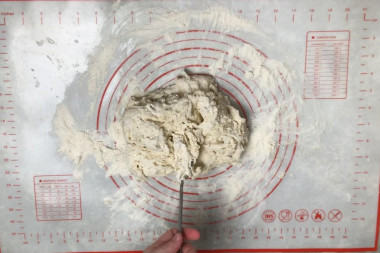
All the flour should moisten and come together into a lump. I had to add a little water because my dough stayed dry. Keep in mind you may use more or less flour than I did — go by the consistency of the dough.
-
Step 5:
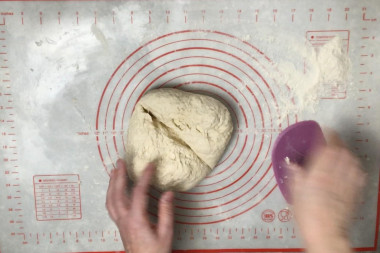
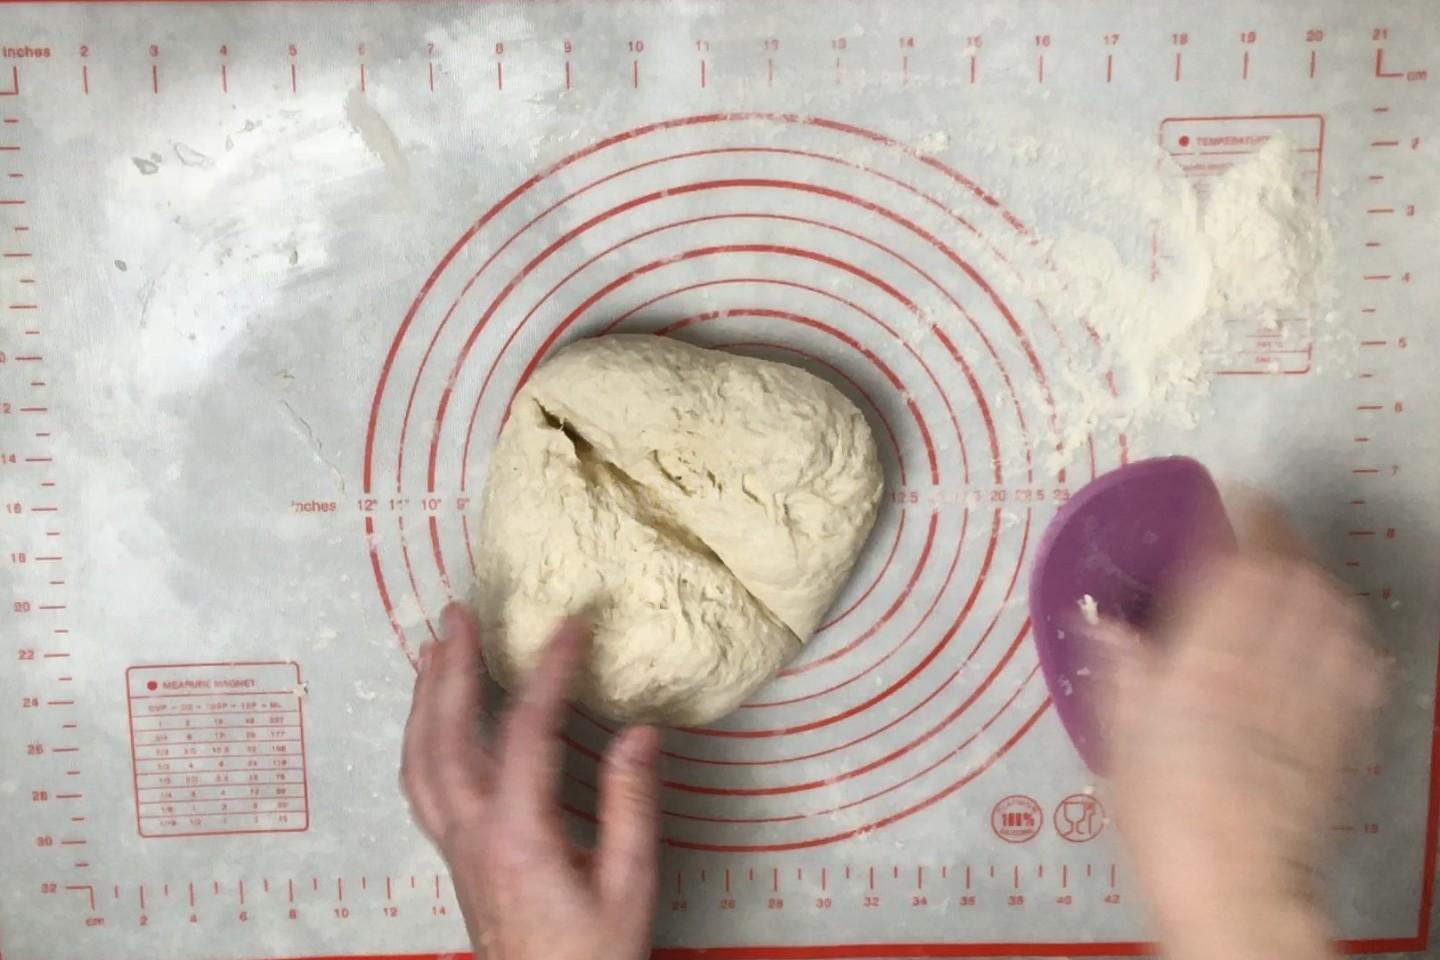
Now start kneading the dough by hand. Every so often, cut the dough in half and turn it inside out, since it's wetter inside than out. Dust with a little flour now and then so it doesn't stick.
-
Step 6:
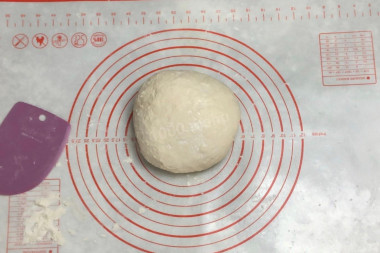
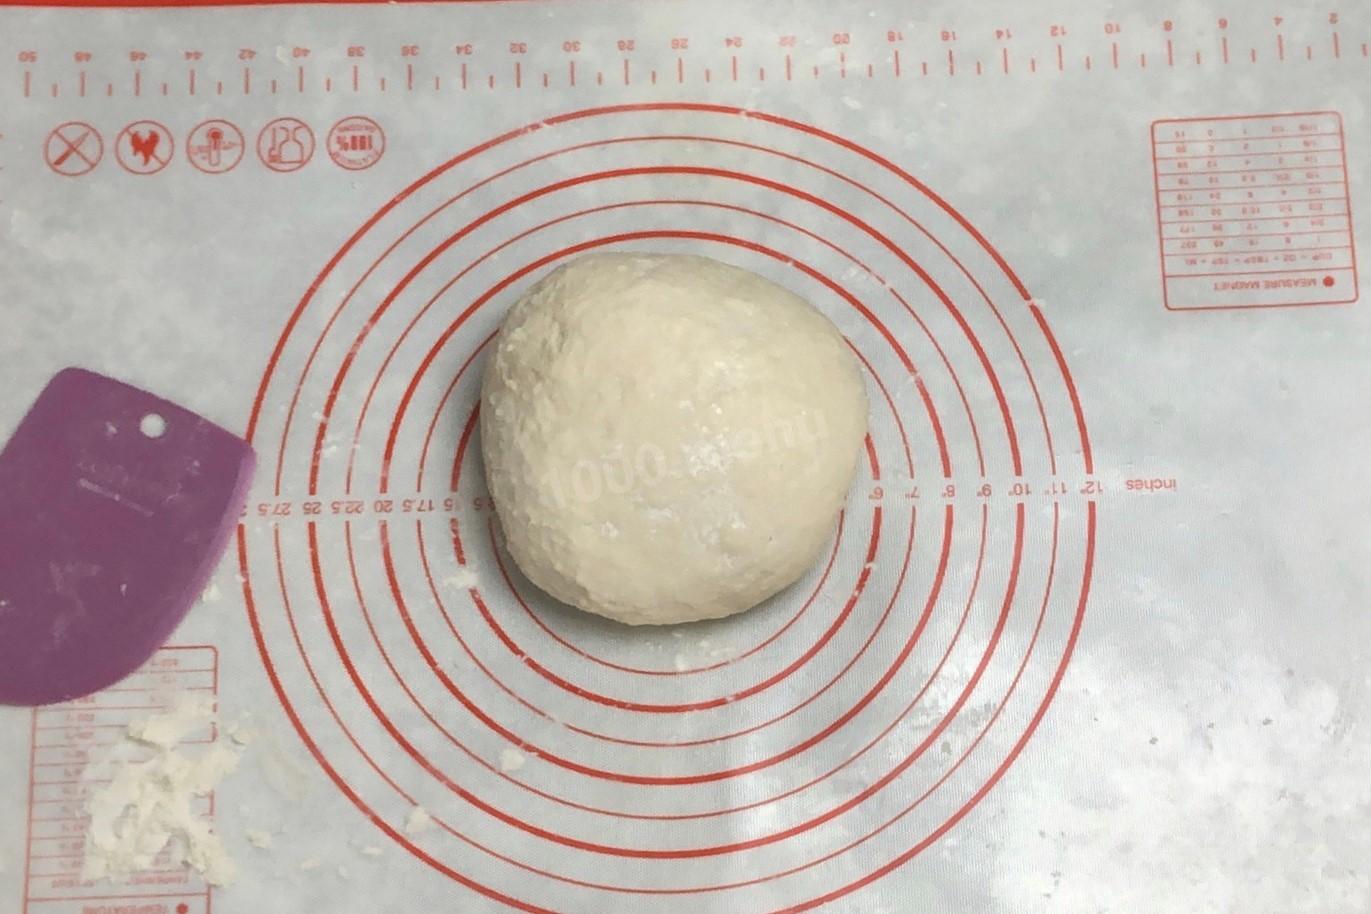
Knead the dough long and hard — it should become stiff yet still elastic.
-
Step 7:
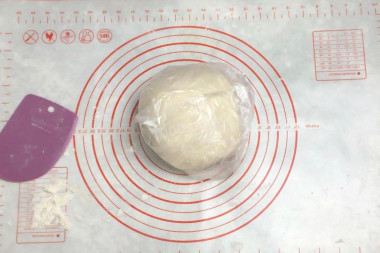
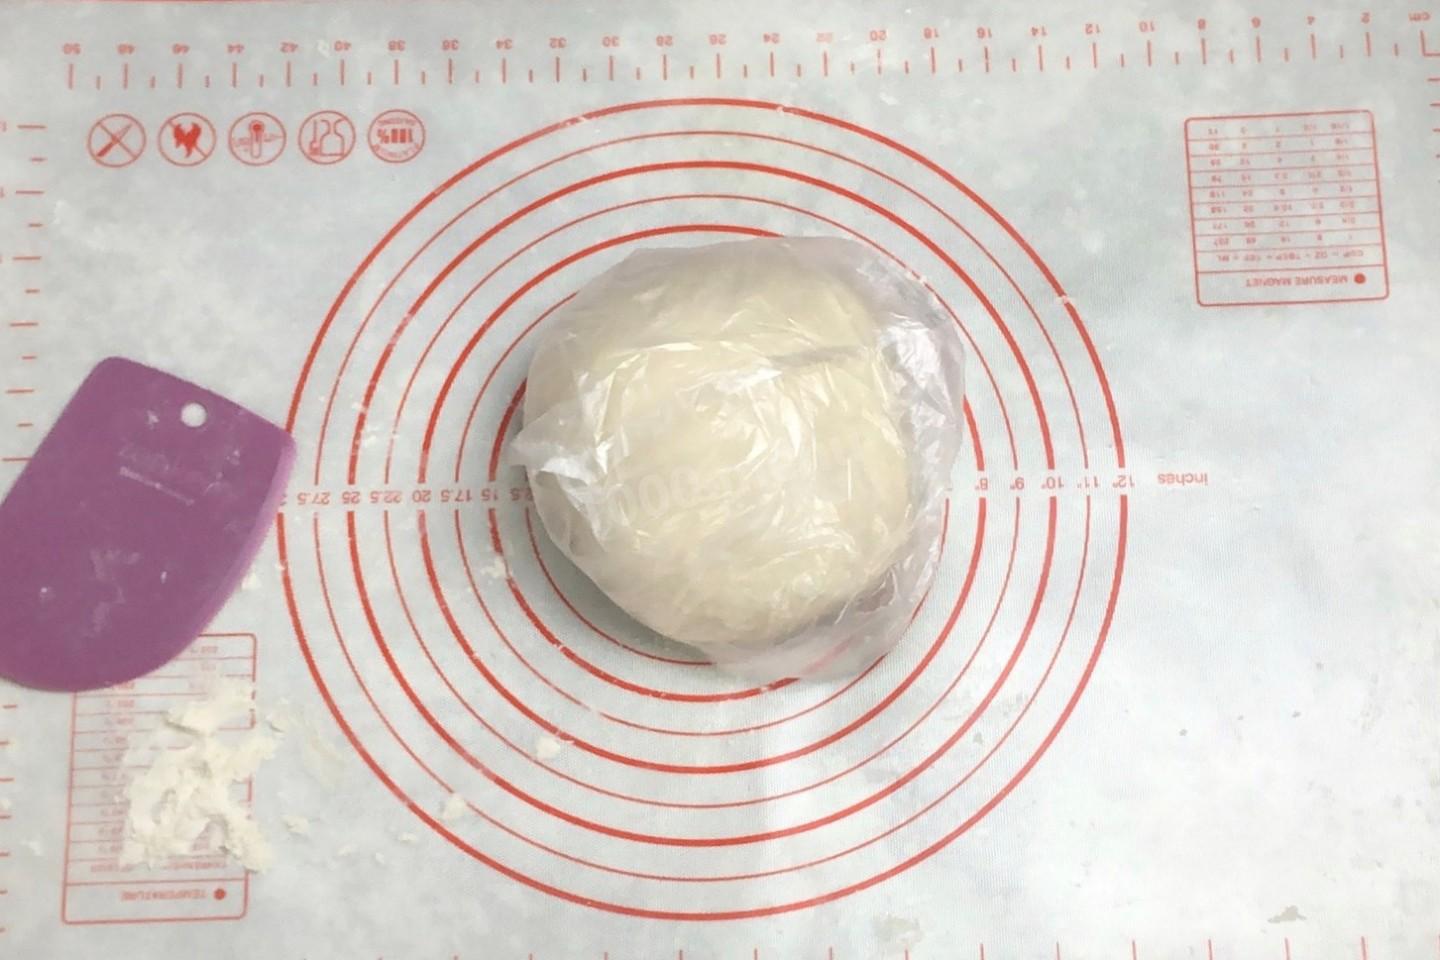
Wrap the finished dough in a bag and let it "rest" for two hours. During this time the gluten develops and the dough becomes very elastic.
-
Step 8:
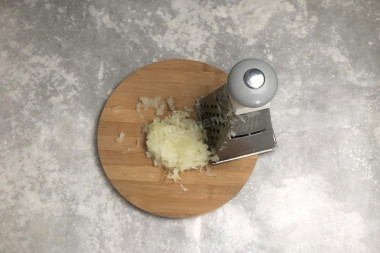
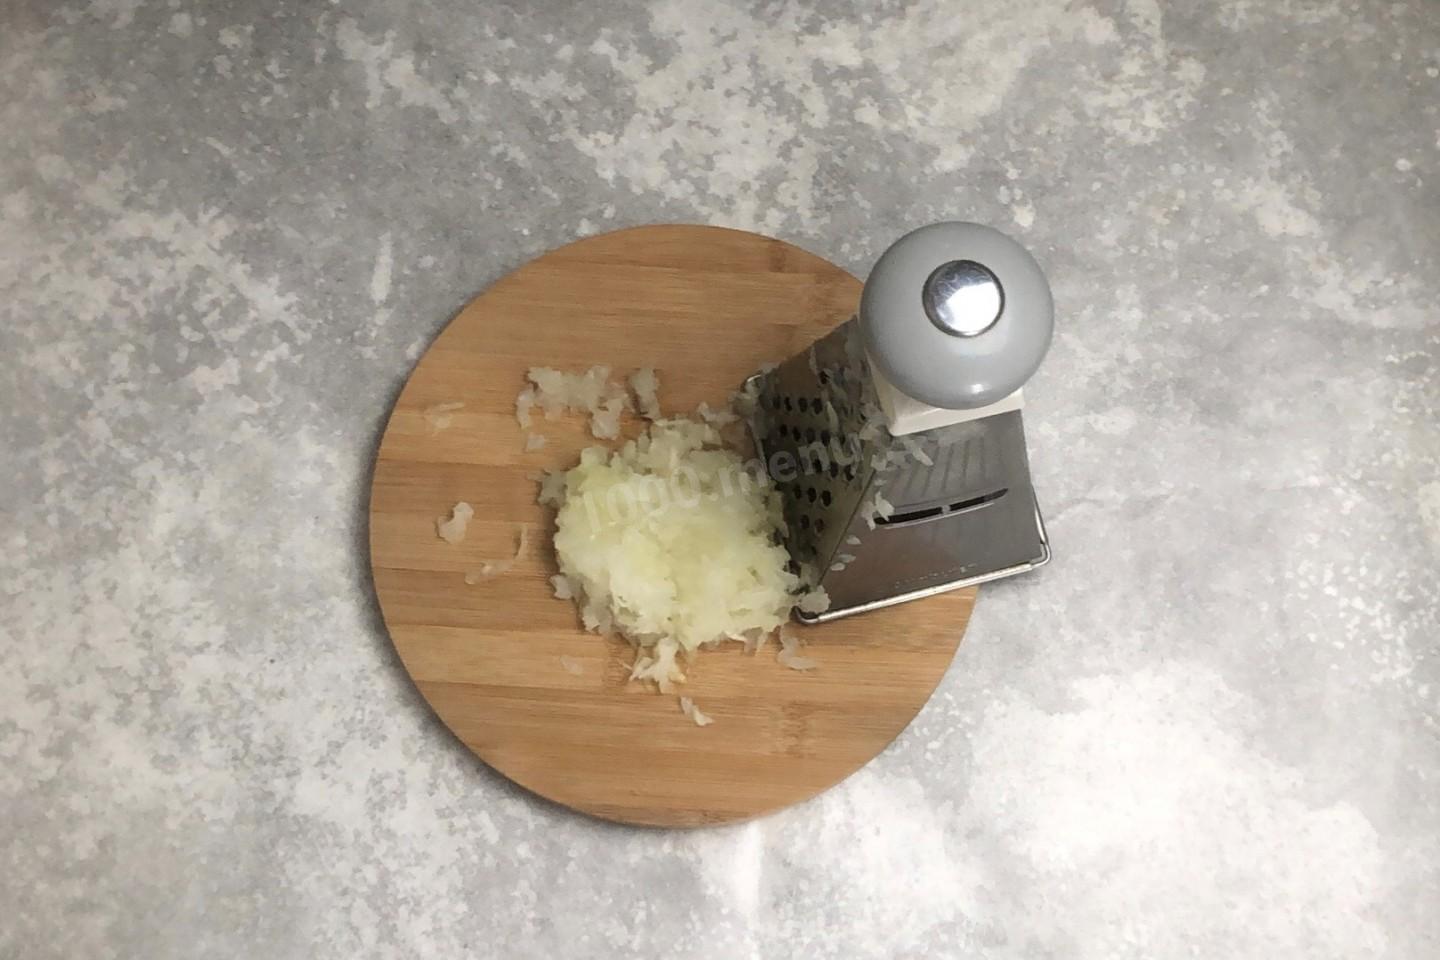
While the dough rests, work on the filling. If you have a cut of meat, grind it through a meat grinder together with the onion. Since I'm using ground meat, I simply grated the onion.
-
Step 9:
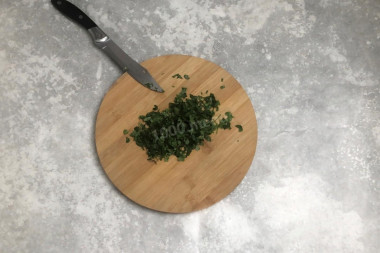
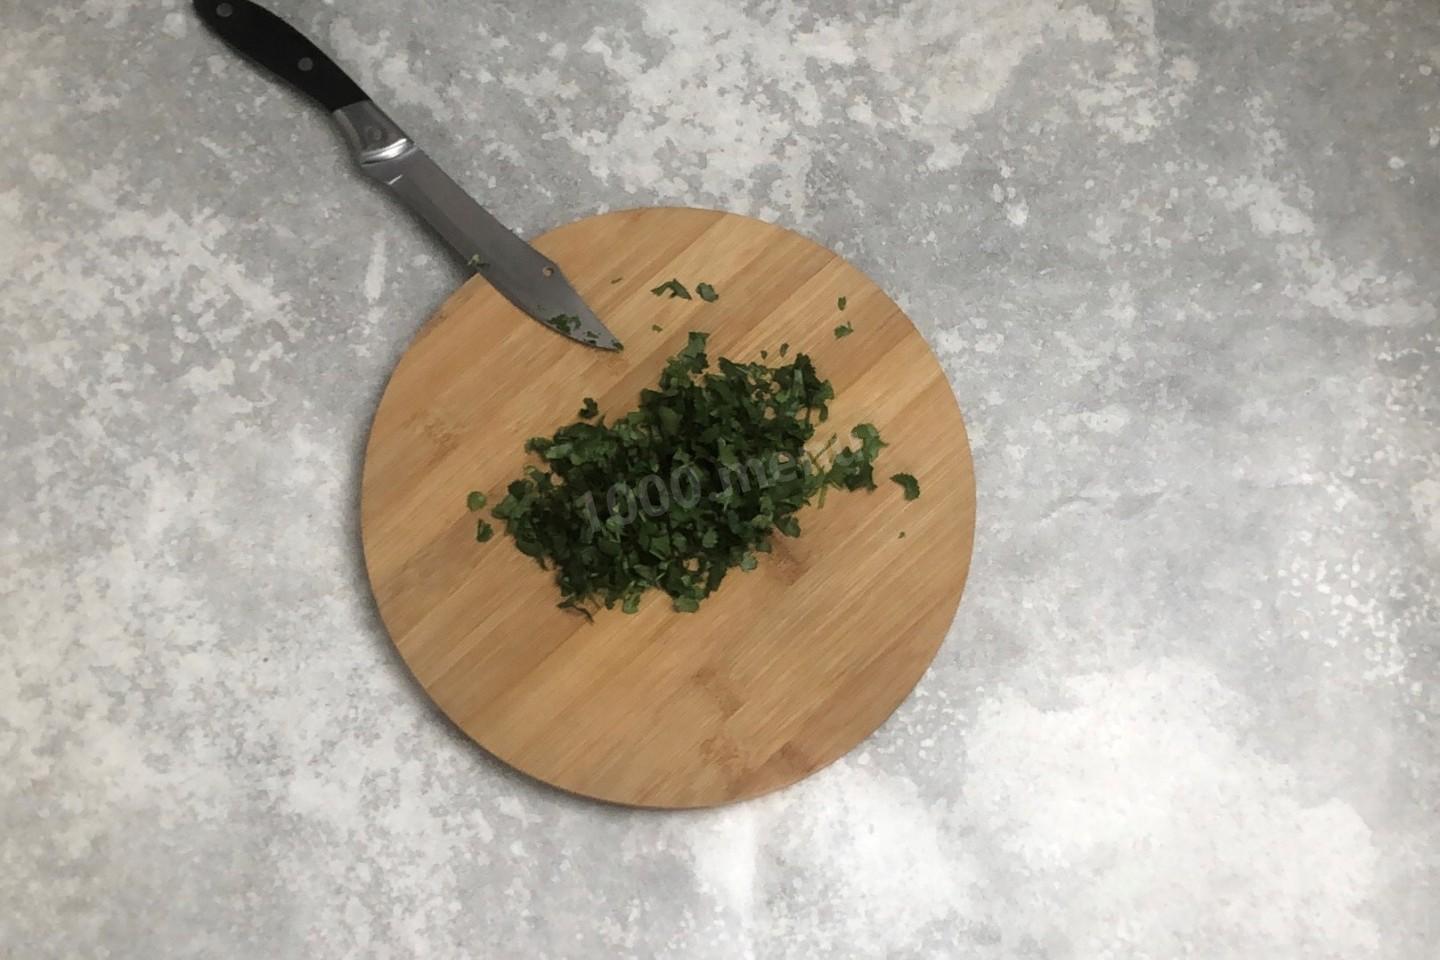
Wash the herbs well and pat them dry. Finely chop them.
-
Step 10:
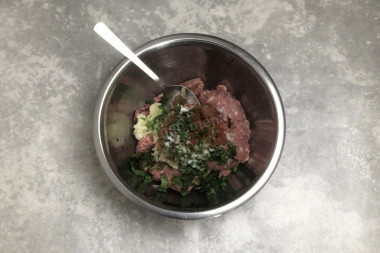
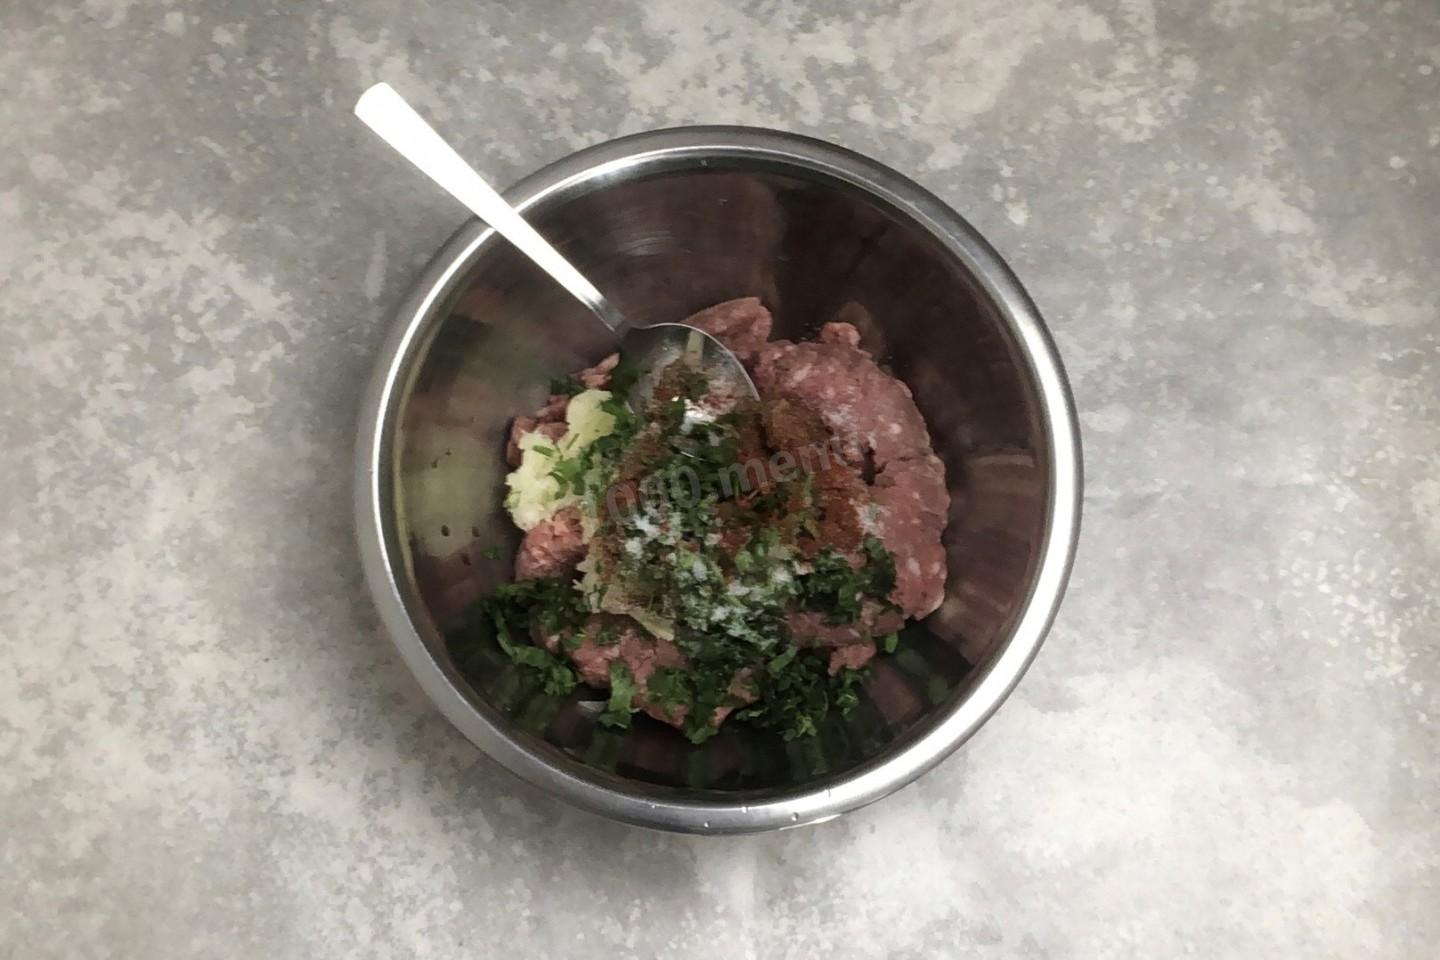
Add the onion, herbs, spices, and salt to the ground meat. Mix well.
-
Step 11:
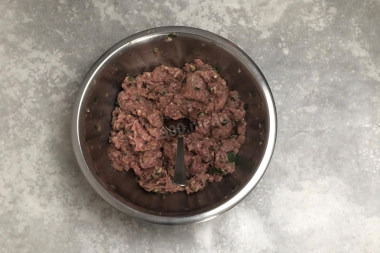
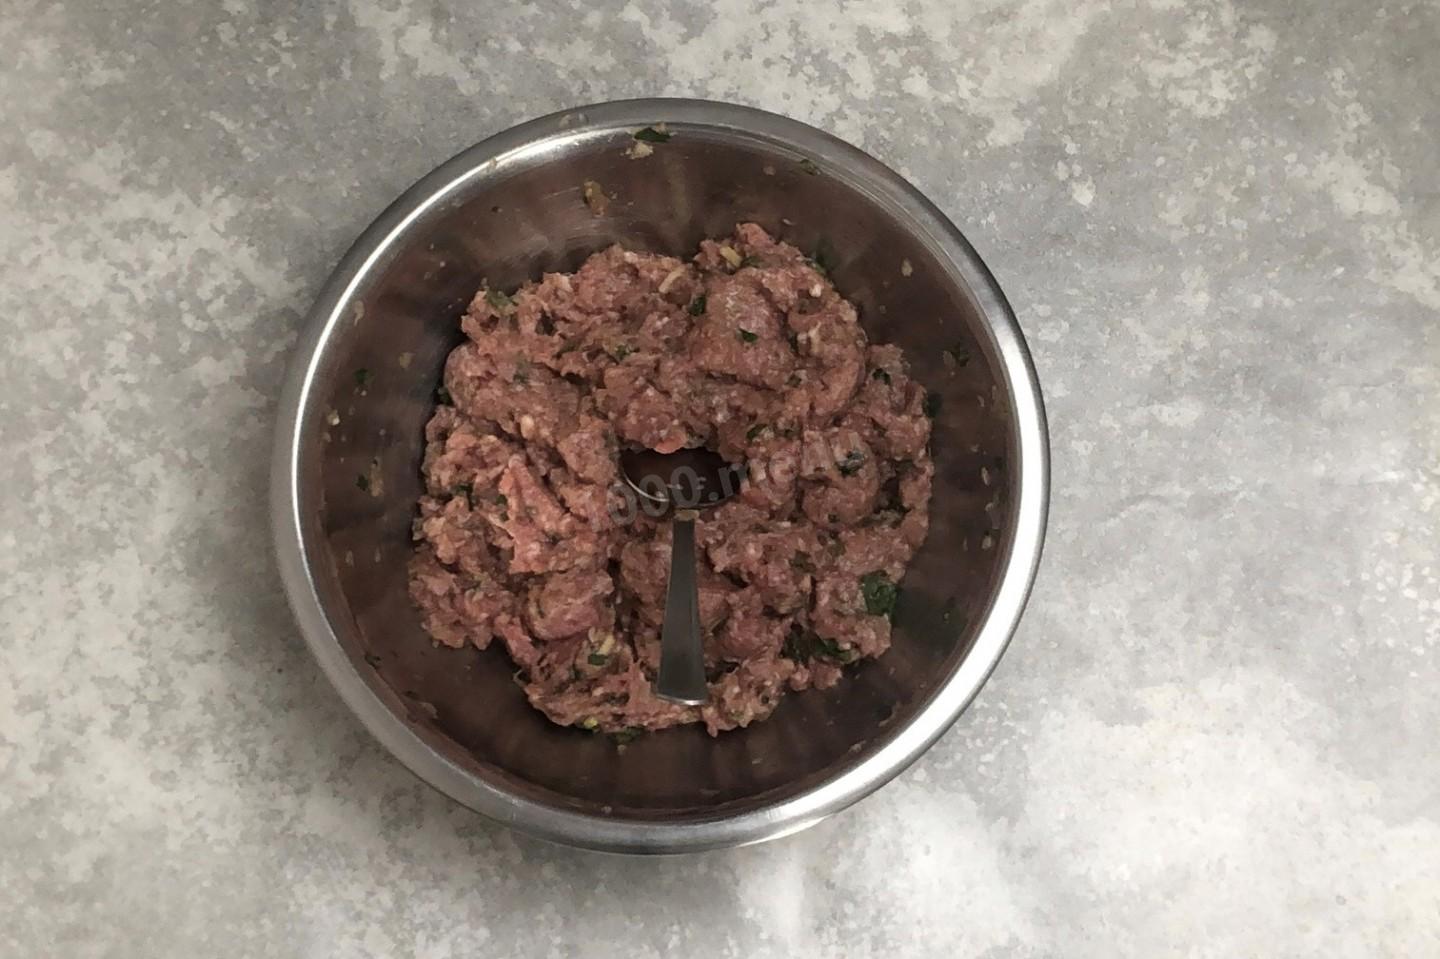
Start adding water to the filling in batches, kneading well after each addition. The filling should become loose and wet. I added less water, about a cup. Here's how to tell it's ready: stand a spoon up in it, and the spoon should start to tip over. Put the filling in the refrigerator for an hour.
-
Step 12:
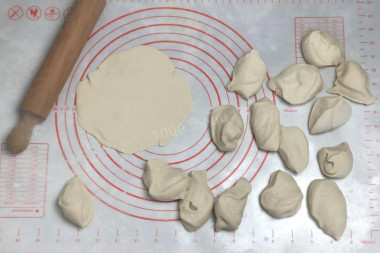
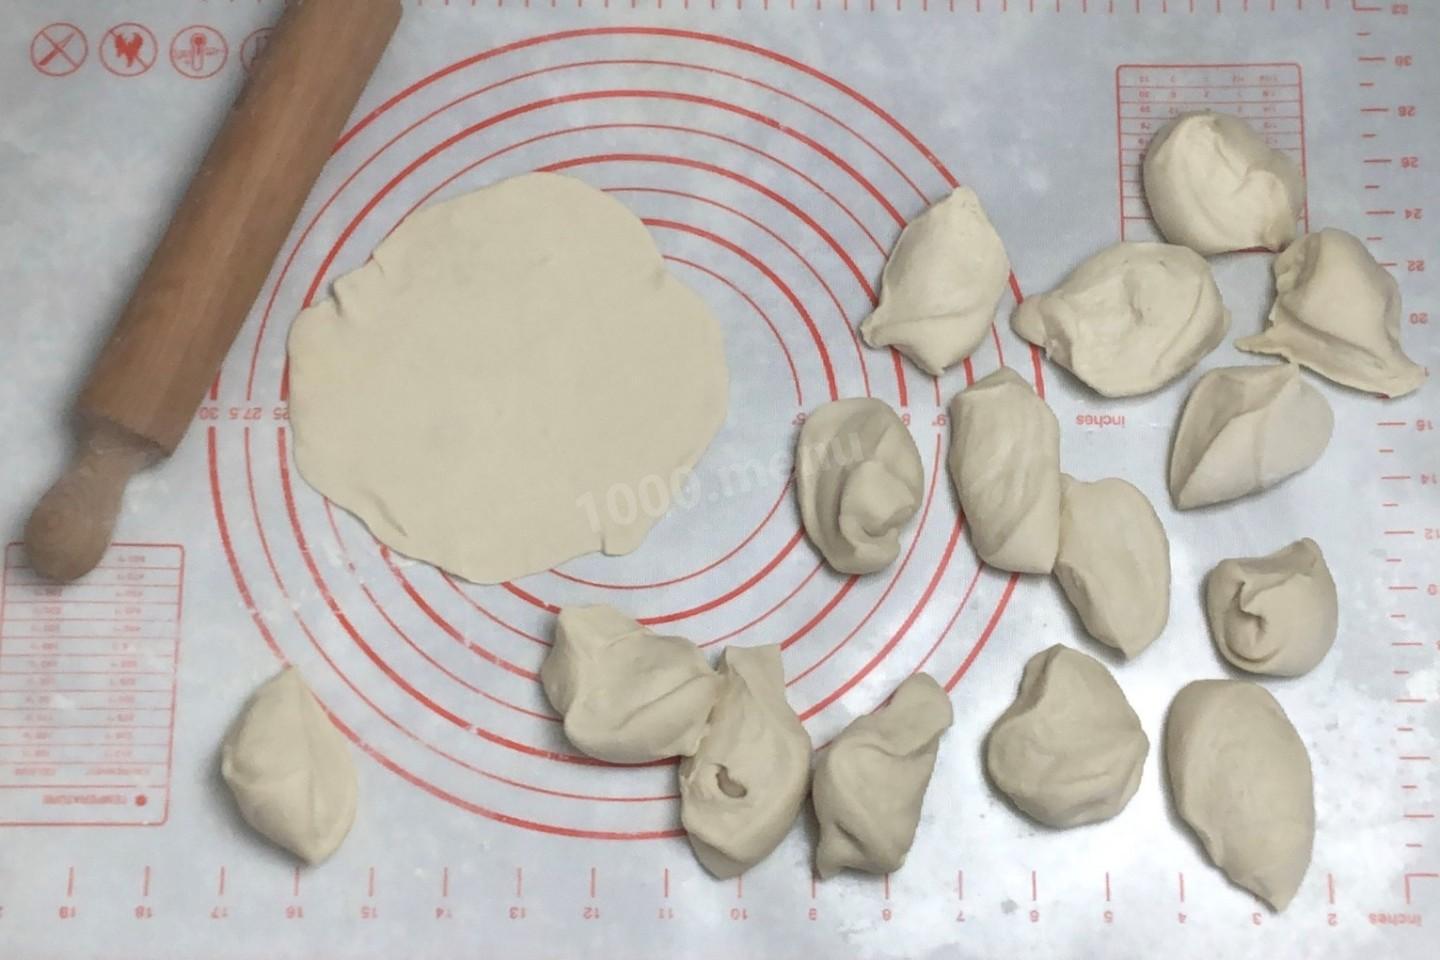
Roll the rested dough into a log, then cut it into equal pieces. Roll each piece out into a circle about 2 mm thick and the size of your palm. Try to make the edges thinner than the center.
-
Step 13:
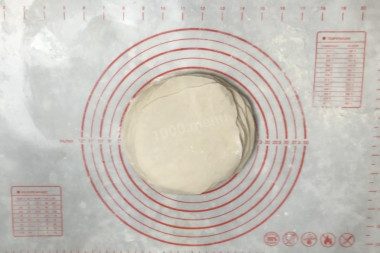
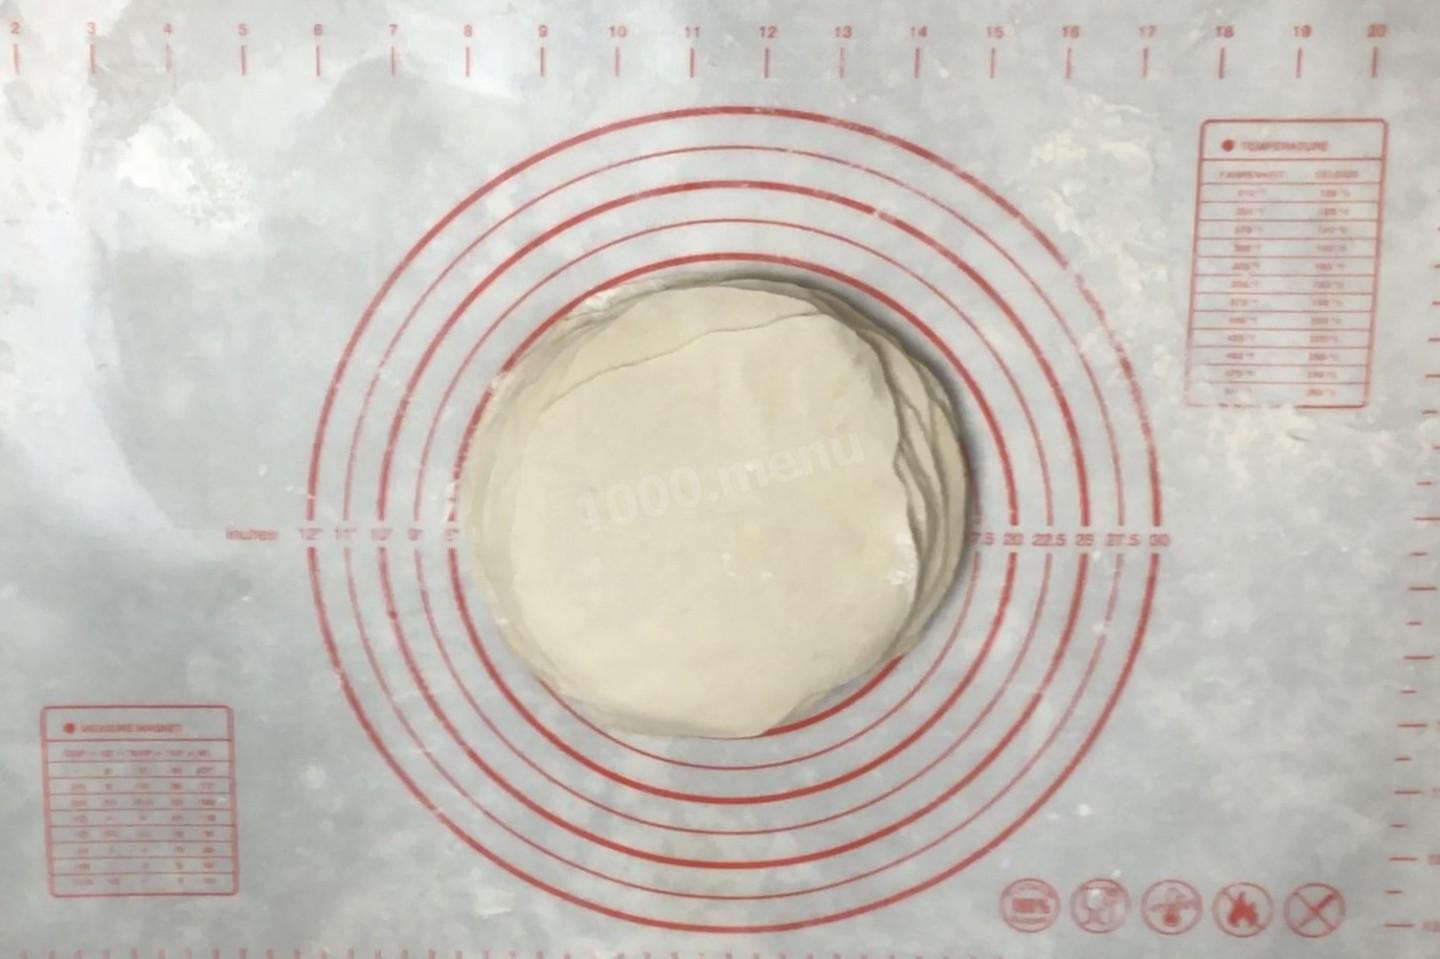
Roll out all the pieces this way. Stack them one on top of another, dusting flour between them. I ended up with 16, but I could have made all 20 — my khinkali came out big.
-
Step 14:
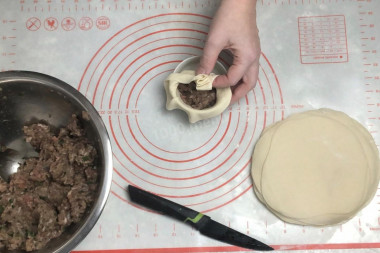
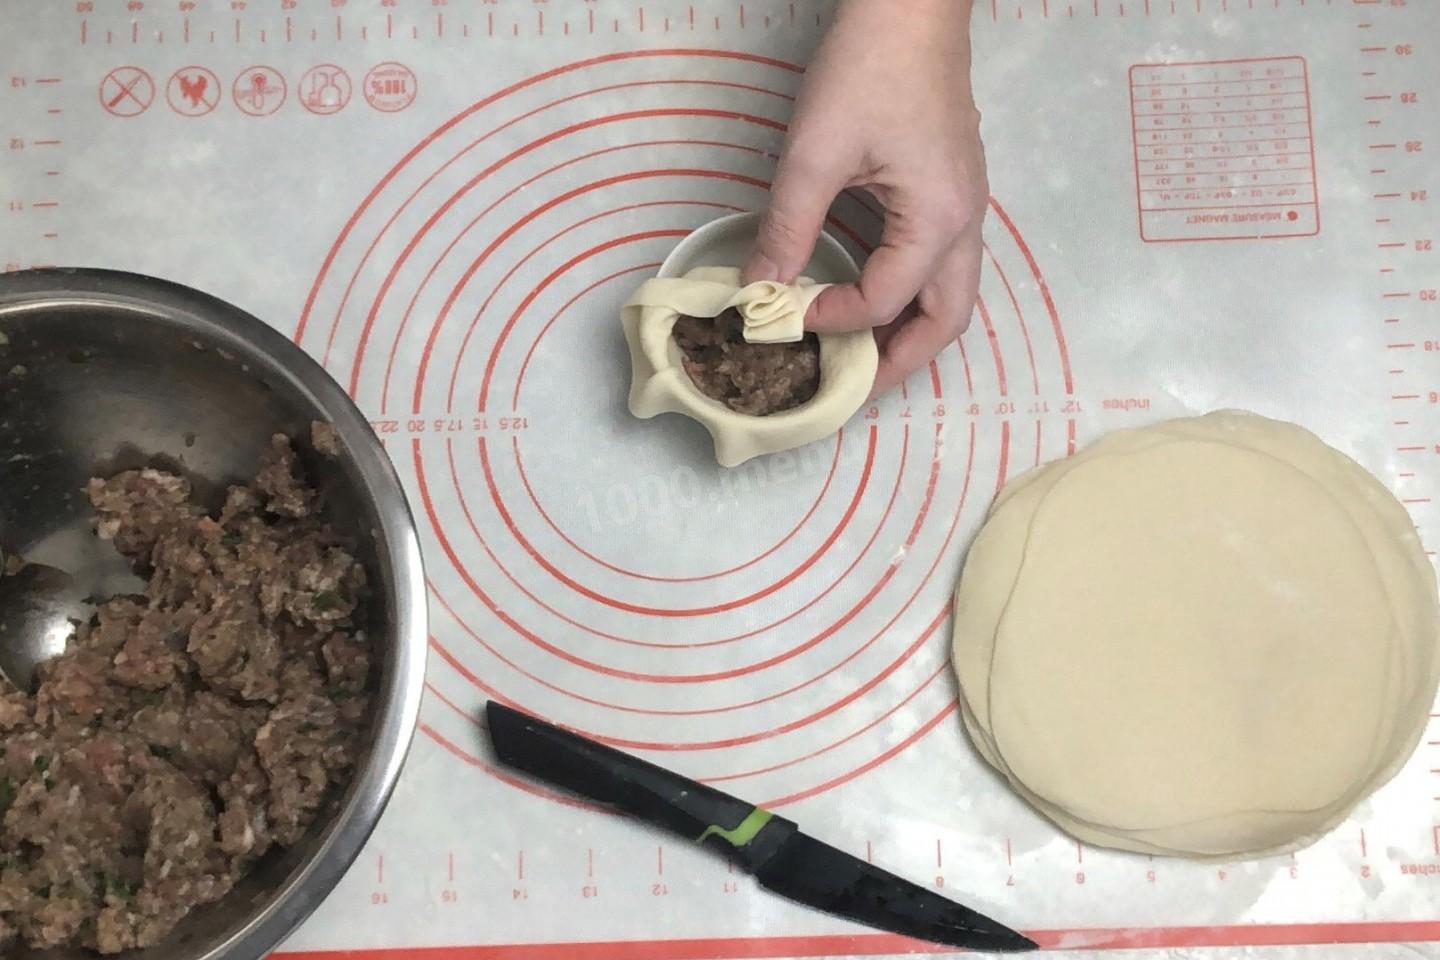
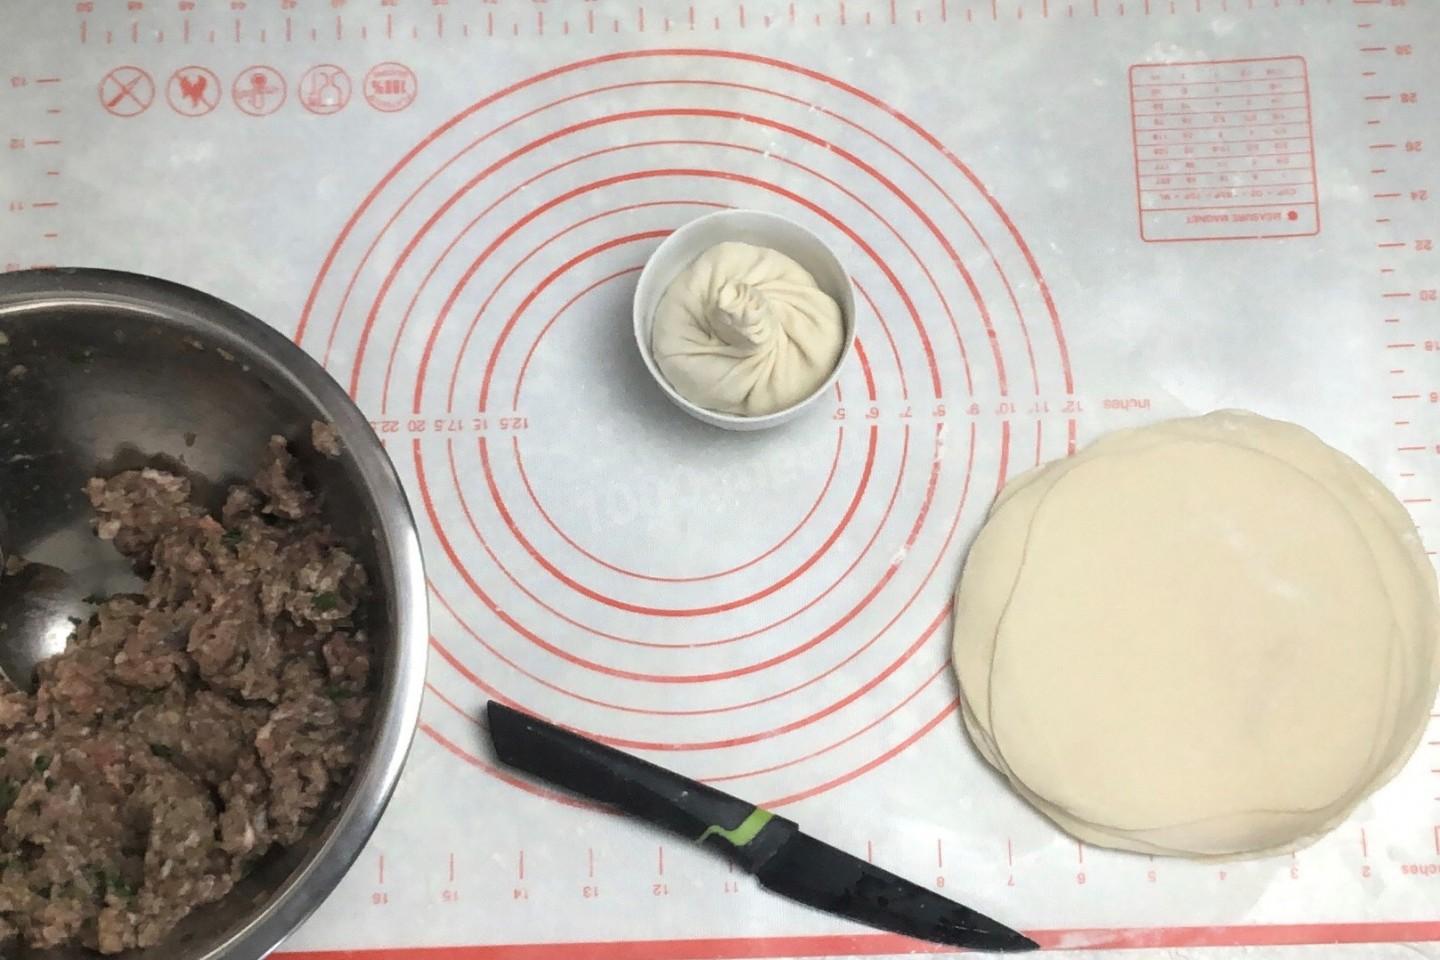
Now it's time to shape the khinkali. For convenience, use a small bowl. Drape a piece of dough over it. Place a tablespoon of filling in the center. Gather the edges of the dough into pleats toward the center.
-
Step 15:
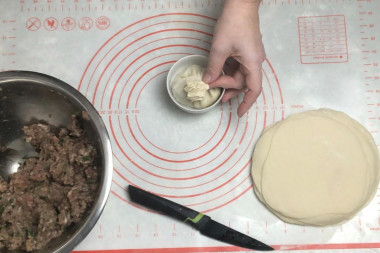
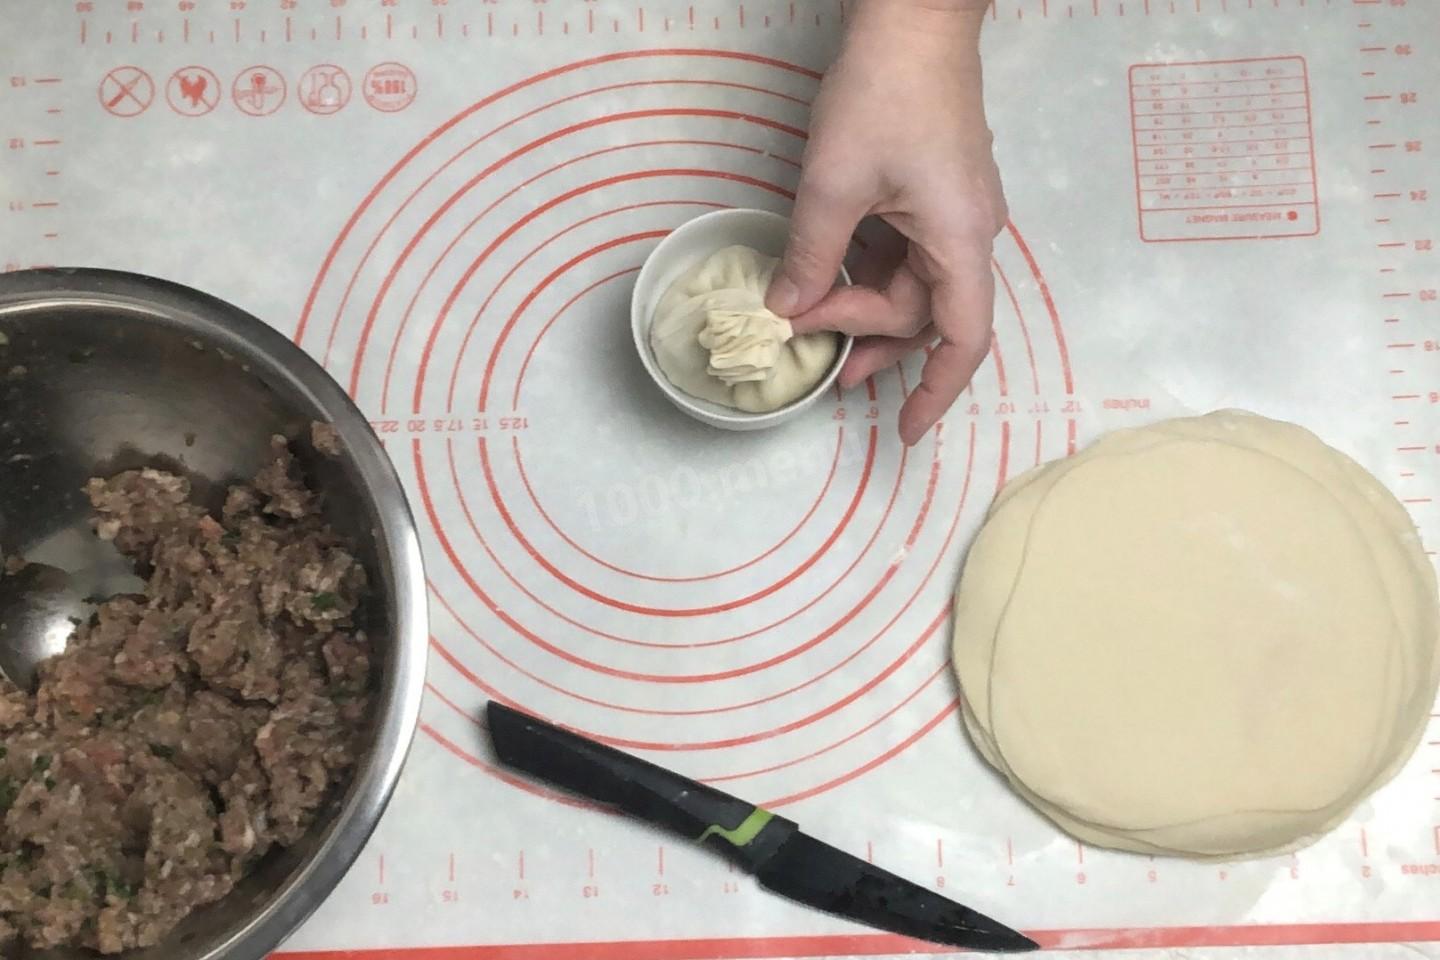
Wrap the last pleat around the others, joining it to the first.
-
Step 16:
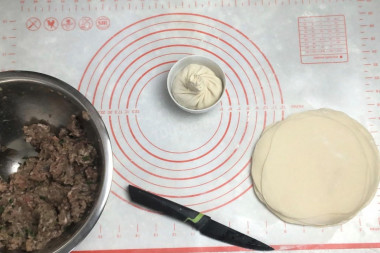
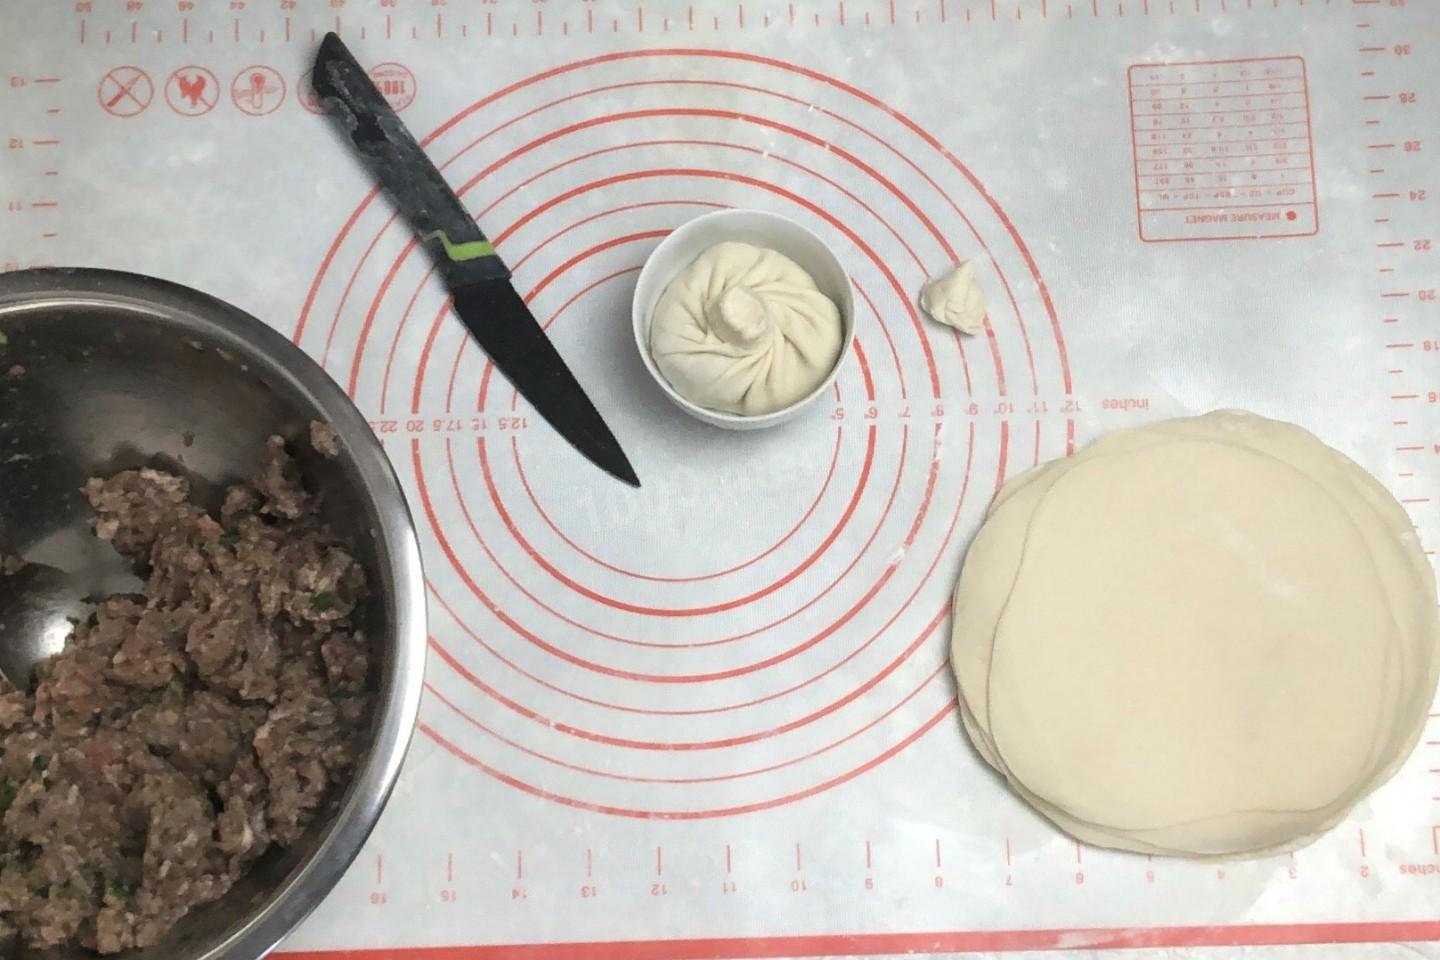
Twist the little top knot gently counterclockwise.
-
Step 17:
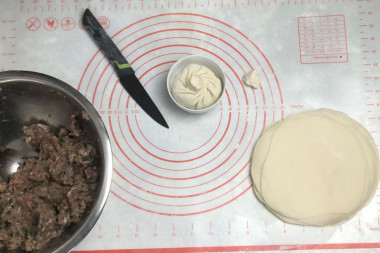
Trim off the top of the knot with a knife.
-
Step 18:
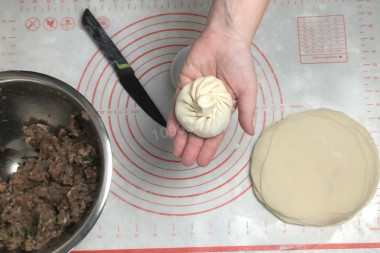
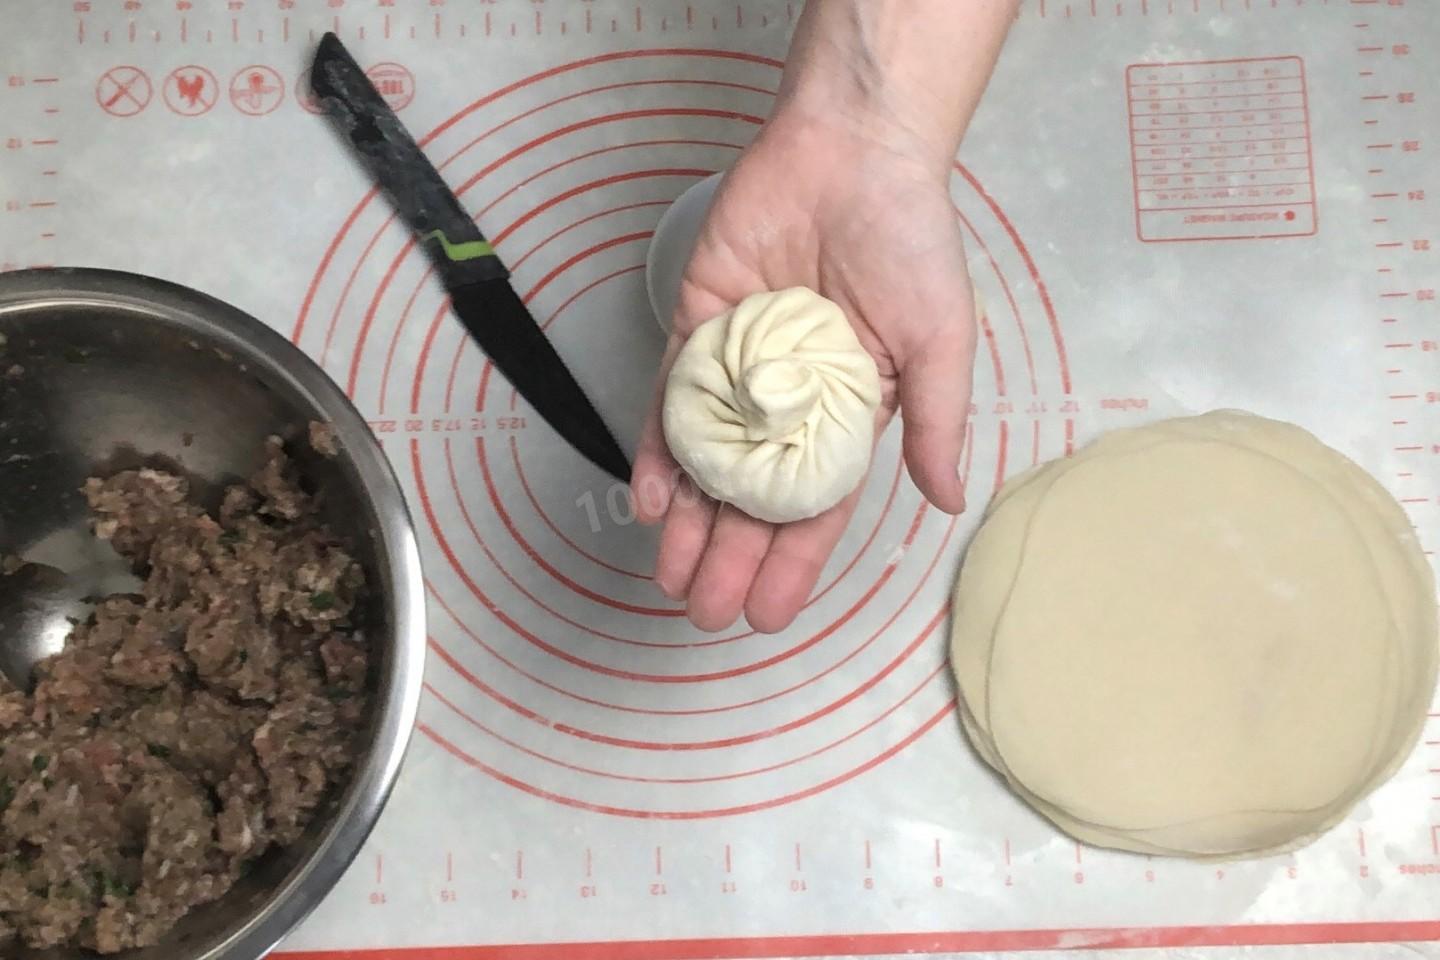
Shape all the khinkali this way.
-
Step 19:
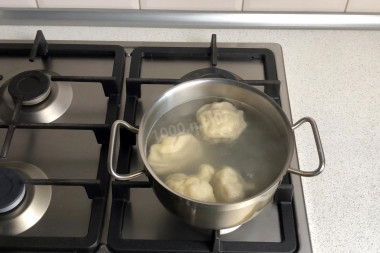
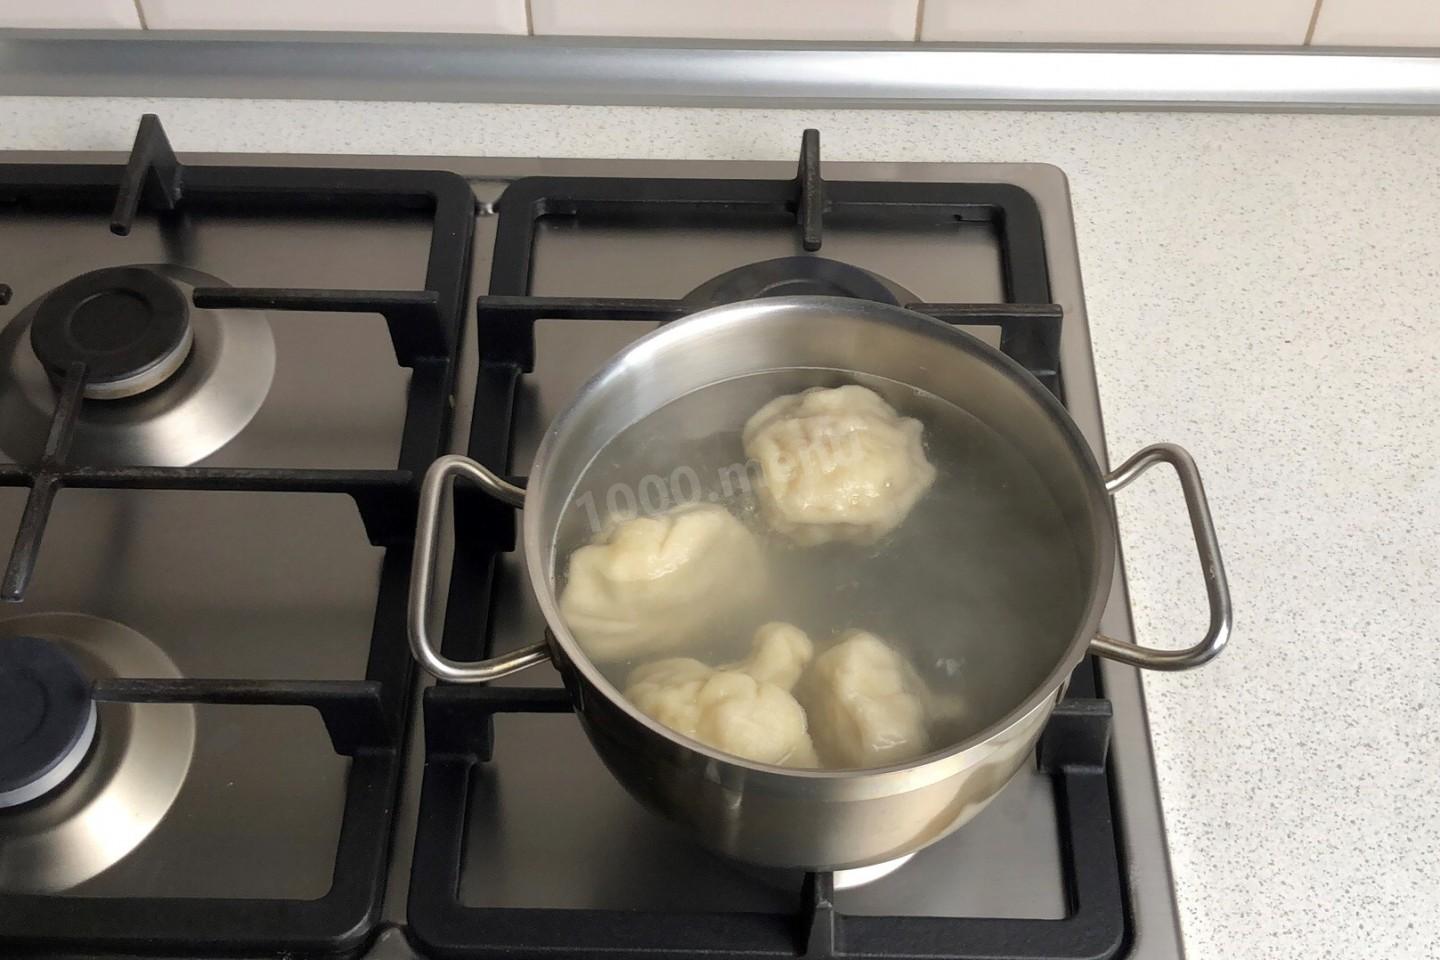
To boil the khinkali, bring a pot of water to a boil and salt it. Drop in the khinkali. Don't cook too many at once, or they'll stick together. Stir the pot occasionally so they don't stick to the bottom. Boil the khinkali for about 14 minutes, then lift them out onto a plate with a slotted spoon.
- Khinkali are eaten only with your hands, holding them by the top knot. First you bite in and sip out the broth, then eat the rest, leaving the knot uneaten. They're served with a tomato or sour cream sauce.
- Be prepared to need more or less flour than the recipe calls for. Go by the consistency of the dough rather than the exact amount of flour. To avoid mistakes, read up on flour and its properties!
Caloric content of the products possible in the composition of the dish
- Melted beef fat - 871 kcal/100g
- Fat beef - 171 kcal/100g
- Lean beef - 158 kcal/100g
- Beef brisket - 217 kcal/100g
- Beef - okovalok - 380 kcal/100g
- Beef - lean roast - 200 kcal/100g
- Beef shoulder - 137 kcal/100g
- Beef - ribs - 233 kcal/100g
- Beef - ham - 104 kcal/100g
- Beef - tail - 184 kcal/100g
- Boiled ham - 269 kcal/100g
- Beef corned beef - 216 kcal/100g
- Ground black pepper - 255 kcal/100g
- Parsley greens - 45 kcal/100g
- Salt - 0 kcal/100g
- Water - 0 kcal/100g
- Onion - 41 kcal/100g
- Spices dry - 240 kcal/100g
- Ground red pepper - 318 kcal/100g
- Wheat flour - 325 kcal/100g
- Coriander greens - 25 kcal/100g