Milk Bread Loaf
Soft, tasty, fragrant, and made from ordinary ingredients! A milk loaf shows that you can bake delicious bread at home, quite simply and from accessible ingredients. It's very soft inside and develops a light golden crust on top. This loaf stands out for its interesting shaping.



Cooking method
-
Step 1:
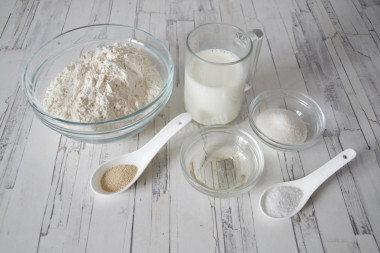
How do you make a milk loaf? Gather the ingredients. Before buying yeast, read the instructions, since there's fast-acting yeast that mixes straight into the flour. For this recipe you need yeast that's dissolved in liquid - water or milk. Use refined, odorless oil.
-
Step 2:

Make the starter. How do you make the starter? In a deep bowl, mix warm milk (37-40°C / 99-104°F), sugar, salt, and yeast. Stir everything together. Leave the starter in a warm place for 15 minutes. A foamy cap should rise on the surface. That means the yeast is active and you can go on to knead the dough.
-
Step 3:
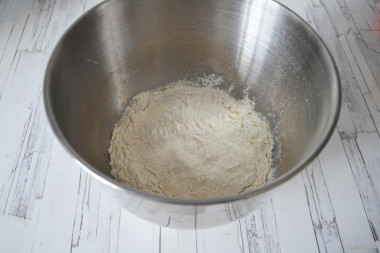
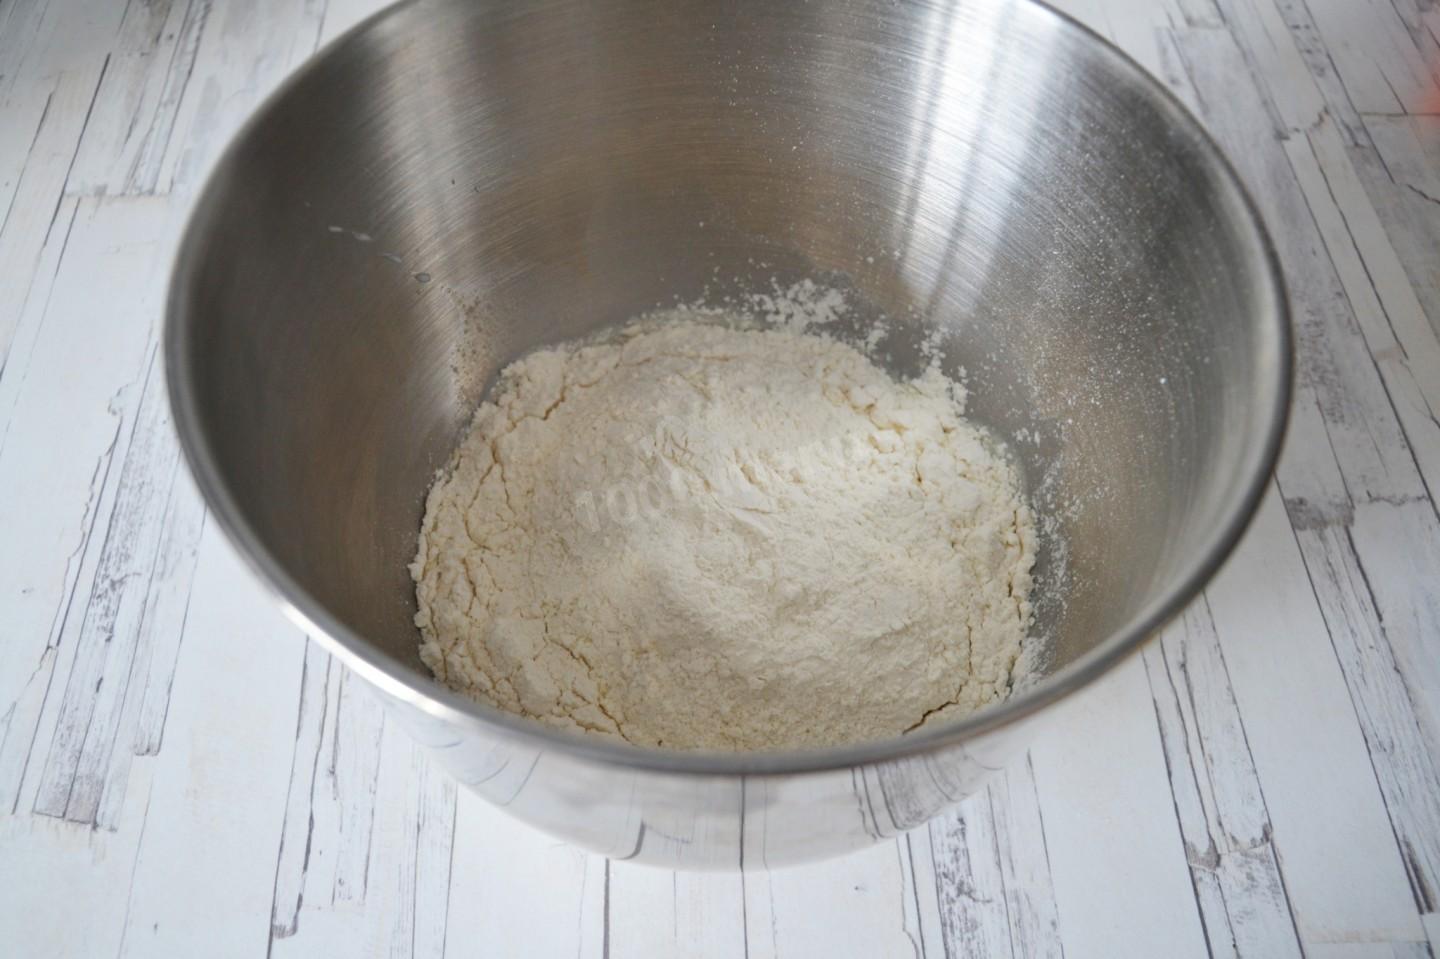
Pour the vegetable oil into the milk-and-yeast mixture and add the sifted flour. It's important to sift the flour to aerate it. Then the loaf comes out softer and rises well as it bakes.
-
Step 4:

Knead the dough thoroughly. Be prepared for the flour to be more or less than the recipe states. Go by the desired consistency of the dough, not the amount of flour. For this loaf it should turn out smooth and not sticky, but still soft. Gather the dough into a ball, put it in a bowl, and cover it with a towel. Leave it in a warm place for 1 hour.
-
Step 5:
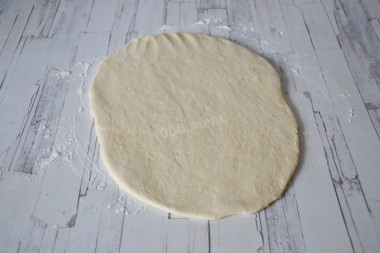
Punch down the risen dough to release the excess air. On a floured surface, roll the dough into an oval about 1 cm thick.
-
Step 6:
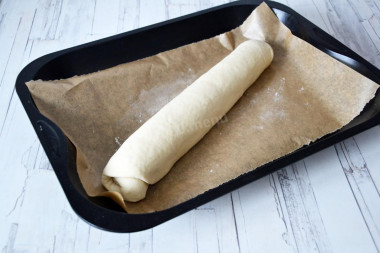
Roll the oval into a tight log starting from the wide edge. Put the shaped loaf on a parchment-lined baking sheet. Cover the dough with a towel and let it rise in a warm place for another 20 minutes.
-
Step 7:
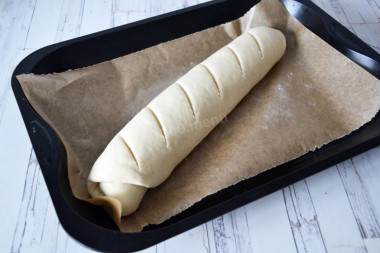
Make diagonal, evenly spaced slashes across the top of the loaf. Brush the surface with milk or water so it develops a golden crust. Bake the milk bread in an oven preheated to 180°C (355°F) for about 30 minutes.
-
Step 8:
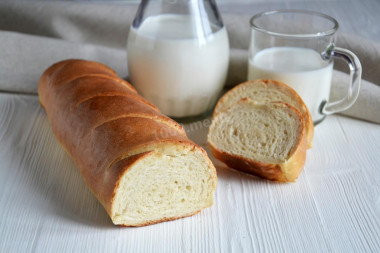
You can eat the loaf right away, while it's hot. Indescribable bliss! Enjoy!




- Making this bread is a real pleasure. I've been hooked on homemade bread for a long time and have made tons of loaves from different flours.
- This bread came out with a very pretty crumb. In the cross-section photo, if you look closely, you can tell from the air bubbles that the dough was rolled up - but the layers themselves aren't visible. Personally, it gave me real aesthetic pleasure. And there's nothing to say about the aroma that wafted from this little loaf! The apartment instantly felt cozier than usual. In short, I highly recommend baking this bread yourself. There's nothing complicated about it. The main thing is choosing the right yeast, as I mentioned above - and checking that it's fresh.
- The liquid you dissolve the yeast in should feel pleasant to the touch, no hotter than 40°C (104°F). Why does this matter? In a warm environment yeast activates well; in a hot one it dies; in a cold one it simply won't work. To avoid unpleasant surprises, test the yeast before mixing it with the other ingredients. Pour a little warm milk into a bowl and stir in the yeast. Cover the bowl with a kitchen towel and put it in a warm, draft-free place for 10-15 minutes. During that time a foamy yeast cap should appear on the surface of the starter. If it doesn't, fermentation hasn't started (the yeast is expired or spoiled). In that case, use other yeast, or the baking won't work.
- Important! With dry yeast, keep in mind that it comes in two forms: active and instant (read the instructions carefully before use!). Active dry yeast looks like beads or small balls. Before using it, you need to wake it from "sleep mode." To do that, dissolve the active yeast in warm sweetened water, milk, or whey. The bubbles, foam, or "cap" that form show the yeast is ready to use. Active dry yeast must be fully dissolved in the liquid, or the leftover granules can keep the dough from rising and ruin the baking (yeast granules that didn't dissolve and ended up in the dough won't disperse on their own, so they won't work). Instant dry yeast is simpler to use - you don't need to activate it before use. It's just added to the dough with the other ingredients, which cuts down the prep time. Keep in mind, too, that both kinds of dry yeast can vary in activity from one brand to another.
- Keep in mind that everyone's oven is different. The temperature and cooking time may differ from those in the recipe. To make any baked dish a success, check out the useful information on oven quirks!
Caloric content of the products possible in the composition of the dish
- Whole cow's milk - 68 kcal/100g
- Milk, 3.5% fat - 64 kcal/100g
- Milk, 3.2% fat - 60 kcal/100g
- Milk, 1.5% fat - 47 kcal/100g
- Concentrated milk, 7.5% fat - 140 kcal/100g
- Milk, 2.5% fat - 54 kcal/100g
- Fortified whole durum wheat flour - 333 kcal/100g
- All-purpose whole durum wheat flour - 364 kcal/100g
- Fine wheat flour - 348 kcal/100g
- Flour - 325 kcal/100g
- Granulated sugar - 398 kcal/100g
- Sugar - 398 kcal/100g
- Vegetable oil - 873 kcal/100g
- Salt - 0 kcal/100g
- Dry yeast - 410 kcal/100g