Vareniki with Fresh Cabbage
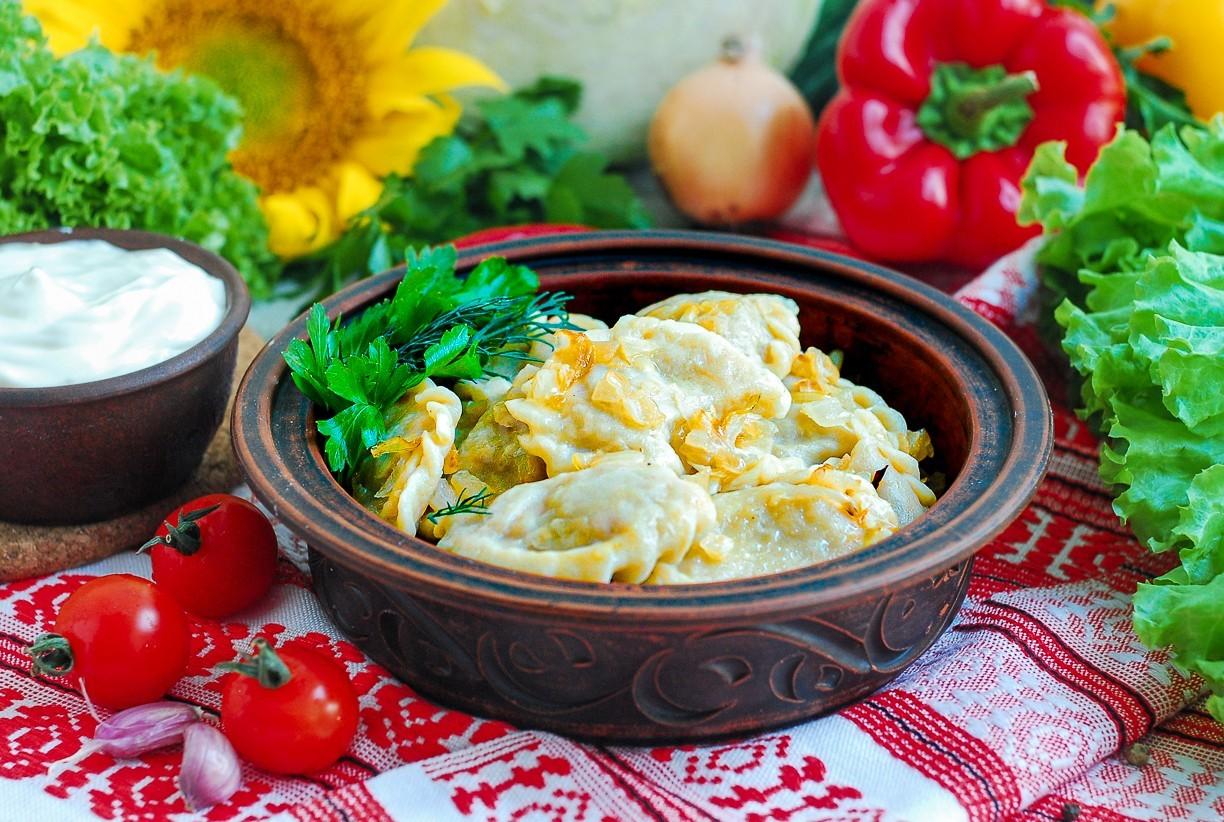
Made from simple ingredients, for the whole family, and great to make ahead! Homemade vareniki with fresh cabbage are very appetizing and filling. The dough is made with boiling water, and it's a pleasure to work with — elastic, soft, easy to roll out, and it doesn't tear. Not a single dumpling fell apart while cooking!


Cooking method
-
Step 1:
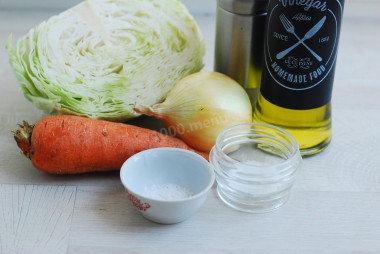
How do you make vareniki with fresh cabbage? I recommend starting with the filling, since it needs time to cool. Gather the ingredients from the list. Use one large onion or two medium ones. Strip the cabbage of its outer leaves — the damaged, inedible ones (usually 2–3 leaves). Wash it and pat it dry with a paper towel.
-
Step 2:
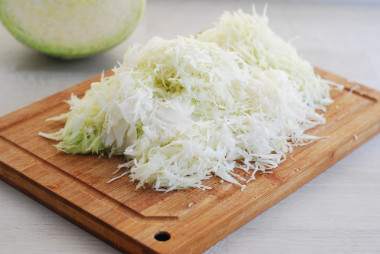
Shred the cabbage into thin strips and scrunch it a little with your hands. It'll soften and cook faster. Pour refined vegetable oil into a deep skillet and heat it well. Add the cabbage. Fry it covered over low heat for about 7–10 minutes, until soft.
-
Step 3:
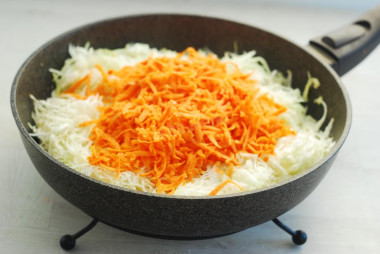
Wash and peel the carrot. Grate it on a coarse grater and add it to the cabbage. Stir and simmer, covered, for about 10 minutes.
-
Step 4:

Finely dice the peeled onion (the smaller, the tastier). Add it to the other vegetables in the skillet and stir. Simmer, covered, for another 10 minutes. Then add the sugar, salt, and ground black pepper. Simmer for another 5–7 minutes. Check the cabbage on the thickest pieces — they should be soft. Transfer the finished filling to a suitable container and leave it to cool.
-
Step 5:
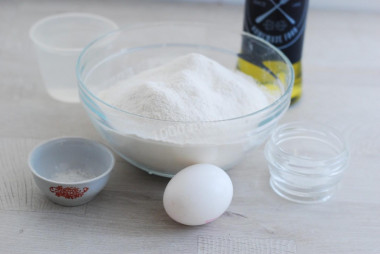
While the filling cools, make the hot-water dough for the vareniki. Gather all the ingredients. Use high-grade flour, since the quality of the vareniki depends on it. Sift the flour into a wide bowl or mound it on your work surface. Make a well in the center. Keep in mind you may need more or less flour than I do — go by the consistency of the dough.
-
Step 6:
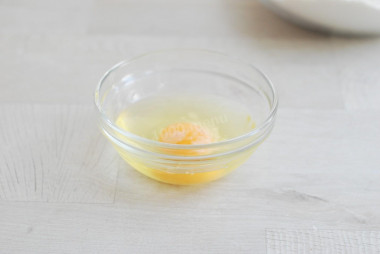
Wash the egg well with baking soda and wipe it dry. Crack it into a separate container, add a pinch of salt and a spoonful of odorless vegetable oil. Lightly beat the egg mixture with a fork. Pour it into the flour and mix with a spoon. Carefully, so you don't burn yourself, pour in the boiling water, stirring the dough briskly with a spoon. The hot water quickly develops the gluten, so the dough turns out smooth and elastic.
-
Step 7:
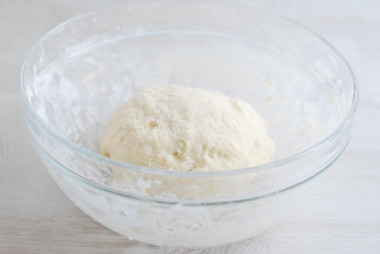
Once the dough cools down, keep kneading it by hand to get a better feel for the consistency. The dough should be soft and not sticky. Add a little flour if needed. Cover the container with a towel or plastic wrap and let the dough rest for 20–40 minutes. By then it will be very pliable and easy to work with.
-
Step 8:
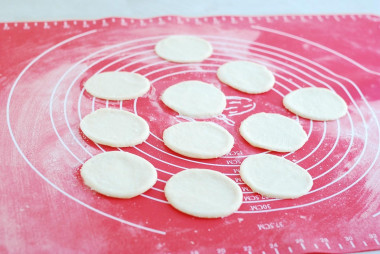
Dust your work surface with flour (I use a silicone mat). Put part of the dough on it and knead well again. Roll it out to a few millimeters thick (about 4–5 mm). Cut out circles with a suitable cutter.
-
Step 9:
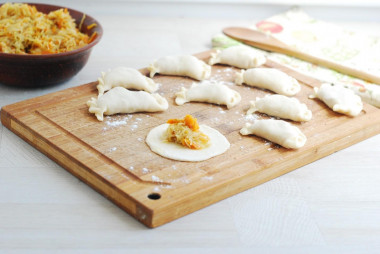
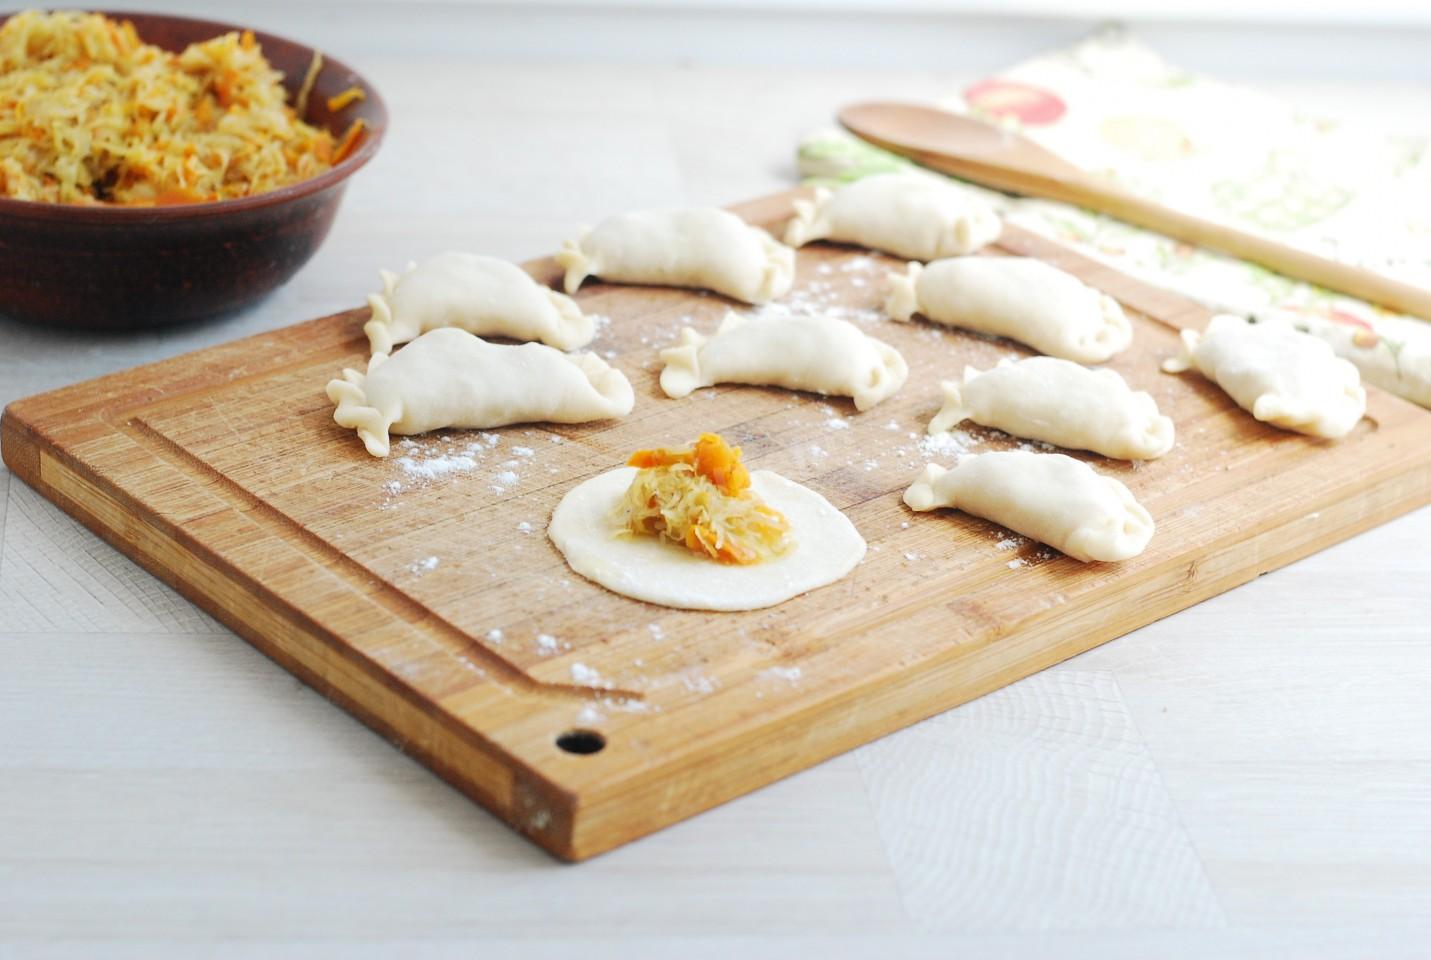
Put a teaspoon of filling in the center of each circle. Fold the vareniki into a half-moon shape. You can crimp the edges with a decorative twist. Bring a large pot of water to a boil — there should be plenty so the vareniki float freely and don't stick together. Salt it. Drop the vareniki into the boiling water and stir right away so they don't stick to the bottom. Once they come back to a boil, reduce the heat to low and cook for about 5 minutes.
-
Step 10:
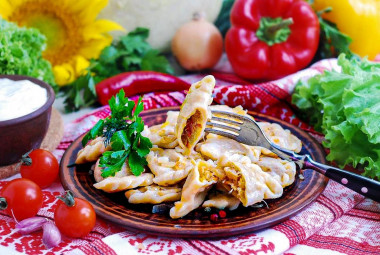
Serve the finished vareniki with butter, sour cream, or sautéed onion. Enjoy!



- A sautéed onion is the meatless option. If you like, you can also cut salo (pork fat) into smallish pieces and fry it in a skillet to render the fat. Then add the onion and sauté until soft and golden.
- You can freeze the shaped vareniki. Lay them on a flour-dusted cutting board, making sure they don't touch each other. Put them in the freezer for 1–2 hours, then pack them into zip-top bags for compact long-term storage in the freezer.
- Cooled boiled vareniki can be reheated by frying them in a skillet until golden.
- Use an oil with a high smoke point for frying! All oils are good only up to a certain temperature — the smoke point, at which the oil starts to burn and form toxic compounds, including carcinogens. Unrefined oils, with rare exceptions, have a low smoke point. They contain a lot of unfiltered organic particles that start to burn quickly. Refined oils stand up to heat better and have a higher smoke point. If you're going to cook in the oven, in a skillet, or on the grill, make sure you use an oil with a high smoke point. The most common high-smoke-point oils are refined sunflower, olive, and grapeseed.
- There's a simple way to check whether the oil in the pan is hot enough: lower a wooden spatula into it. If bubbles gather around it, you can start frying.
- For cooking, it's best to use neutral-tasting filtered or bottled water. If you use tap water, keep in mind it can give the dish an unpleasant off-flavor.
Caloric content of the products possible in the composition of the dish
- Carrots - 33 kcal/100g
- Dried carrots - 275 kcal/100g
- Boiled carrots - 25 kcal/100g
- Ground black pepper - 255 kcal/100g
- Granulated sugar - 398 kcal/100g
- Sugar - 398 kcal/100g
- Vegetable oil - 873 kcal/100g
- Salt - 0 kcal/100g
- Water - 0 kcal/100g
- Onion - 41 kcal/100g
- Wheat flour - 325 kcal/100g
- White cabbage - 28 kcal/100g
- Boiled white cabbage - 21 kcal/100g
- Chicken egg - 80 kcal/100g
Similar recipes



- Homemade dinner
- National cuisine
- Second course
- Eggs
- Vegetables
- Flour
- Sweet
- Spices seasonings spices
- Fats and oils
- Other
- Pepper
- Salt
- Vegetable oil
- Water
- Ukrainian cuisine
- Cooking
- Frying
- Simple dinner
- Inexpensive dinner
- Boiled dough vareniki
- Second courses of cabbage
- Chicken eggs
- Simple quick dinner
- Inexpensive budget dinner
- From carrots
- From cabbage
- From onion
- Wheat flour
- Vegetarianism
- Recipes for lean dishes without butter
- Sugar