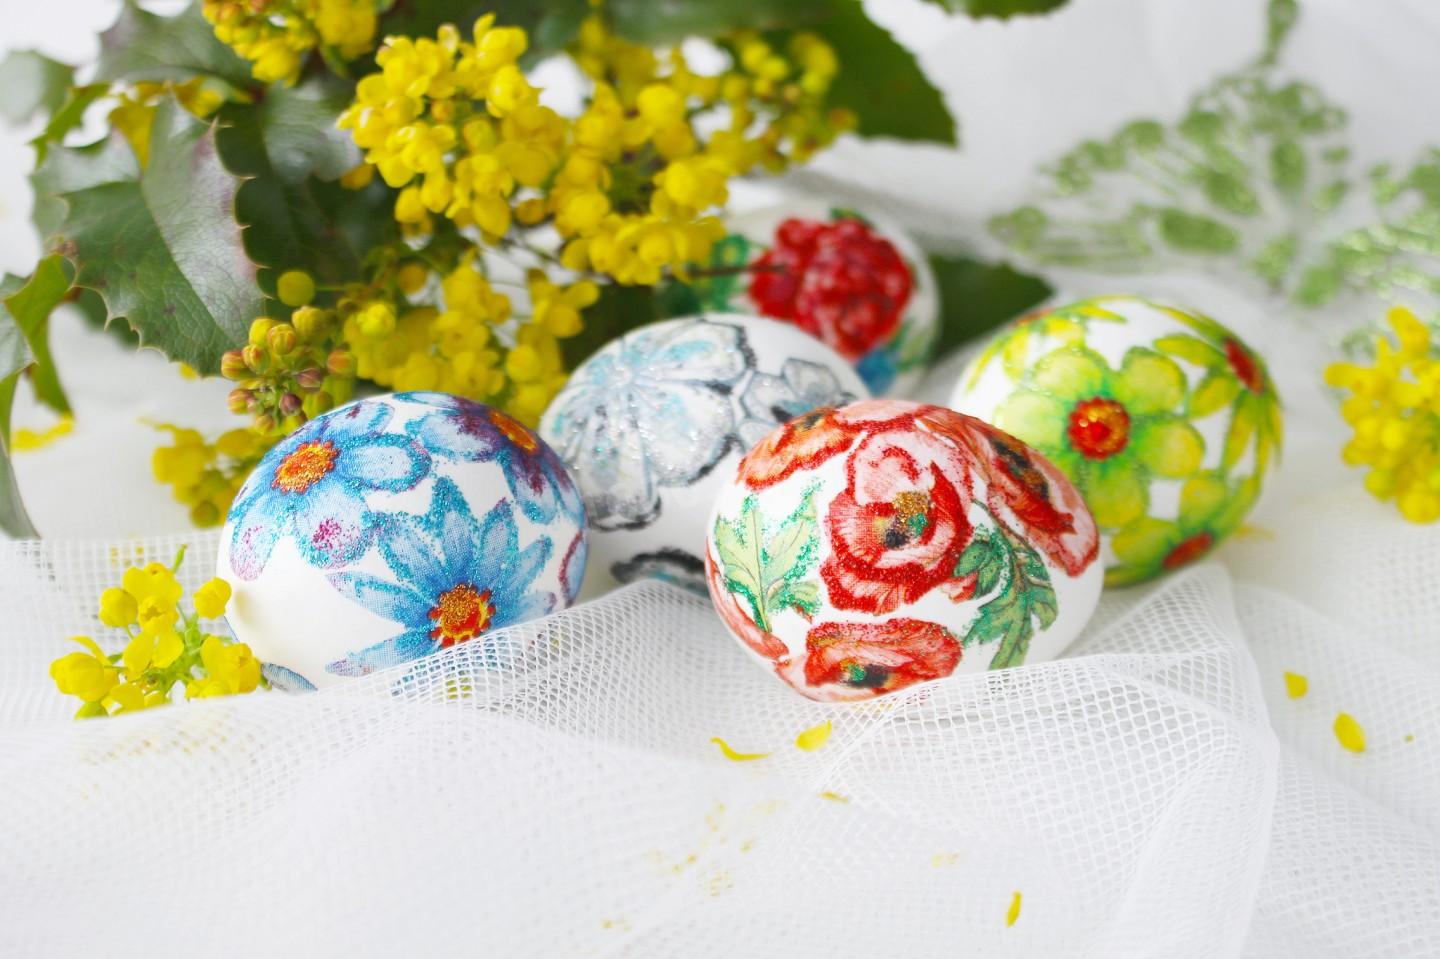
Decoupage Easter Eggs with Napkins
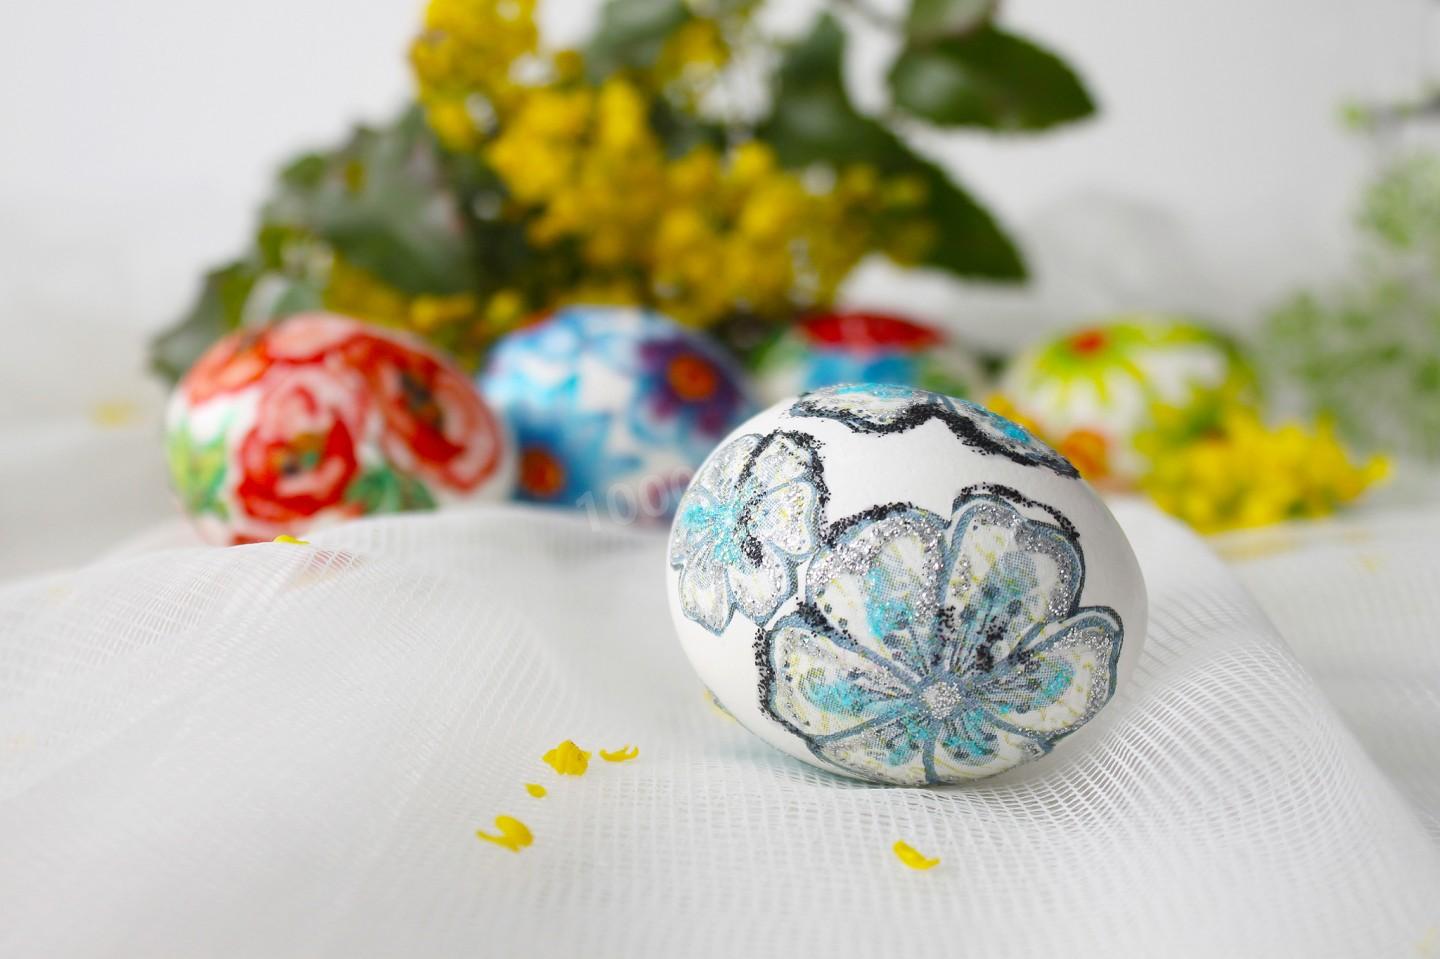
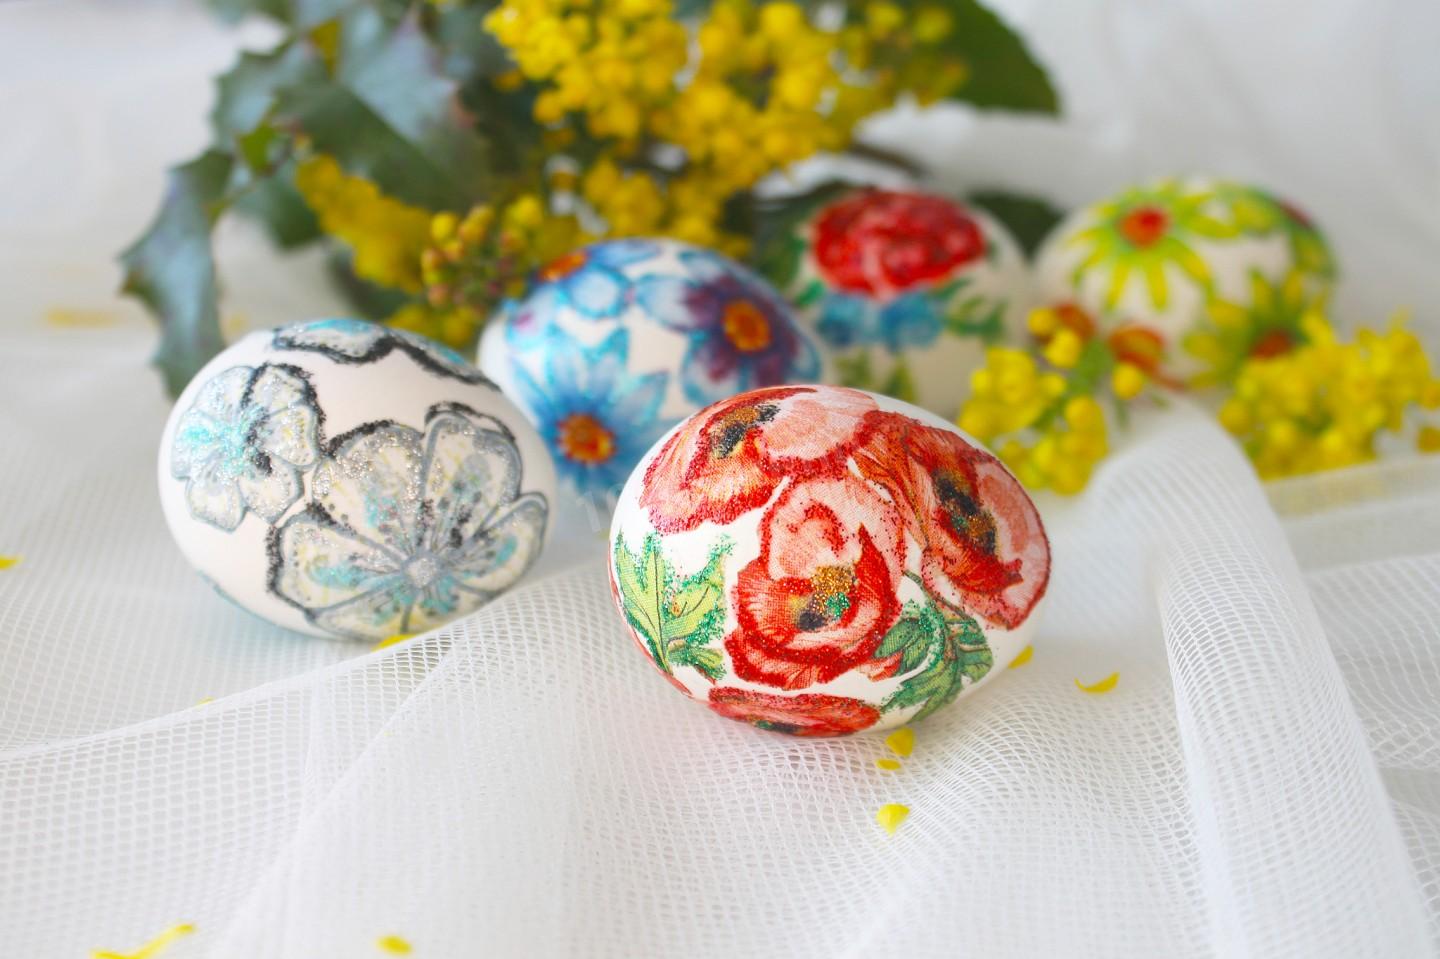
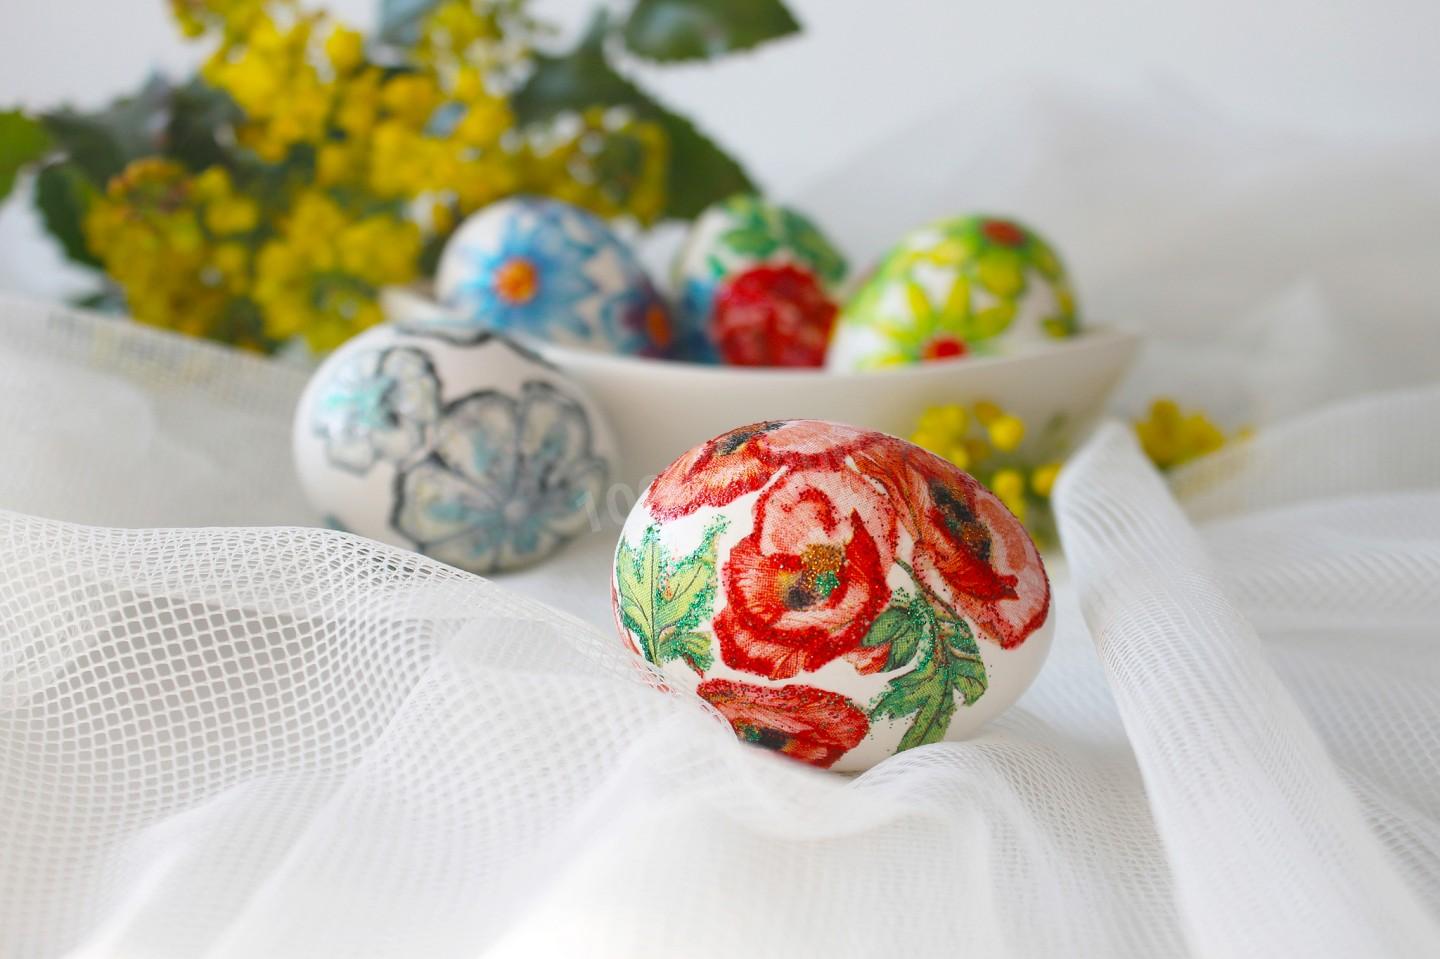
The prettiest, brightest eggs for the joyful Easter holiday! In the run-up to Easter, it's traditional to bake kulich, dye eggs, and decorate them. Here's a really fun way to decorate your Easter eggs. The process is creative and engaging, so invite the kids to join in!

Cooking method
-
Step 1:
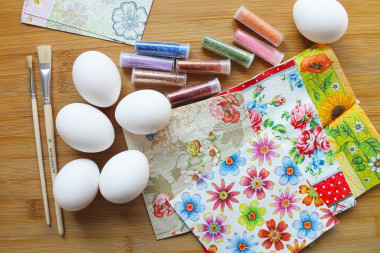
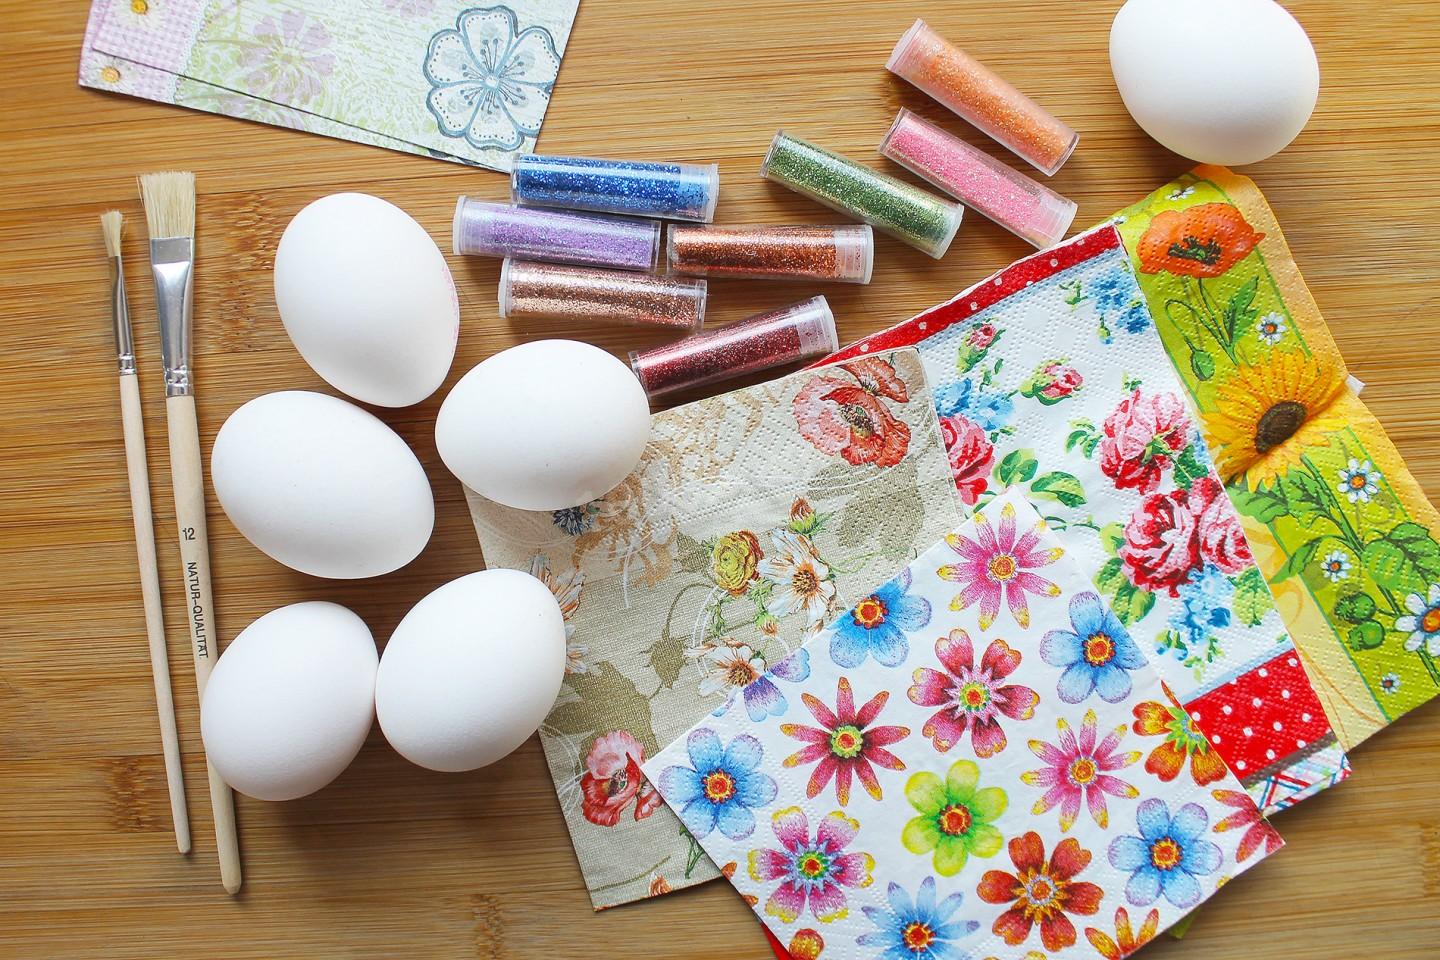
The number of eggs here is arbitrary—you can use fewer or more. You'll need the eggs themselves, bright paper napkins with pretty prints, manicure scissors, a small paintbrush, and glitter if you like.
-
Step 2:
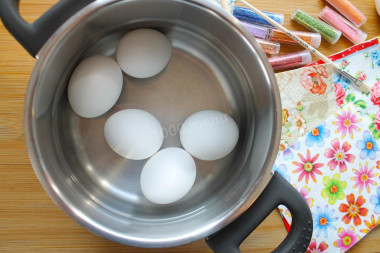
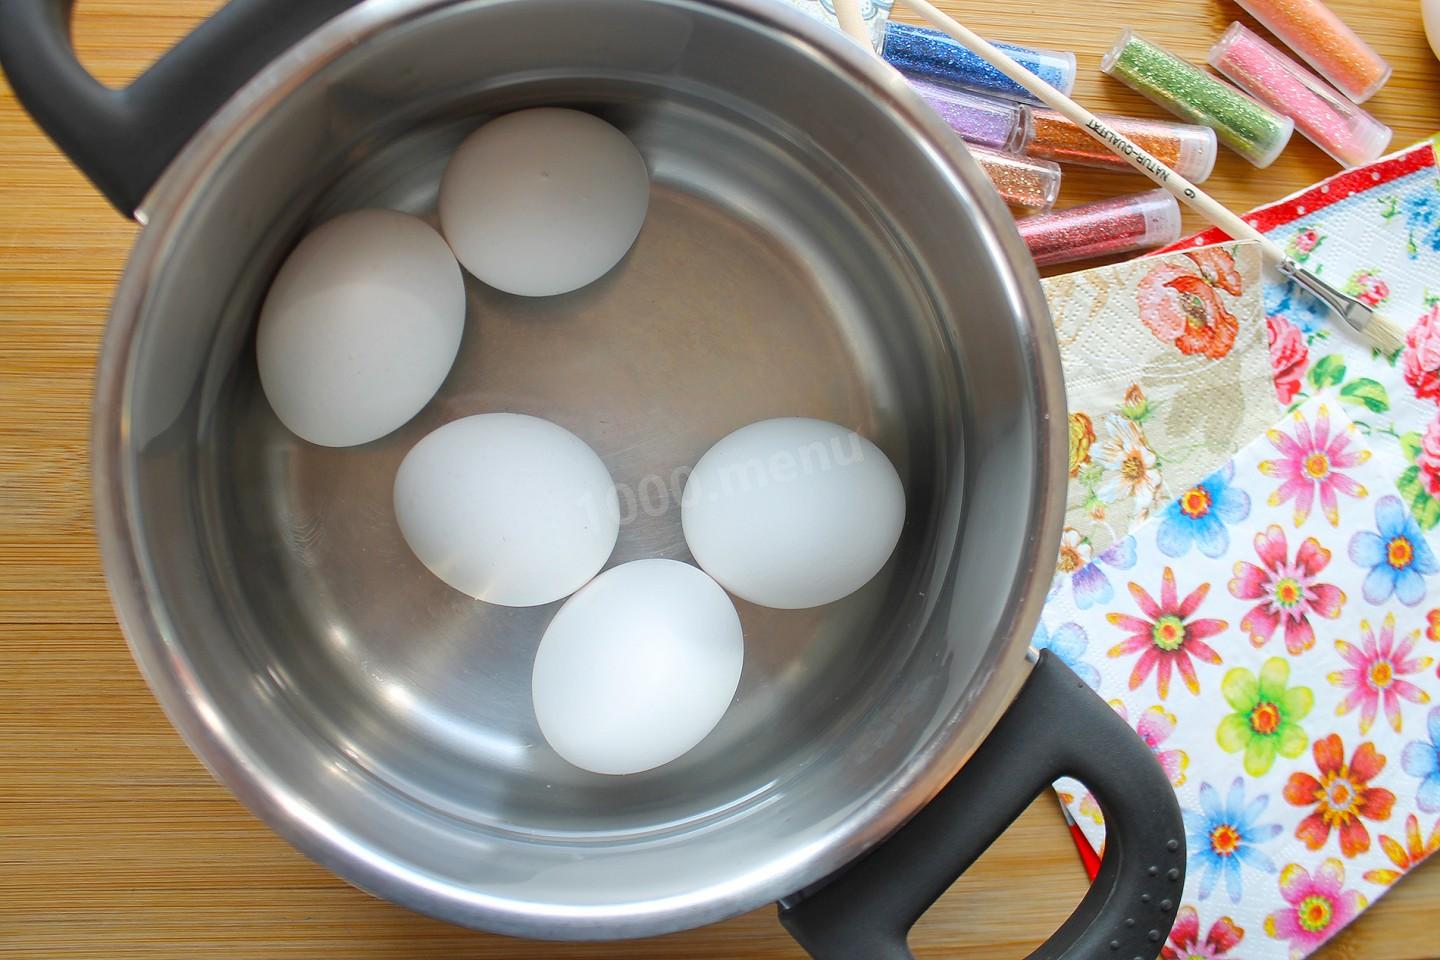
If your eggs are straight from the fridge, cover them with cold water and put them over low heat so the water warms up gradually (this helps keep the shells from cracking). Once the pot heats up, you can turn the heat to high, bring it to a boil, then lower it to medium and cook the eggs for about 15-20 minutes. Drain the water and cool the eggs.
-
Step 3:
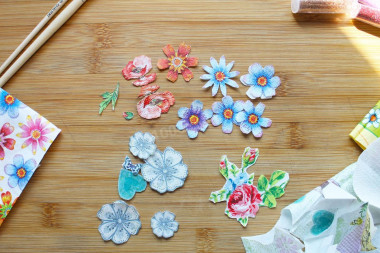
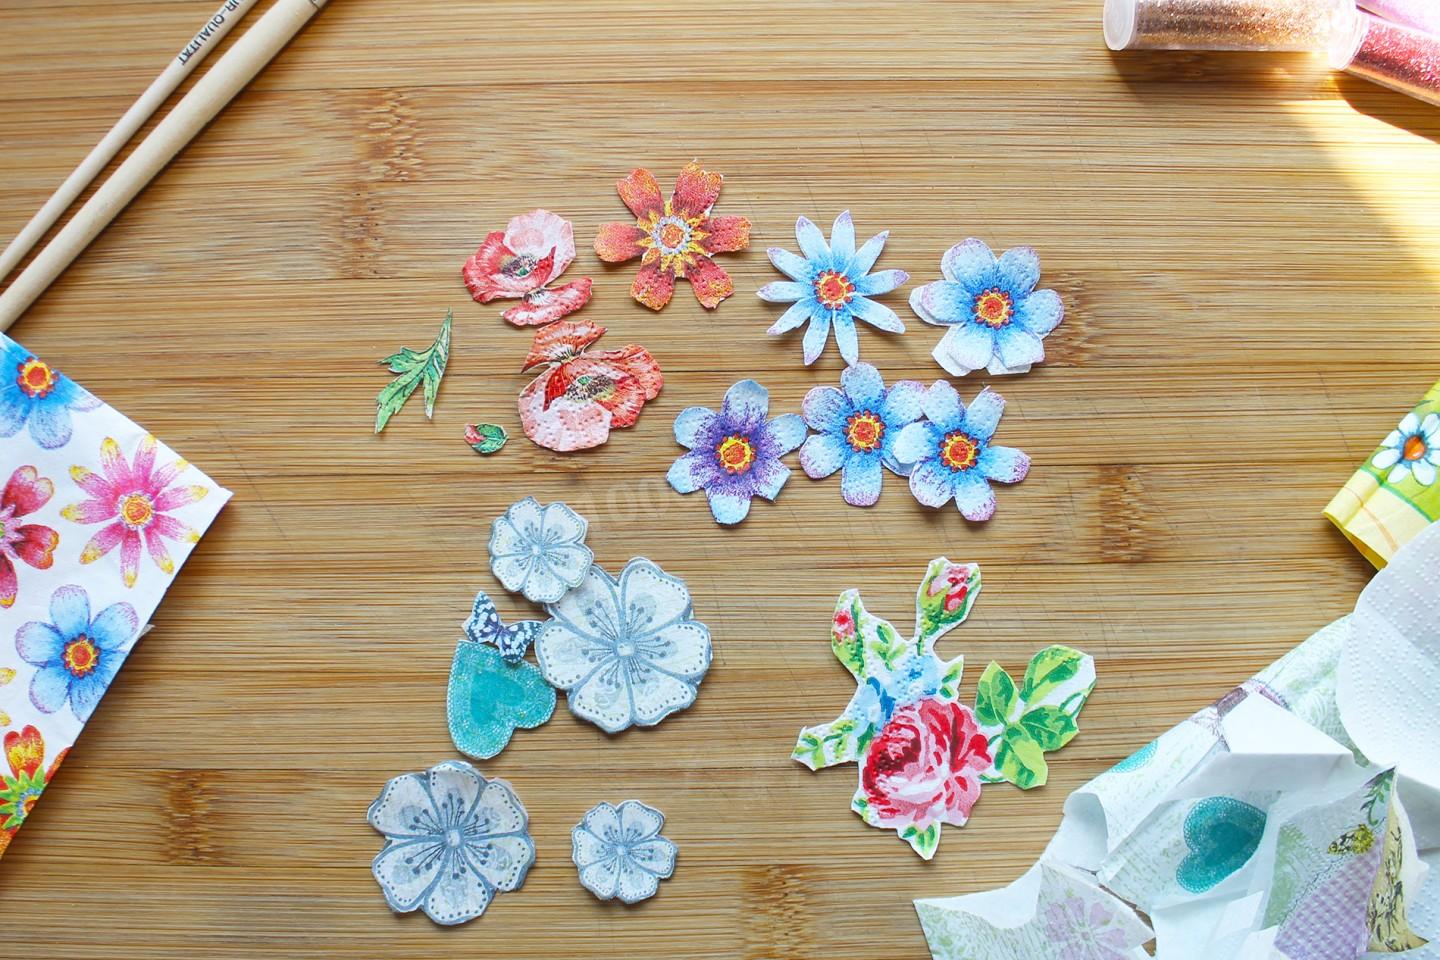
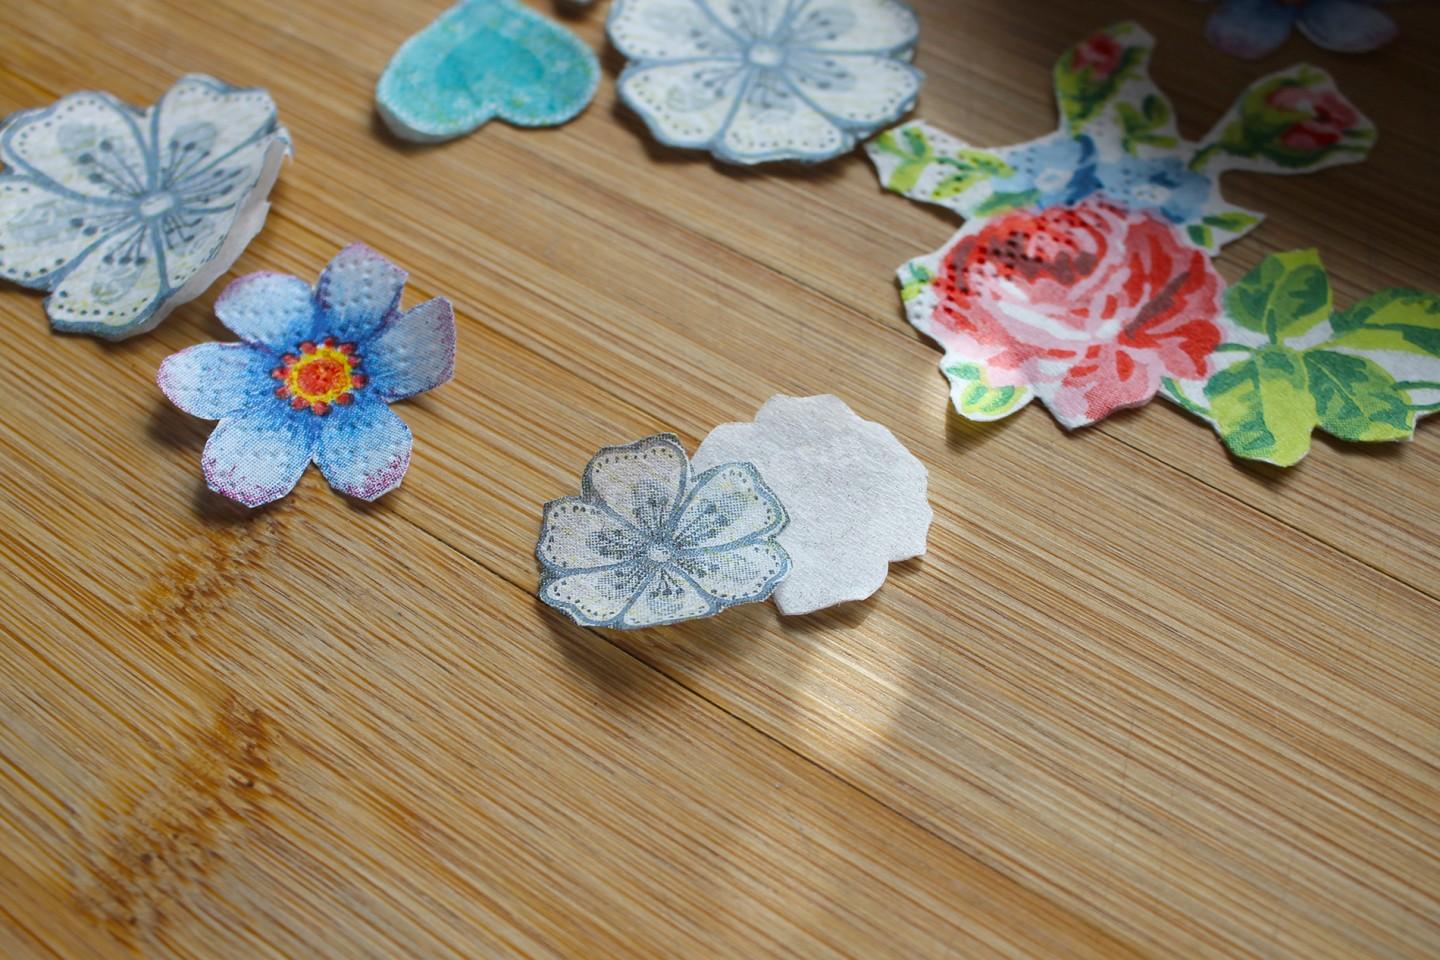
Get everything else ready. Using small scissors, cut shapes out of the napkins—flowers, hearts, twigs, birds, and so on.
-
Step 4:
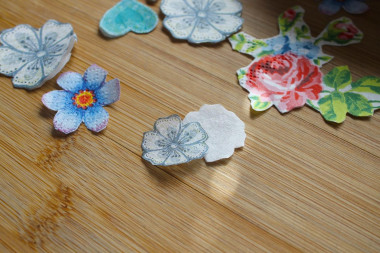
Napkins usually have three or four plies. We need to separate the top printed layer from the rest—that's the one we'll use.
-
Step 5:
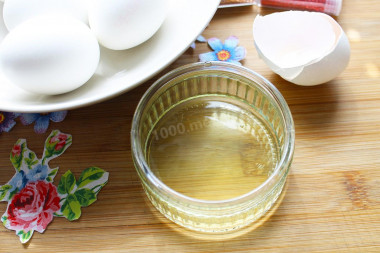
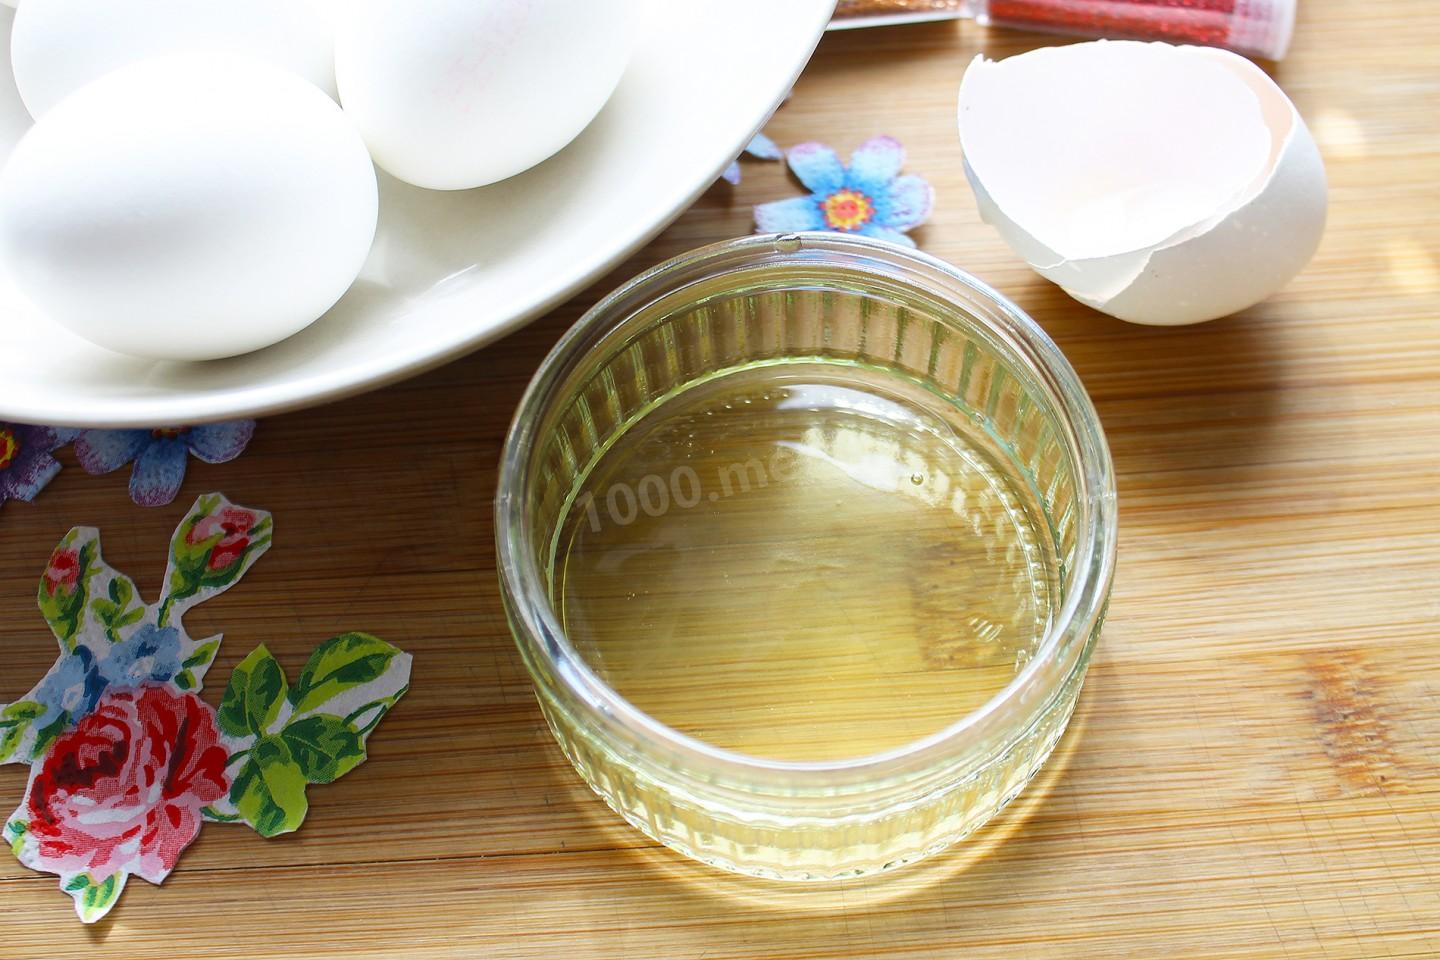
Crack one raw egg and separate the white from the yolk. We'll use the white—it acts as a kind of edible glue.
-
Step 6:
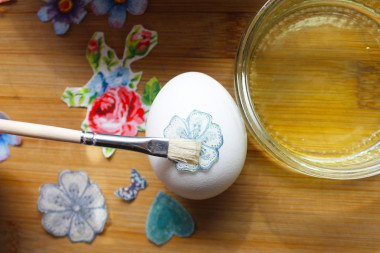
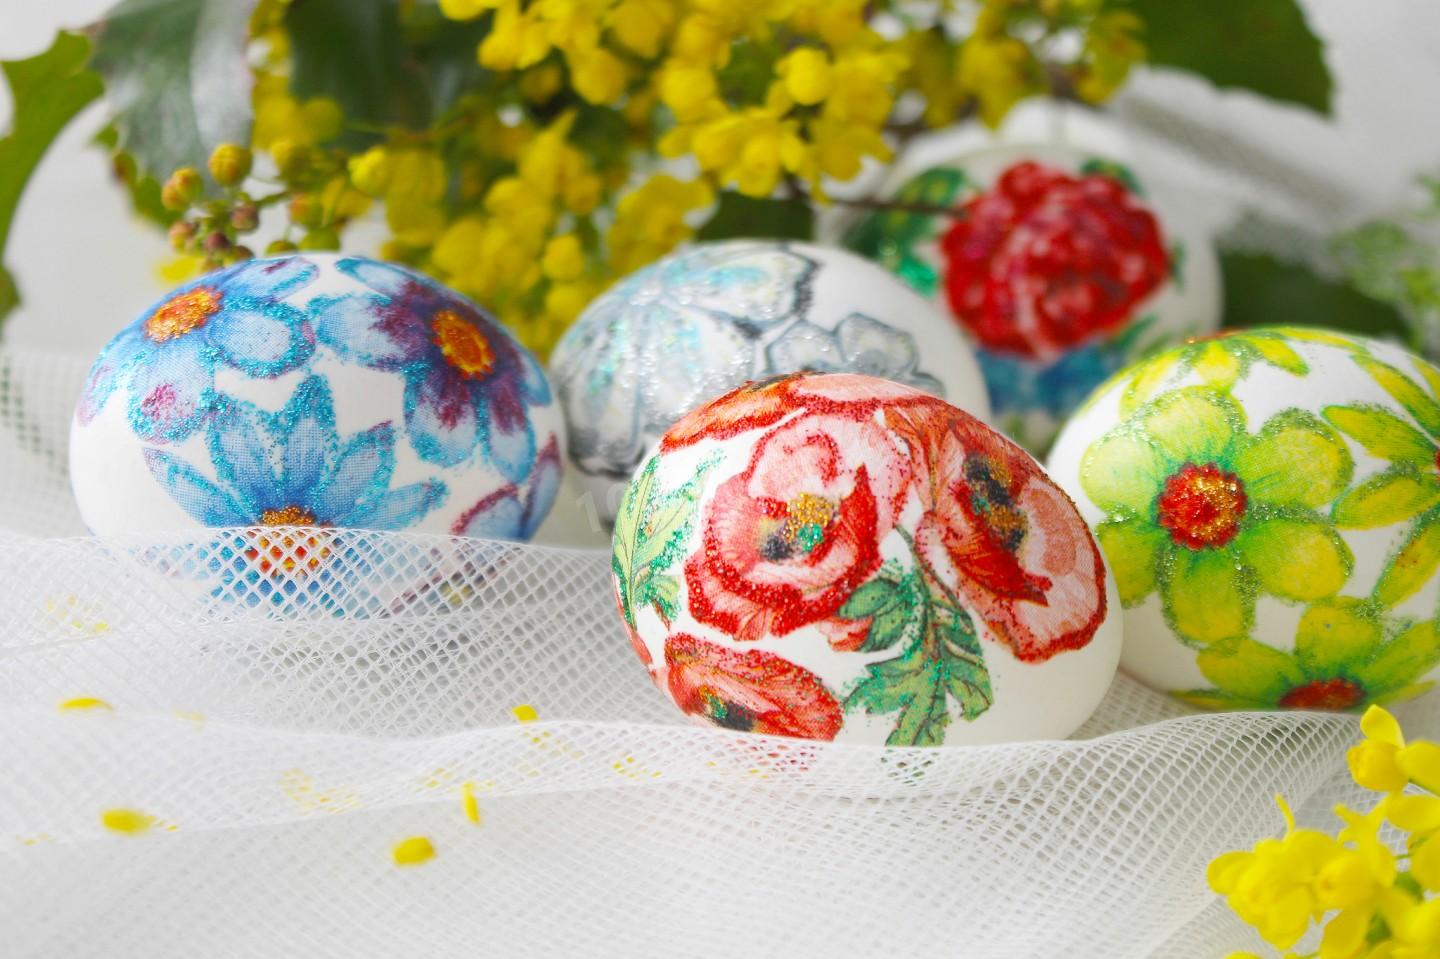
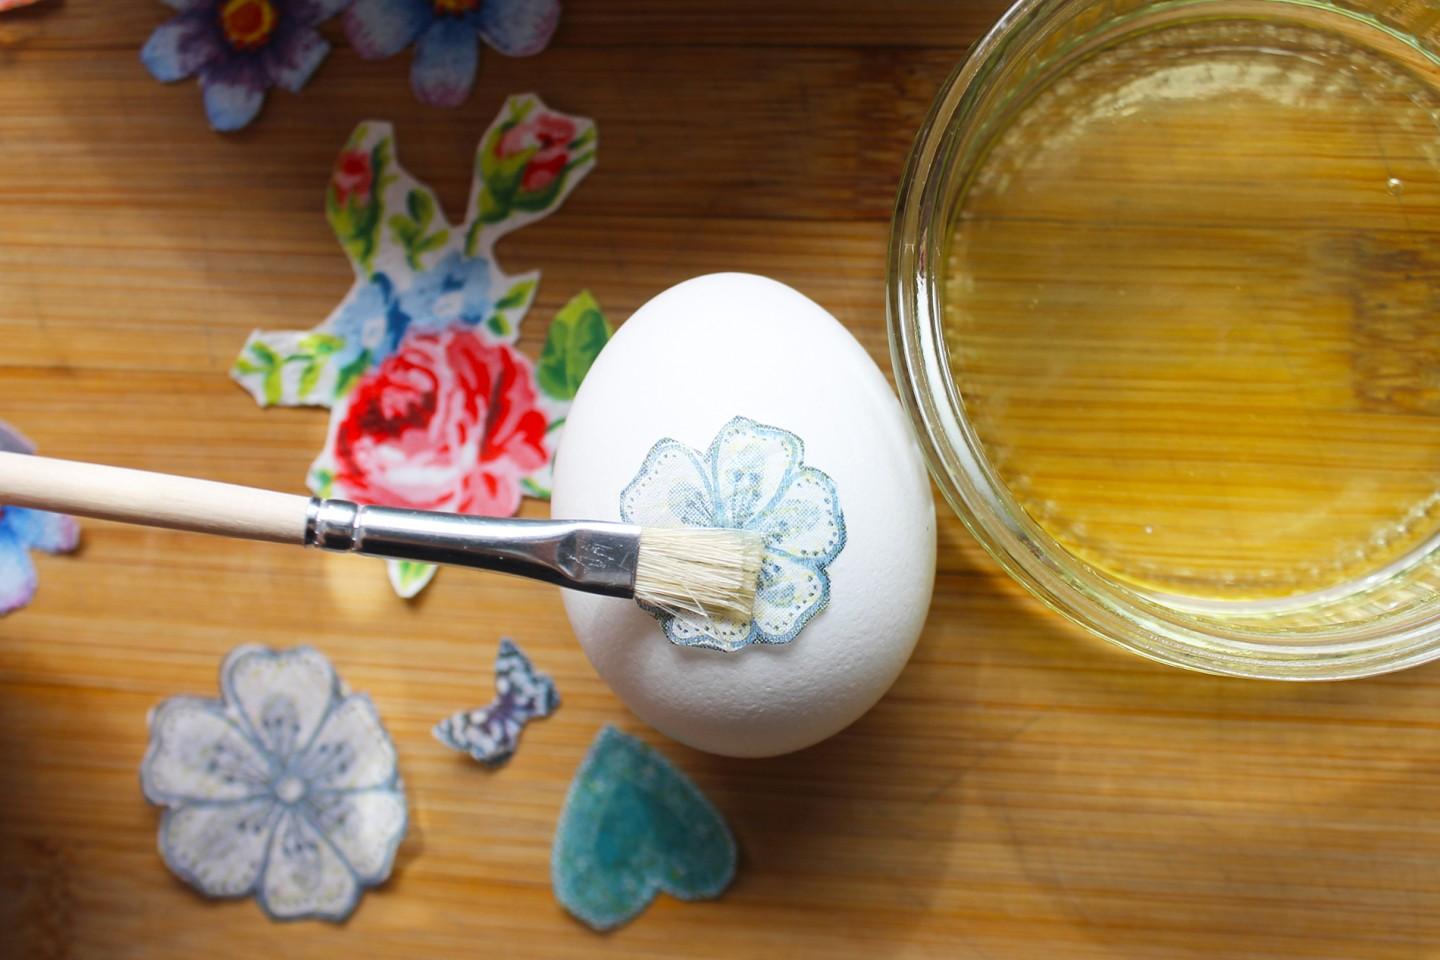
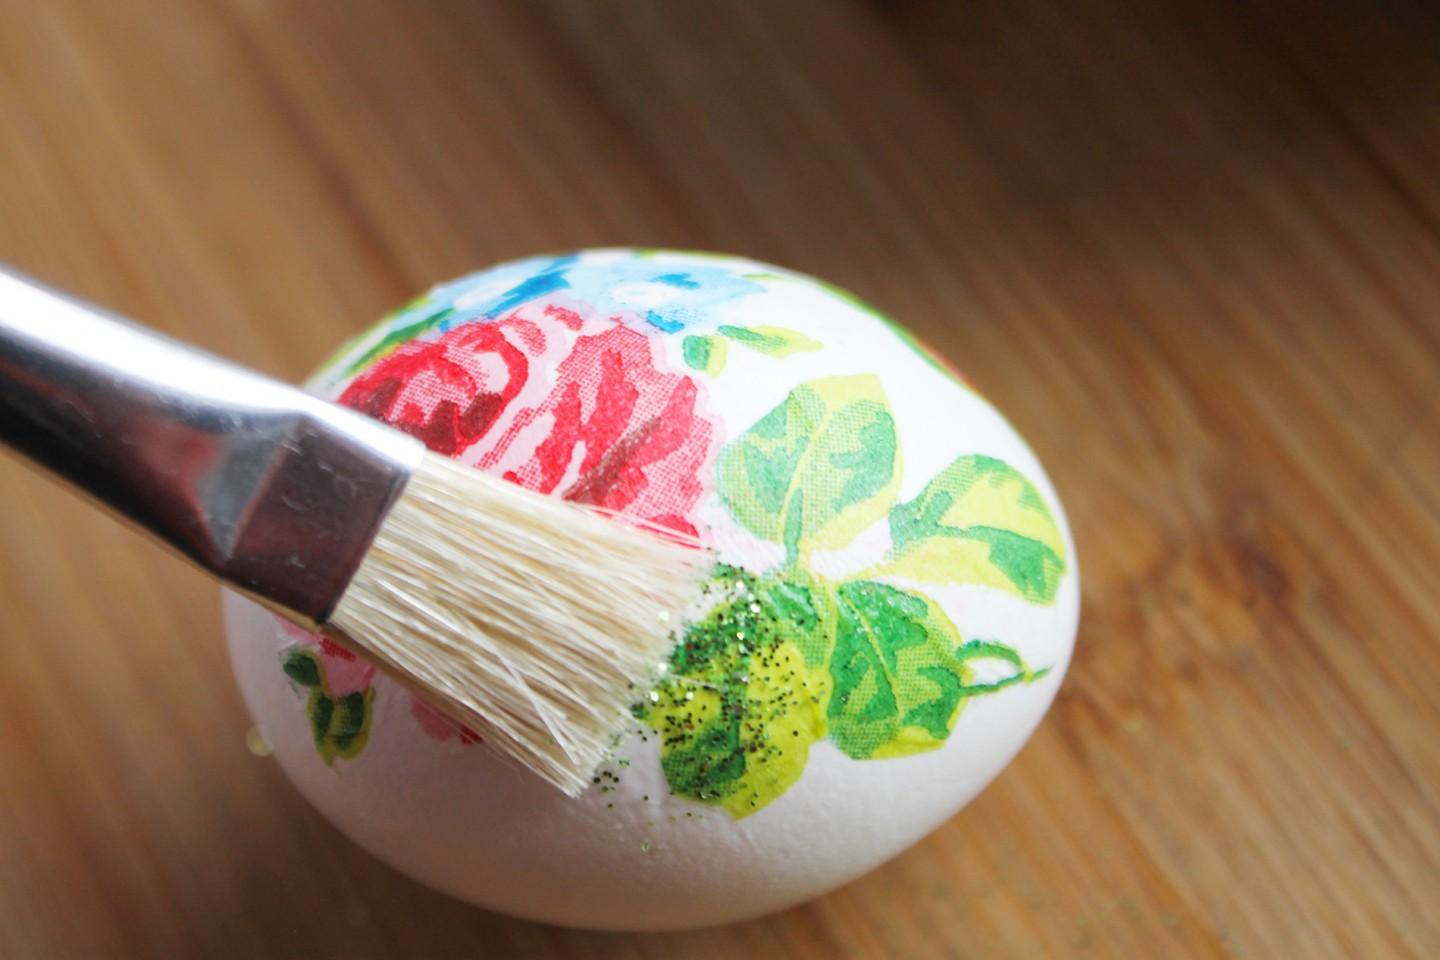
Hold a cut-out against the egg. Dip the dry brush into the egg white, then brush over the paper shape on the egg (as in the photo). Try not to go over the same spot more than once—the thin napkin can tear or bunch up.
-
Step 7:
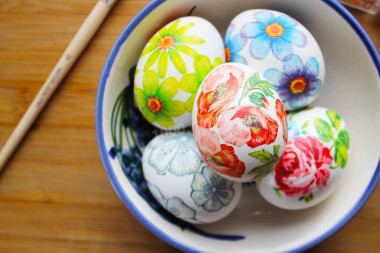
Do this with all the eggs and cut-outs. Set the eggs aside so the egg white can dry on the napkins (about 5 minutes).
-
Step 8:
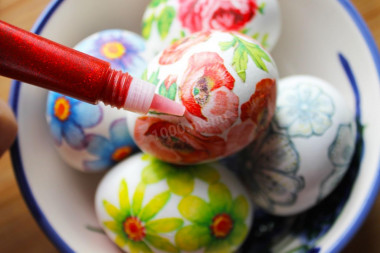
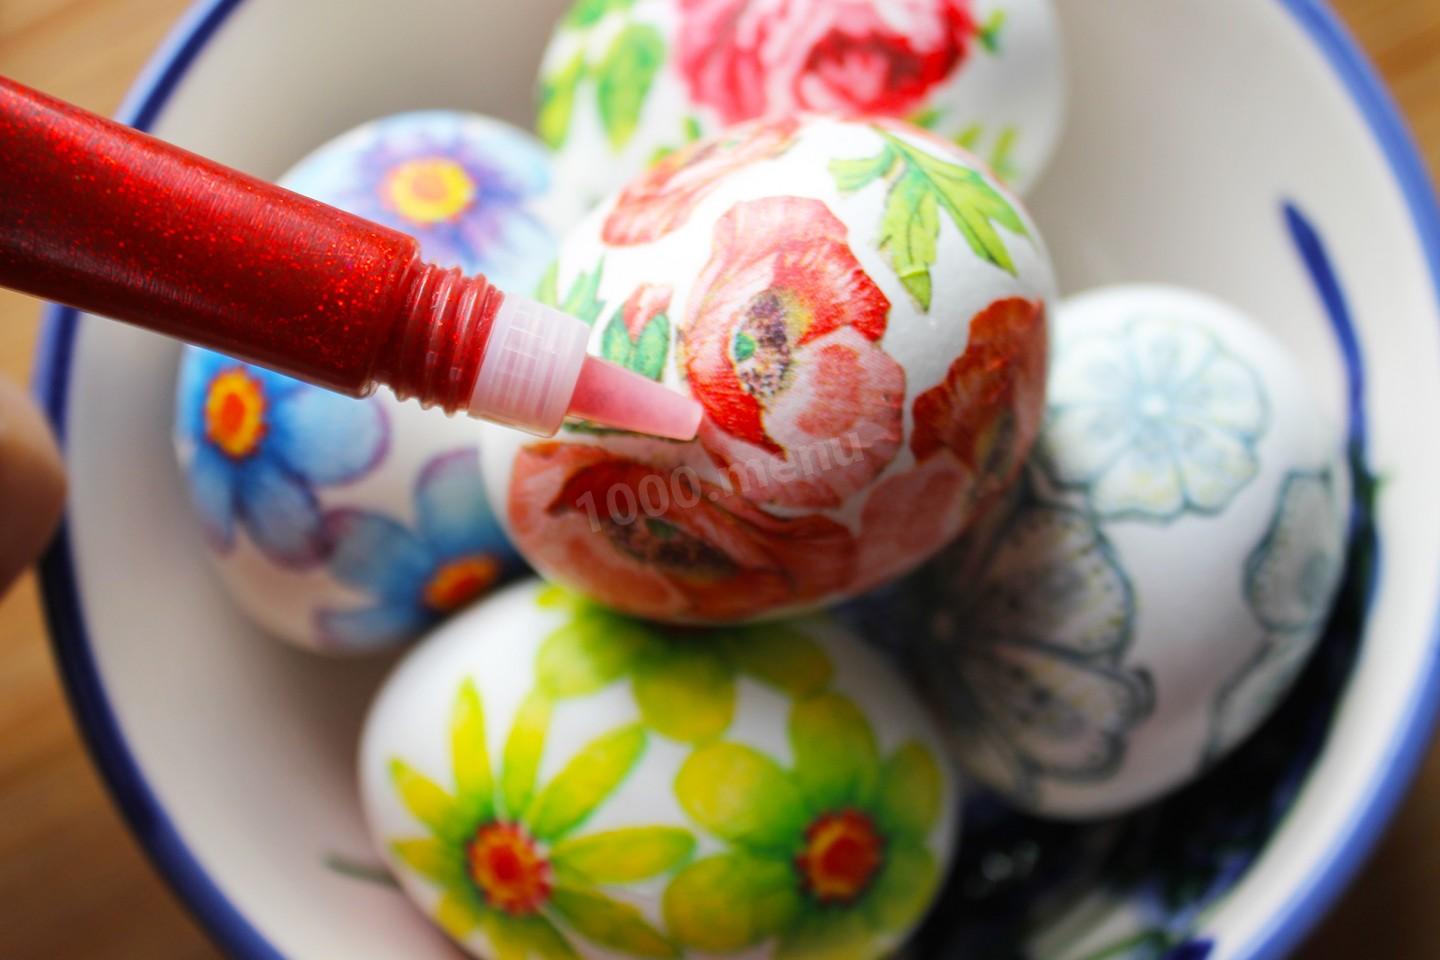
You can stop here, or go on to decorate the eggs with glitter that matches the colors of the glued shapes. You can use glitter that comes with liquid glue.
-
Step 9:
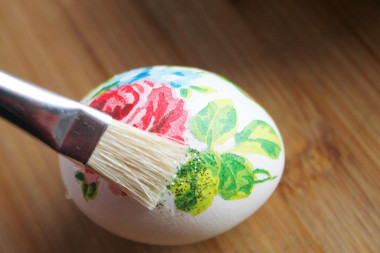
Or use loose glitter, which you can stick onto the design with the same egg white.
-
Step 10:
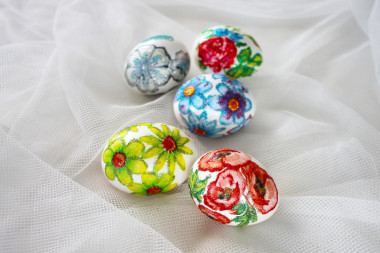
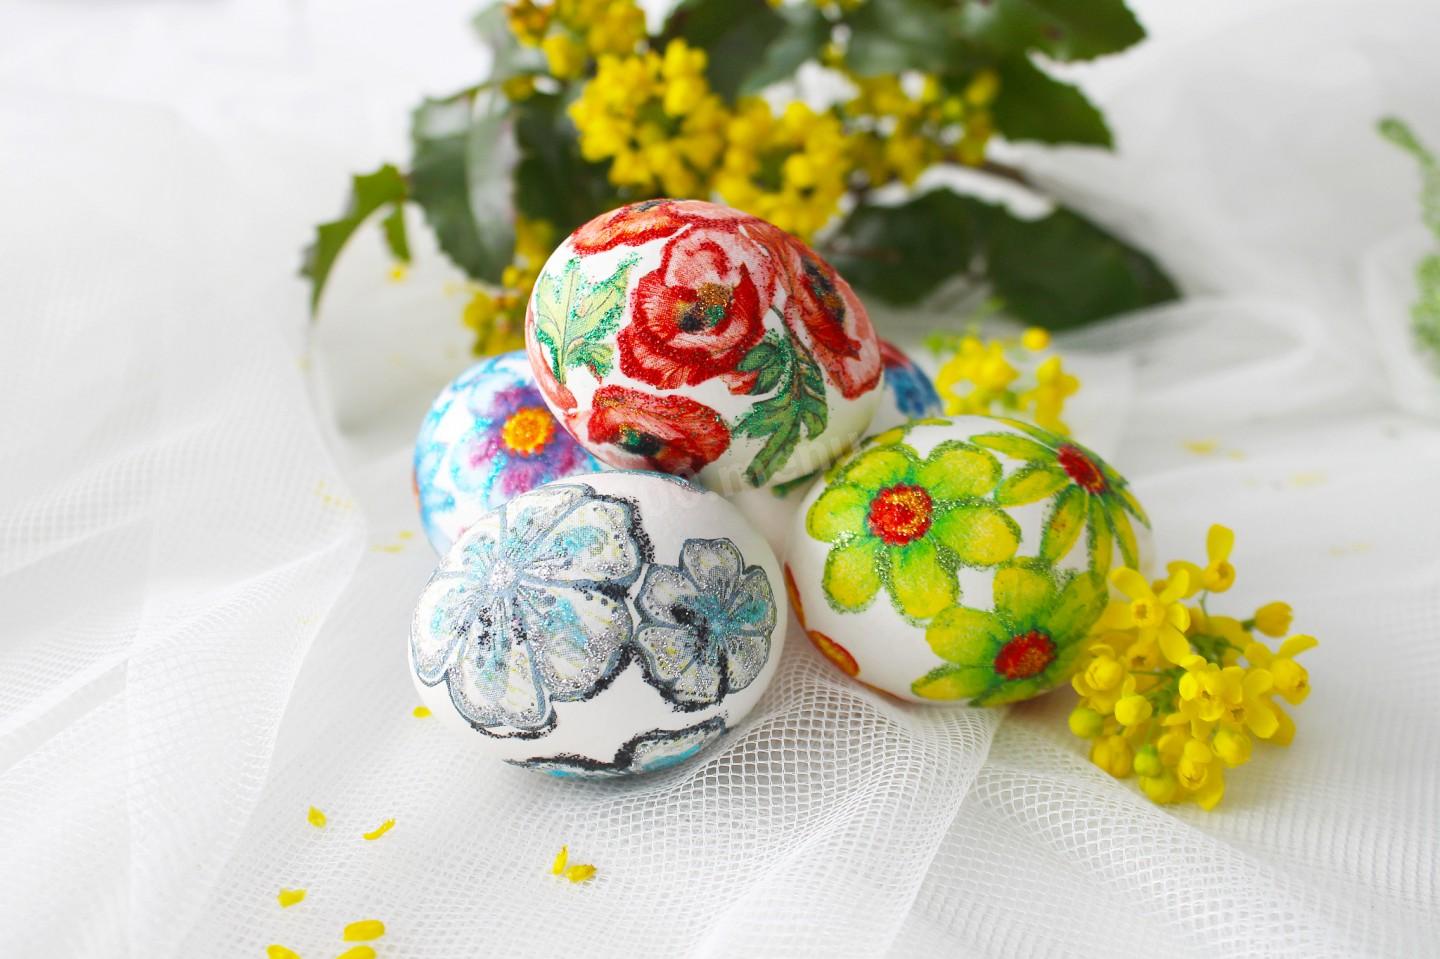
Set the eggs aside again until the design dries. Our little works of art are done!
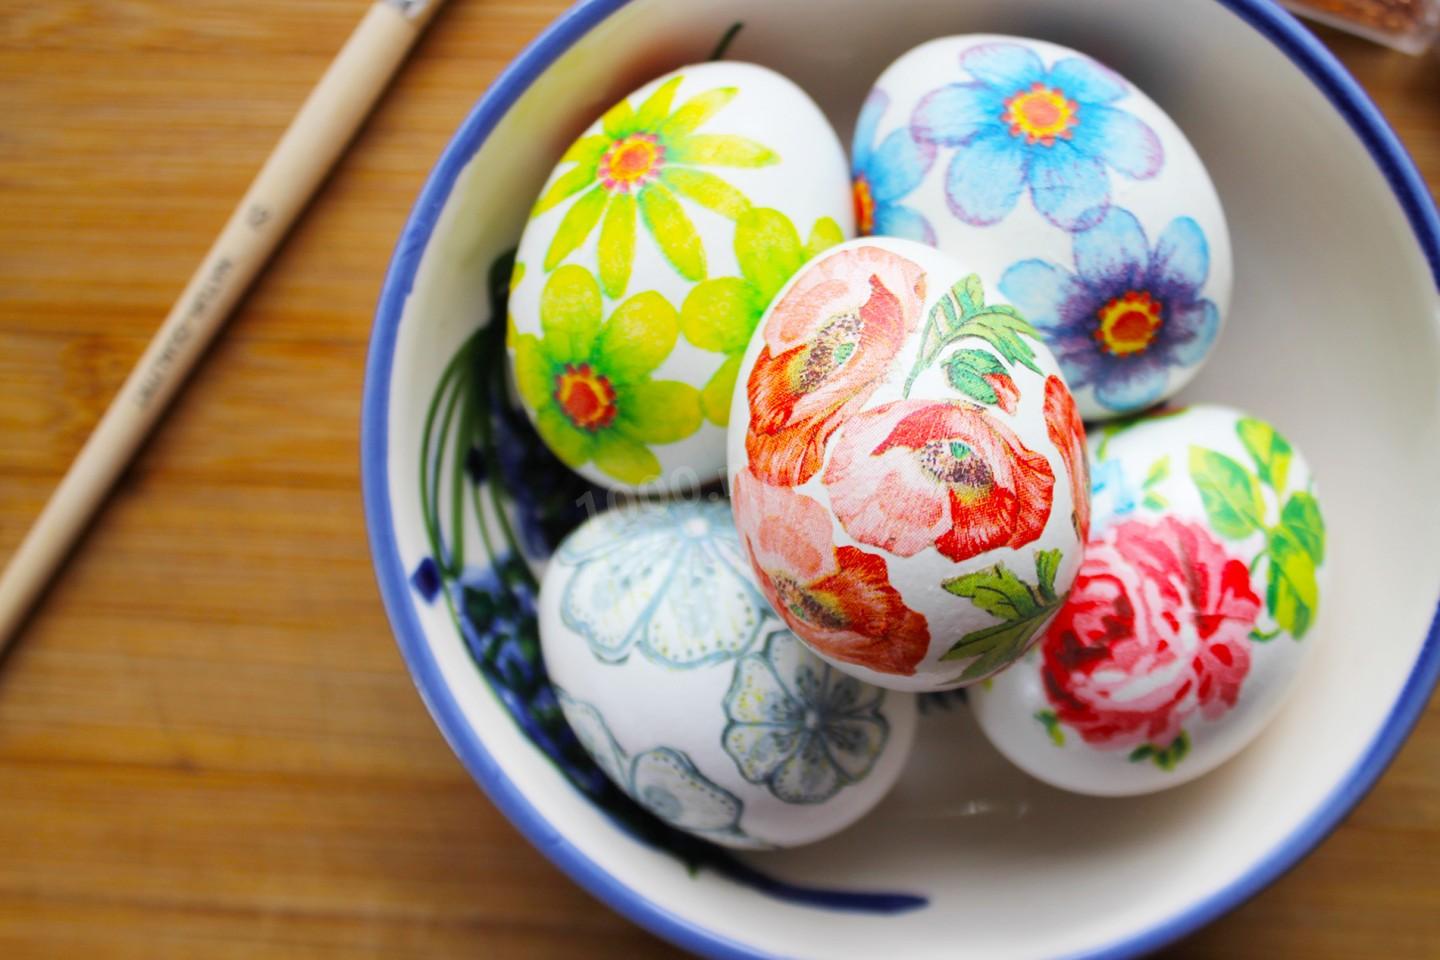
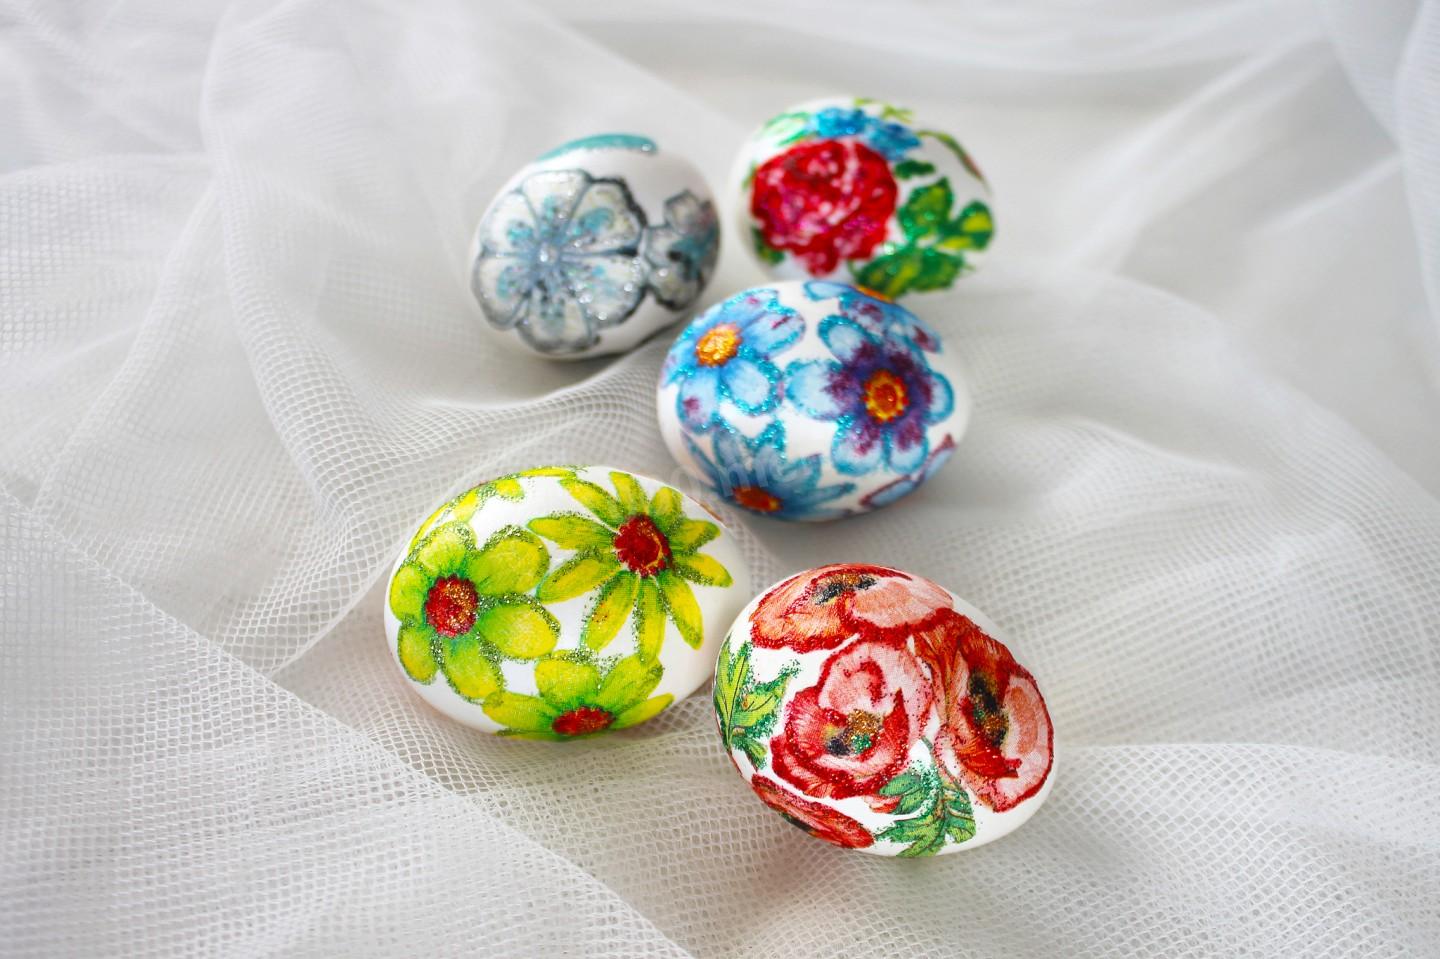
- It's best to use white eggs, since the design shows up brighter and more colorful on them. Happy holiday to you—and enjoy!
Caloric content of the products possible in the composition of the dish
- Chicken egg - 157 kcal/100g
- Egg white - 45 kcal/100g
- Egg powder - 542 kcal/100g
- Egg yolk - 352 kcal/100g
- Ostrich egg - 118 kcal/100g
- Water - 0 kcal/100g