Royal Icing
Quick and simple, pretty and delicious, from everyday ingredients! This royal icing is used to coat Easter kulich, cookies, doughnuts, and cupcakes, and it's perfect for piping designs on gingerbread. To get it right, there are a few rules worth knowing and following.


Cooking method
-
Step 1:
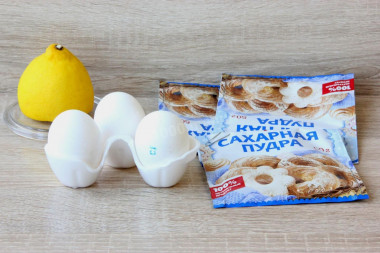
How do you make royal icing? Prepare the ingredients. Take the eggs straight from the fridge - the white separates from the yolk more easily when cold. Eggs that are a couple of days old whip up best.
-
Step 2:
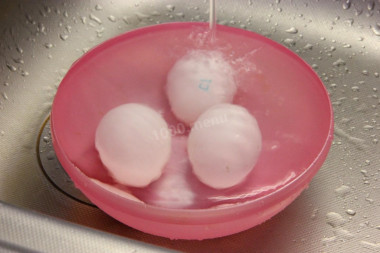
Since the eggs are used raw, be sure to wash them with soap and wipe them dry. Always wash eggs before use, since even a shell that looks clean can carry harmful bacteria.
-
Step 3:
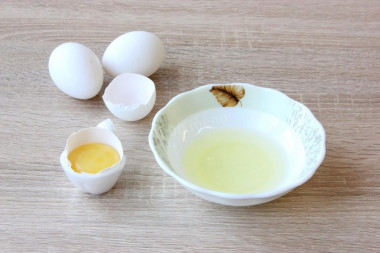
Separate the whites from the yolks very carefully. Not even a drop of yolk can get into the whites, or they won't whip. The bowl for the whites must be clean and dry. If a bit of shell falls in, lift it out with the tip of a knife, not your finger - oil from your skin will keep the whites from foaming. Remove the chalaza (the stringy white cord) from the egg white as well.
-
Step 4:
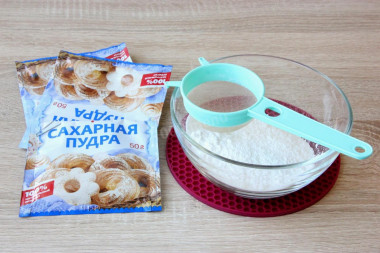
Use finely ground powdered sugar and be sure to sift it through a fine sieve. This prevents lumps, and the sugar dissolves more easily and quickly.
-
Step 5:
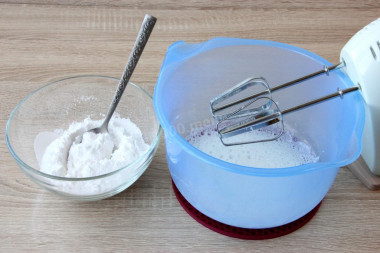
Start whipping the whites on low for about 1 minute, without adding anything yet. As soon as the mixture turns white and foamy, raise the speed to medium and, without stopping, begin adding the powdered sugar - a spoonful at a time at short intervals - gradually working up to high speed. Whip the whites to soft peaks.
-
Step 6:
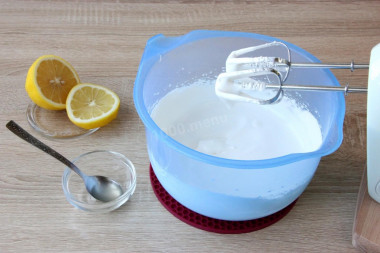
At the end, add the lemon juice - it stabilizes the icing and balances the flavor. Keep whipping to stiff peaks, but don't overdo it. The whole process takes about 7 minutes.
-
Step 7:
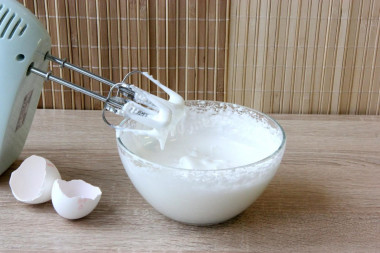
When the mixture is dense and holds its shape easily, it's done.
-
Step 8:

Here's how this icing looks on kulich: glossy white, with a delicate flavor, setting up gradually. If you like, you can easily tint it with food coloring stirred into the finished icing. It's best to use the icing right after making it.


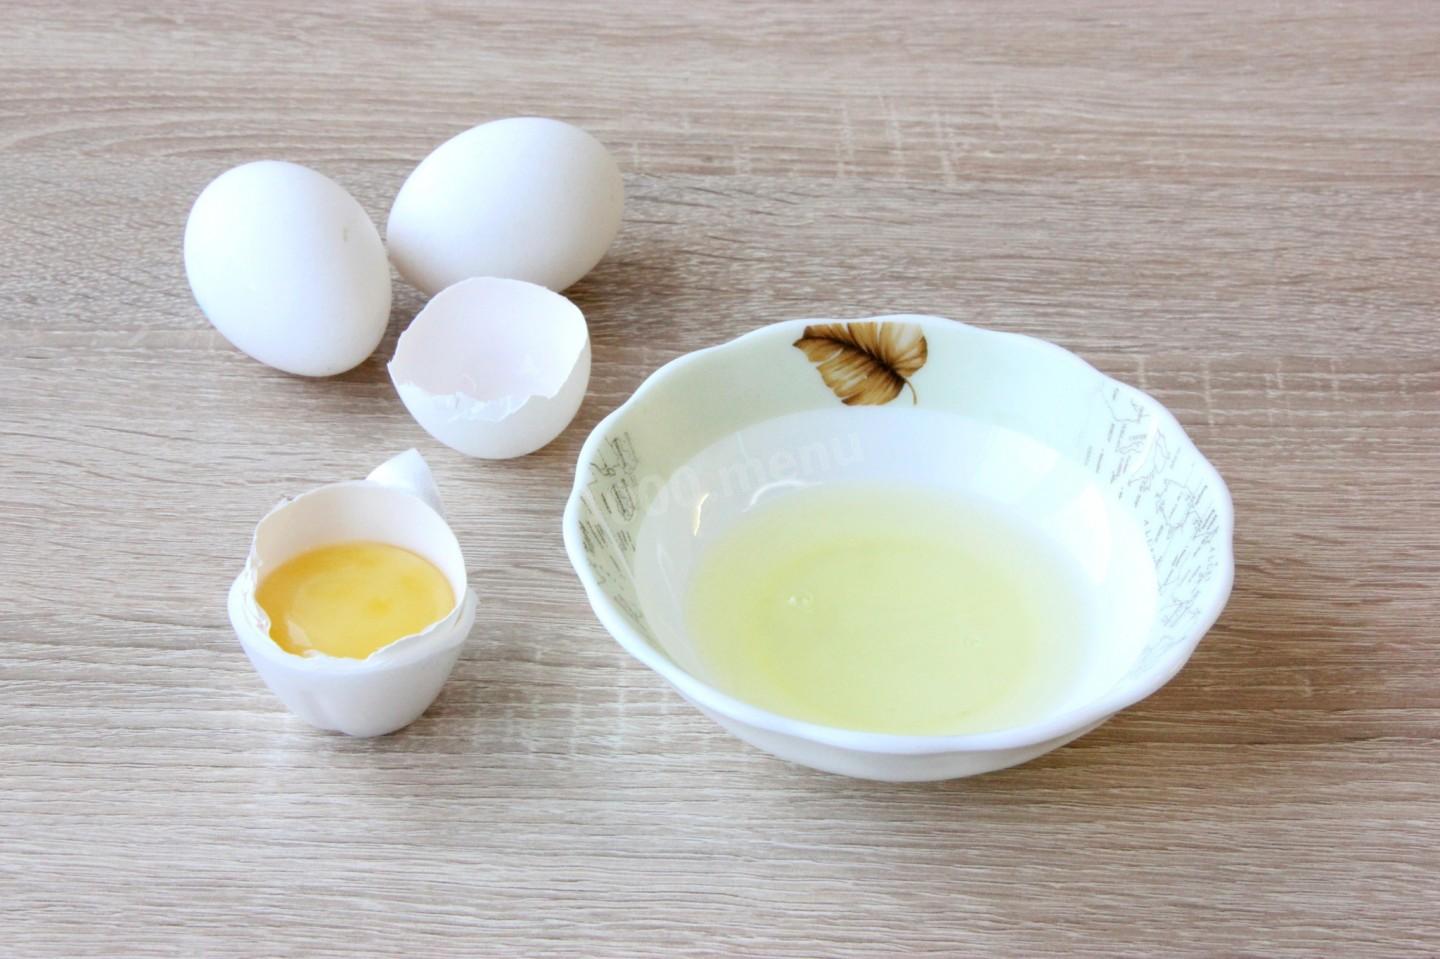


- A word about the whipping bowl: It should be tall, since the mixture will grow 3 to 4 times in volume. Don't use aluminum, or the icing will turn gray. * The bowl must be clean, dry, and grease-free. Glass, earthenware, enamel, and steel bowls are ideal. Plastic isn't great, though many stand mixers come with a plastic bowl - in that case, wash it well, wipe it with a slice of lemon to cut the grease, and dry it. Opinions differ on egg-white temperature: some say to whip only cold whites, others insist on room temperature. I've tried both as circumstances dictated, and the result is always good - they whip up either way.
- For the whites to whip well, the eggs should be fresh and chilled (from the fridge), and the whipping bowl dry and clean, with no trace of grease. When separating the whites from the yolks, make sure not a drop of yolk gets into the whites. For better whipping, you can add a small pinch of salt or a few drops of lemon juice (or vinegar) to the whites. Beat with a mixer starting on the lowest speed and increasing as you go. Use an enamel, ceramic, or glass bowl for whipping (never aluminum, or the whites will turn gray!).
- When whipping with a mixer, make sure all the whites are caught up in the process (the beaters should reach the bottom of the bowl), or the whites at the bottom may stay liquid.
- How can you tell if an egg is fresh? Crack it into a separate container. First, there should be no off smell. The white of a fresh egg is clear and clean, and the yolk shouldn't spread - it should be shiny, domed, and uniform.
Caloric content of the products possible in the composition of the dish
- Lemon juice - 16 kcal/100g
- Powdered sugar - 374 kcal/100g
- Egg whites - 44 kcal/100g