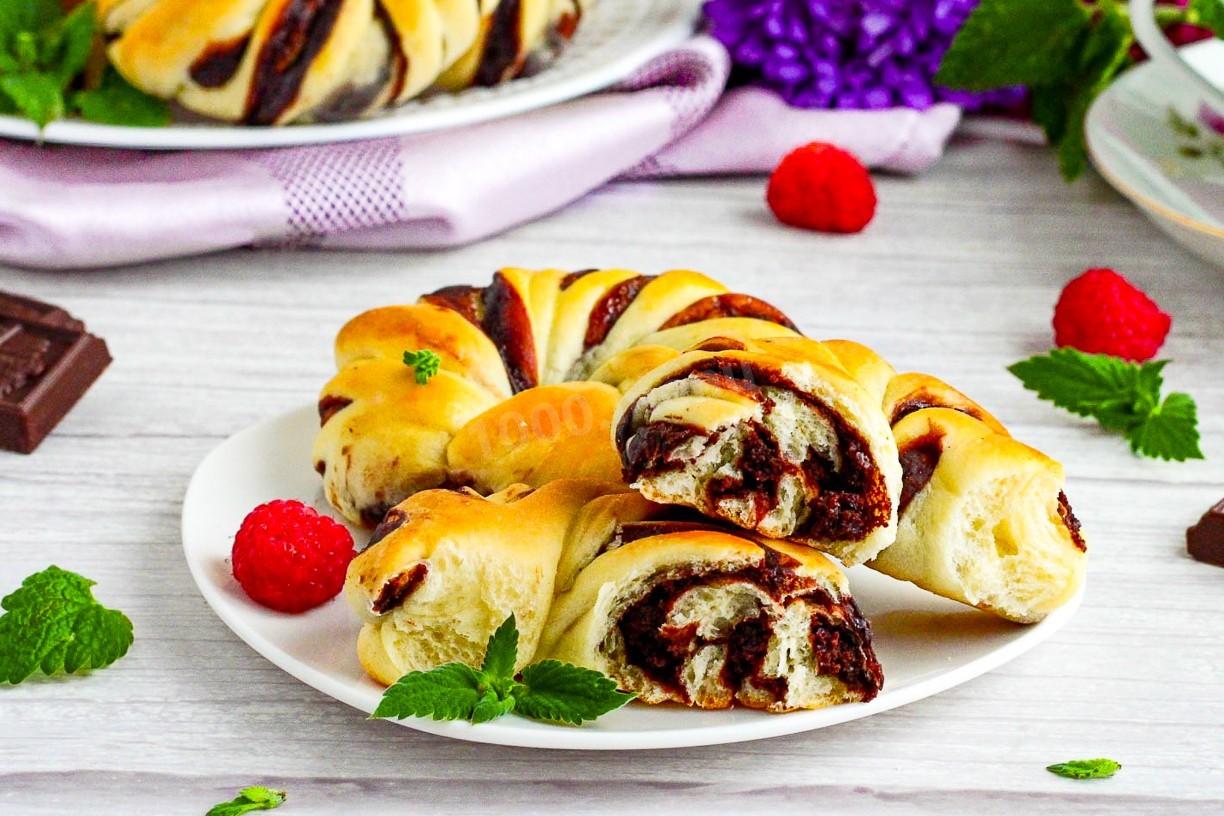
Chocolate-filled yeast buns
Soft, fluffy, fragrant, with a chocolate filling! Chocolate-filled yeast buns call for simple, affordable ingredients. They're not hard to make at all. The filling is stable and doesn't leak out during baking. And while the buns are in the oven, the aroma is so tempting that everyone comes running to the kitchen!



Cooking method
-
Step 1:

How do you bake chocolate-filled yeast buns? Measure out the ingredients for the dough. Use all-purpose flour. Warm the milk slightly.
-
Step 2:
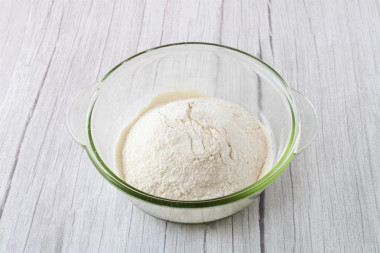
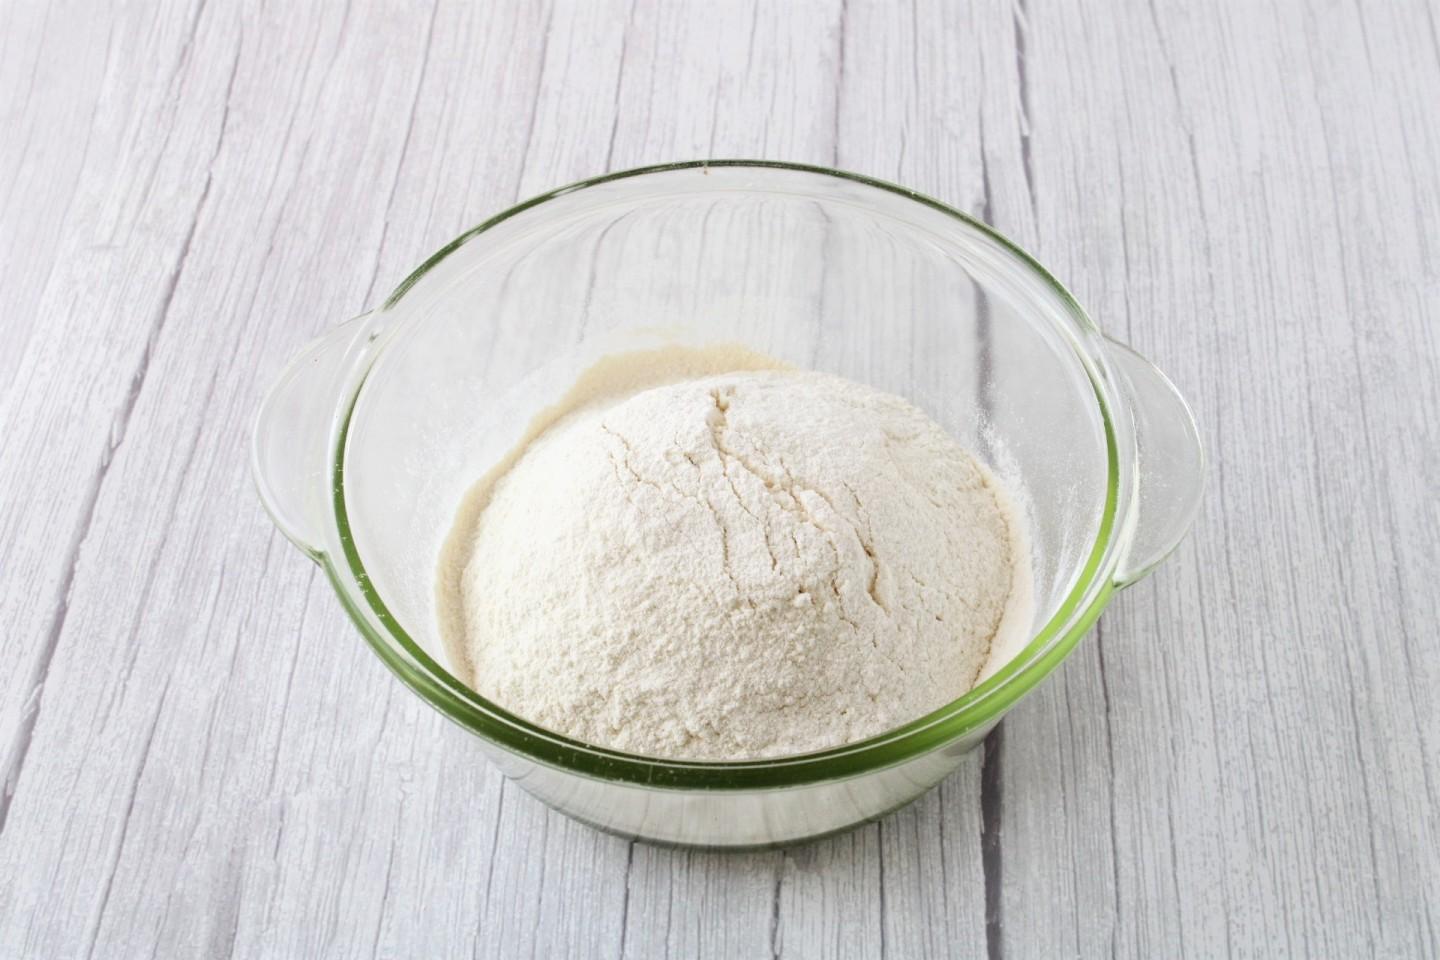
Sift the flour into a wide, high-sided bowl. This is a must, so the flour gets aerated. Then the dough will rise easily and the buns will come out light and airy.
-
Step 3:

Melt the butter over low heat and let it cool slightly.
-
Step 4:

In a small bowl, combine the yeast, 1 teaspoon of the sugar (from the total), and 50 ml of lukewarm milk. Stir and leave it for 10 minutes to activate the yeast. A foamy cap will form on the surface.
-
Step 5:
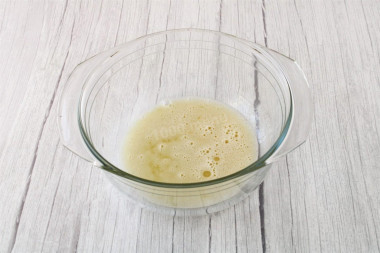
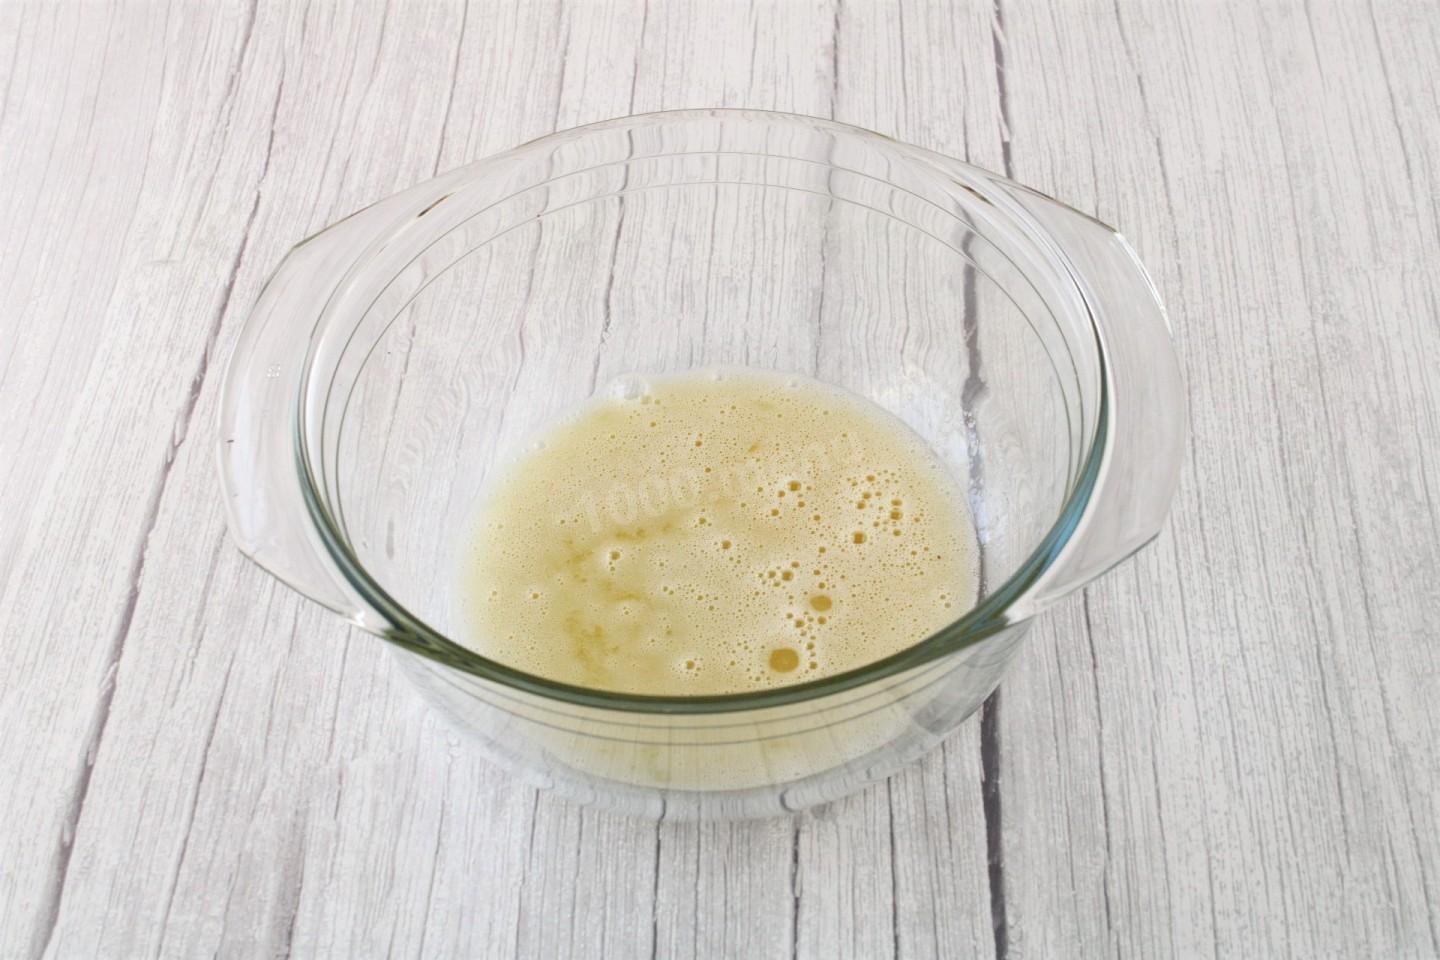
For the dough, choose a roomy bowl, keeping in mind that the dough will rise. Whisk the egg with the sugar, salt, and vanilla sugar.
-
Step 6:

Add the activated yeast to the mixture and stir.
-
Step 7:
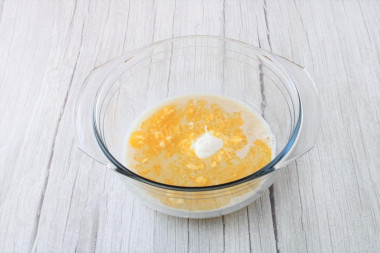
Add the melted (cooled, not hot) butter and the sour cream. Mix well.
-
Step 8:
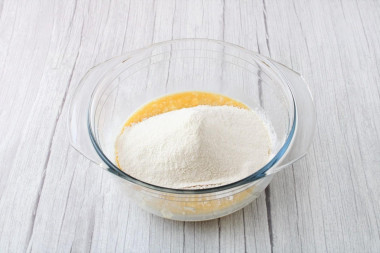
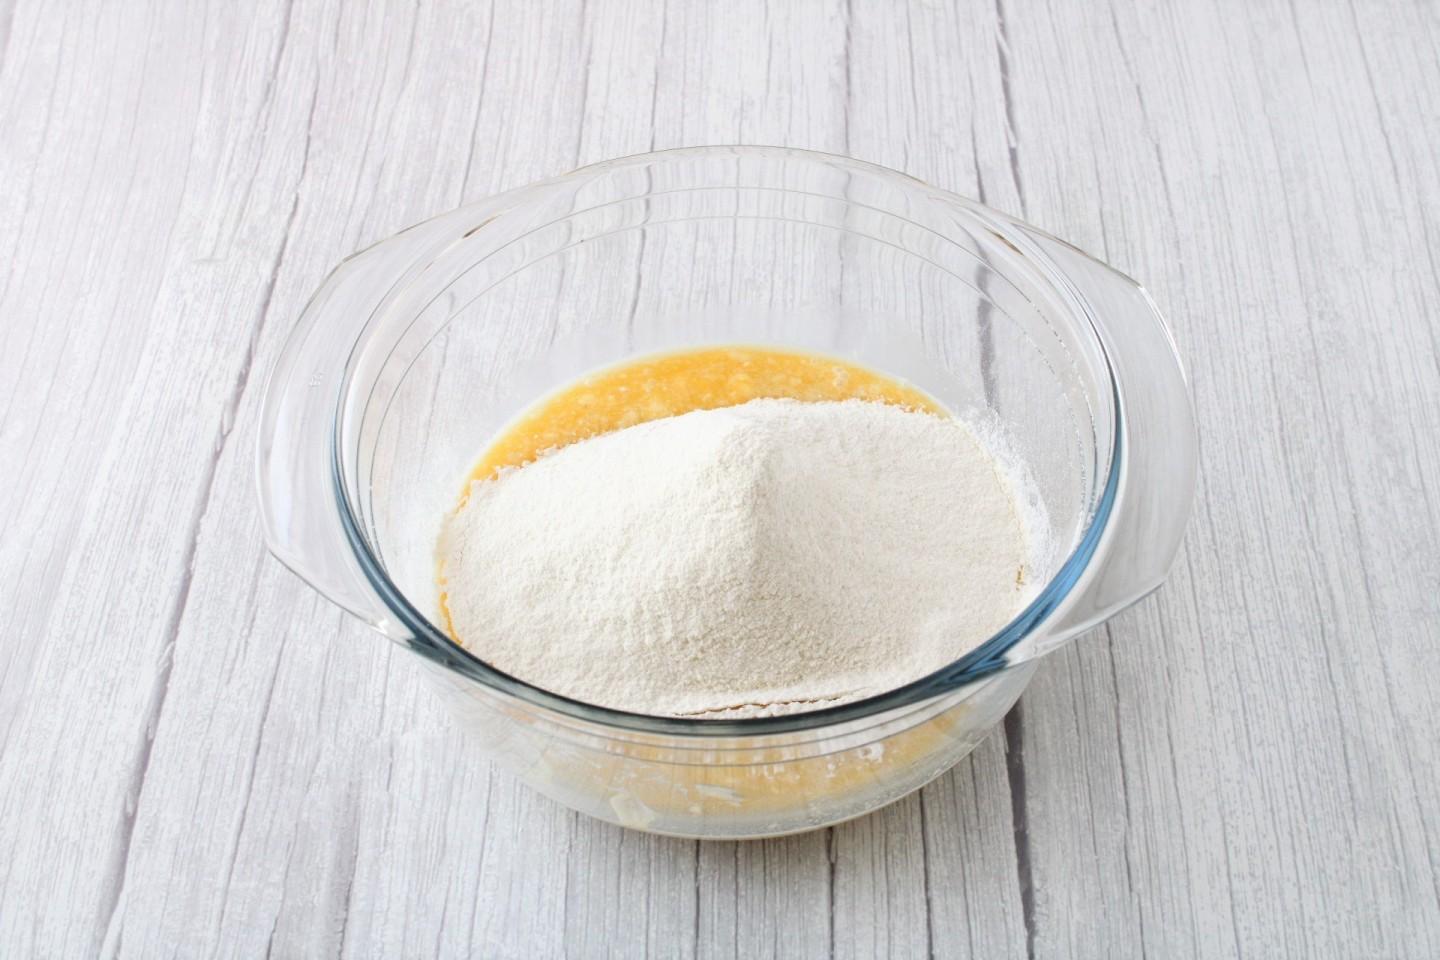
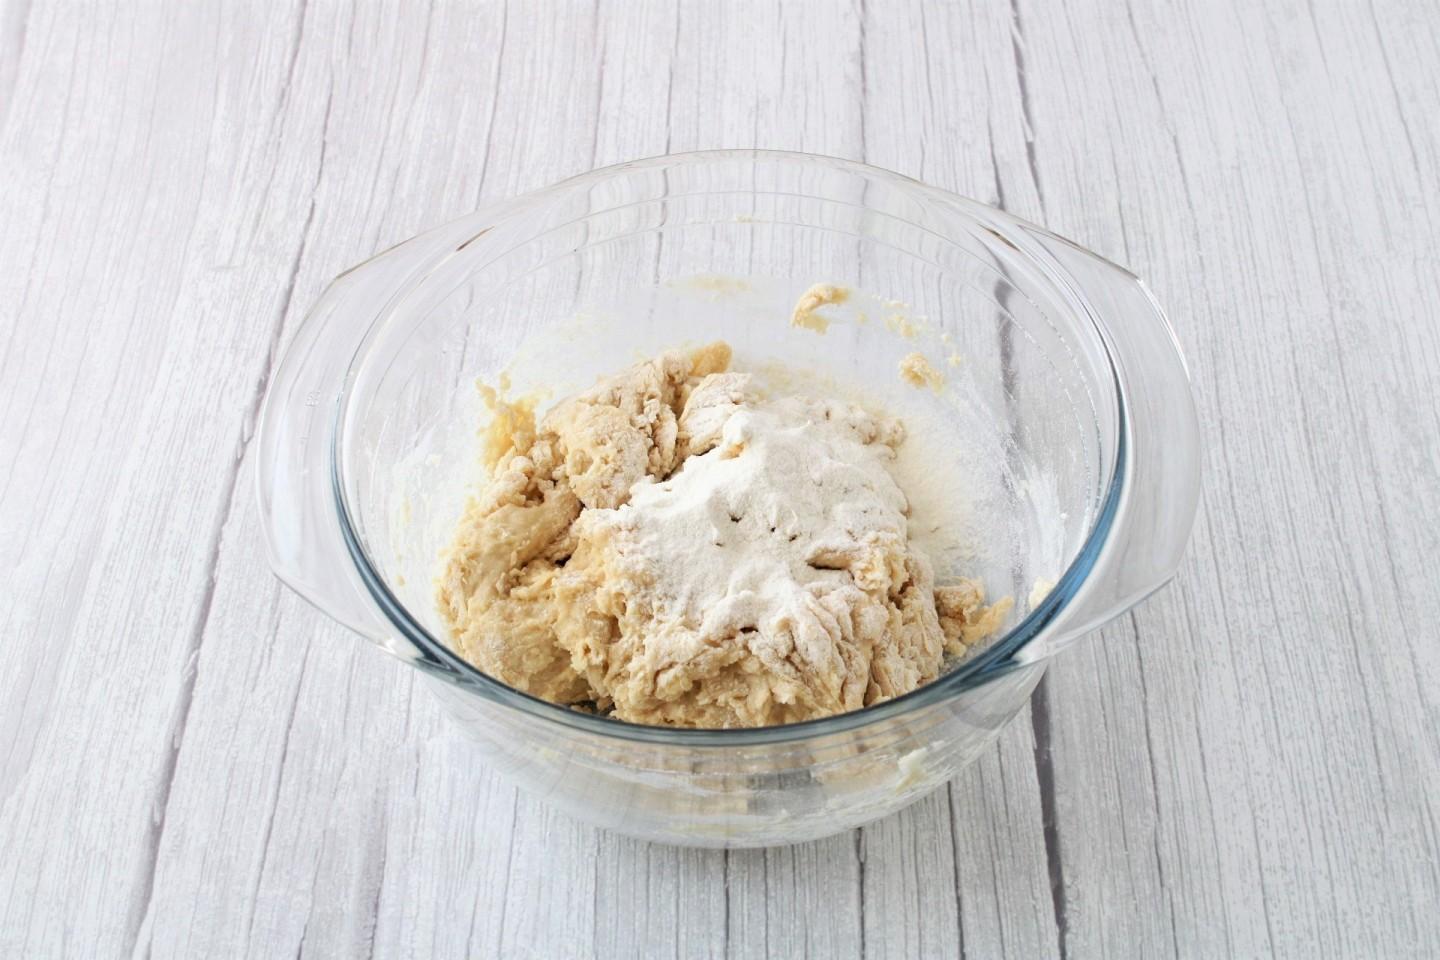
Add about 3/4 of the sifted flour. Flour varies, so you may need more or less than the stated amount. Don't add all the flour at once, or the dough will turn out dense and tight. First mix everything with a spoon.
-
Step 9:

Add the rest of the flour in small additions, kneading the dough by hand and watching its consistency.
-
Step 10:

Knead a soft, smooth dough that doesn't stick to your hands. Cover it with a towel or plastic wrap and leave it in a warm spot to rise for 1 hour 20–30 minutes.
-
Step 11:
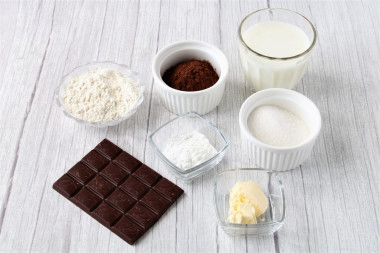
While the dough rises, make the chocolate filling for the buns. Any dark chocolate with no add-ins will do. The cornstarch can be replaced with potato starch.
-
Step 12:

Break the chocolate into small pieces so it melts faster.
-
Step 13:
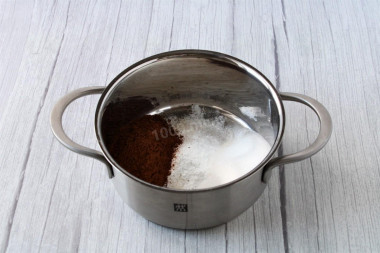
In a small saucepan, mix the dry ingredients: sugar, cocoa, flour, and cornstarch.
-
Step 14:
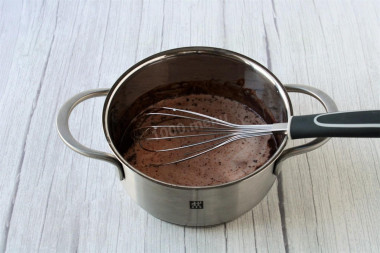
Pour in the milk in small amounts, whisking the whole time. The mixture should be smooth, with no lumps.
-
Step 15:

Set the saucepan of chocolate mixture on the stove and heat it over moderate heat. It's very important to whisk constantly at this point so no lumps form.
-
Step 16:

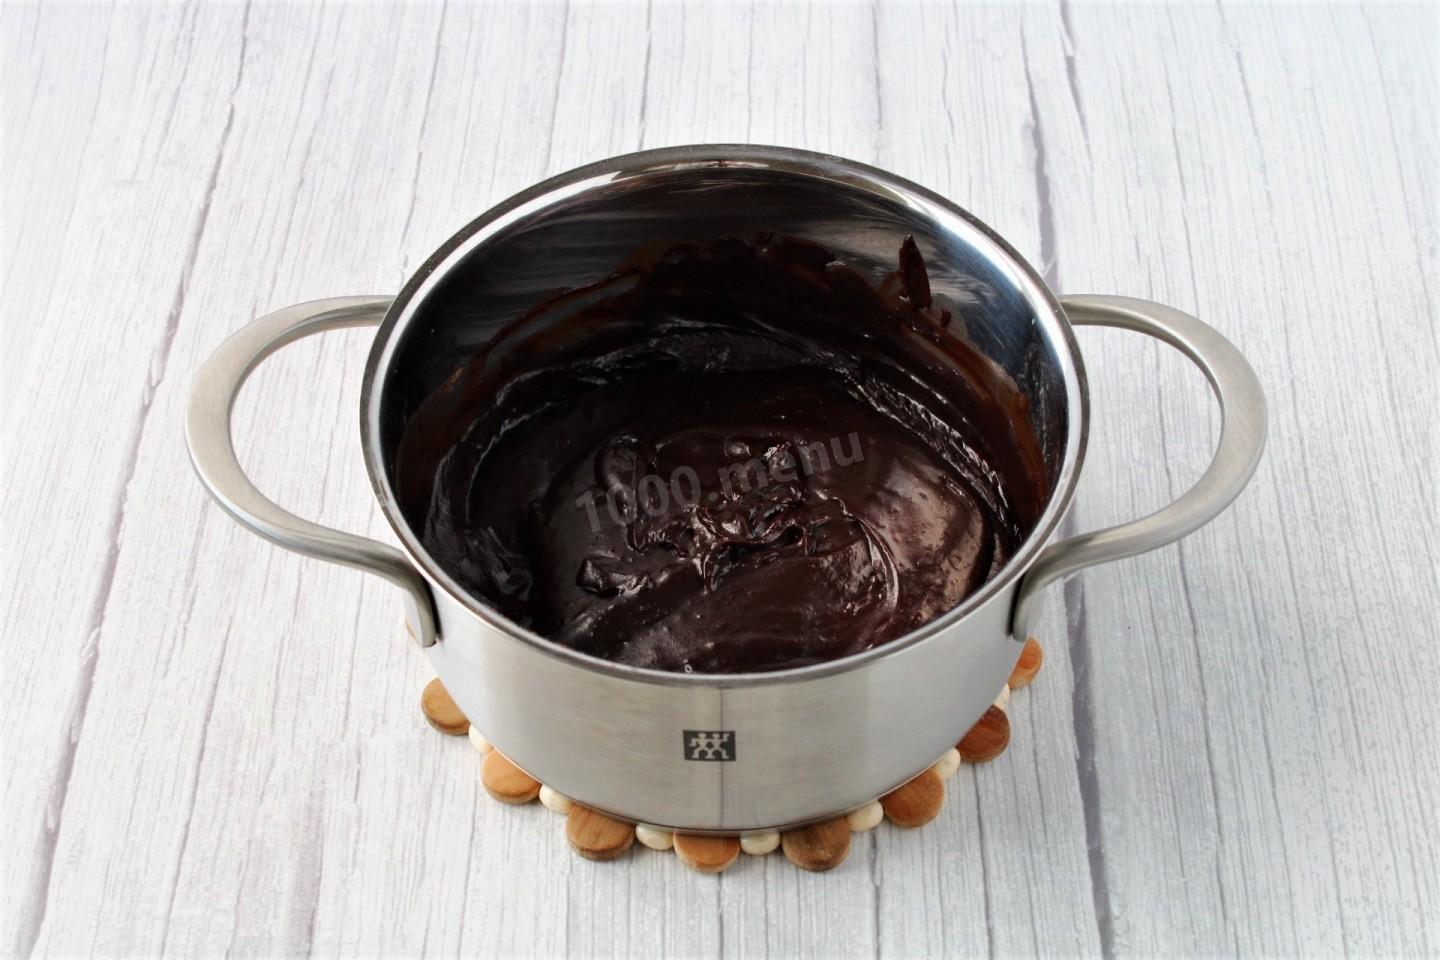
When the mixture thickens a little, add the butter and chocolate. Stir well until they're completely melted.
-
Step 17:
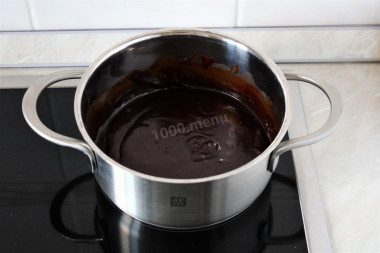
Over low heat, stirring the whole time, cook the mixture until it thickens.
-
Step 18:
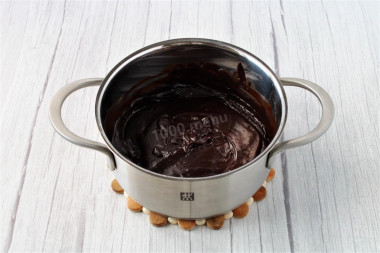
Let the finished chocolate filling cool well.
-
Step 19:
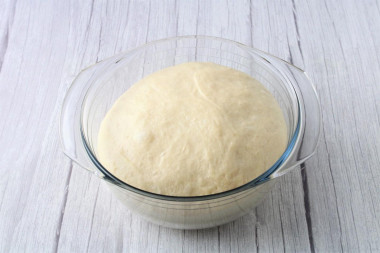
Once the dough has roughly doubled to two-and-a-half times its size, you can start working with it.
-
Step 20:
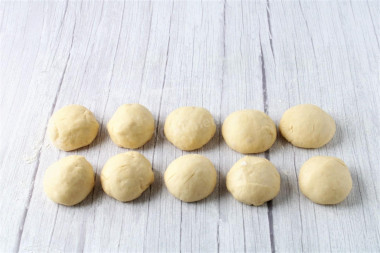
Divide the dough into equal pieces—the number depends on how big you want the buns. Roll them into balls and cover them with a towel so they don't dry out.
-
Step 21:

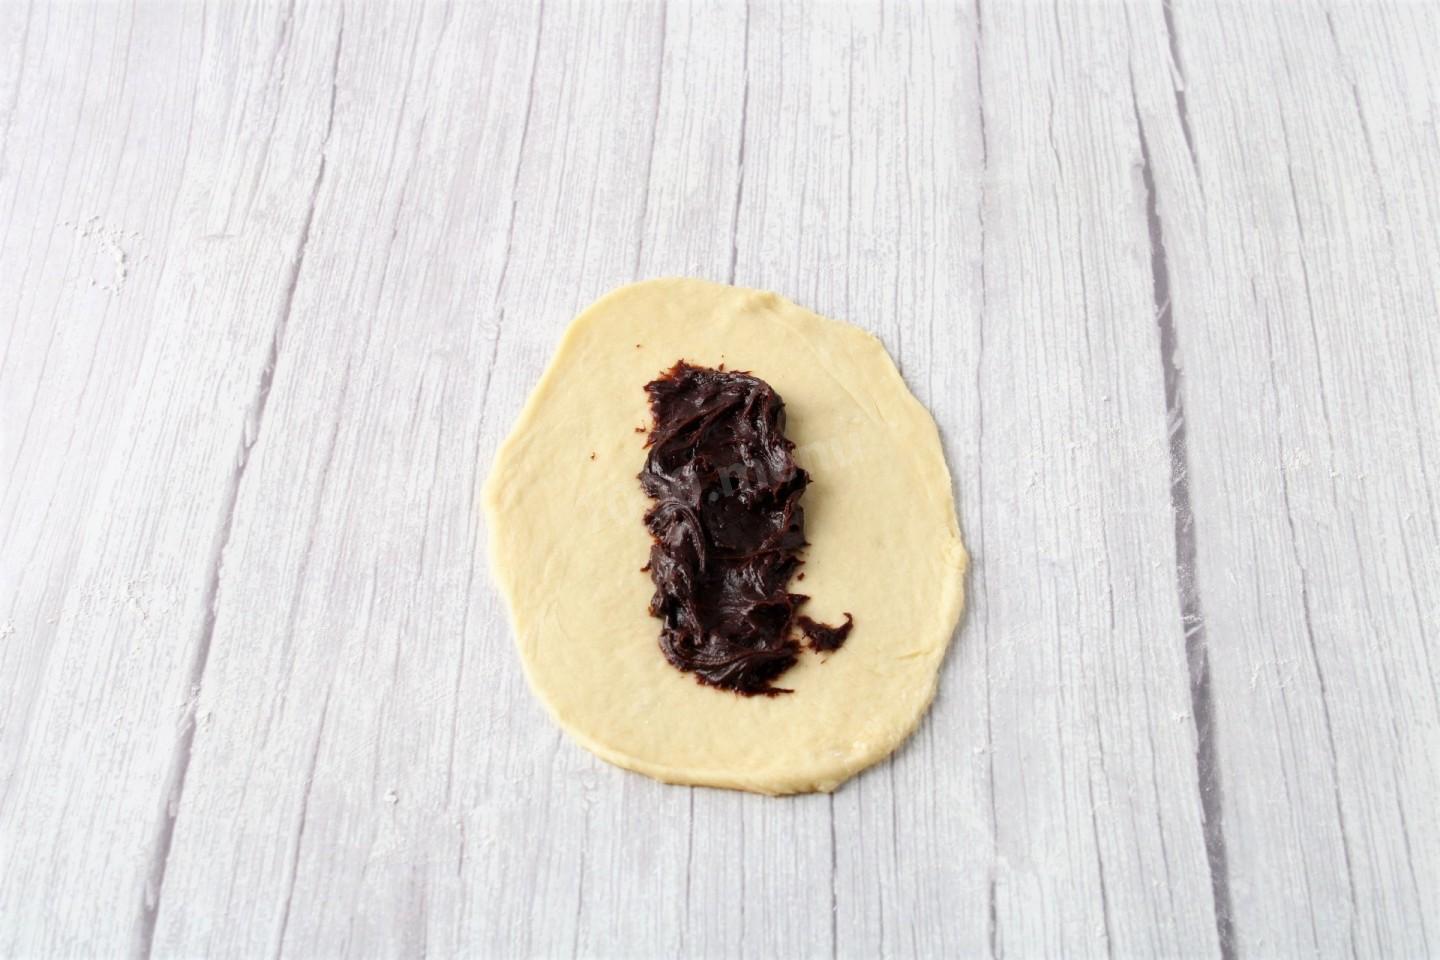
Dust the work surface with a little flour. Roll each piece of dough into an oval.
-
Step 22:

Put the chocolate filling in the middle of the oval.
-
Step 23:
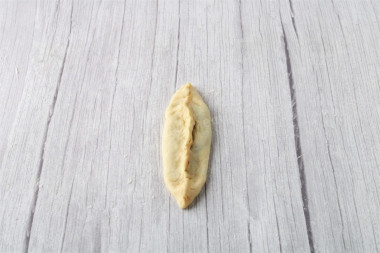
Bring the edges of the dough together and pinch them well sealed, like a pie.
-
Step 24:
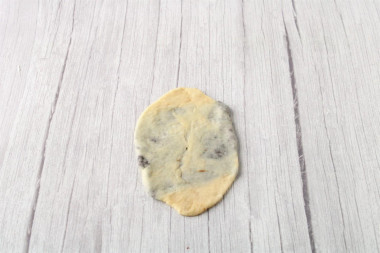
Press the seam down and gently, without much pressure, roll the dough out into an oval again.
-
Step 25:

Make lengthwise cuts in the oval, stopping short of the edges.
-
Step 26:
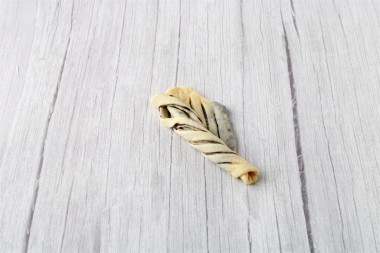
Roll up the filled dough into a log, twisting it on the diagonal.
-
Step 27:
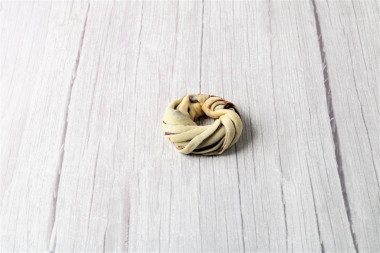
Bend the log into a ring and pinch the ends together well so the bun doesn't unwind while baking. Shape the rest of the buns from the remaining dough the same way.
-
Step 28:
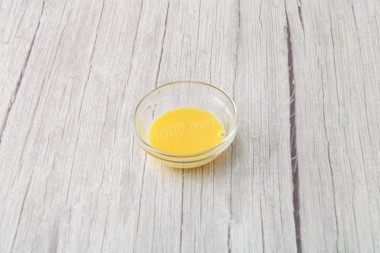
Mix the egg yolk with the milk until smooth.
-
Step 29:
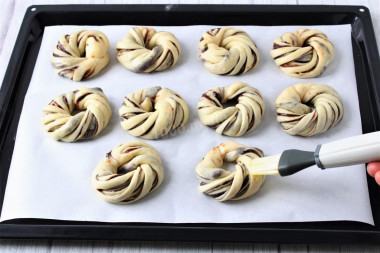
Place the shaped buns on a parchment-lined baking sheet. Let them rise for 15 minutes. Using a pastry brush, brush the tops of the buns with the egg-yolk wash.
-
Step 30:
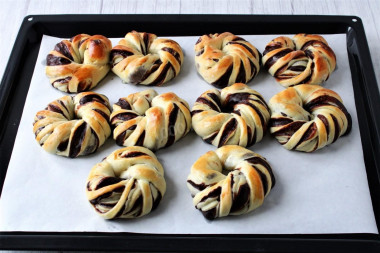
Bake the chocolate buns in an oven preheated to 350°F (180°C) for 25–30 minutes, until golden. The baking time may vary depending on your oven.
-
Step 31:
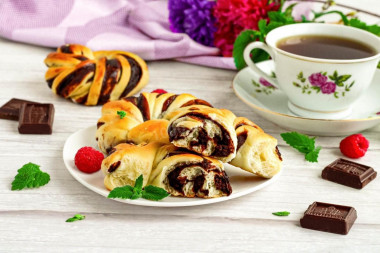
Let the finished buns cool and serve. Enjoy your meal!











- So the oven has time to reach the right temperature, turn it on ahead of time (10–20 minutes before you start).
- Keep in mind that every oven is different. The temperature and baking time may differ from what's given in the recipe. To make any baked dish a success, take advantage of this helpful information about how ovens behave!
- Important! When using dry yeast, remember that it comes in two forms: active and instant (read the package instructions carefully before use!). Active dry yeast looks like beads or small granules. Before using it, you have to wake it from its "sleep." To do that, dissolve the active yeast in warm sweet water, milk, or whey. Bubbles, foam, or a "cap" forming means the yeast is ready to use. Active dry yeast must be fully dissolved in the liquid; otherwise the leftover granules can keep the dough from rising and ruin the bake (yeast granules that don't dissolve in the liquid and end up in the dough won't dissolve on their own, so they won't work). Instant dry yeast is easier to use—it doesn't need to be activated first. You just add it to the dough along with the other ingredients, which shortens the baking process. Keep in mind, too, that both kinds of dry yeast can differ in strength from one brand to another.
Caloric content of the products possible in the composition of the dish
- Whole cow's milk - 68 kcal/100g
- Milk 3.5% fat - 64 kcal/100g
- Milk 3.2% fat - 60 kcal/100g
- Milk 1.5% fat - 47 kcal/100g
- Concentrated milk 7.5% fat - 140 kcal/100g
- Milk 2.5% fat - 54 kcal/100g
- Sour cream 30% fat - 340 kcal/100g
- Sour cream 25% fat - 284 kcal/100g
- Sour cream 20% fat - 210 kcal/100g
- Sour cream 10% fat - 115 kcal/100g
- Sour cream - 210 kcal/100g
- Chicken egg - 157 kcal/100g
- Egg white - 45 kcal/100g
- Egg powder - 542 kcal/100g
- Egg yolk - 352 kcal/100g
- Ostrich egg - 118 kcal/100g
- Granulated sugar - 398 kcal/100g
- Sugar - 398 kcal/100g
- Butter 82% - 734 kcal/100g
- Amateur unsalted butter - 709 kcal/100g
- Unsalted peasant butter - 661 kcal/100g
- Salted peasant butter - 652 kcal/100g
- Clarified butter - 869 kcal/100g
- Cocoa powder - 374 kcal/100g
- Salt - 0 kcal/100g
- Wheat flour - 325 kcal/100g
- Egg yolks - 352 kcal/100g
- Chocolate 70% - 539 kcal/100g
- Dark chocolate - 539 kcal/100g
- Vanilla sugar - 379 kcal/100g
- Cornstarch - 329 kcal/100g
- Dry yeast - 410 kcal/100g
Similar recipes

- For breakfast
- Homemade dinner
- Baking
- Eggs
- Dairy products
- Flour
- Sweet
- Spices seasonings spices
- Fats and oils
- Other
- Vanilla
- Salt
- Butter
- Cocoa
- Yeast
- Starch
- Cooking
- Oven roasting
- Buns
- Yeast pastry
- Sweet pastry
- Pastries with sour cream
- Egg yolks
- Egg breakfast
- Sour cream
- Milk
- Wheat flour
- Vegetarianism
- Sugar
- Chocolate