Pear Confiture for Winter
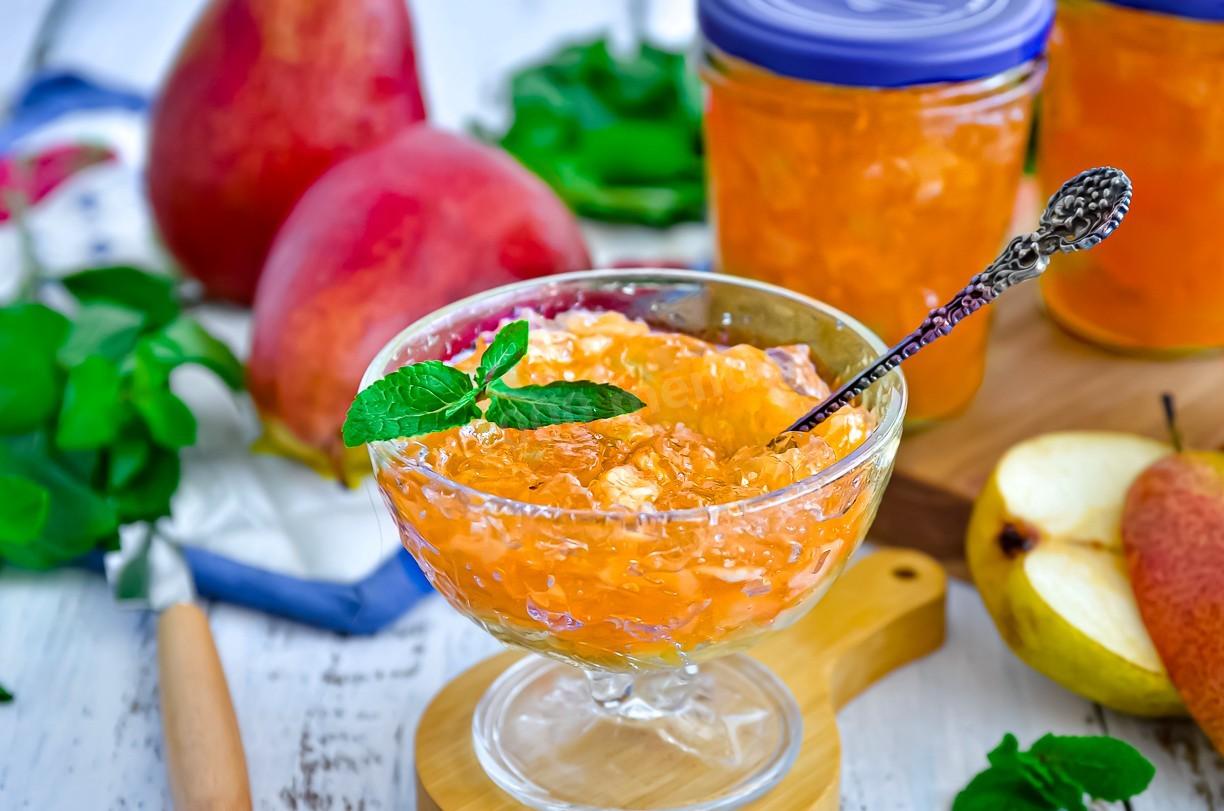
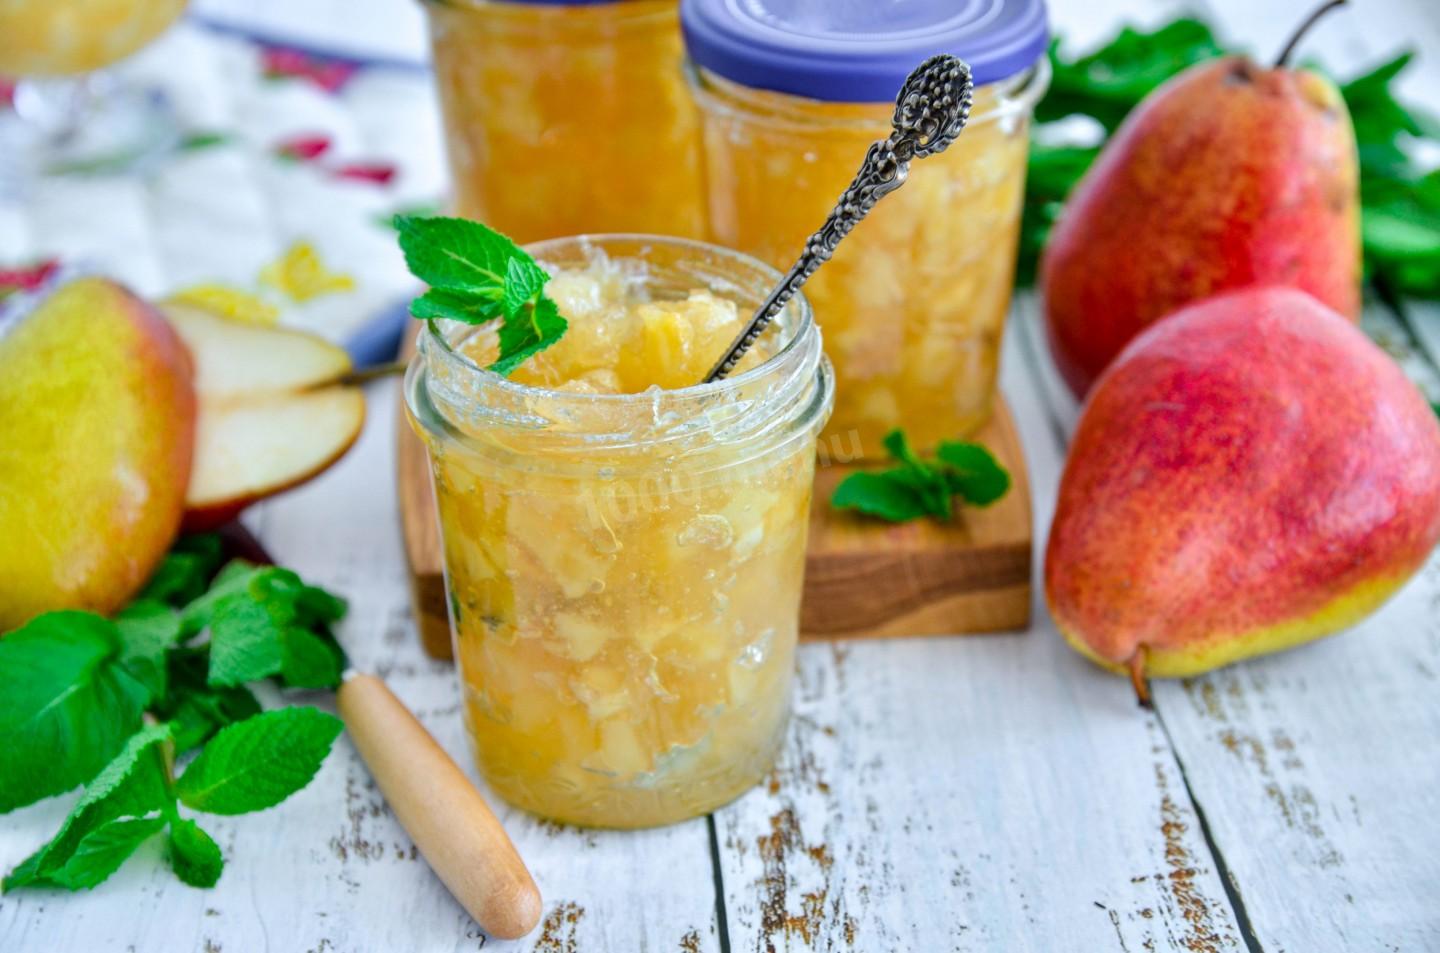
Appetizing, delicious, and easy to make! This pear confiture for winter comes out thick, fragrant, and very tasty! A little agar-agar gives it a jelly-like set, and lemon juice adds a pleasant tang. As it turns out, this confiture isn't hard to make at home at all.

Cooking method
-
Step 1:
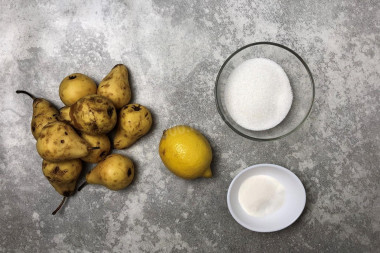
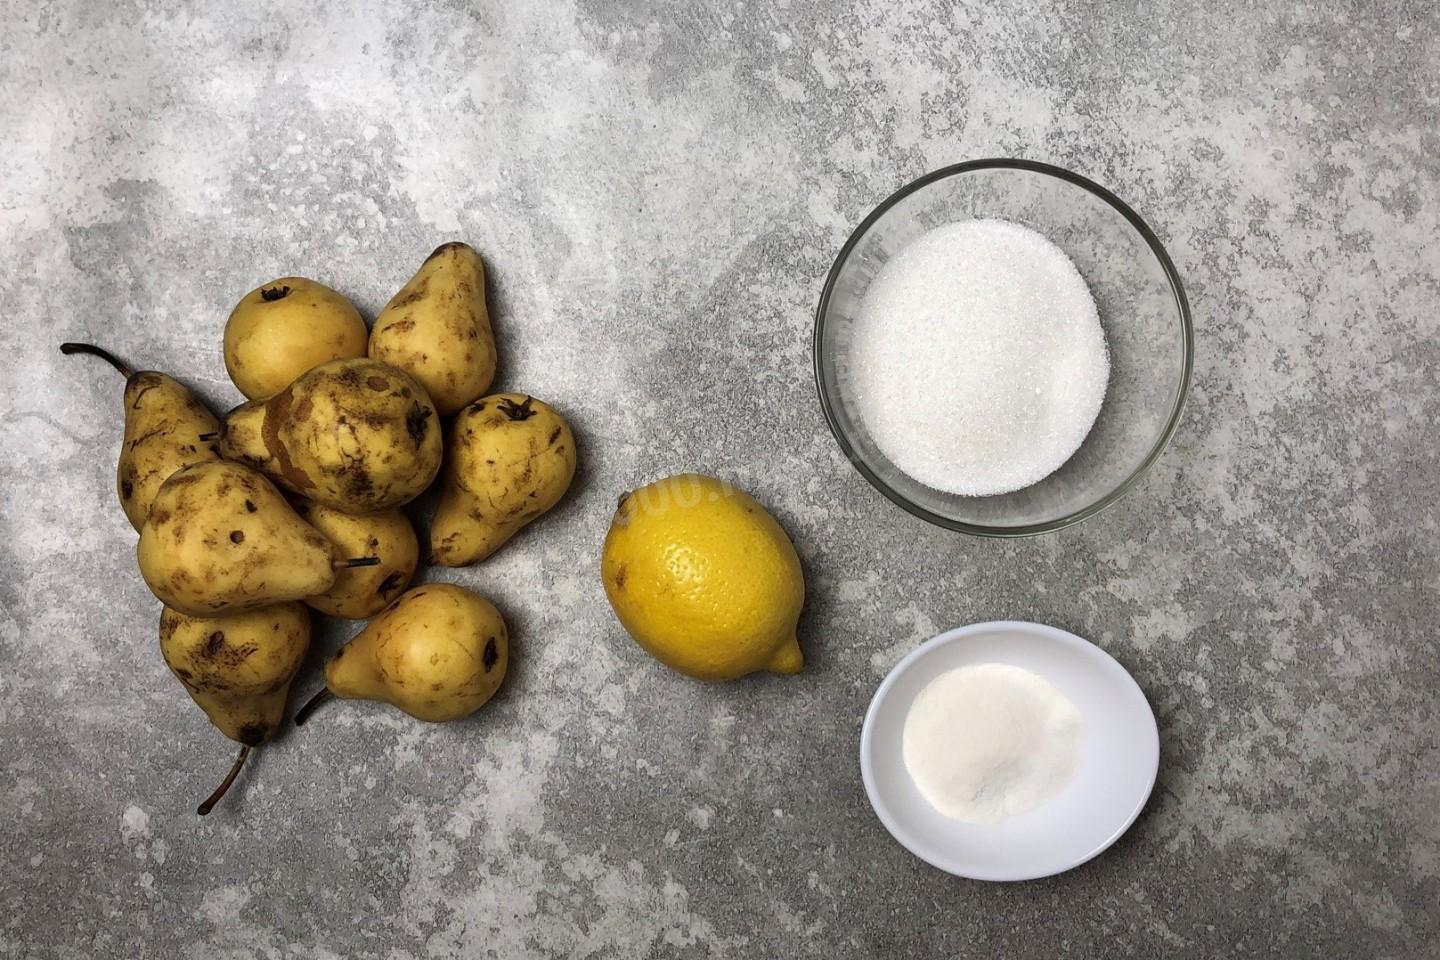
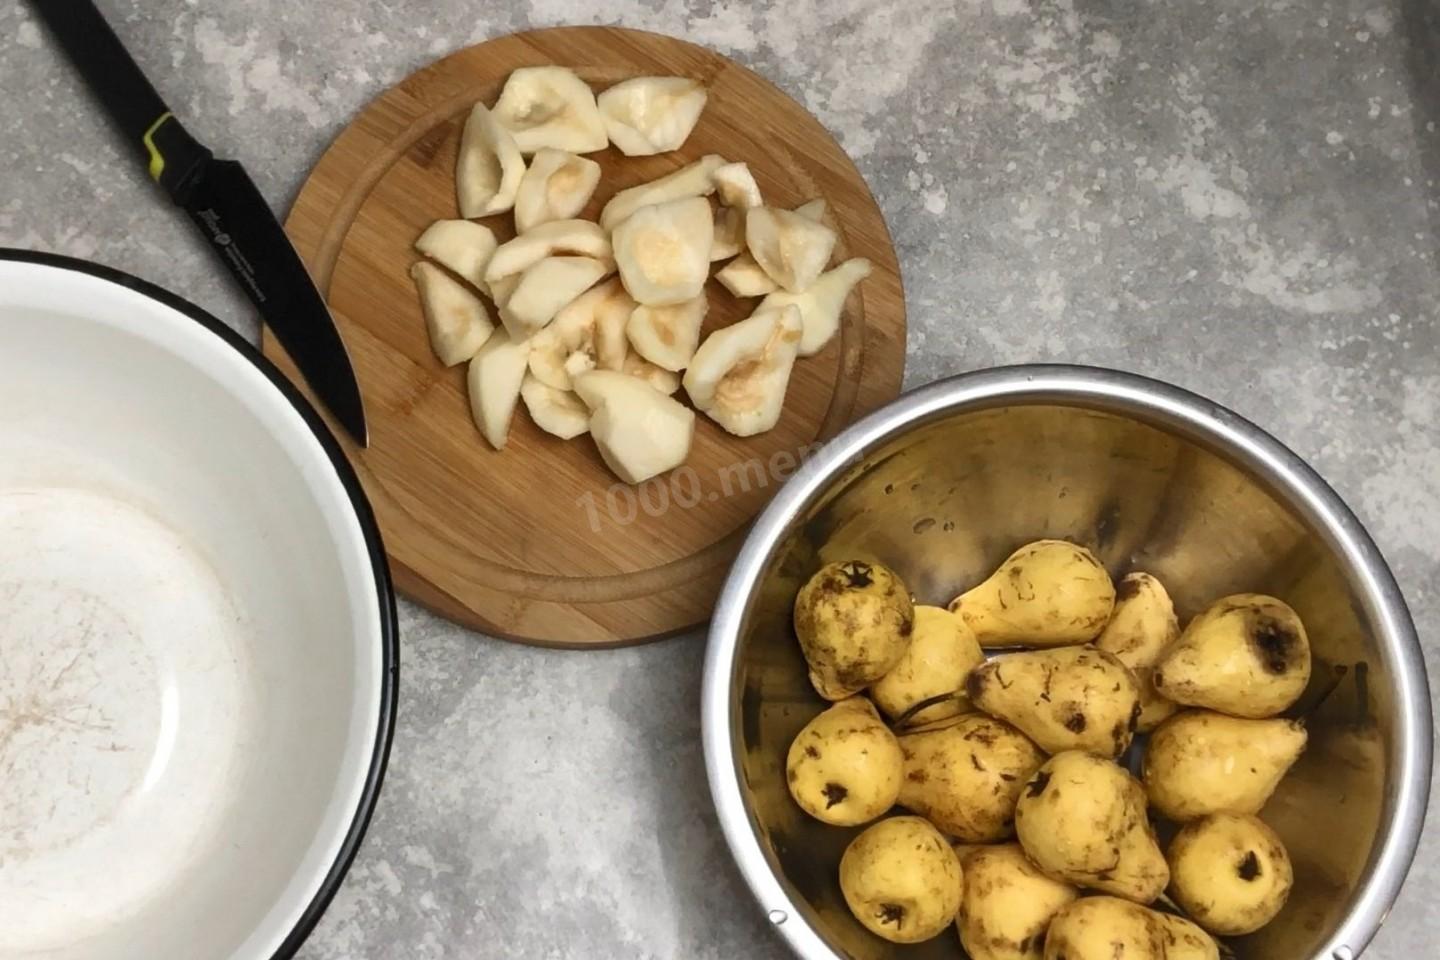
How do you make pear confiture for winter? Gather your ingredients. Choose ripe but still firm pears—fruit that's too soft will cook down too much. A fragrant variety is best; it makes for a tastier confiture.
-
Step 2:
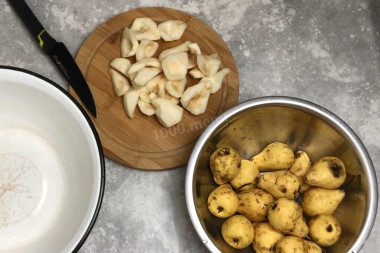
Wash and dry the pears. Quarter each one, cut out the core with the seeds, and peel off the skin.
-
Step 3:
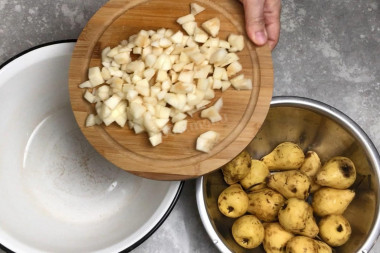
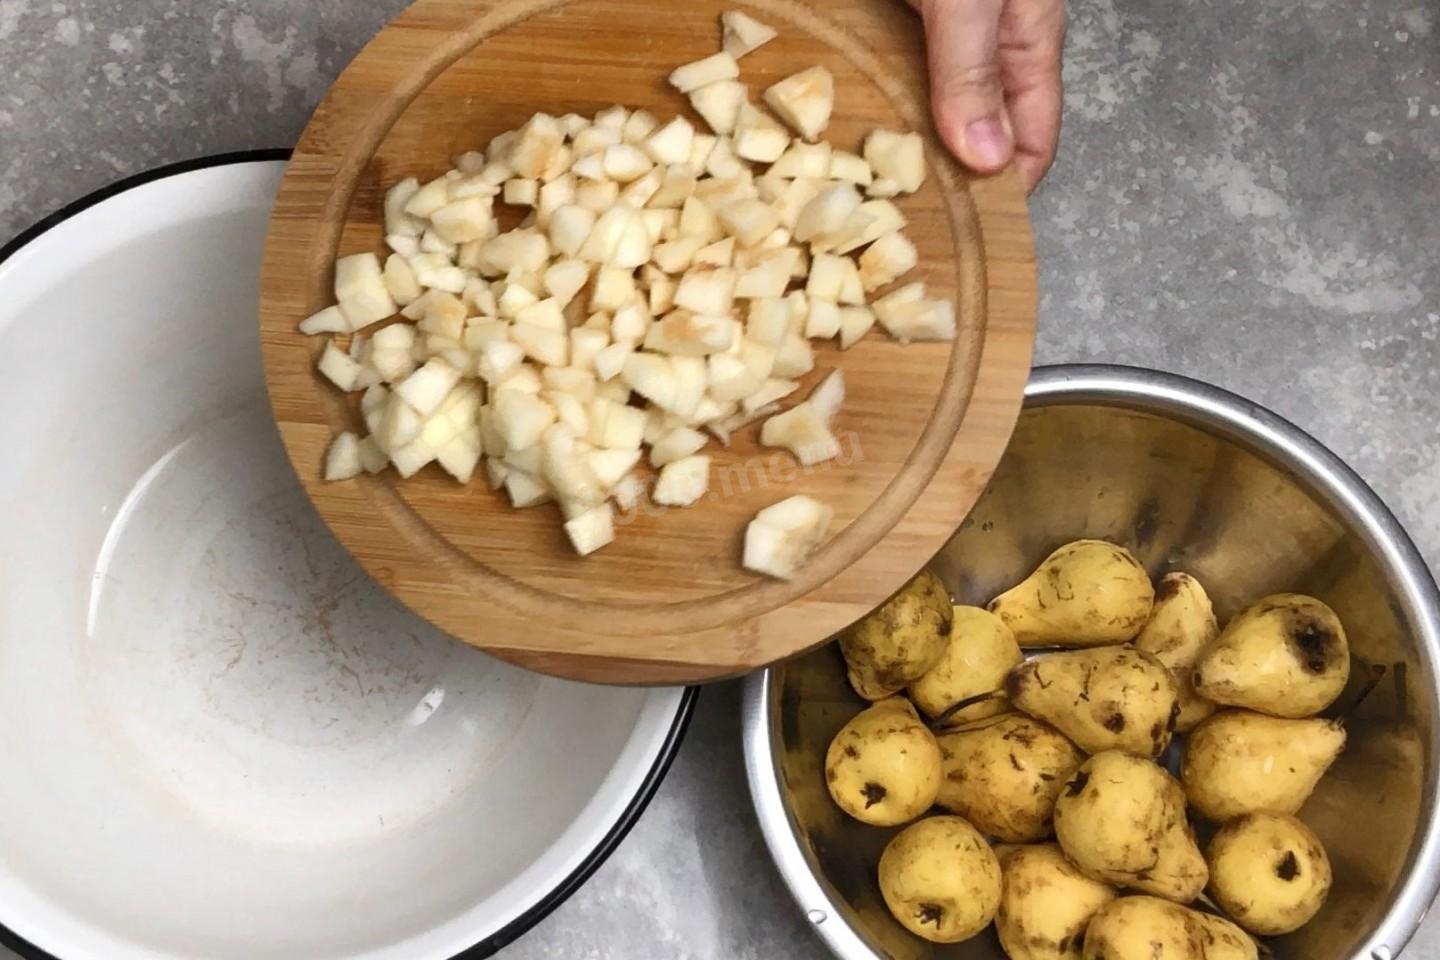
Then dice the peeled pieces small. Use a suitable pot for cooking the confiture—enameled or stainless steel. Don't use aluminum; the metal reacts with acids, which is bad for the food. Put the cut pears in the pot. I weighed mine after peeling—about 1 kg was left.
-
Step 4:
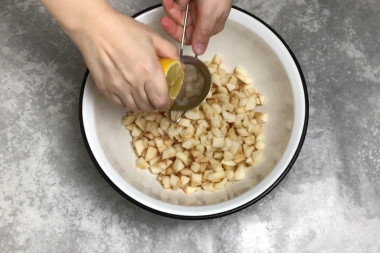
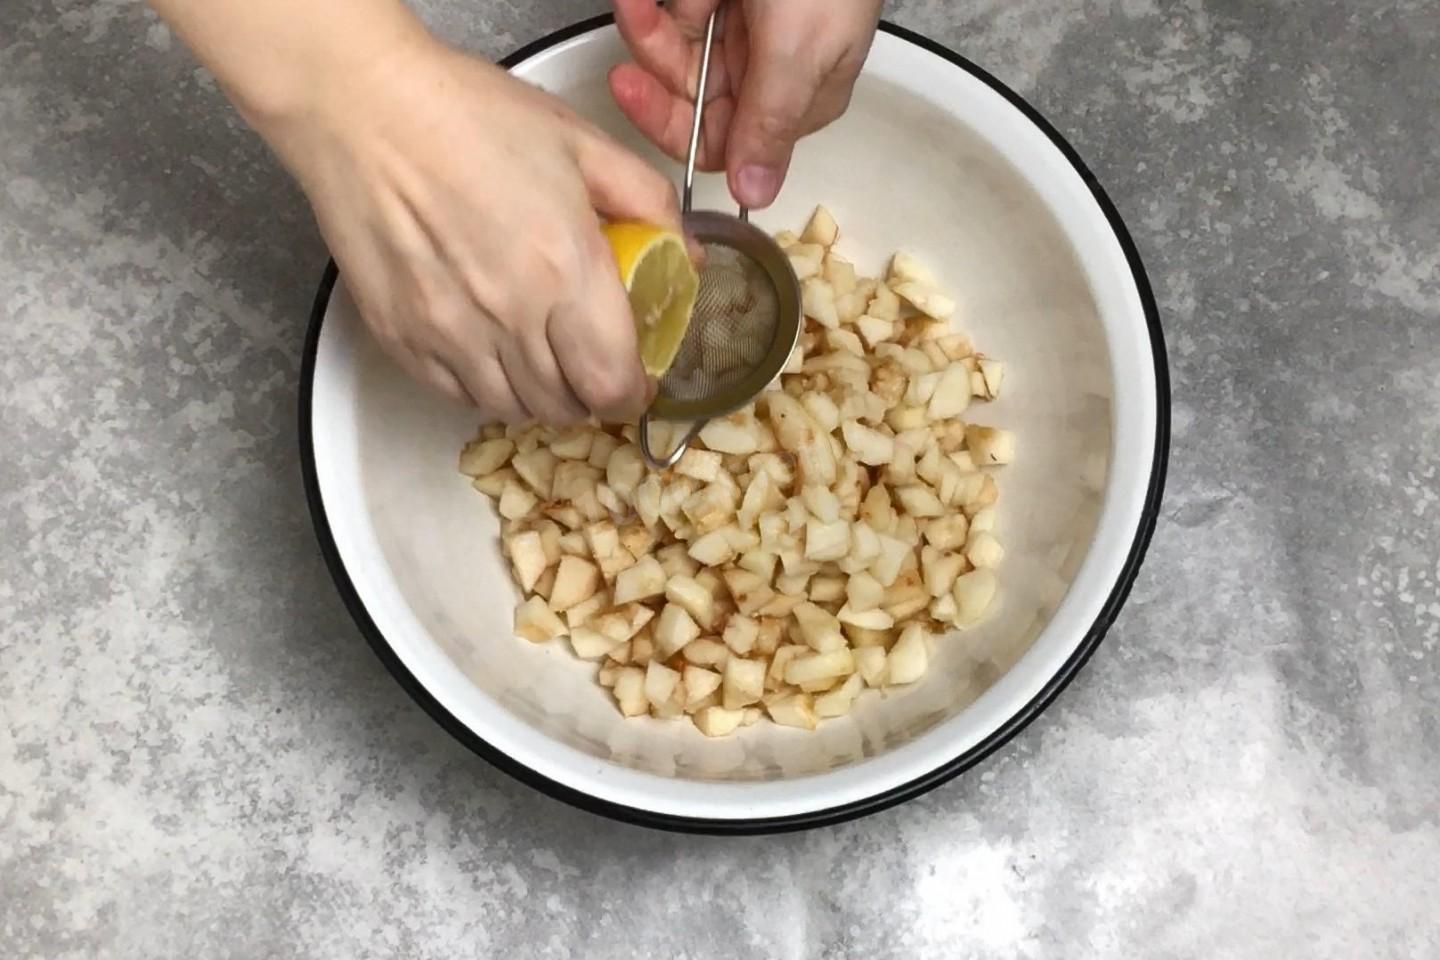
Take a lemon and wash it well. Squeeze the juice from it—easiest to do this right into the bowl of pears. I'd suggest holding a small strainer under the lemon so the seeds stay out of the jam.
-
Step 5:
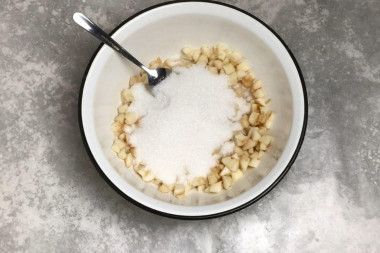
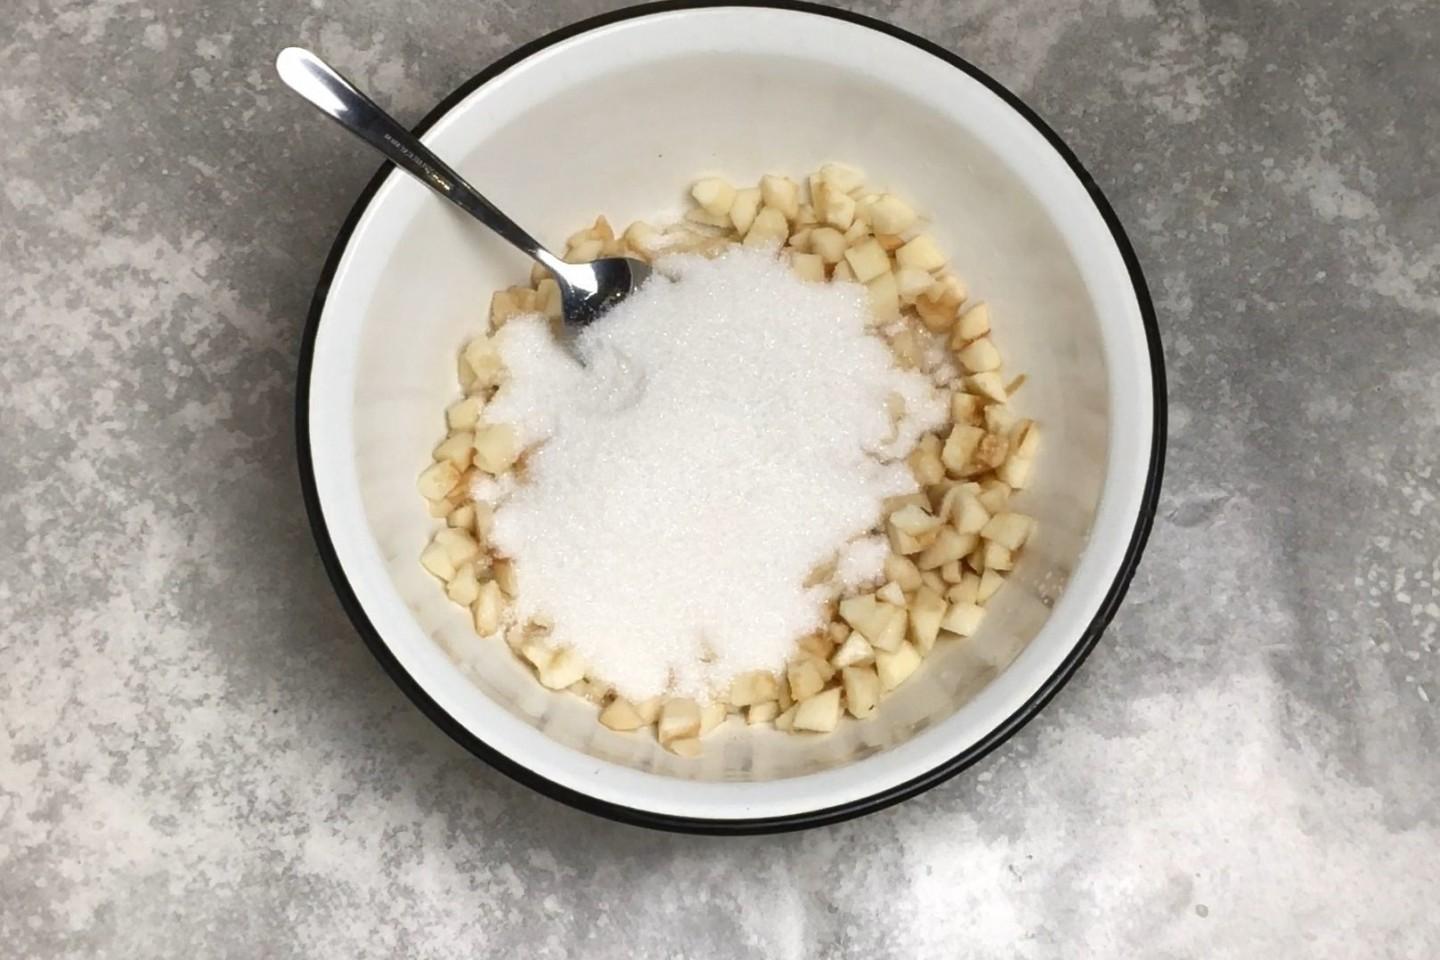
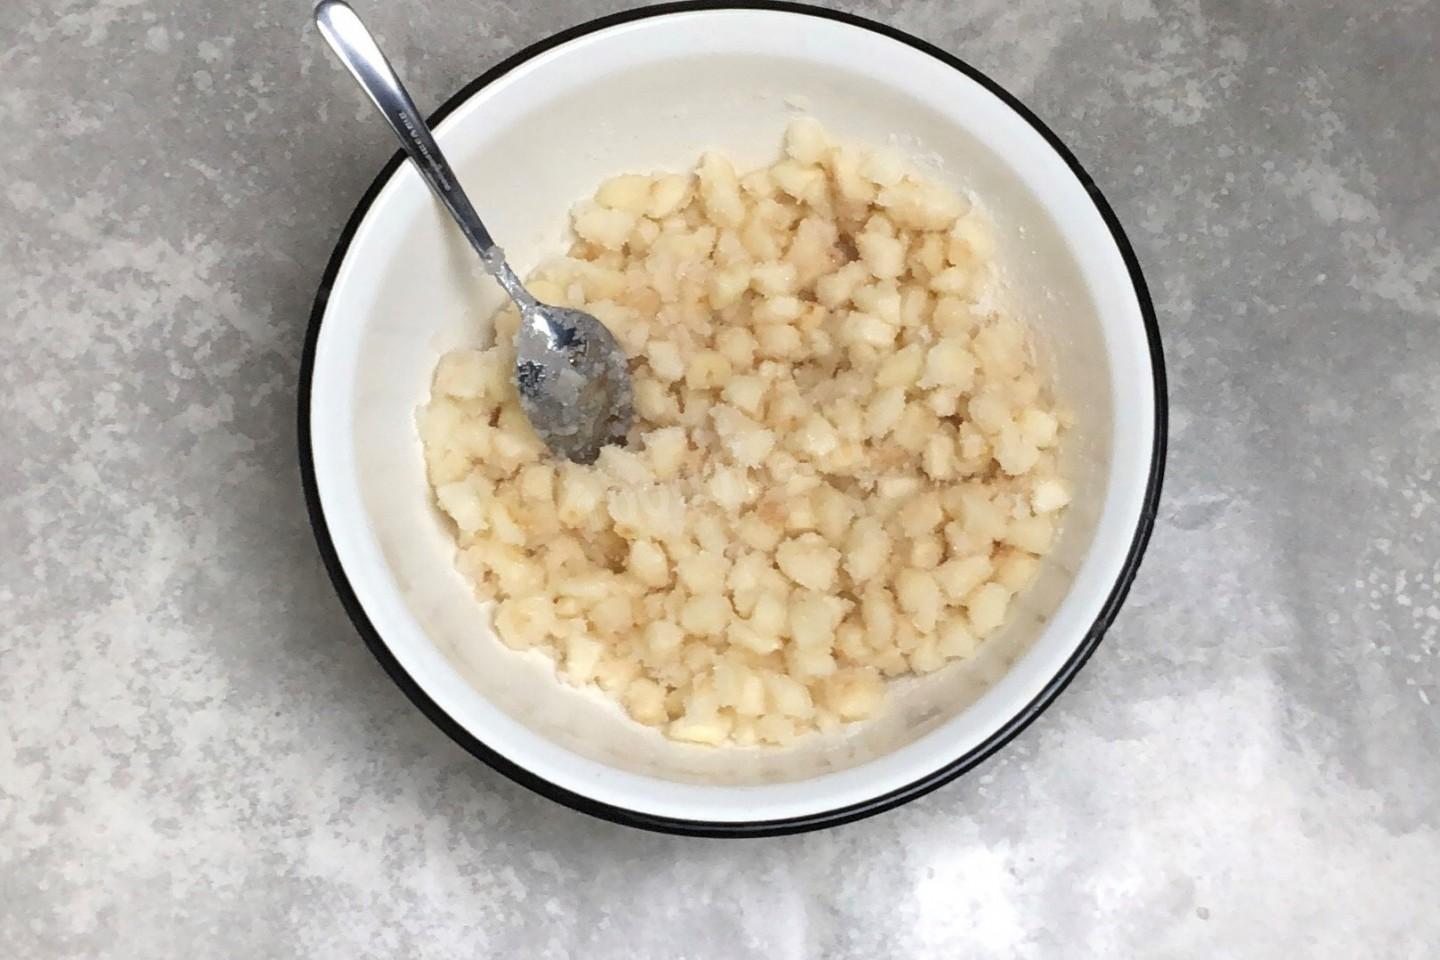
Add the sugar to the bowl of pears.
-
Step 6:
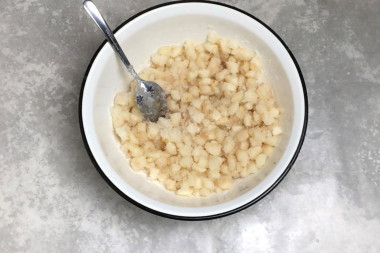
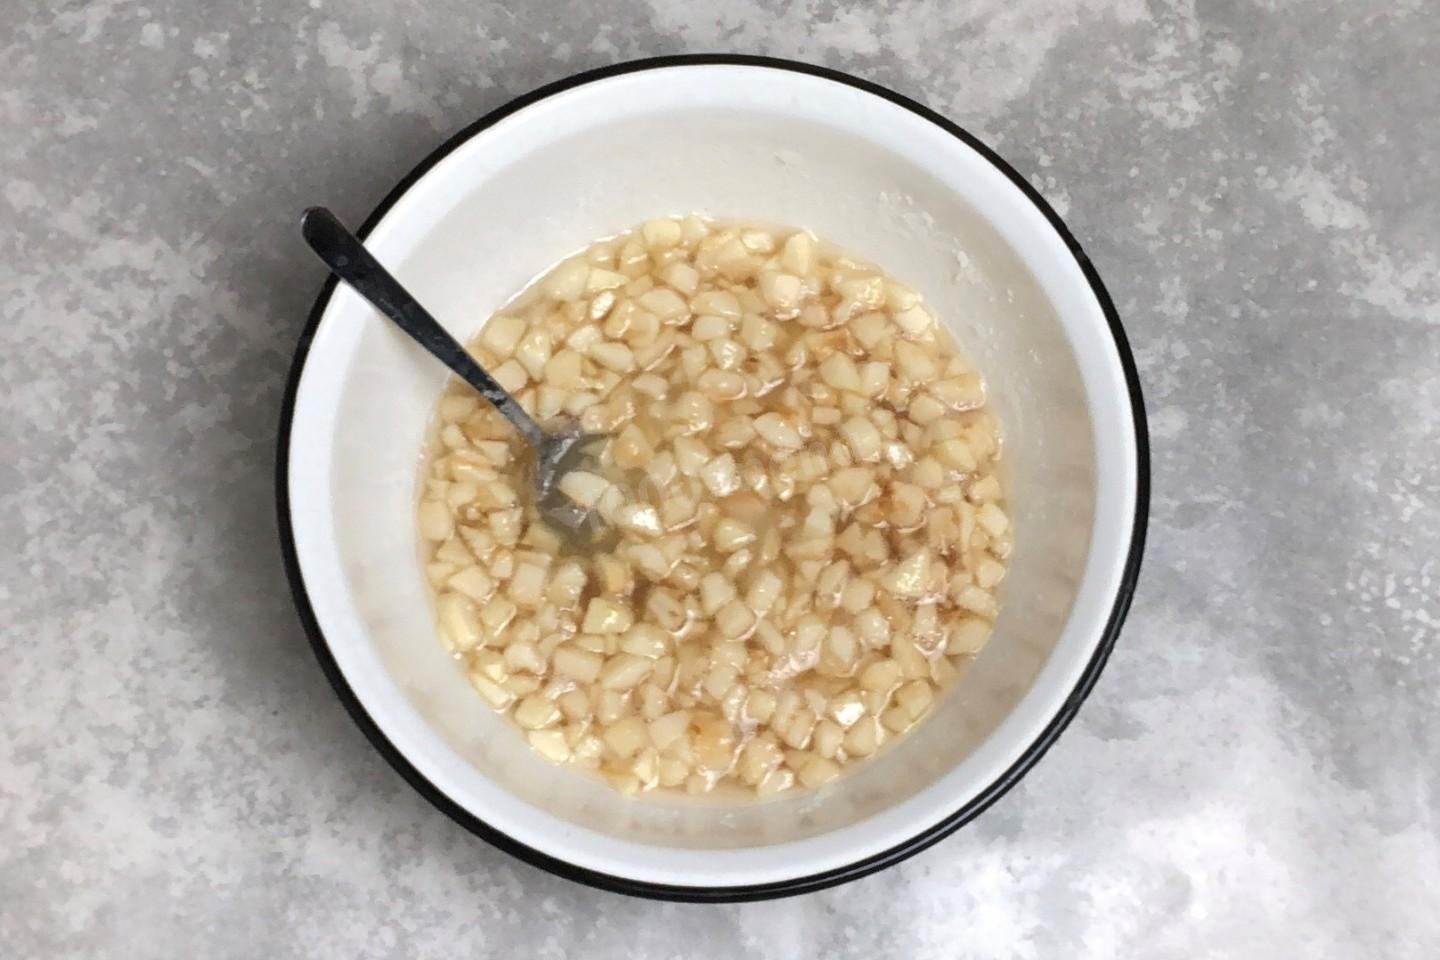
Gently stir the pears with the sugar so you don't break up the pieces. Let them sit for two hours so the pears release their juice.
-
Step 7:
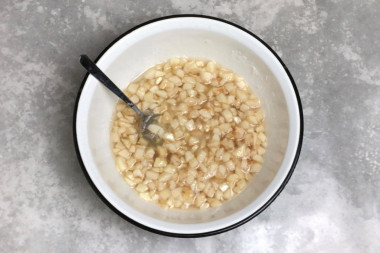
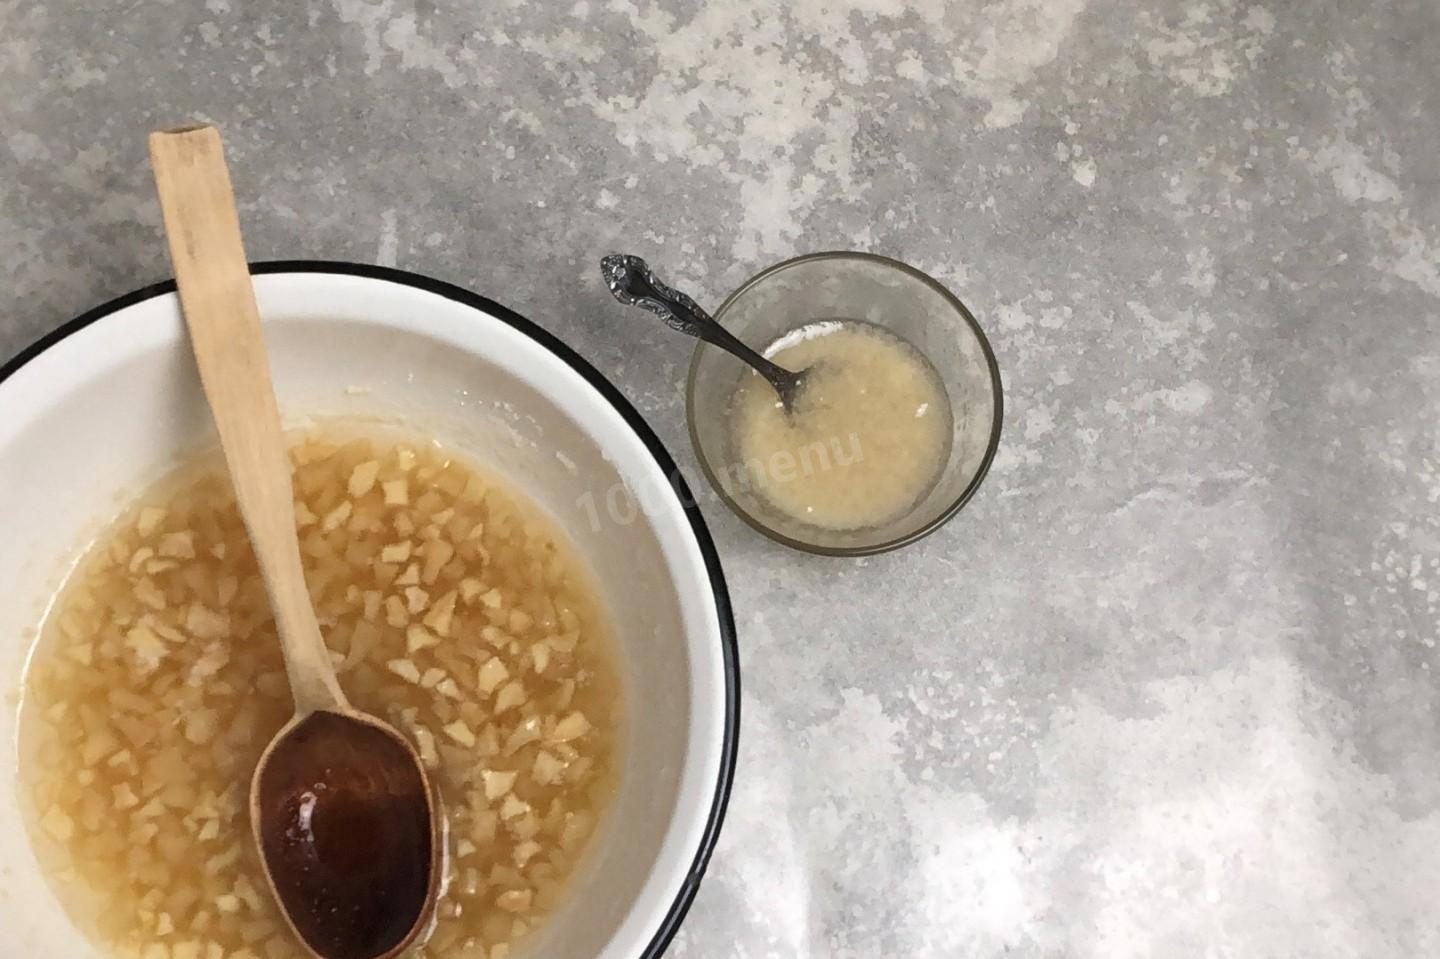
My fruit was juicy and gave off a lot of liquid. If yours doesn't release much, add a splash of water—just a little, about a third of the volume of the fruit.
-
Step 8:
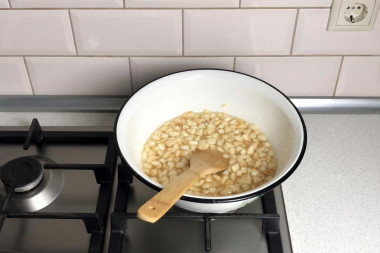
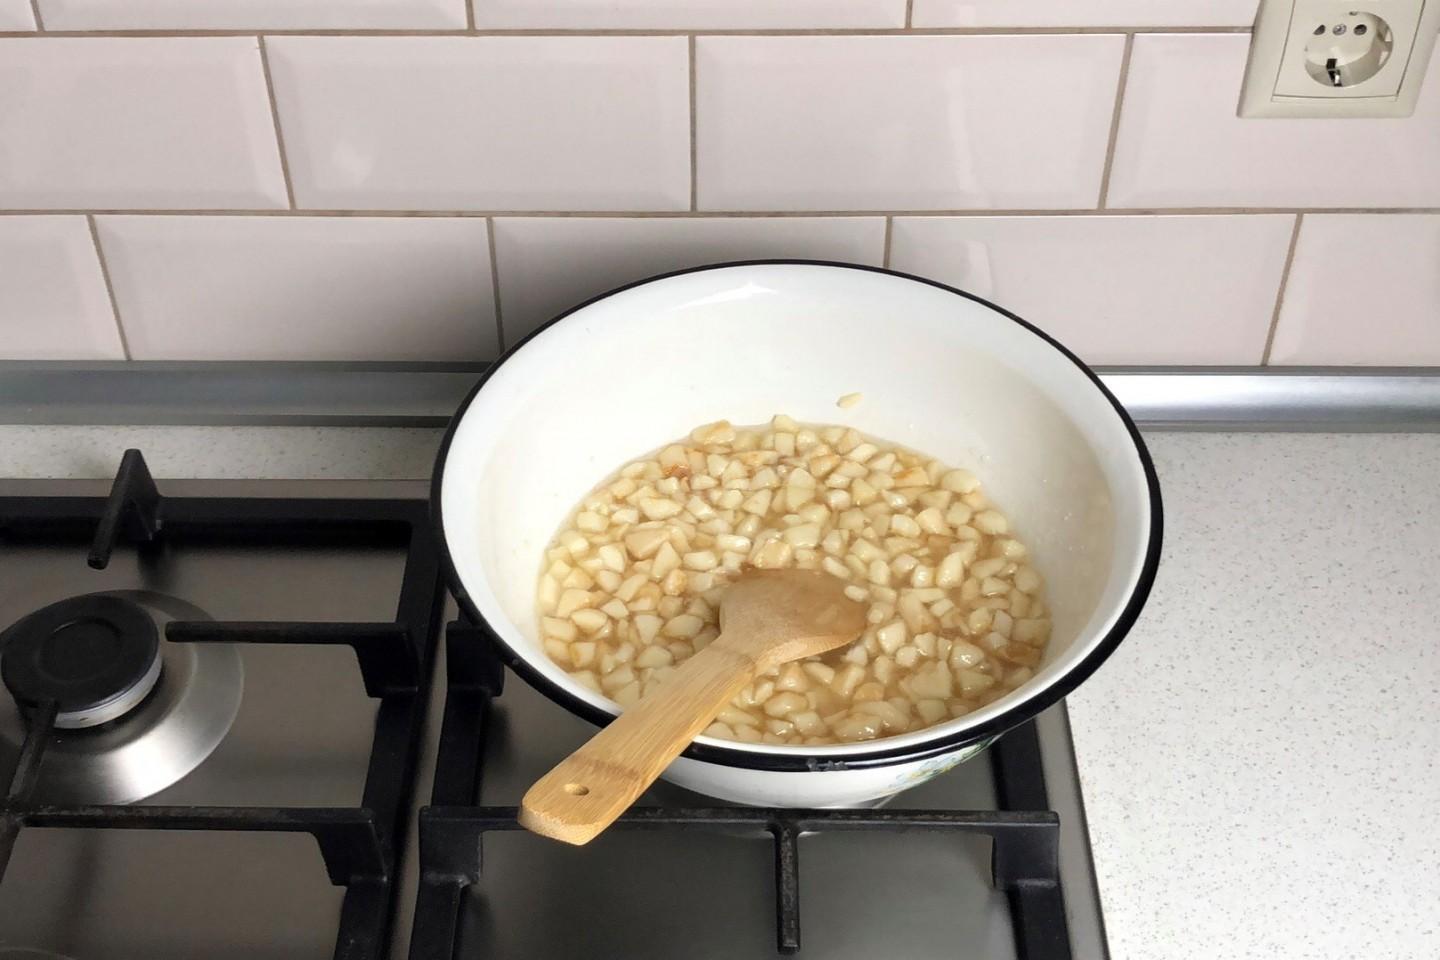
Set the bowl of pears over low heat.
-
Step 9:
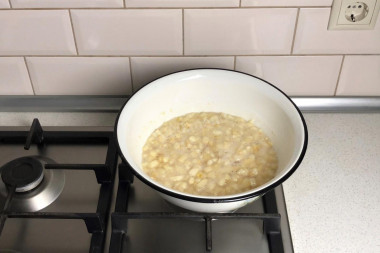
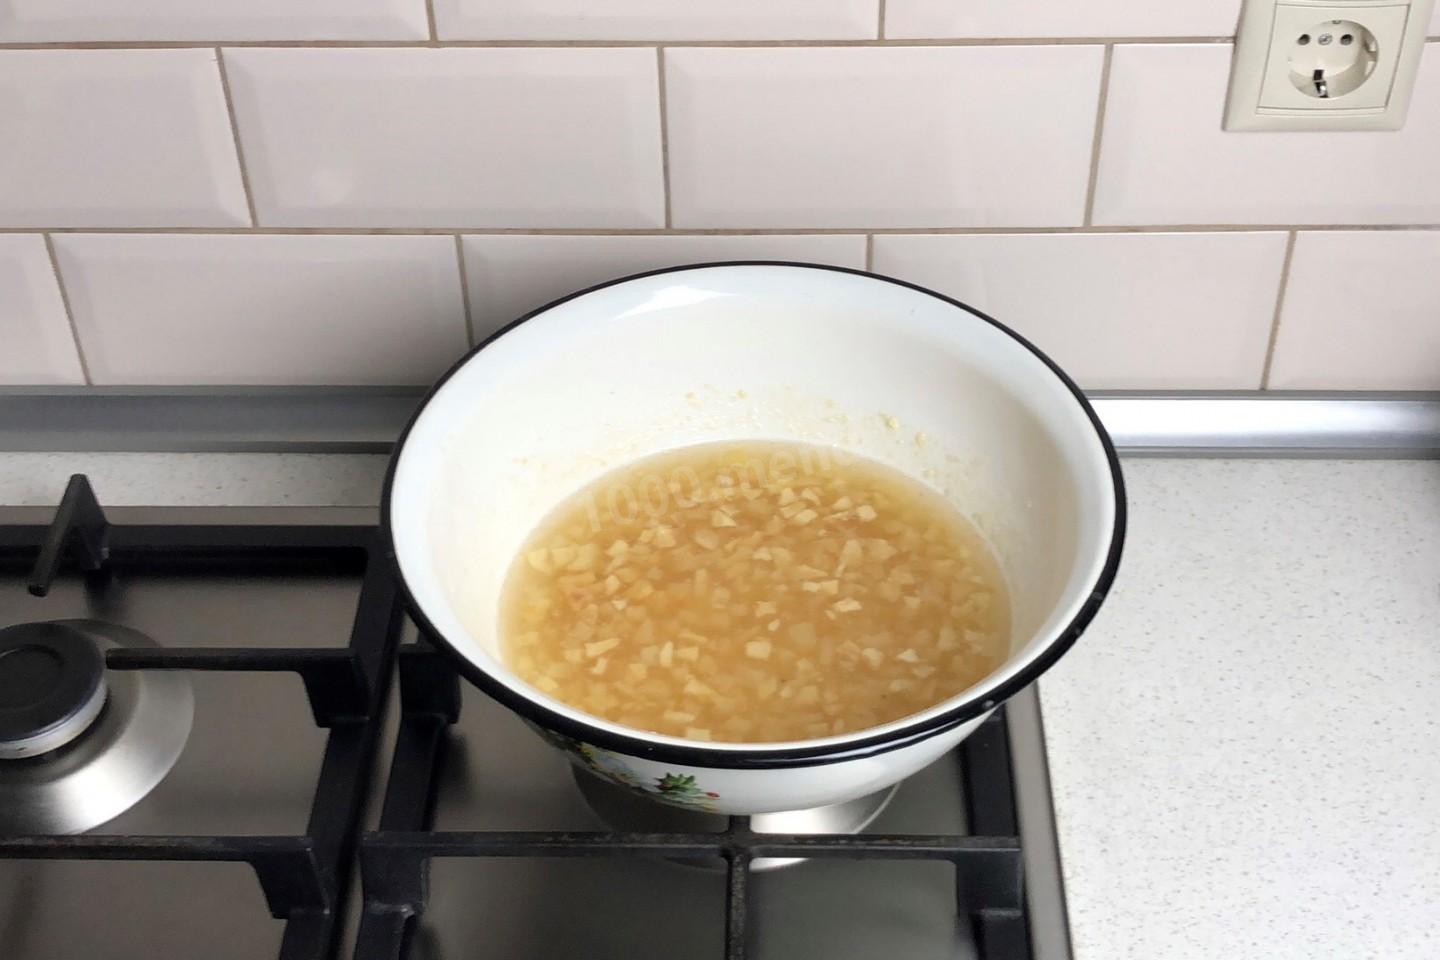
Bring the mixture to a boil. As soon as it does, turn off the heat. Let the pears and syrup sit for a day.
-
Step 10:
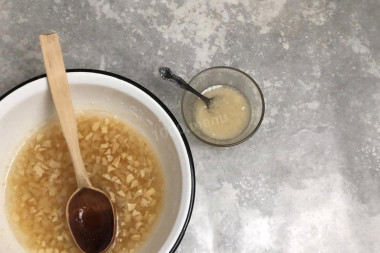
After 24 hours, take the agar-agar and pour some of the liquid that the confiture released over it. Stir and let it stand for half an hour to swell. Then pour the swollen agar into the confiture and mix.
-
Step 11:
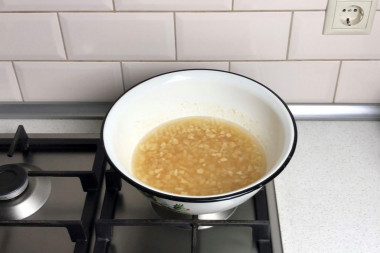
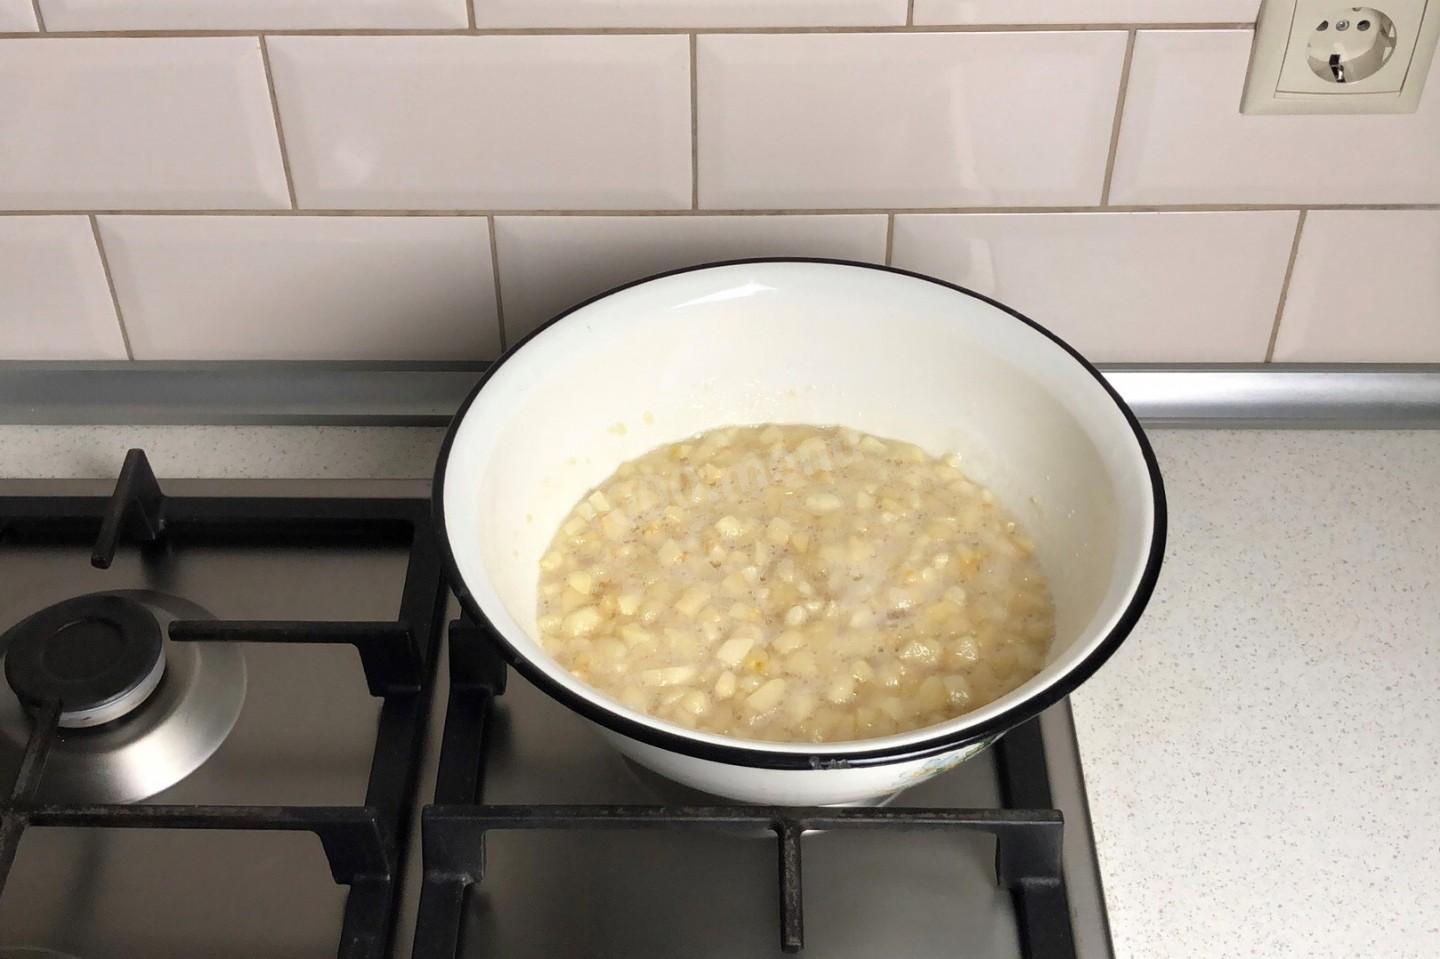
Set the bowl over low heat again.
-
Step 12:
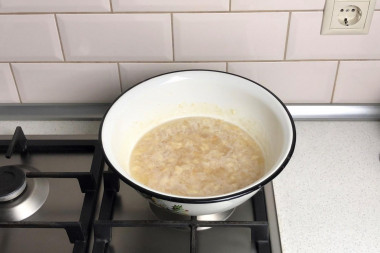
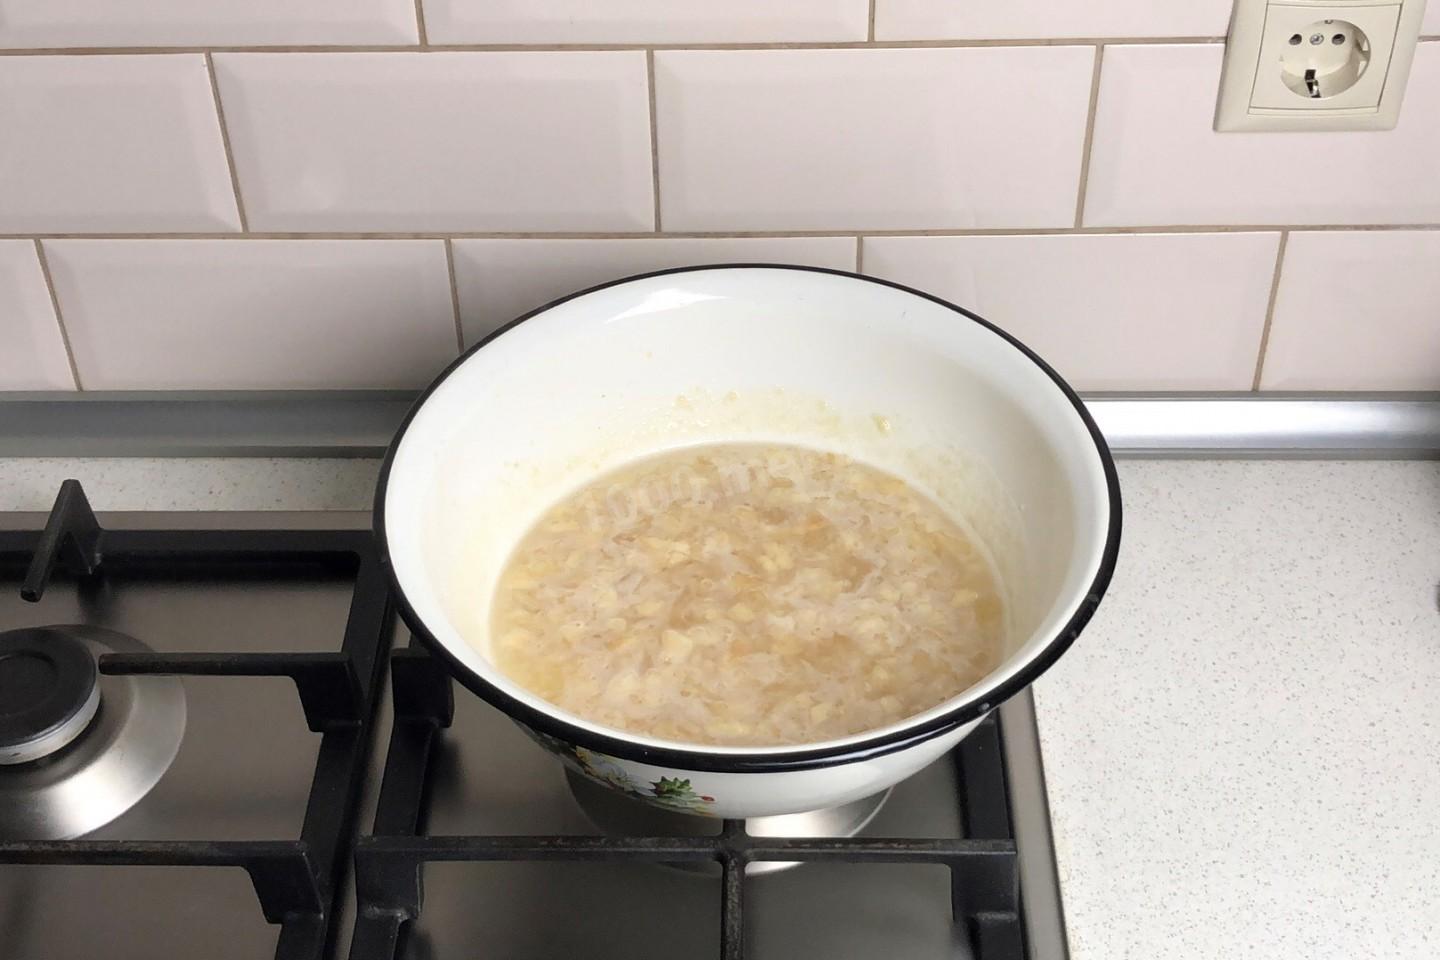
Bring the confiture to a boil and let it boil for 1 to 2 minutes. Then turn off the heat.
-
Step 13:
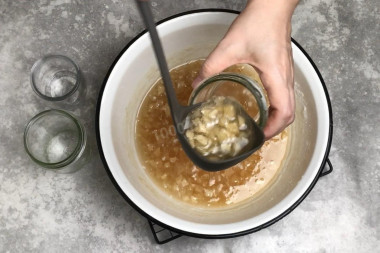
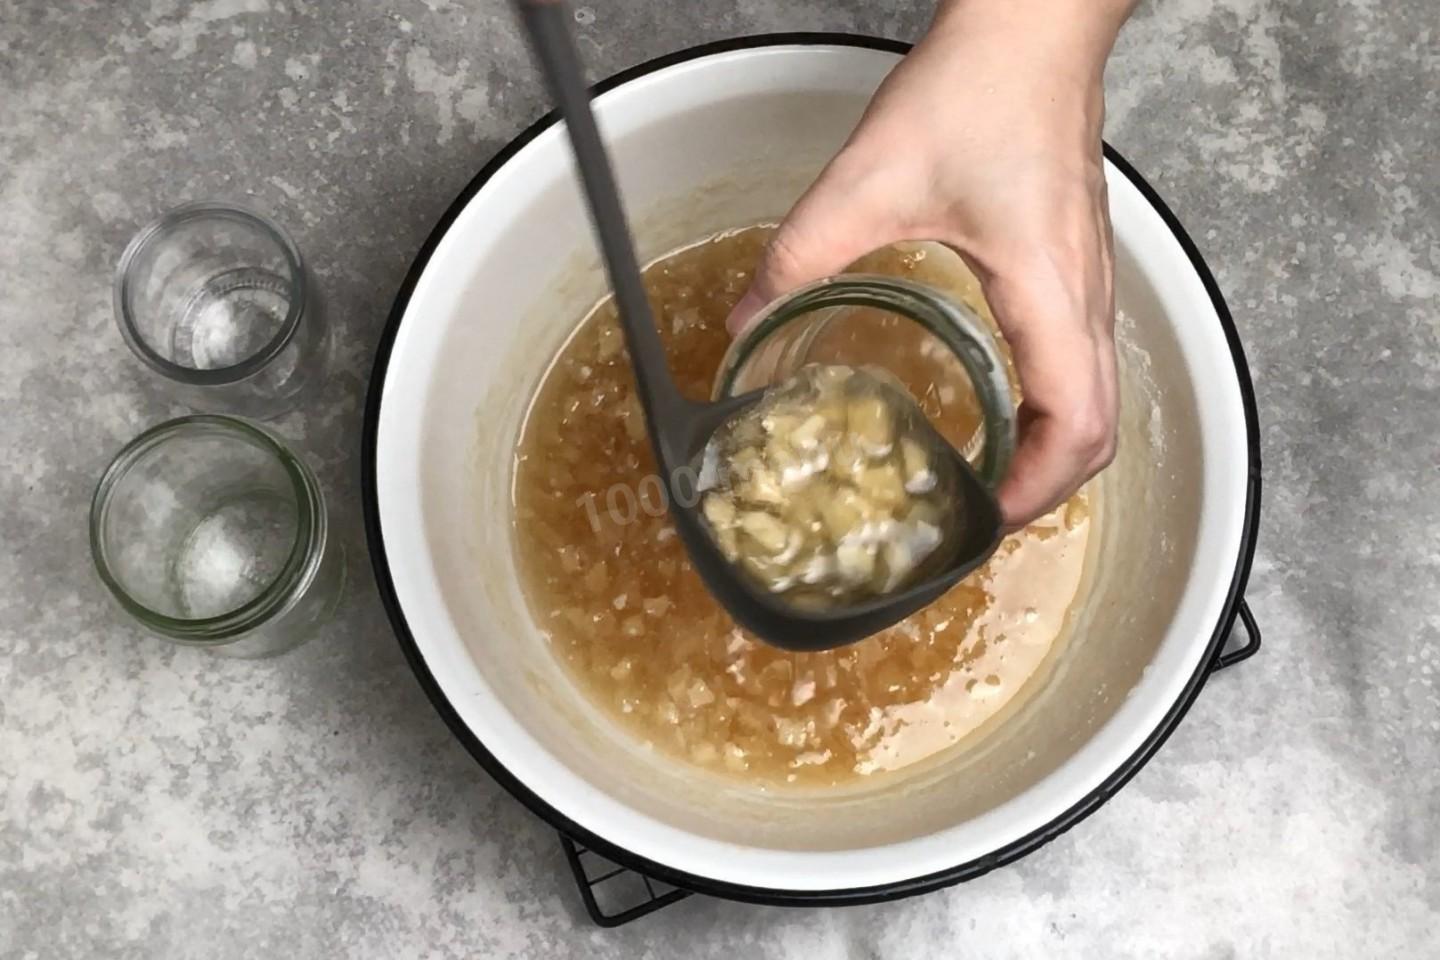
Pour the hot confiture into sterilized jars. It'll be very runny—don't let that worry you. Agar-agar starts to set at around 105°F (40°C), so the confiture will thicken as it cools.
-
Step 14:
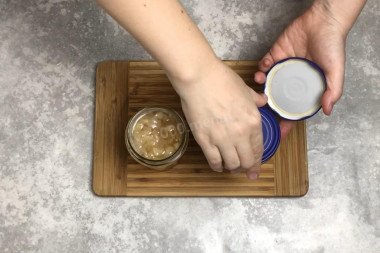
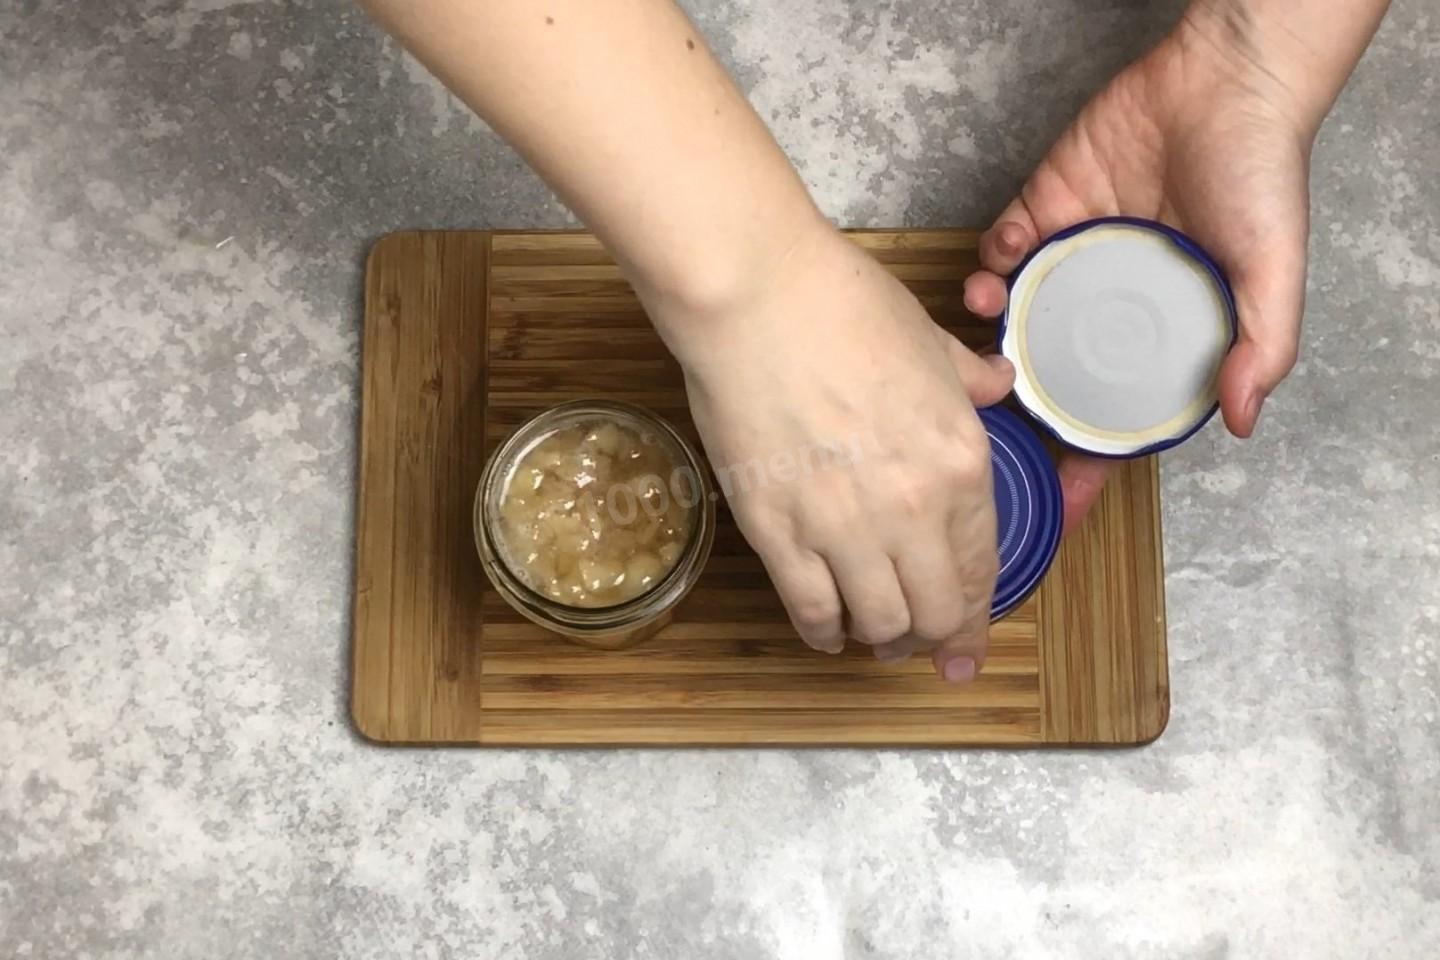
Screw on sterile lids and leave the jars to cool completely.
-
Step 15:
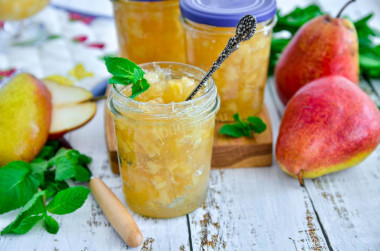
Store the confiture in the fridge. Enjoy!
- For a pretty amber tint, stir in a bit of colored syrup—orange, mango, or passion fruit.
- For tips on figuring out how many jars you'll need, why jars sometimes burst and how to prevent it, plus other secrets and tricks, see the article on winter preserves.
- Instead of sugar, you can use a heat-stable sweetener.
- For why agar-agar sometimes won't set, how to work with it properly and avoid frustrating mistakes, and all the fine points of cooking with this gelling agent, see the article on agar-agar.
Caloric content of the products possible in the composition of the dish
- Pear - 42 kcal/100g
- Dried pear - 246 kcal/100g
- Canned pears - 76 kcal/100g
- Lemon - 16 kcal/100g
- Lemon zest - 47 kcal/100g
- Granulated sugar - 398 kcal/100g
- Sugar - 398 kcal/100g
- Agar-agar - 301 kcal/100g