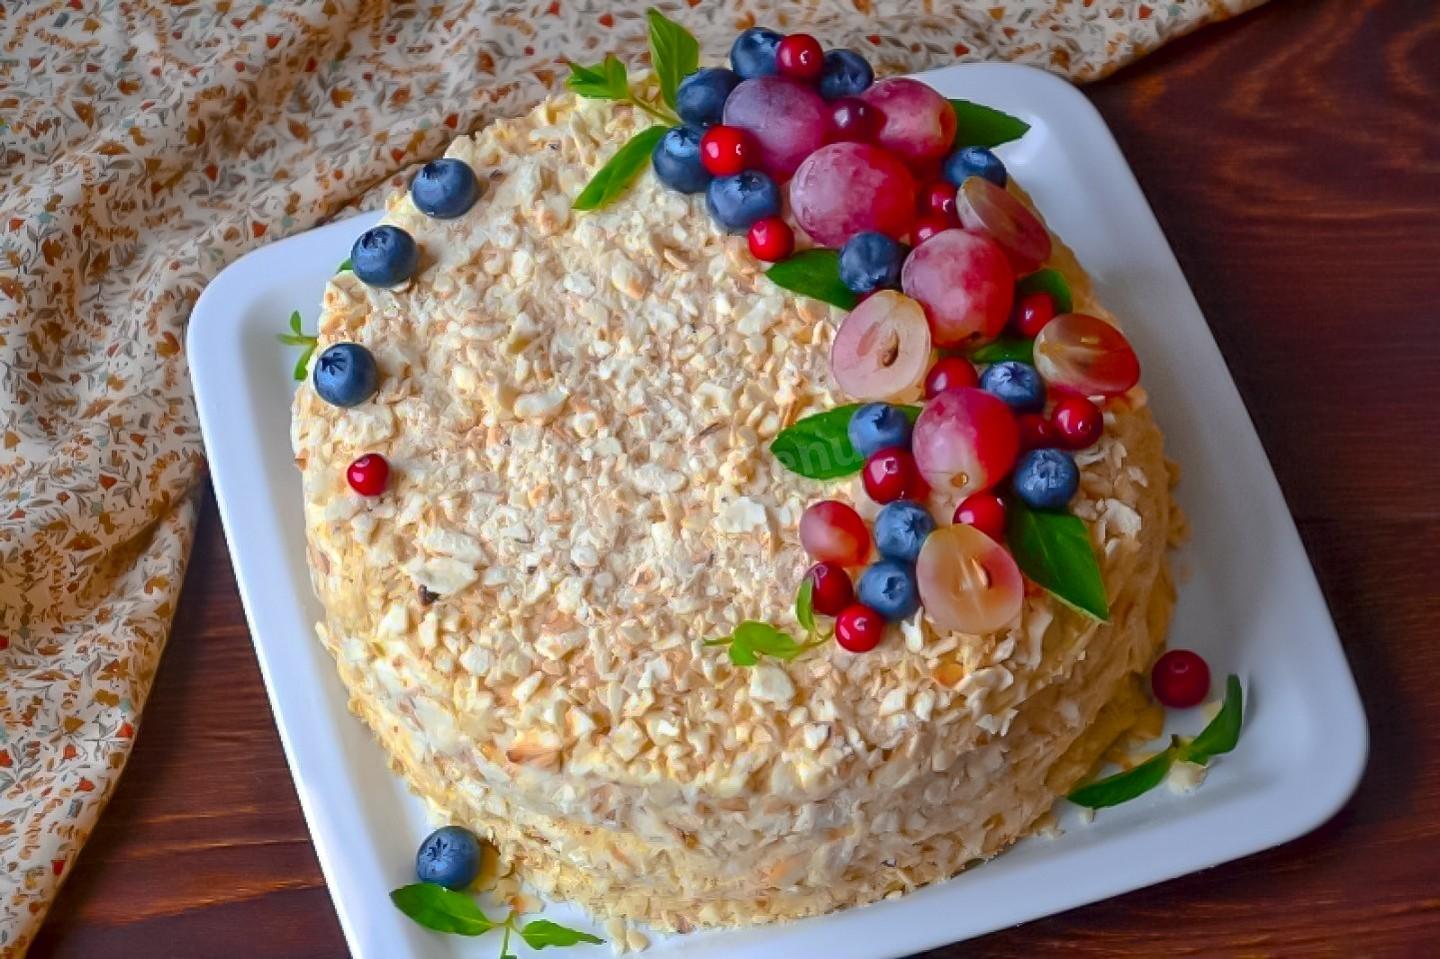
Napoleon Cake Made in a Skillet
A super-fast way to make the famous cake! A perfect classic Napoleon with condensed milk — but cooked in a skillet! Too good to be true? Nope, it's real! You get a super-delicious, quick cake with lots of layers and a wonderful cream filling. This recipe is a lifesaver — and not just for anyone whose oven is on the fritz!

Cooking method
-
Step 1:
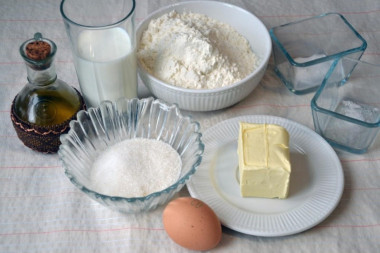
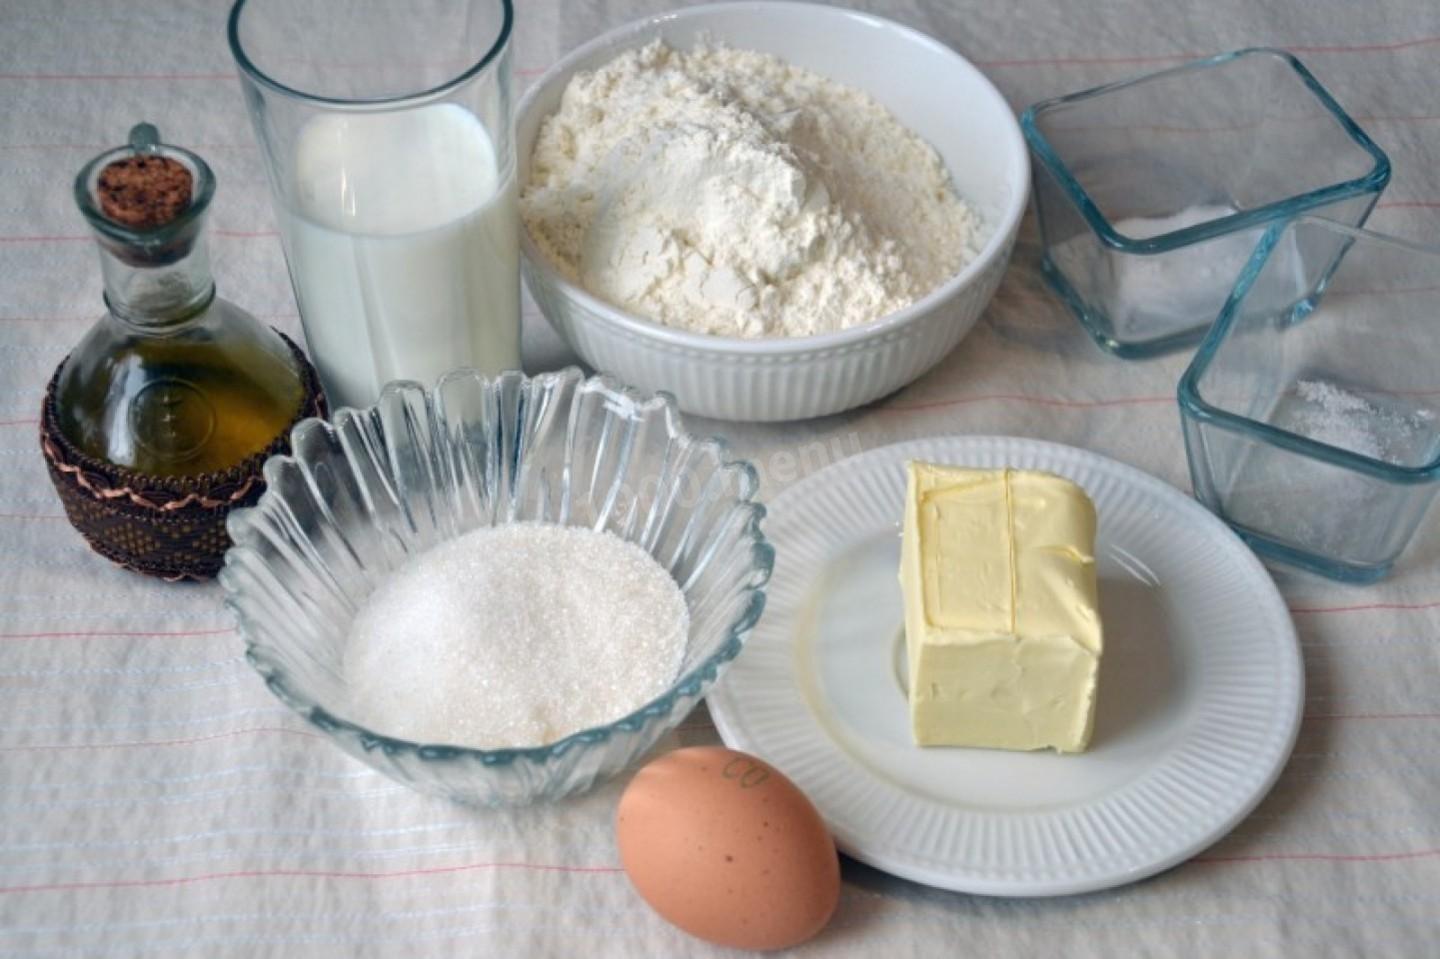
How do you make a Napoleon cake in a skillet? Gather the ingredients for the dough. Use all-purpose flour. The fat content of the milk only affects the final calorie count, so use whatever you have. Use a large or medium egg. The butter should be soft and at room temperature. Use baking soda slaked with vinegar.
-
Step 2:
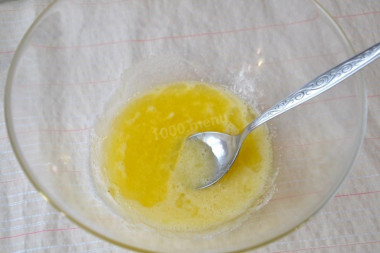
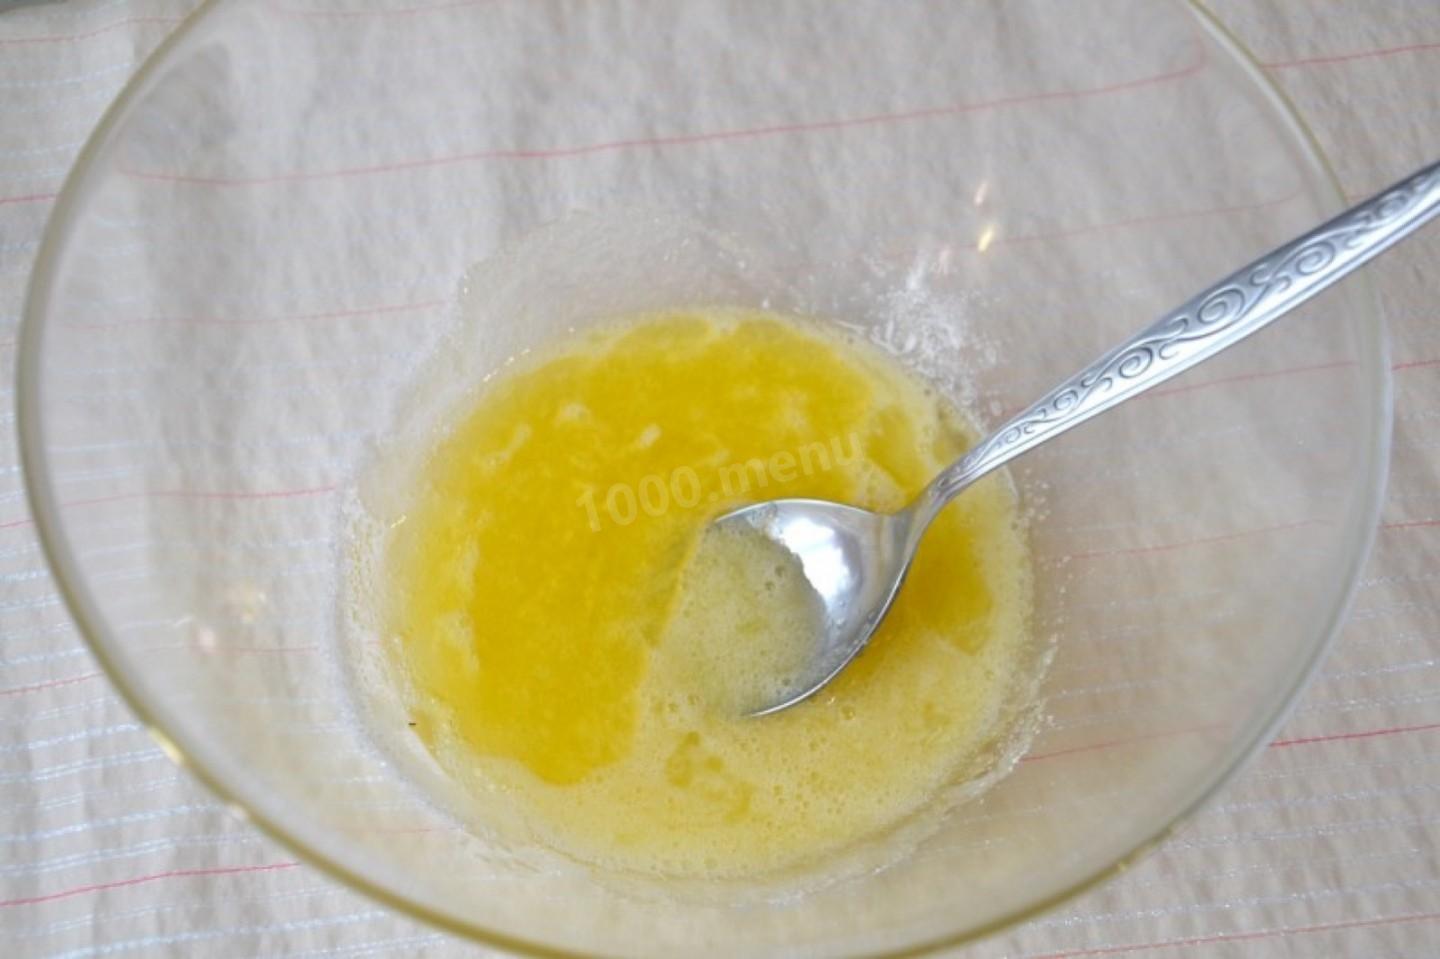
In a clean bowl, cream the egg with the sugar using a spoon or fork.
-
Step 3:
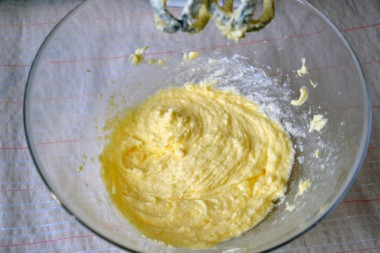
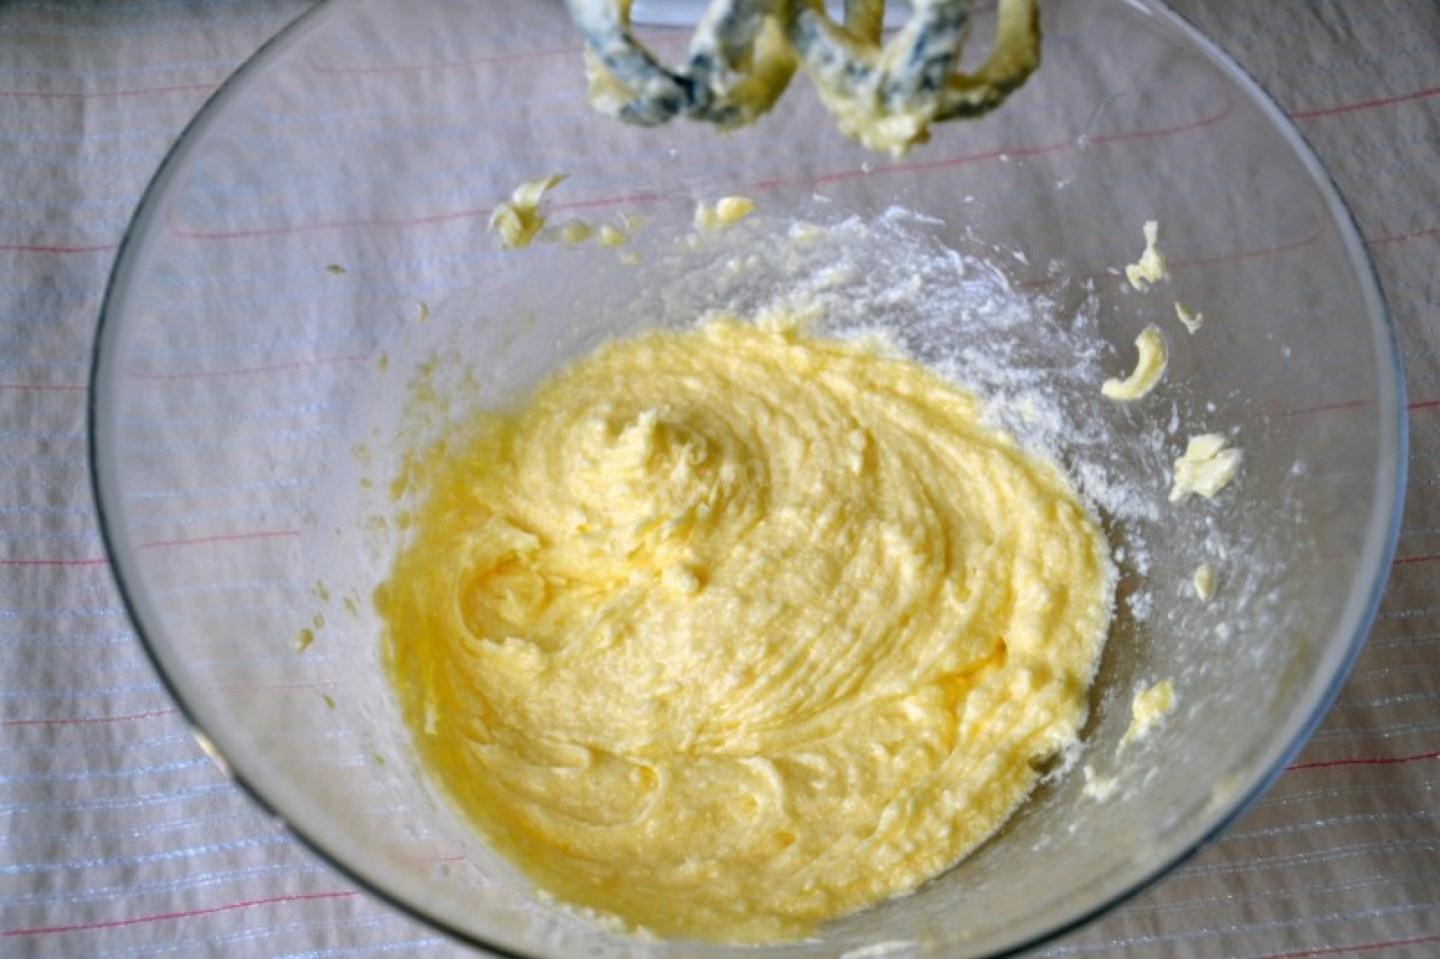
Add the vegetable oil and the softened butter, and mix.
-
Step 4:
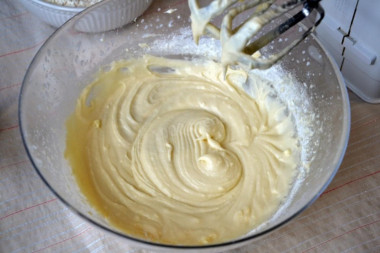
Pour in the milk, add the salt, and mix. Then quickly stir in the vinegar-slaked baking soda. Add the flour in small batches, stirring so no lumps form.
-
Step 5:
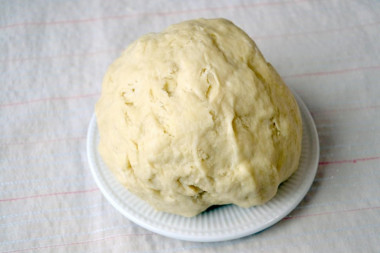
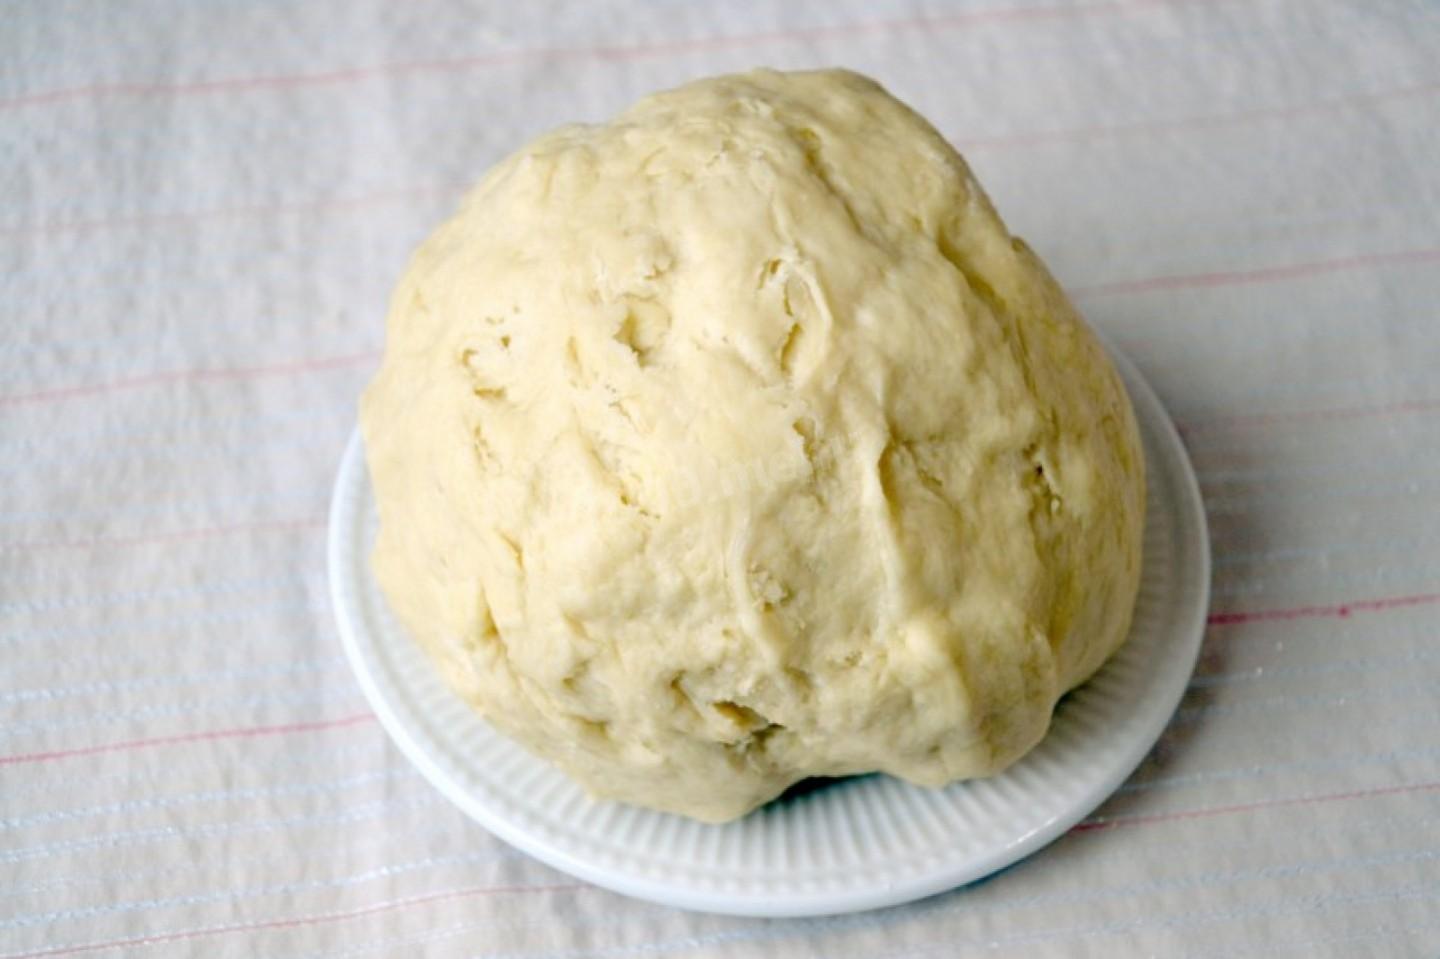
Now knead the dough by hand. Watch how it comes together and add more flour if needed. You want an elastic, non-sticky dough that's moderately firm (but not too stiff!) and holds its shape well.
-
Step 6:
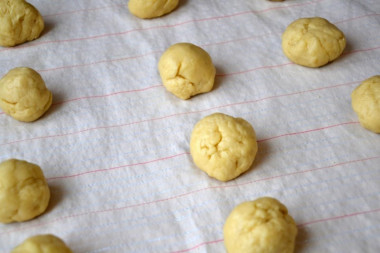
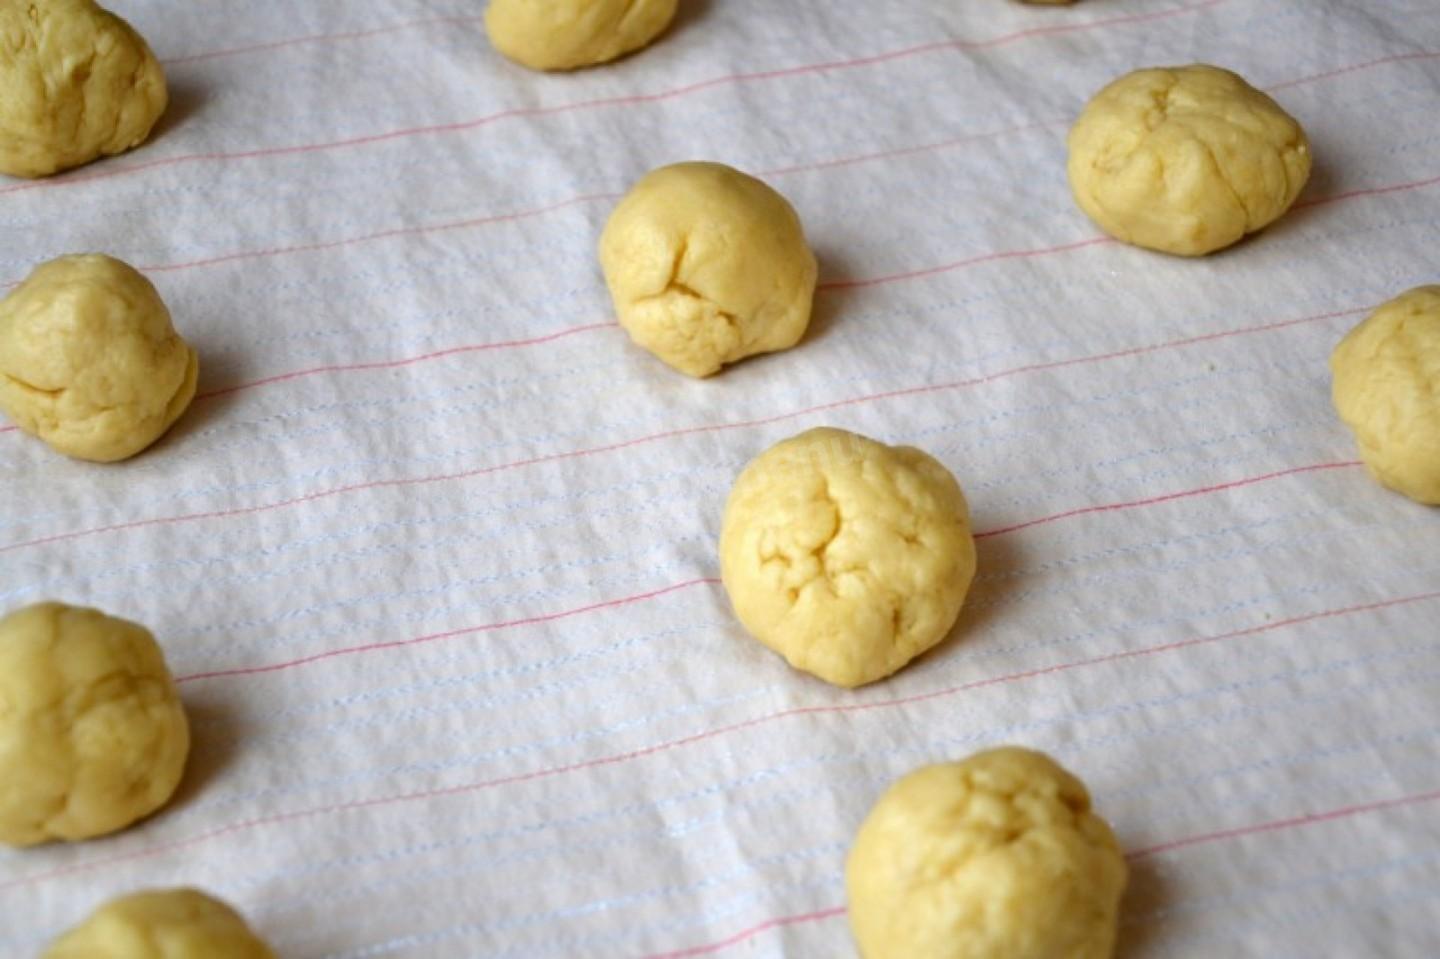
Divide the dough into 18–22 pieces, depending on your skillet's size (mine is 8 inches / 20 cm across).
-
Step 7:
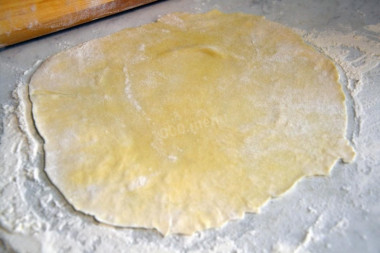
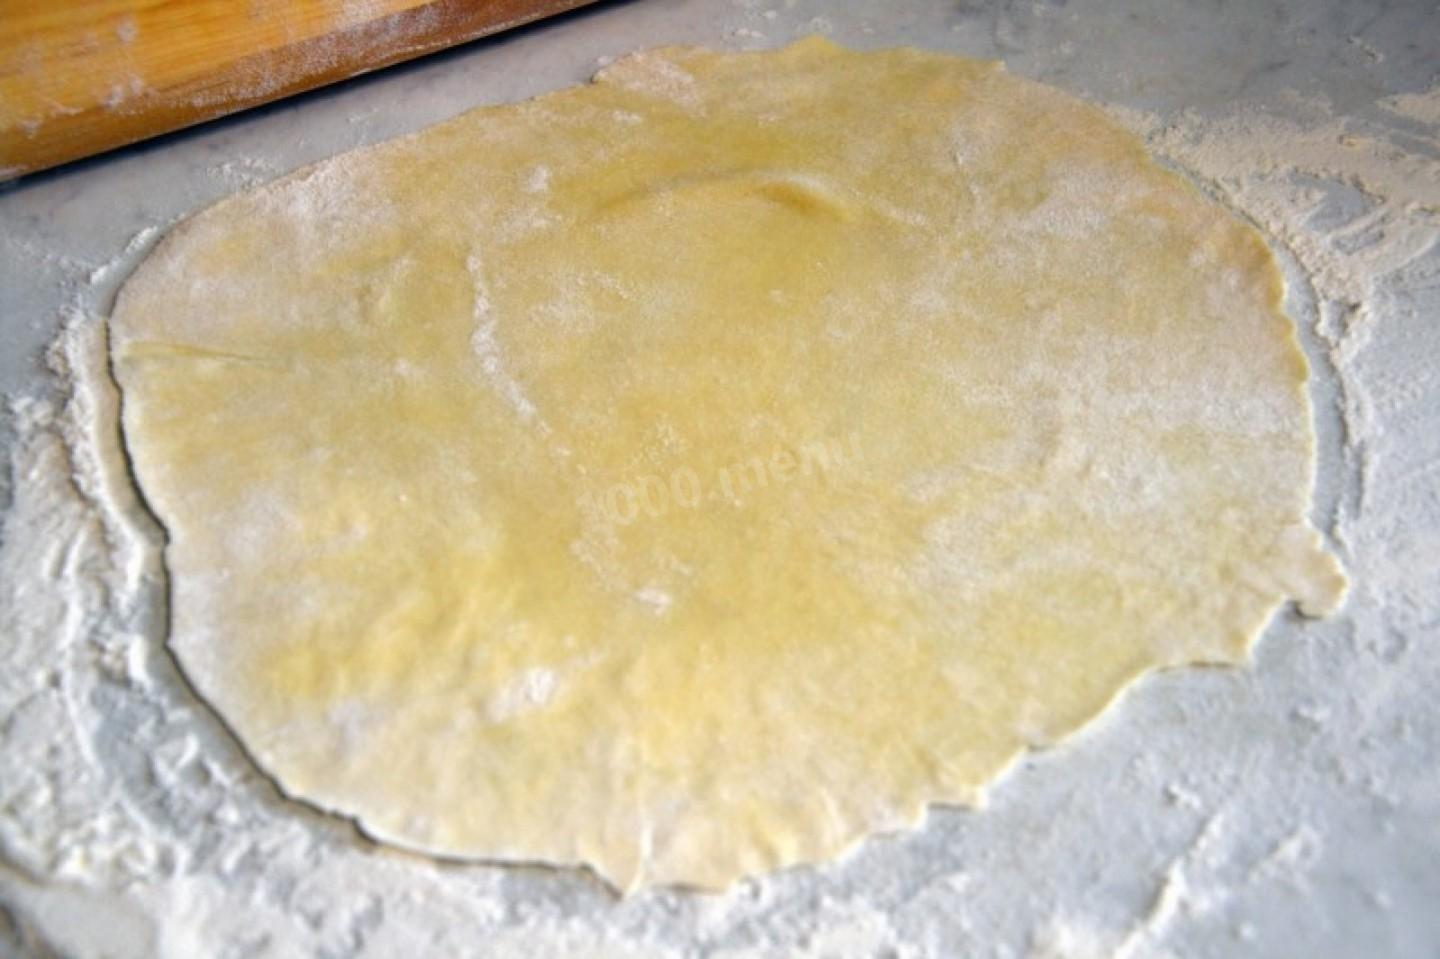
Dust your work surface and rolling pin well with flour. Roll each piece of dough into a thin round sized to your skillet.
-
Step 8:
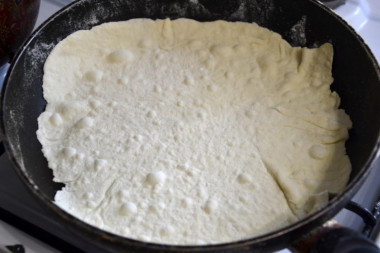
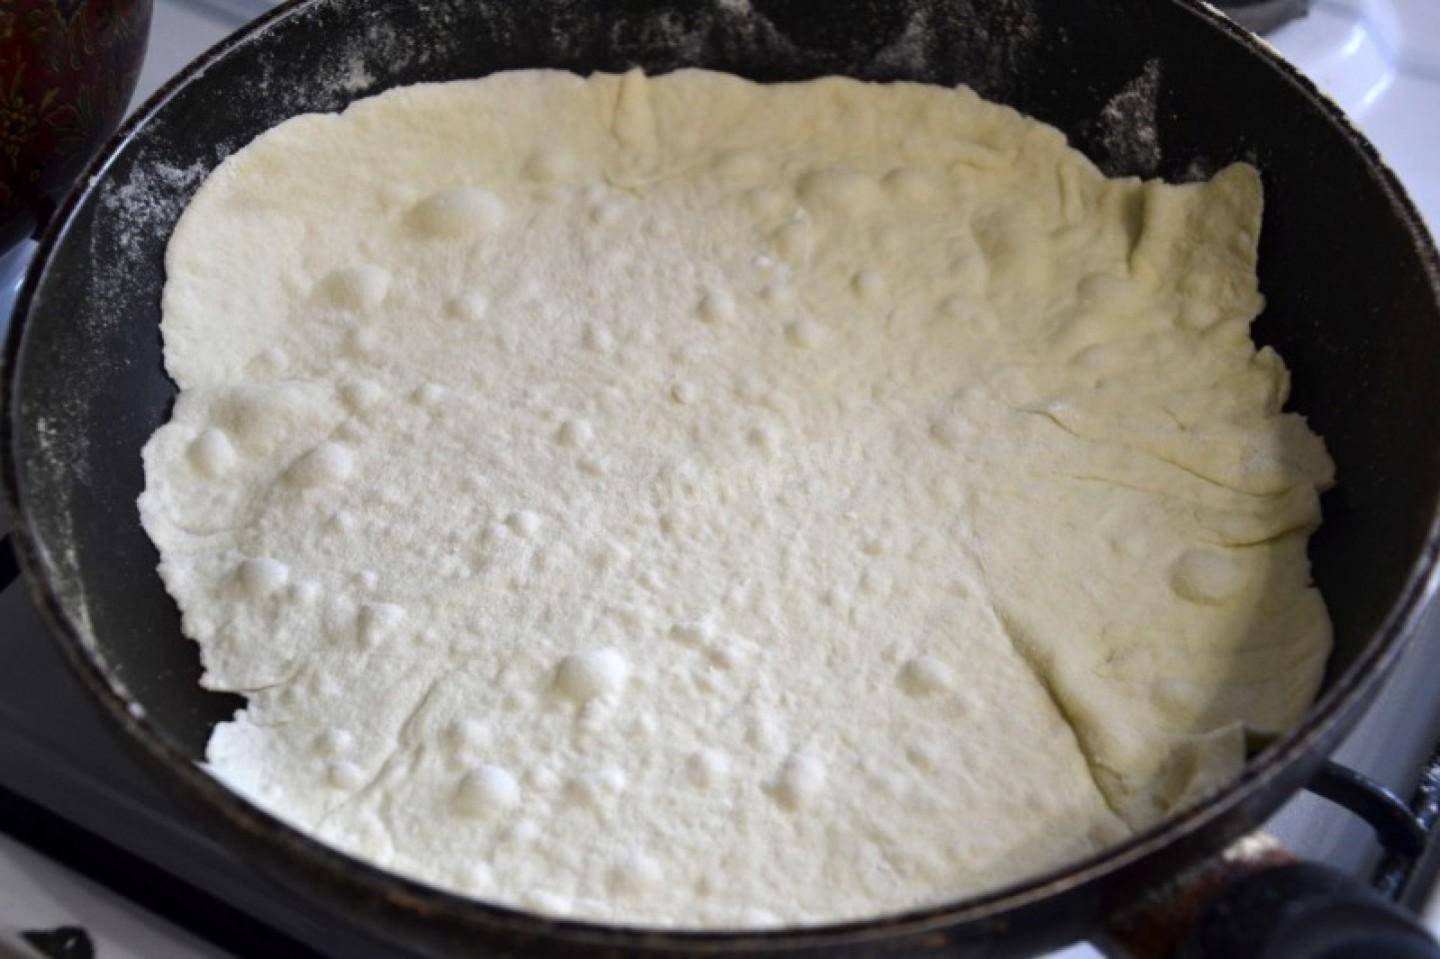
Carefully wrap the round around the rolling pin and transfer it to a dry, hot skillet. Cook it on both sides — it takes just a moment. You can lift an edge to check how it's browning. The layers should be very thin and dry out well in the pan, right down to a slight crunch and a few browned spots. That way they won't be rubbery, and they'll soak up the cream nicely.
-
Step 9:
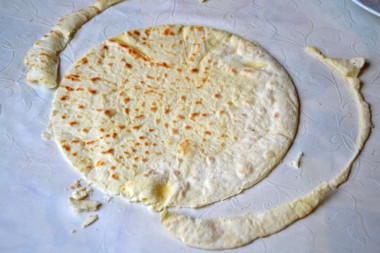
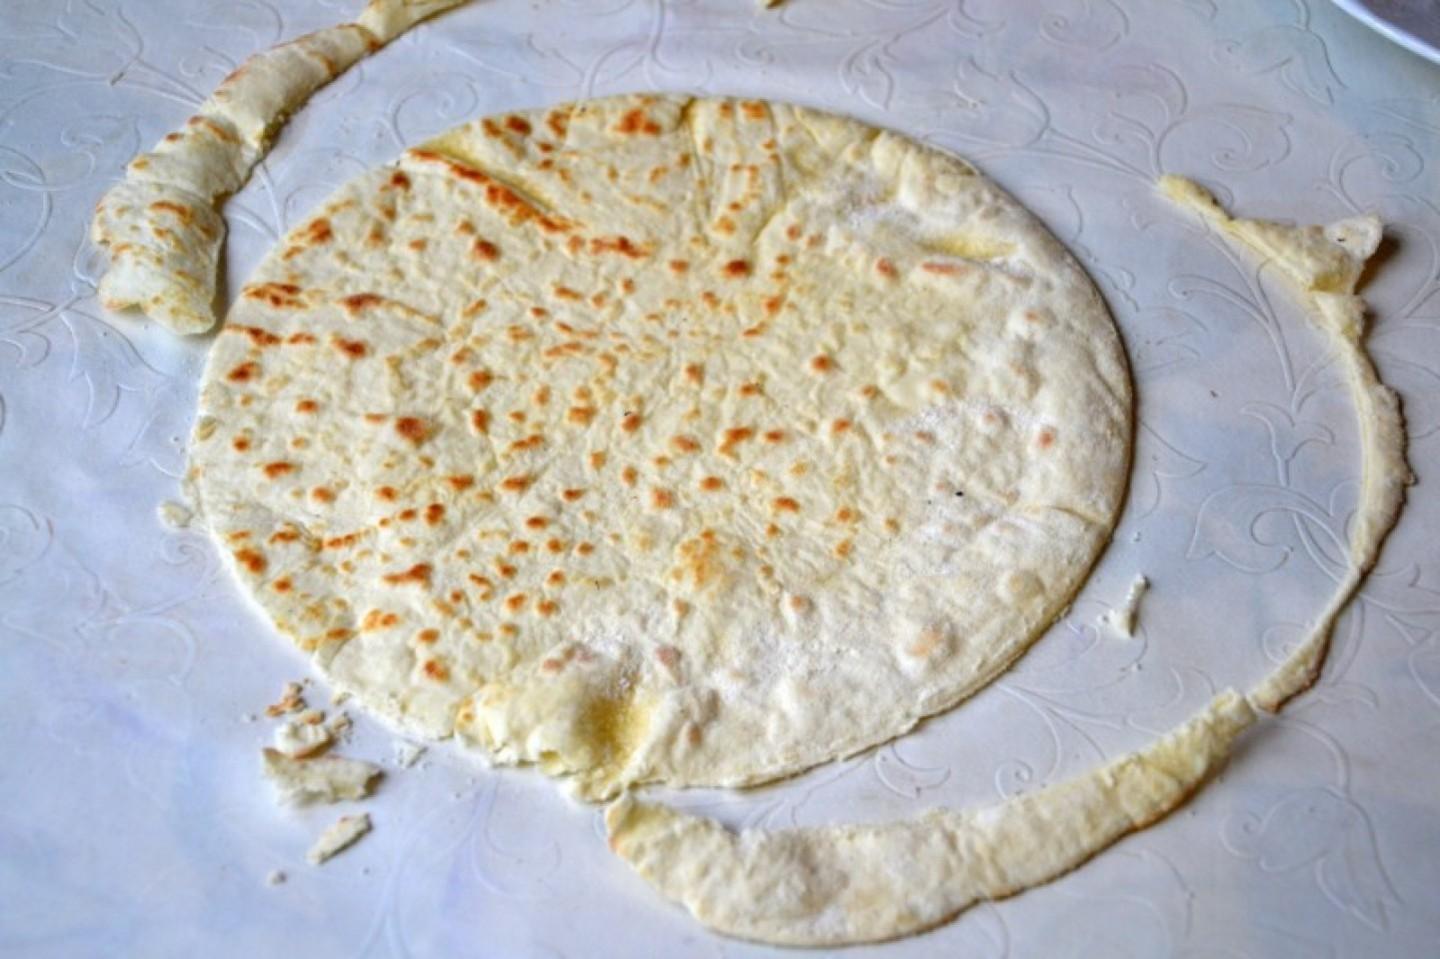
While each layer is still warm, quickly trim the edges into a neat, perfectly round circle. Save the trimmings — we'll crush them into crumbs later.
-
Step 10:
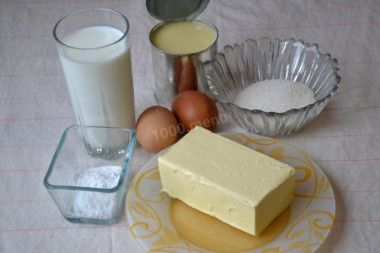
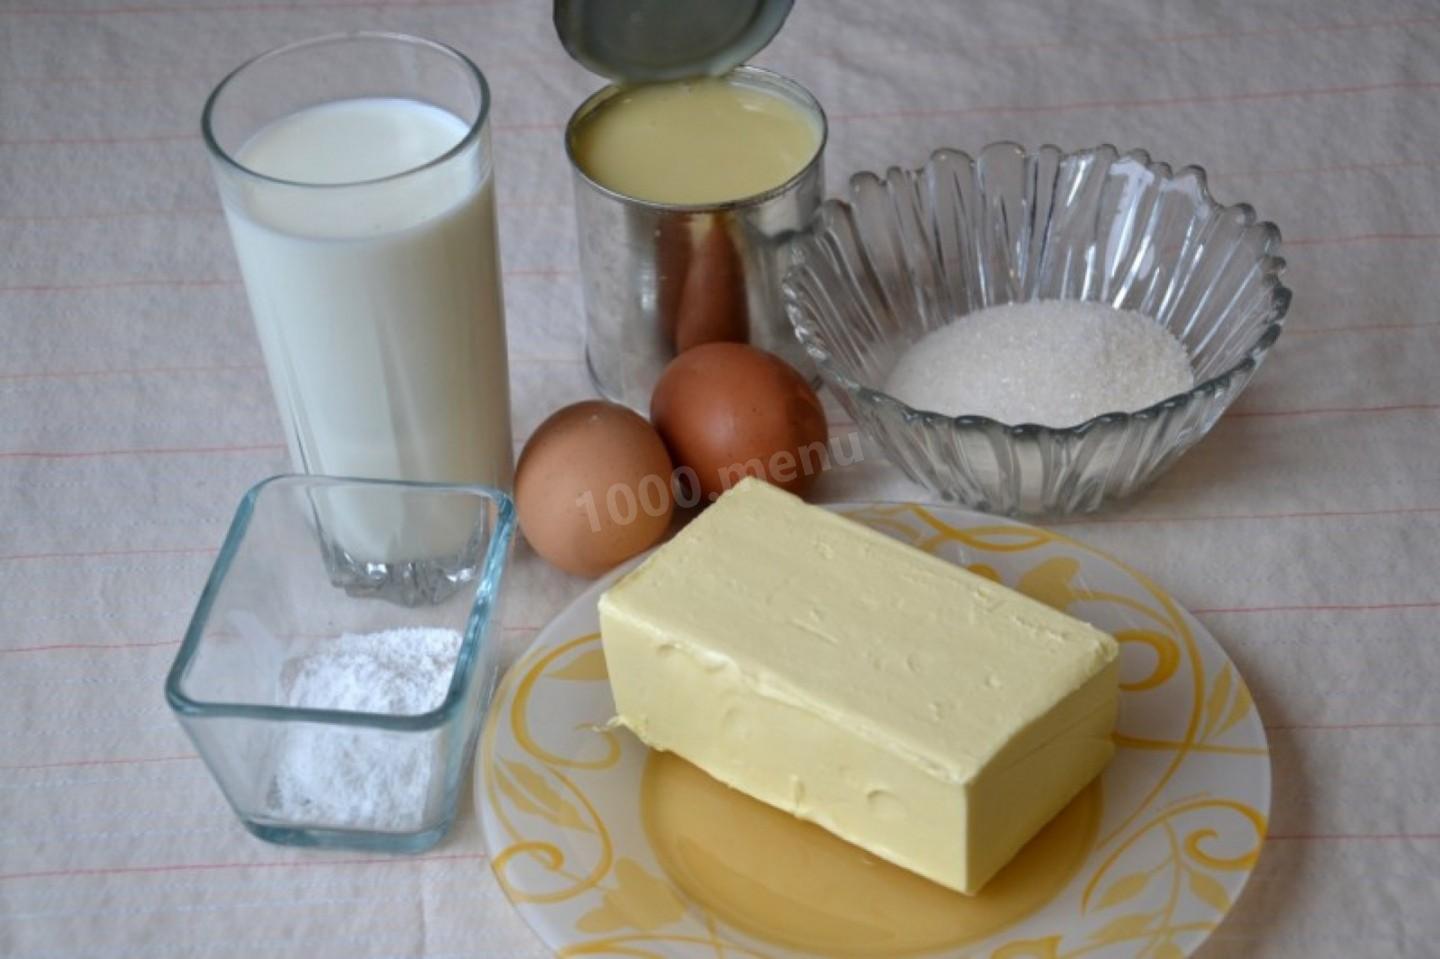
Gather the ingredients for the cream. NOTE! This custard is made WITHOUT FLOUR. If you're not confident you can pull this off, or you're used to making custard with flour, go ahead and make the cream your usual way. The butter should be soft and at room temperature so it whips up well.
-
Step 11:
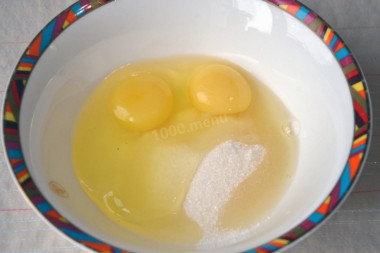
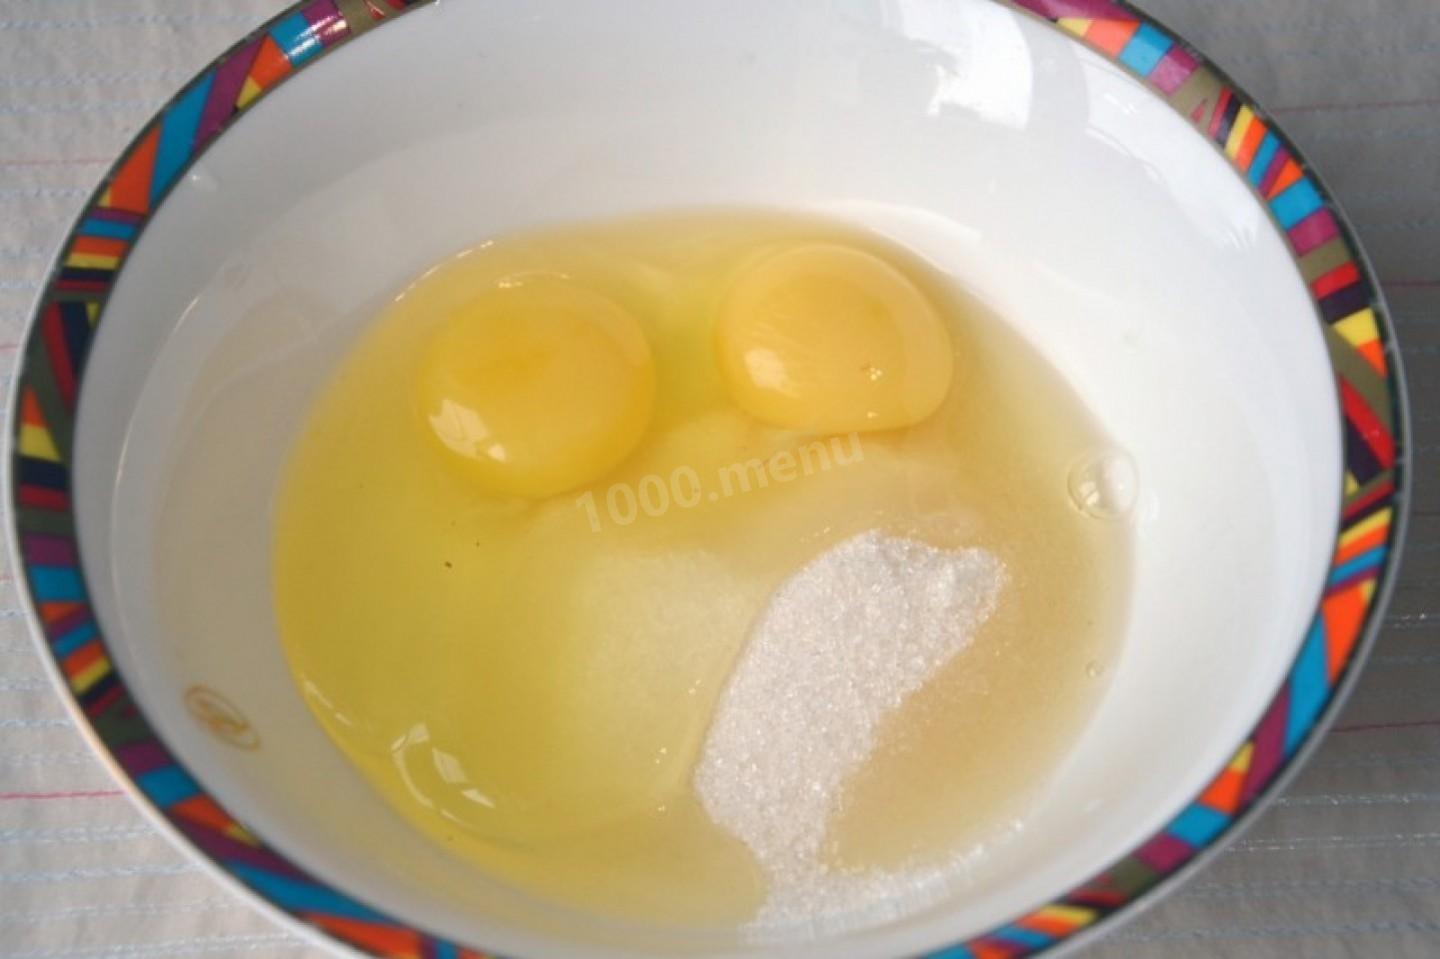
In a separate bowl, cream the eggs with the sugar and vanilla sugar.
-
Step 12:
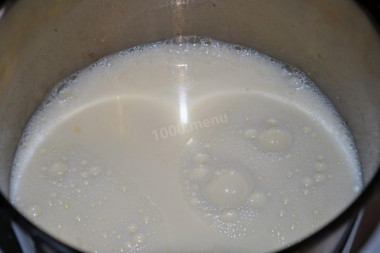
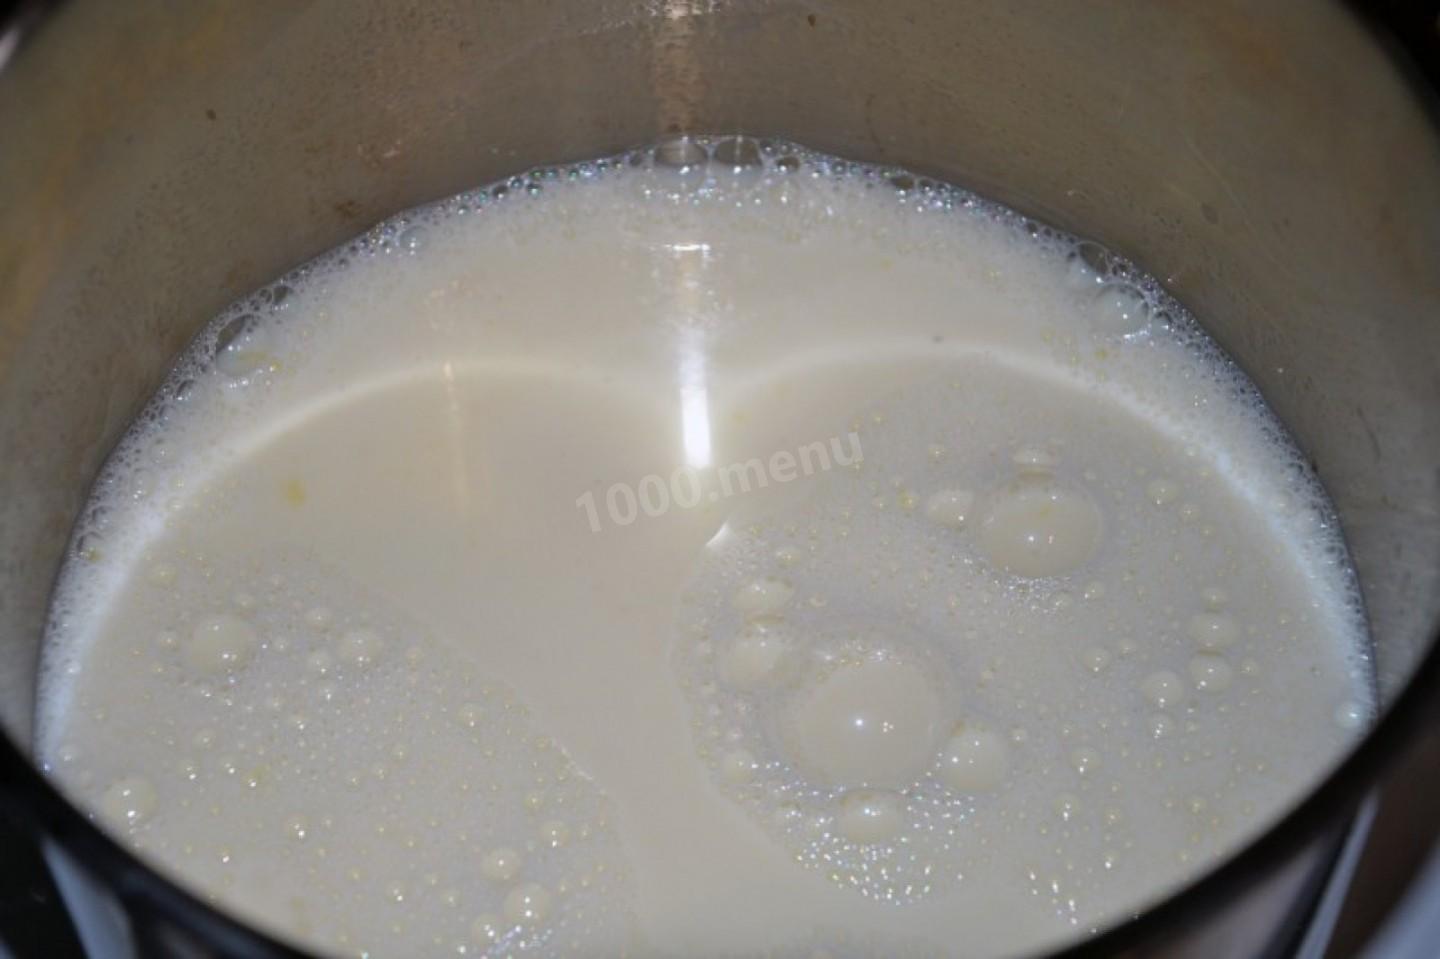
Set a heavy-bottomed saucepan on the stove, pour in the milk, and heat it over low heat. Milk is usually brought to a boil, but not everyone can then pour it into the eggs without getting scrambled bits. So unless you're a pro who could make custard in your sleep, don't let the milk boil — just heat it until it starts to steam. It should be hot, but not boiling.
-
Step 13:
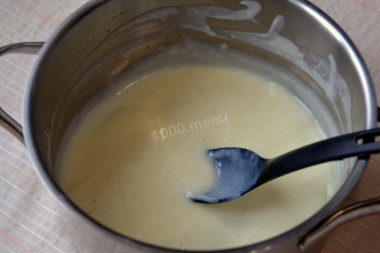
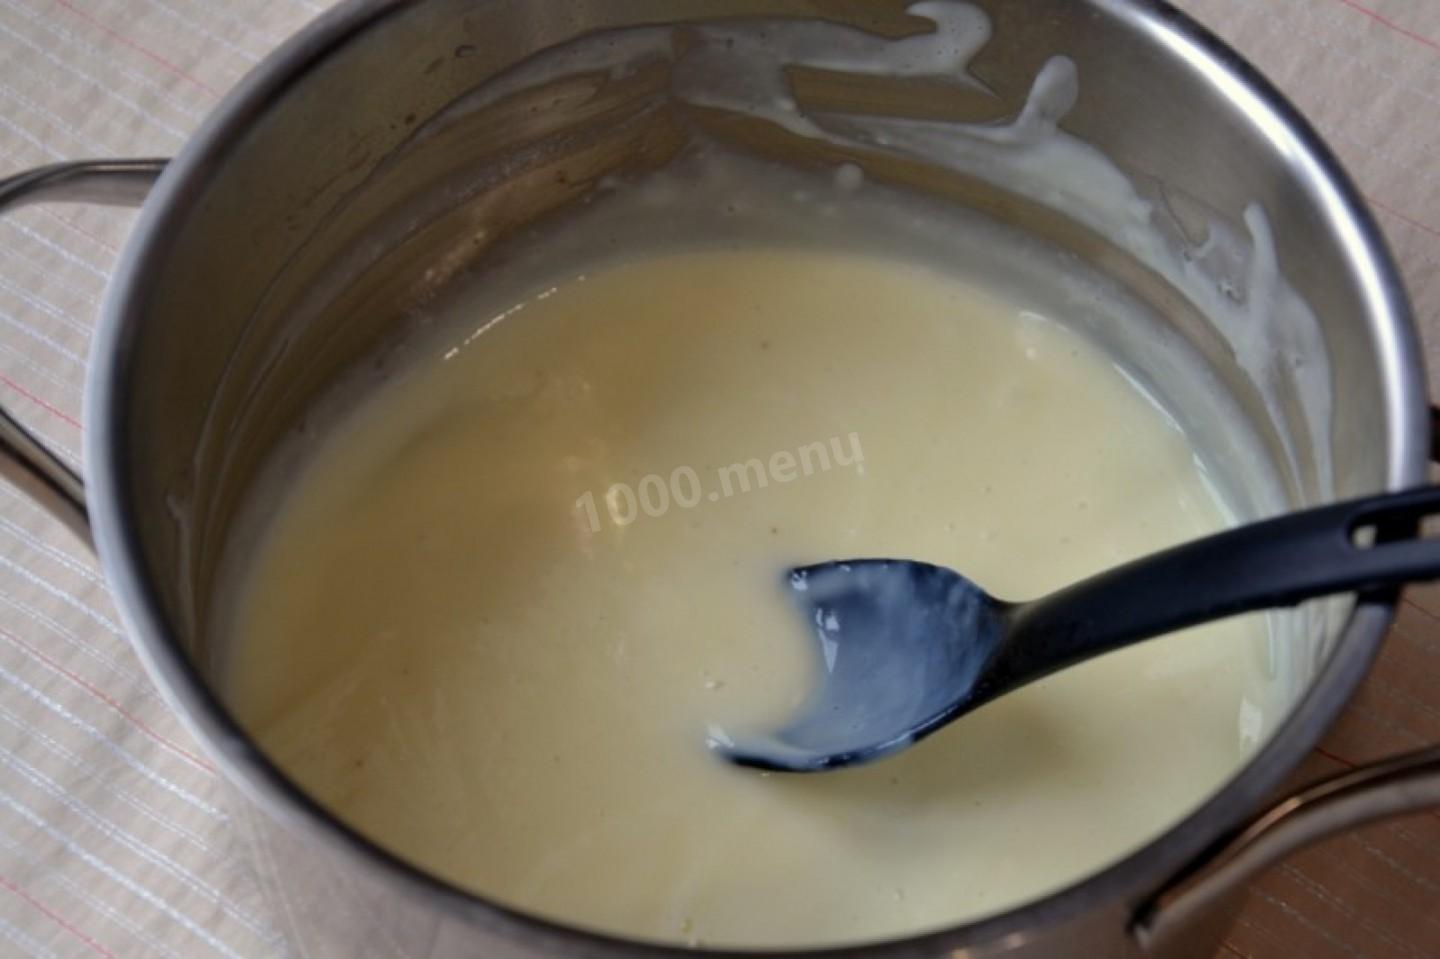
Pour the warm milk into the egg mixture in a very thin, slow stream while whisking constantly and quickly. If you rush, the eggs will curdle and the custard will turn out lumpy (with or without flour). Ideally, whisk the eggs as fast as you can while adding the milk very slowly. Pour the mixture back into the saucepan and cook the custard over low heat, stirring constantly (!), until it thickens.
-
Step 14:
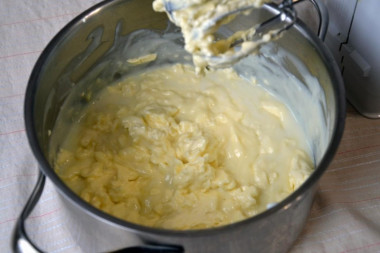
Turn off the stove, take the saucepan off the heat, and let the custard cool. To keep a skin from forming, press plastic wrap directly onto its surface. Cool the custard to room temperature or below — if it's warm inside, it'll melt the butter and the mixture will turn runny. Add the soft, room-temperature butter to the cooled custard.
-
Step 15:
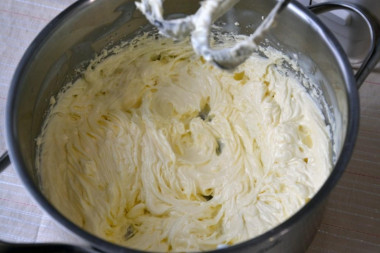
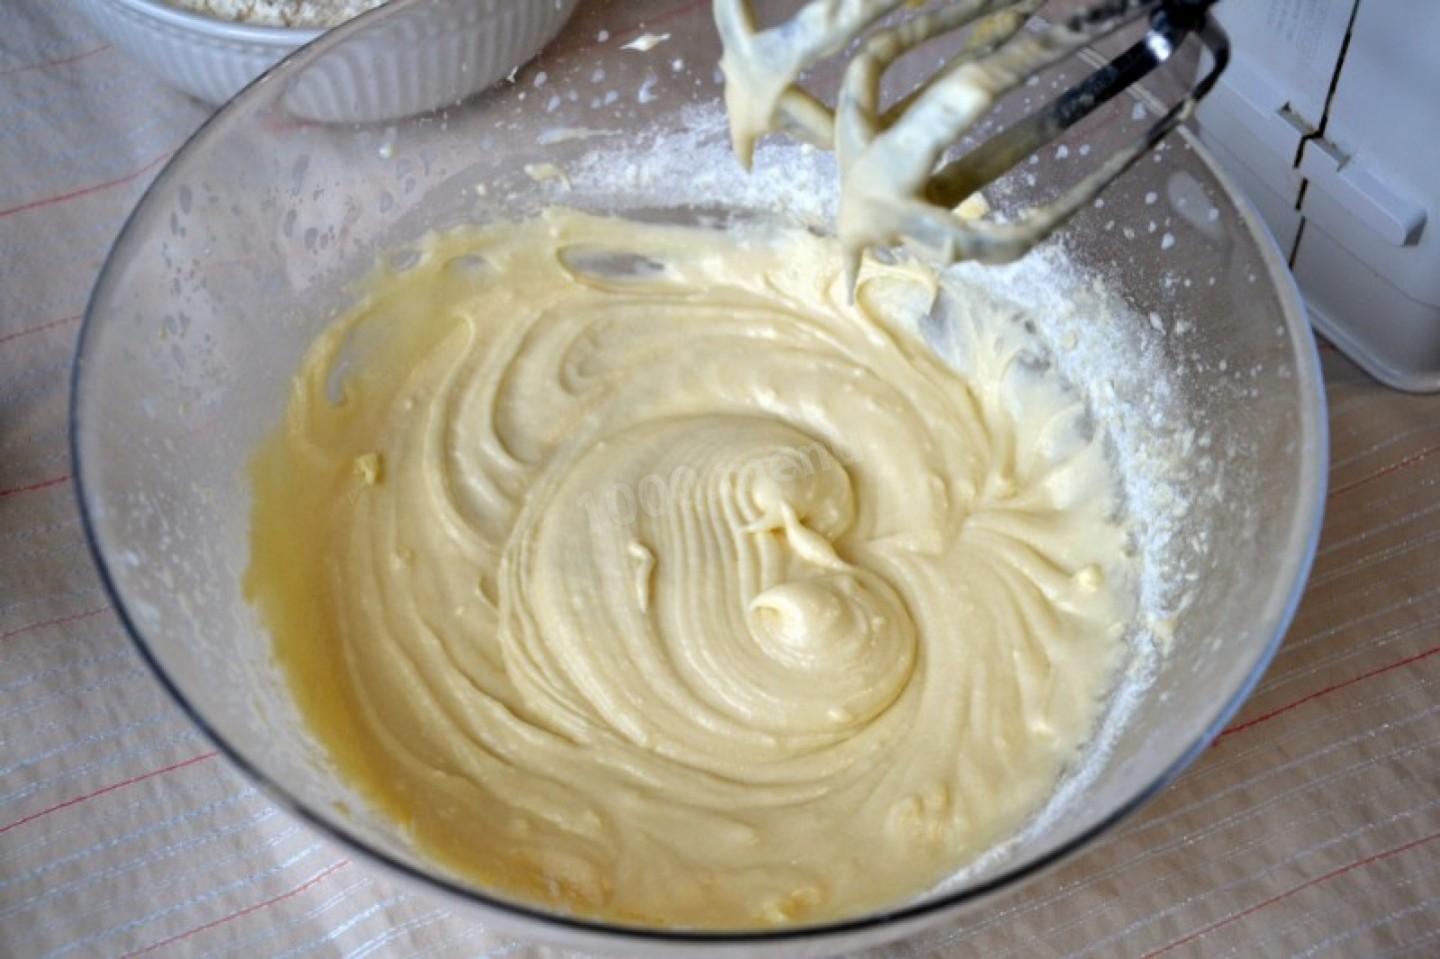
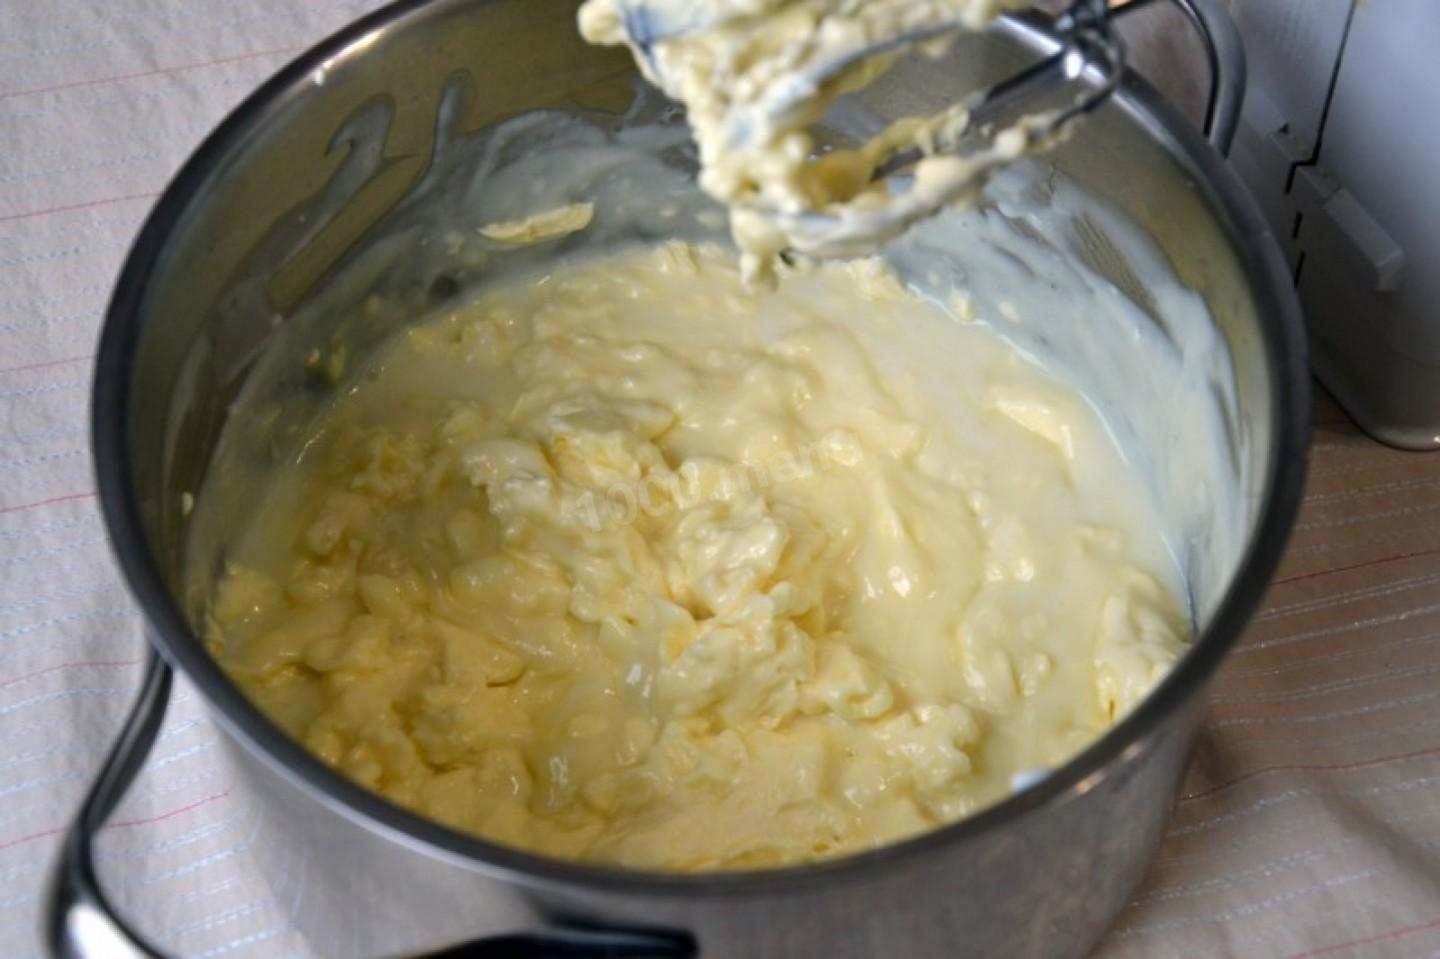
Beat the mixture well with a mixer. It should turn light and fluffy and double in volume.
-
Step 16:
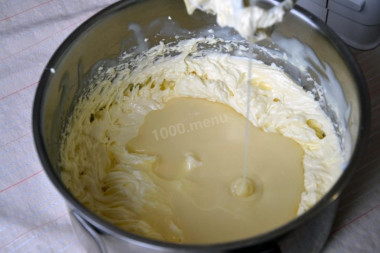
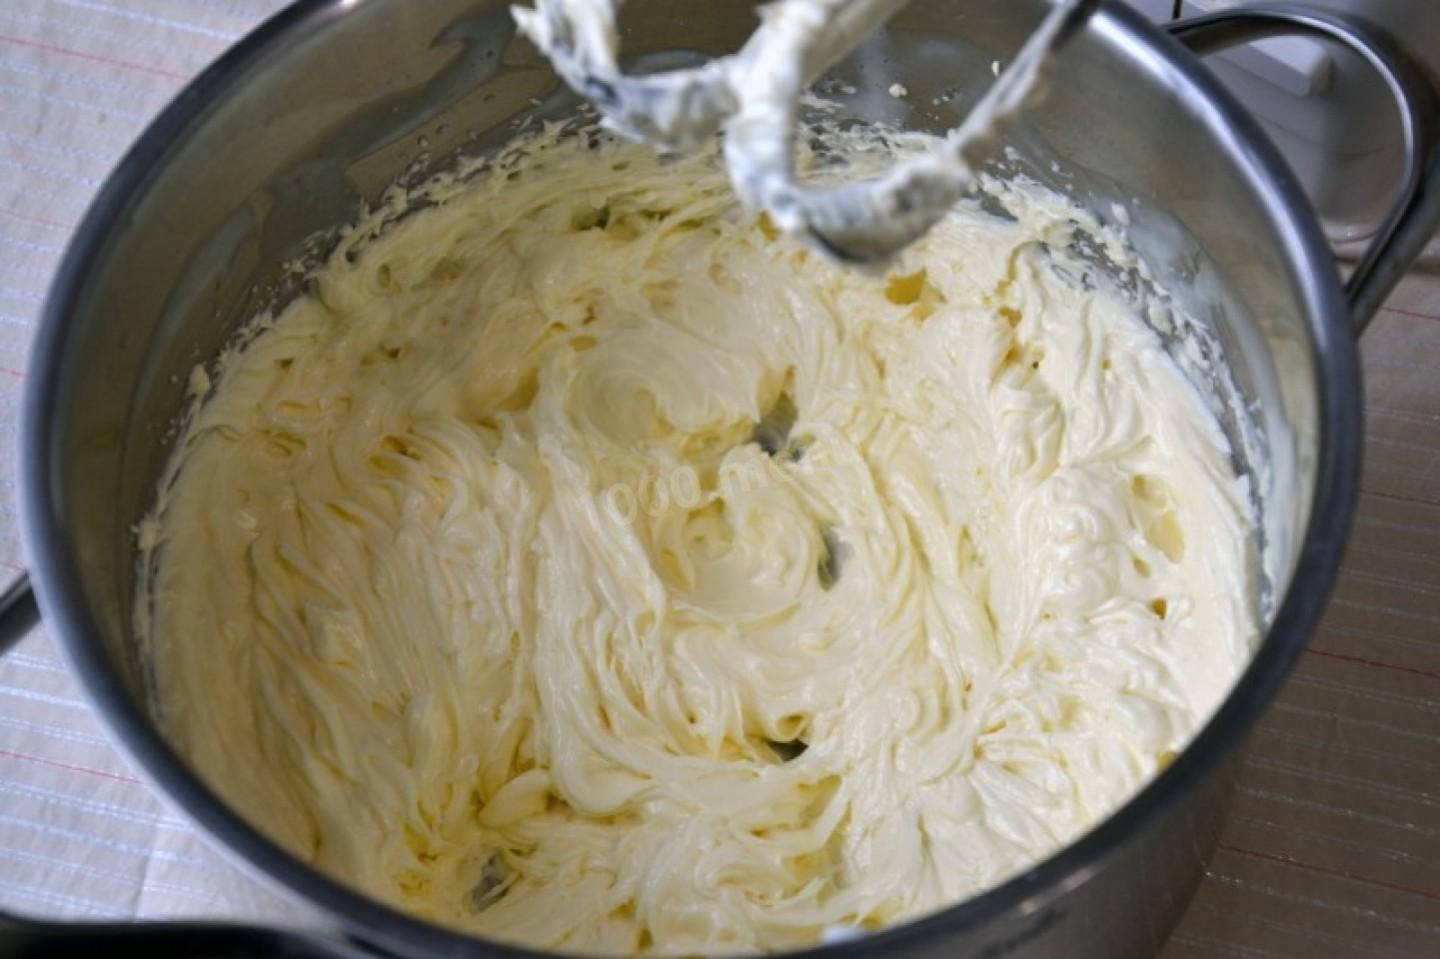
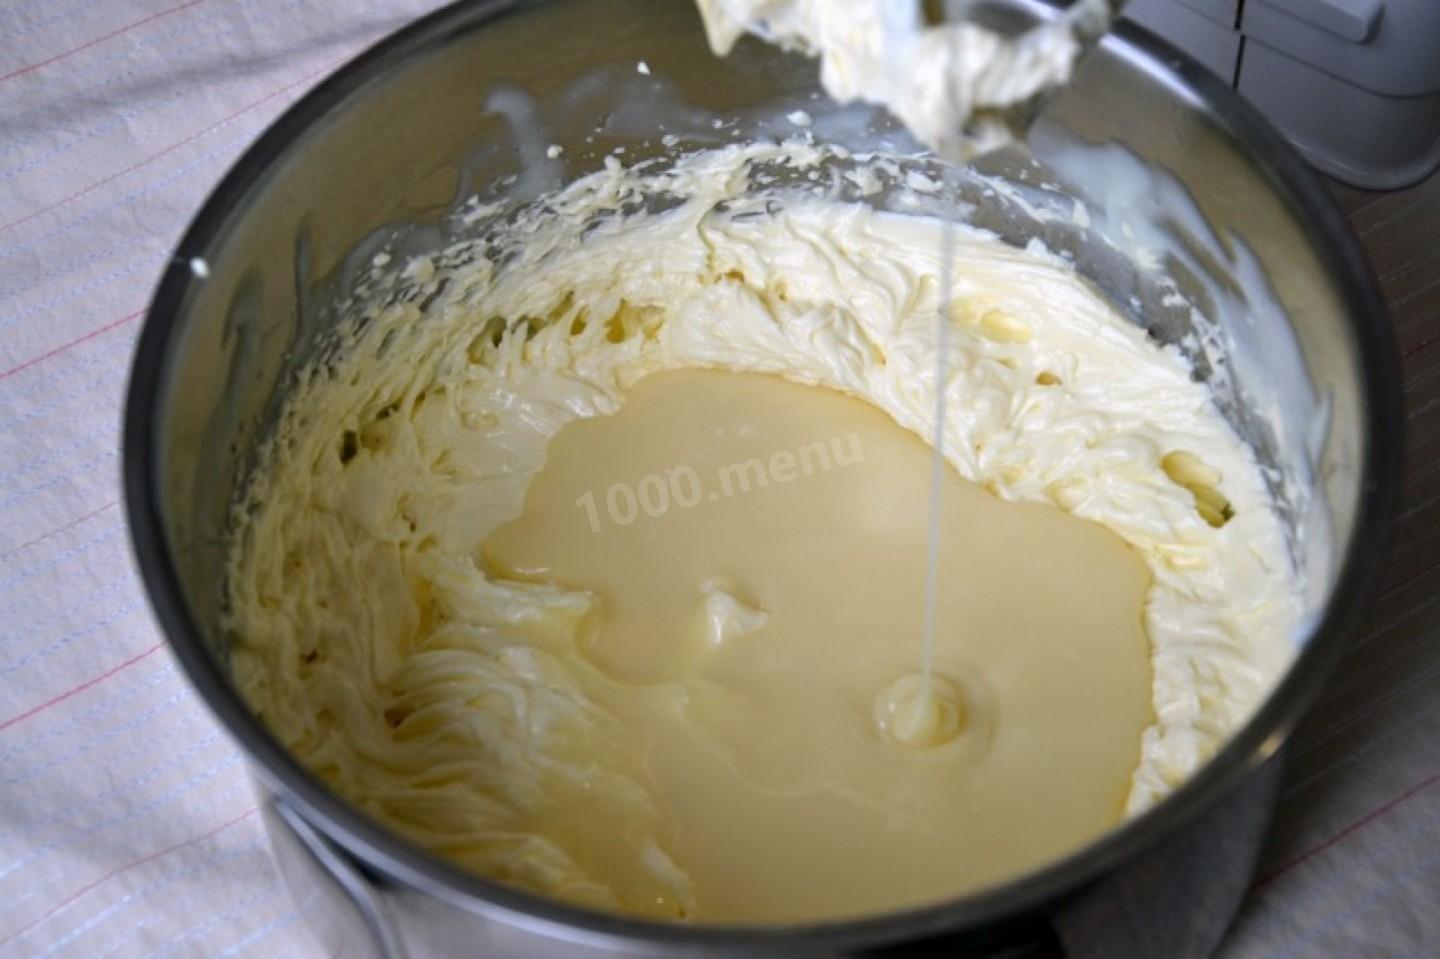
Add the condensed milk and vanilla to the cream and beat again until smooth. It's best not to add all the condensed milk at once — depending on how thick the cream is, you may need less. So keep an eye on the consistency. Be careful not to over-beat, or the cream will separate. As soon as it's smooth, stop the mixer.
-
Step 17:
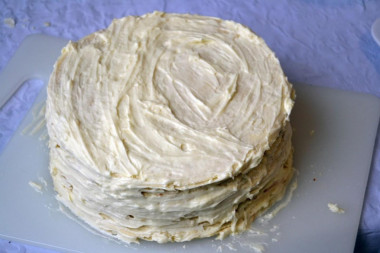
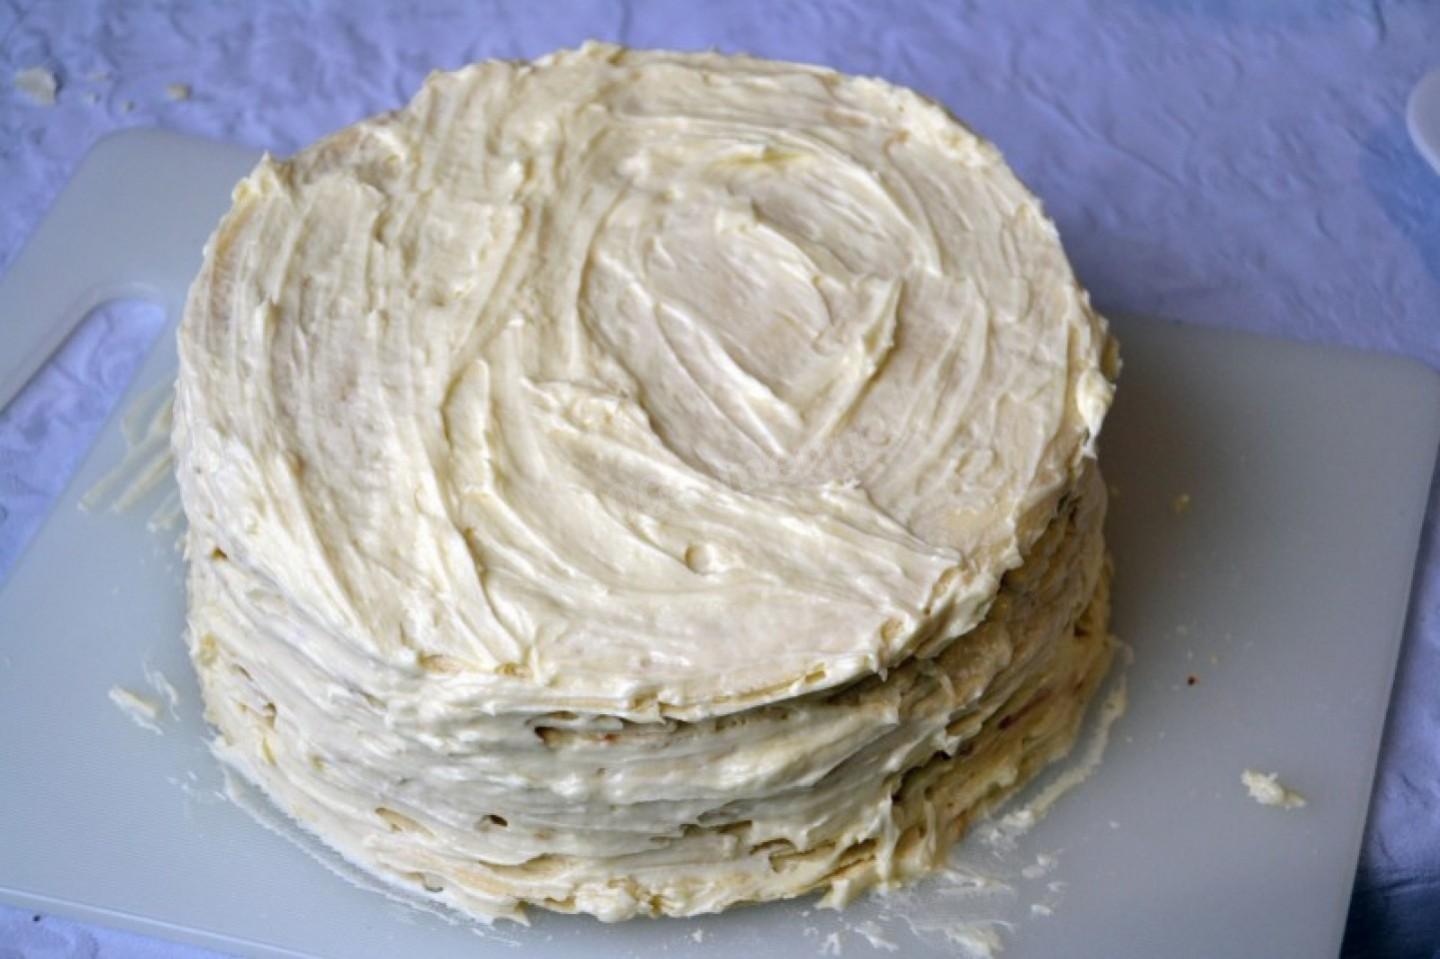
On a wide, flat cake plate, start stacking the layers on top of one another, spreading each with cream. !!! The layers must be fully cool, inside and out. Double-check — warm layers will melt the butter in the cream, and it'll turn runny, separate, and ooze out right as you're assembling.
-
Step 18:
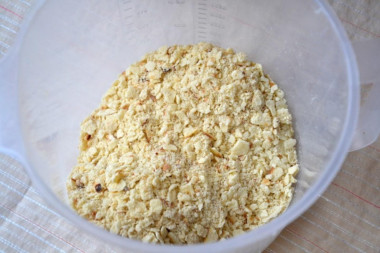
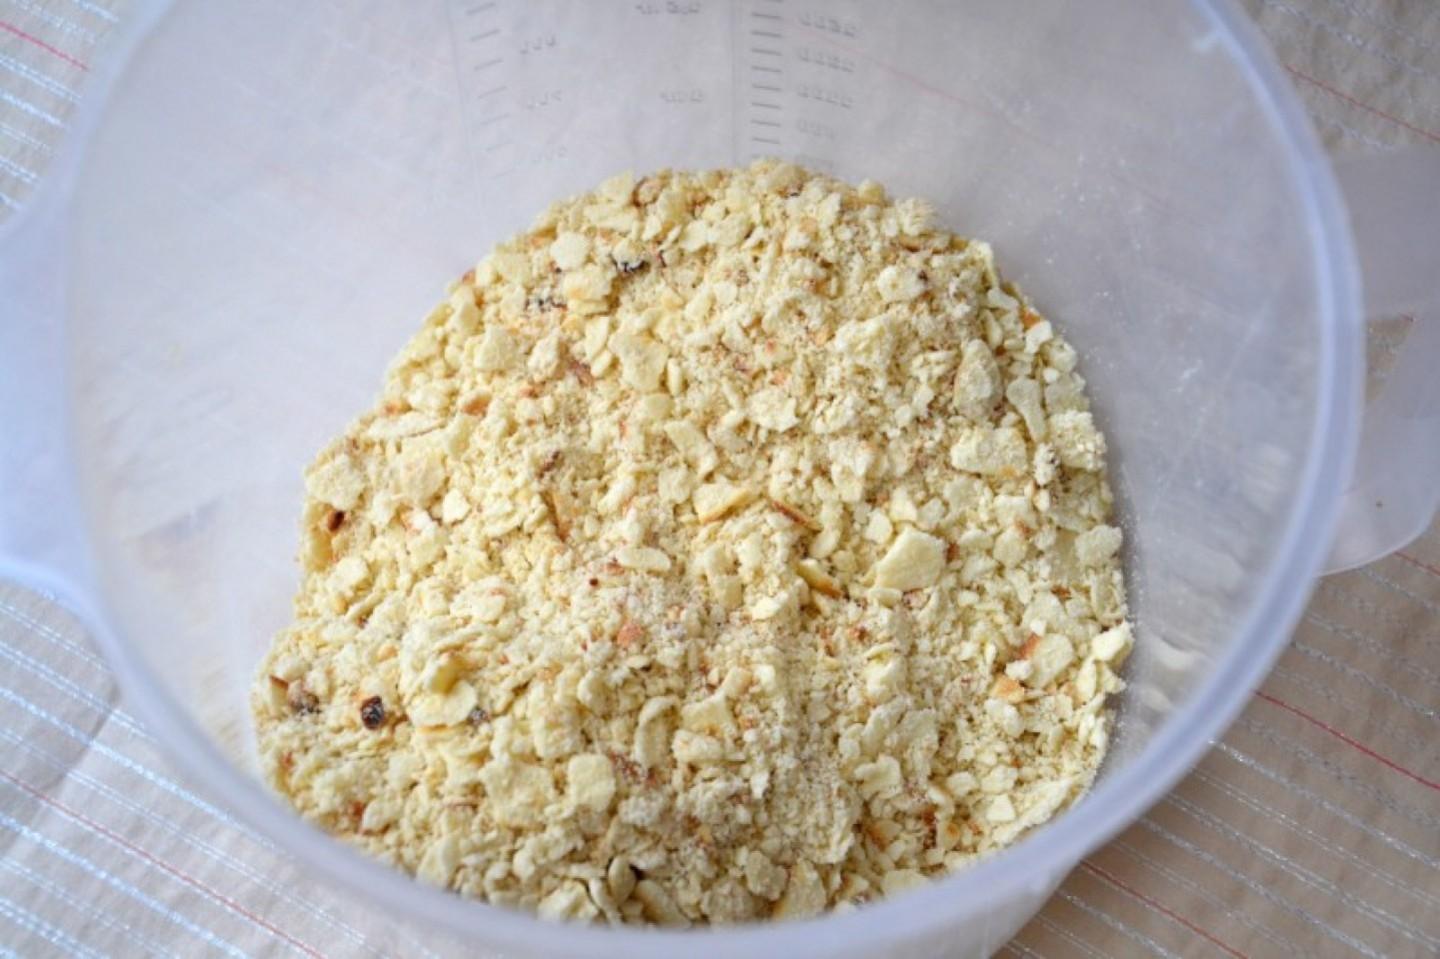
Crush the trimmings and sprinkle the crumbs over the top and sides of the cake. Let the cake sit at room temperature for 2–3 hours so the layers soak up the cream, then refrigerate it overnight. Before serving, you can decorate it with mint, berries, or fruit. I dusted mine with powdered sugar.
- This was only the second time I'd ever made this cake. The first time I did it in the oven and it took me about 3 hours — and that was for just 8 layers. This time the whole thing took 2.5 hours and I got 22 layers. This dough recipe is a winner! The layers come out thin (you can see the table through them), don't tear, and stay elastic. They flatten out easily in the skillet. Now that I have something to compare it to, I'll probably never make Napoleon in the oven again.
- Tip: for this cake you don't have to use the tricky custard from the recipe — you can pick any suitable Napoleon cream, or use a sour-cream frosting, or simply dulce de leche (boiled condensed milk), whatever you like. Just make sure the condensed milk is good quality: it shouldn't be thin and runny. If it is, it's a fake.
- Be prepared to need a bit more or less flour than the recipe states. Go by the desired dough consistency rather than a fixed amount of flour. To avoid mistakes, read up on flour and its properties!
Caloric content of the products possible in the composition of the dish
- Whole cow's milk - 68 kcal/100g
- Milk 3.5% fat content - 64 kcal/100g
- Milk 3.2% fat content - 60 kcal/100g
- Milk 1.5% fat content - 47 kcal/100g
- Concentrated milk 7.5% fat content - 140 kcal/100g
- Milk 2.5% fat content - 54 kcal/100g
- Chicken egg - 157 kcal/100g
- Egg white - 45 kcal/100g
- Egg powder - 542 kcal/100g
- Egg yolk - 352 kcal/100g
- Ostrich egg - 118 kcal/100g
- Whole durum wheat flour fortified - 333 kcal/100g
- Whole durum wheat flour, universal - 364 kcal/100g
- Flour krupchatka - 348 kcal/100g
- Flour - 325 kcal/100g
- Granulated sugar - 398 kcal/100g
- Sugar - 398 kcal/100g
- Condensed milk with sugar - 324 kcal/100g
- Butter 82% - 734 kcal/100g
- Amateur unsalted butter - 709 kcal/100g
- Unsalted peasant butter - 661 kcal/100g
- Peasant salted butter - 652 kcal/100g
- Melted butter - 869 kcal/100g
- Vegetable oil - 873 kcal/100g
- Salt - 0 kcal/100g
- Baking soda - 0 kcal/100g
- Vanilla sugar - 379 kcal/100g