Christmas Tree Sponge Cake
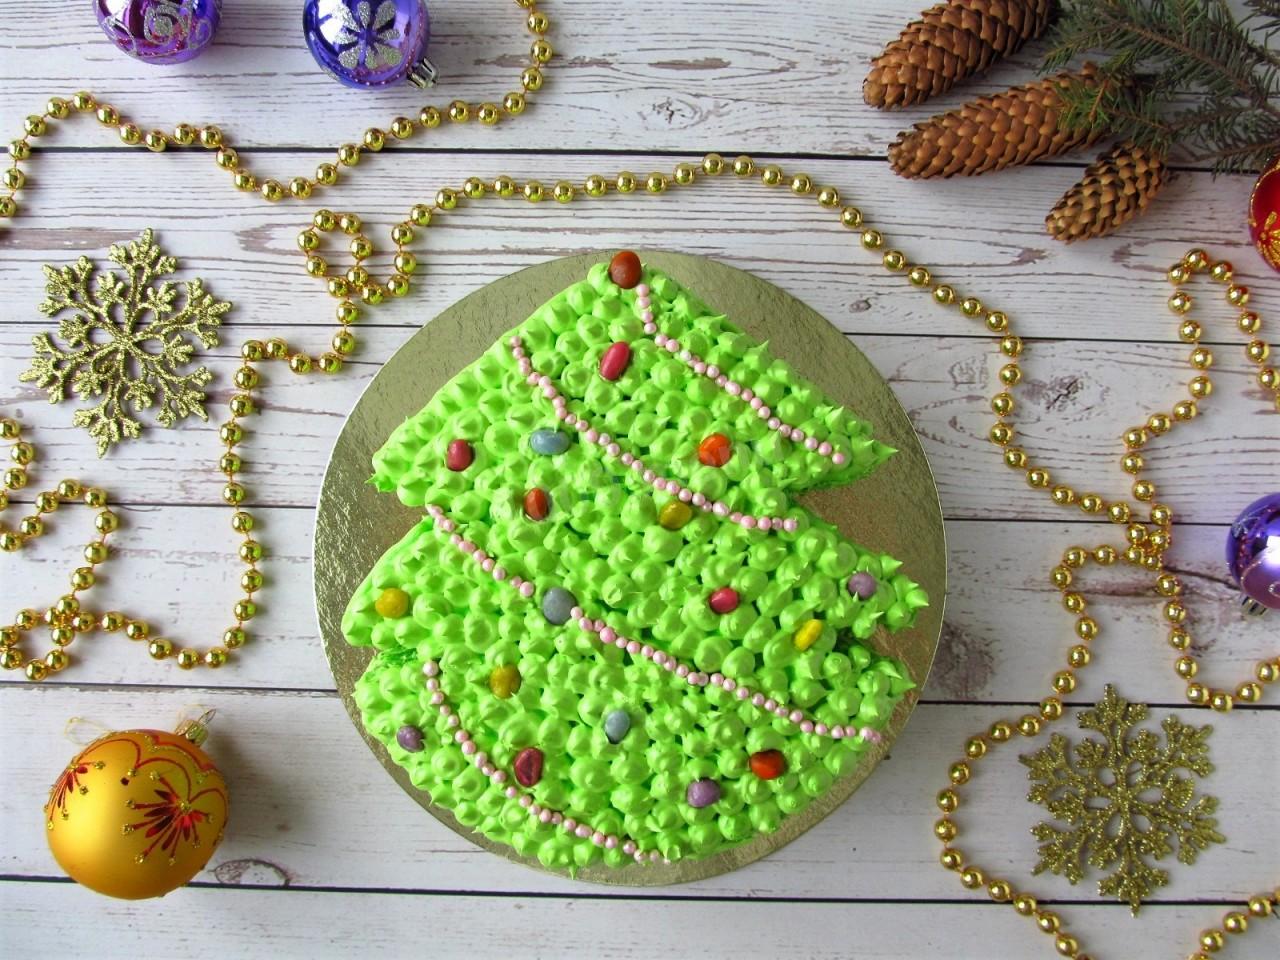
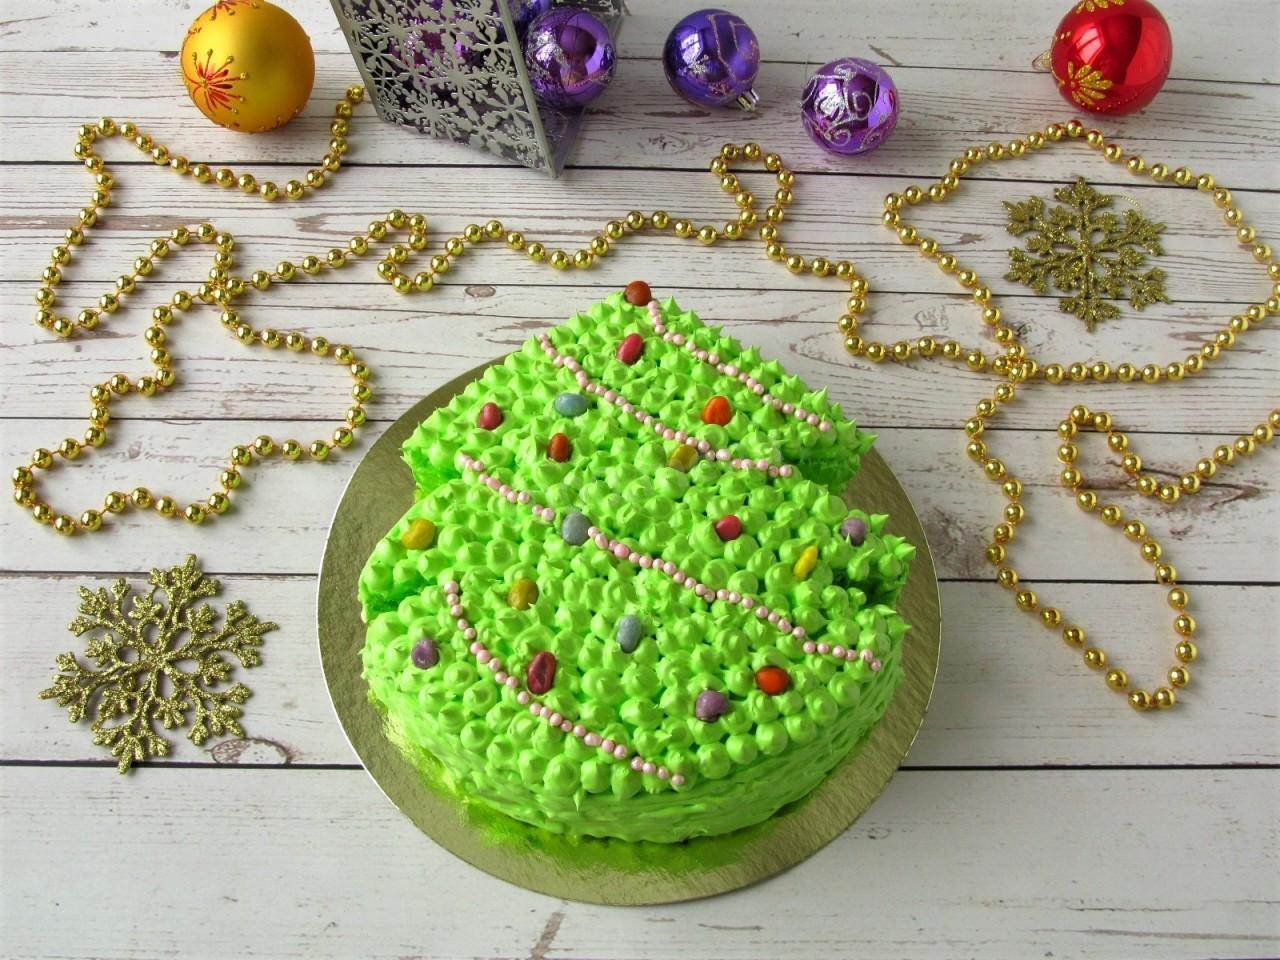
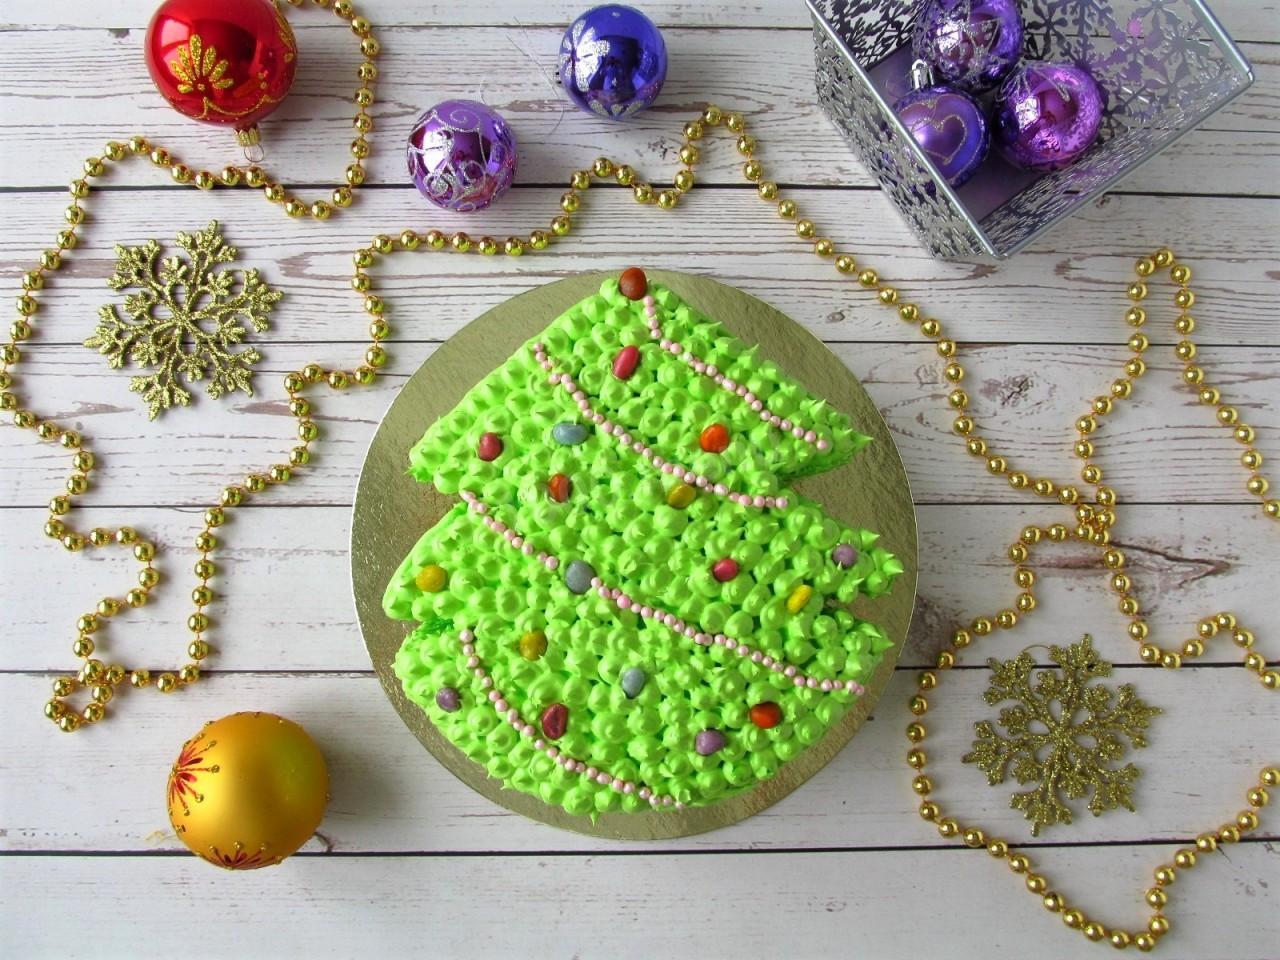
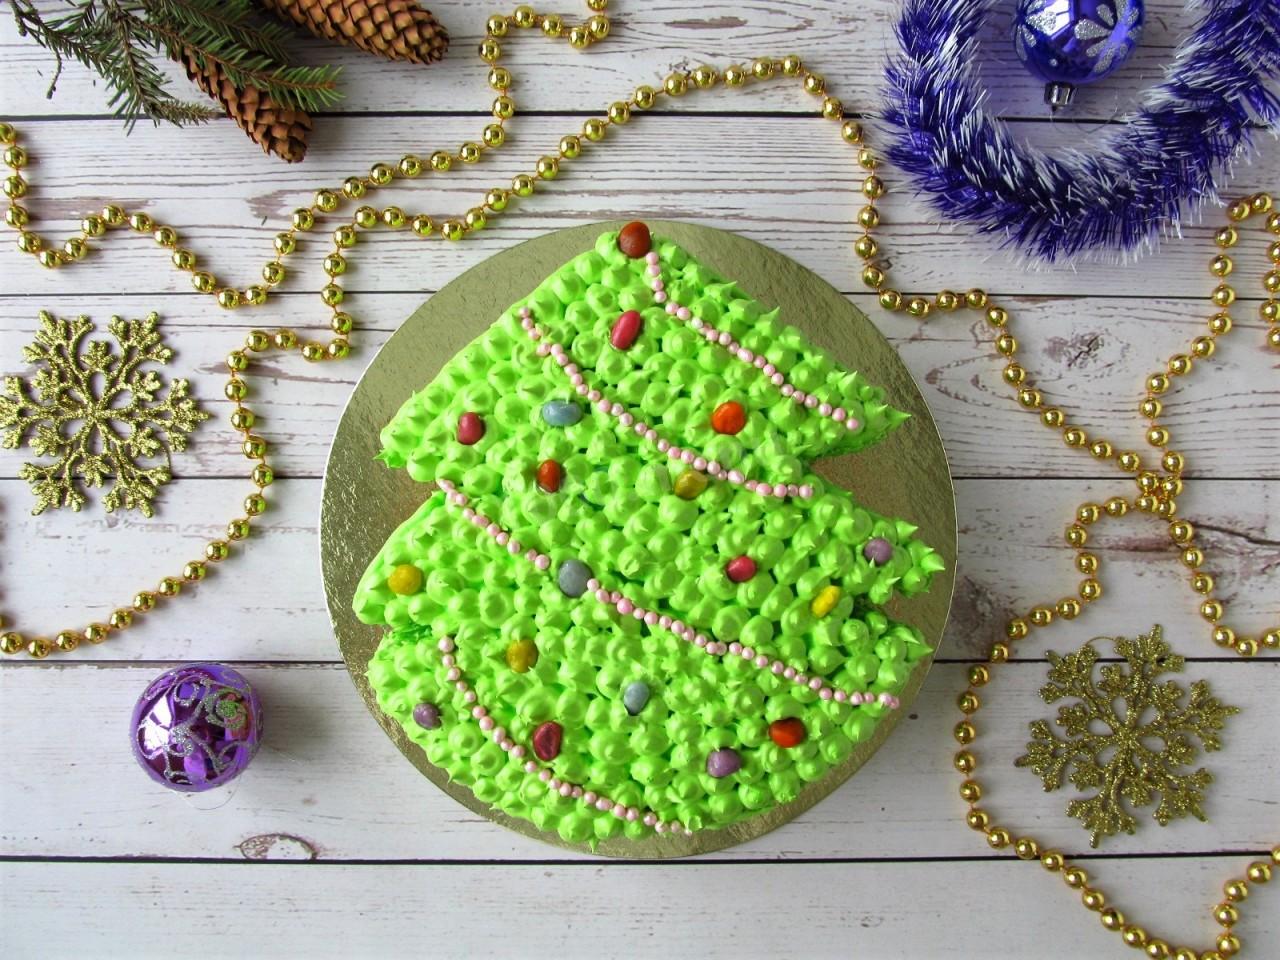
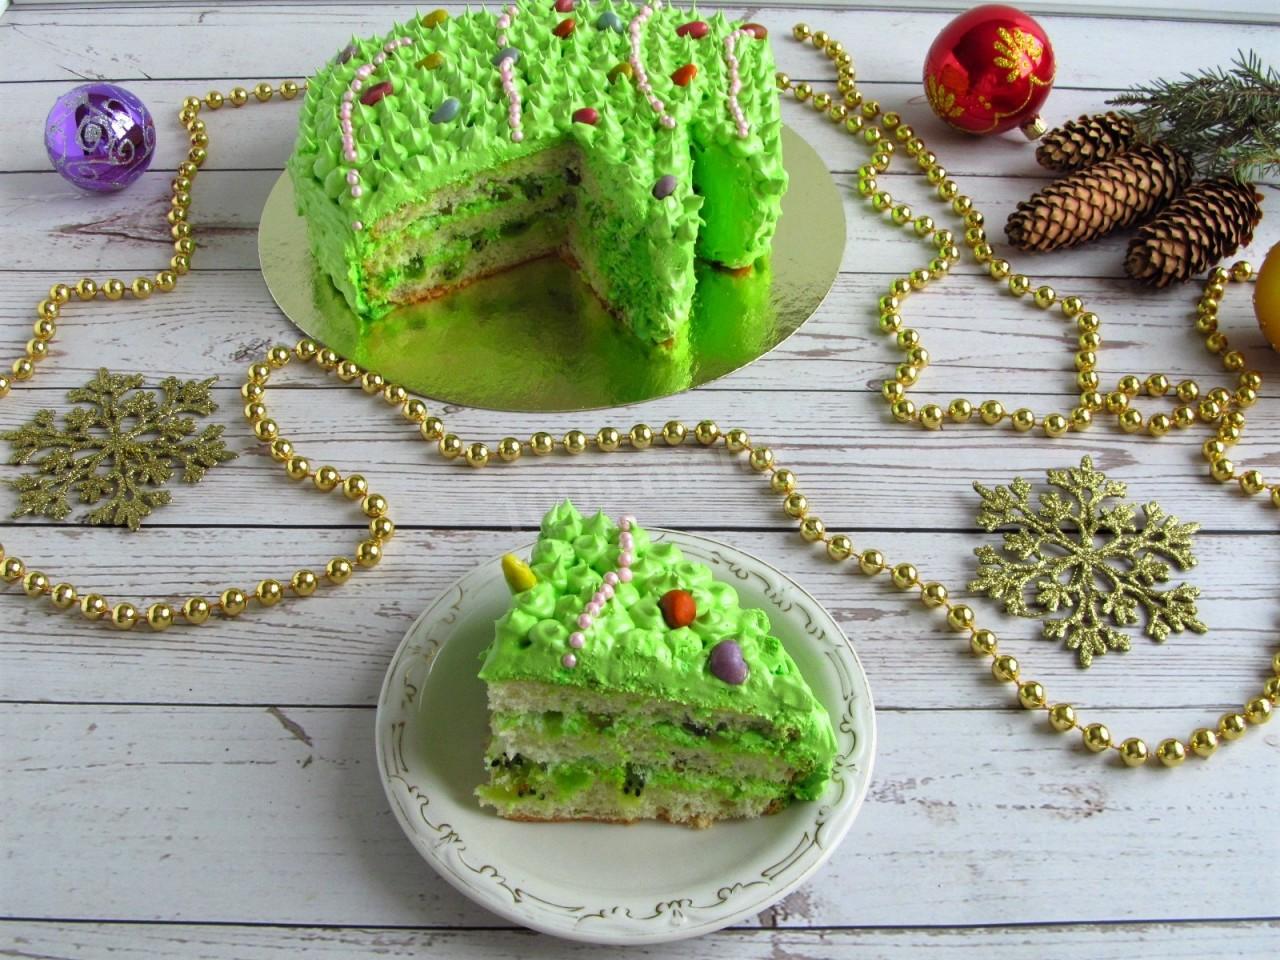
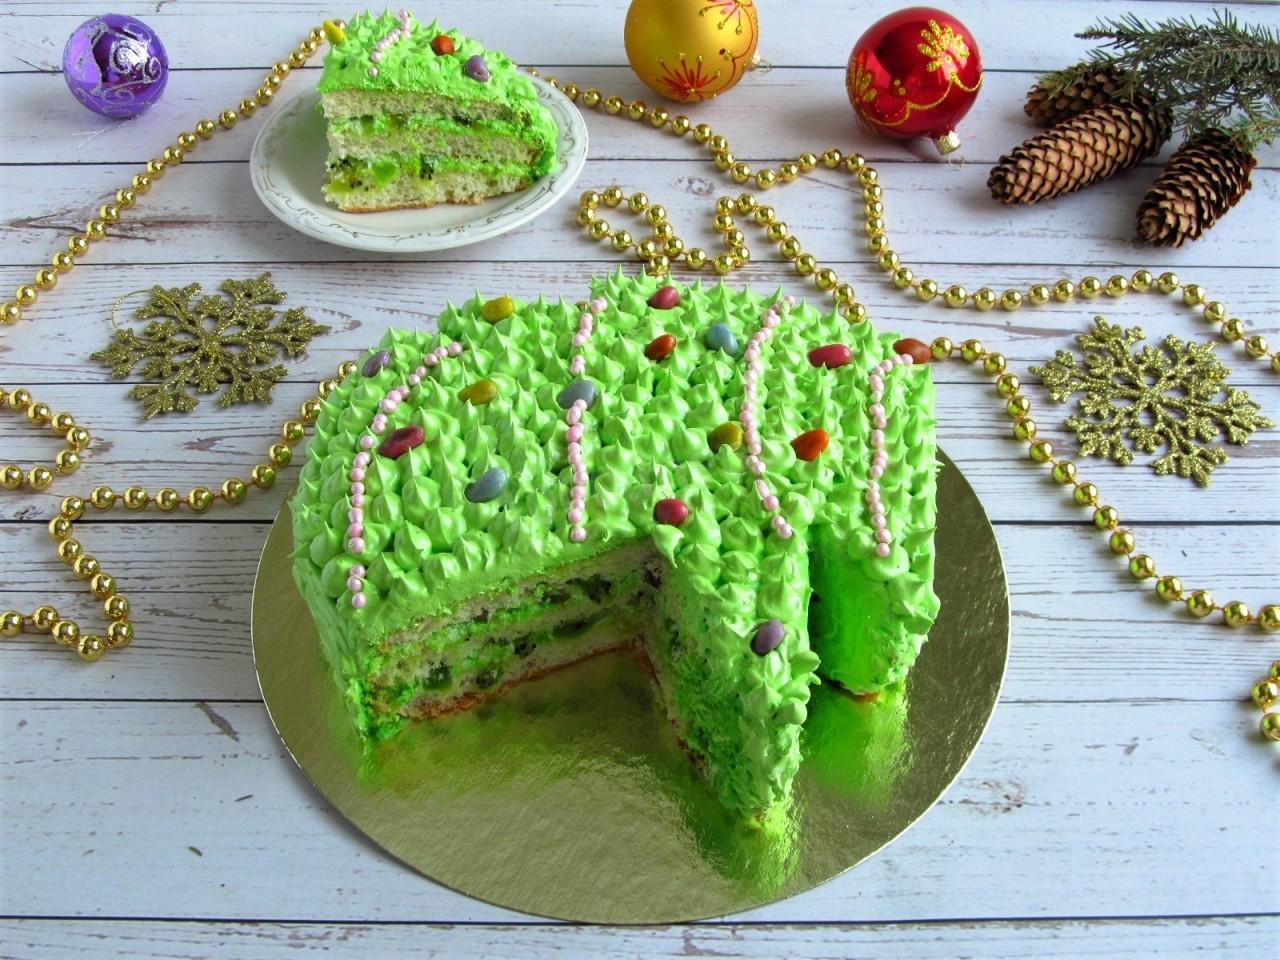
A holiday celebration calls for a sweet centerpiece. A Christmas tree–shaped cake looks festive and cheerful on the holiday table. With a little imagination and patience, this sweet evergreen will delight guests young and old.
Cooking method
-
Step 1:
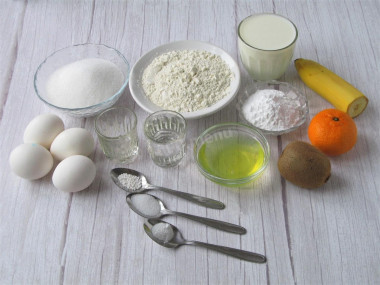
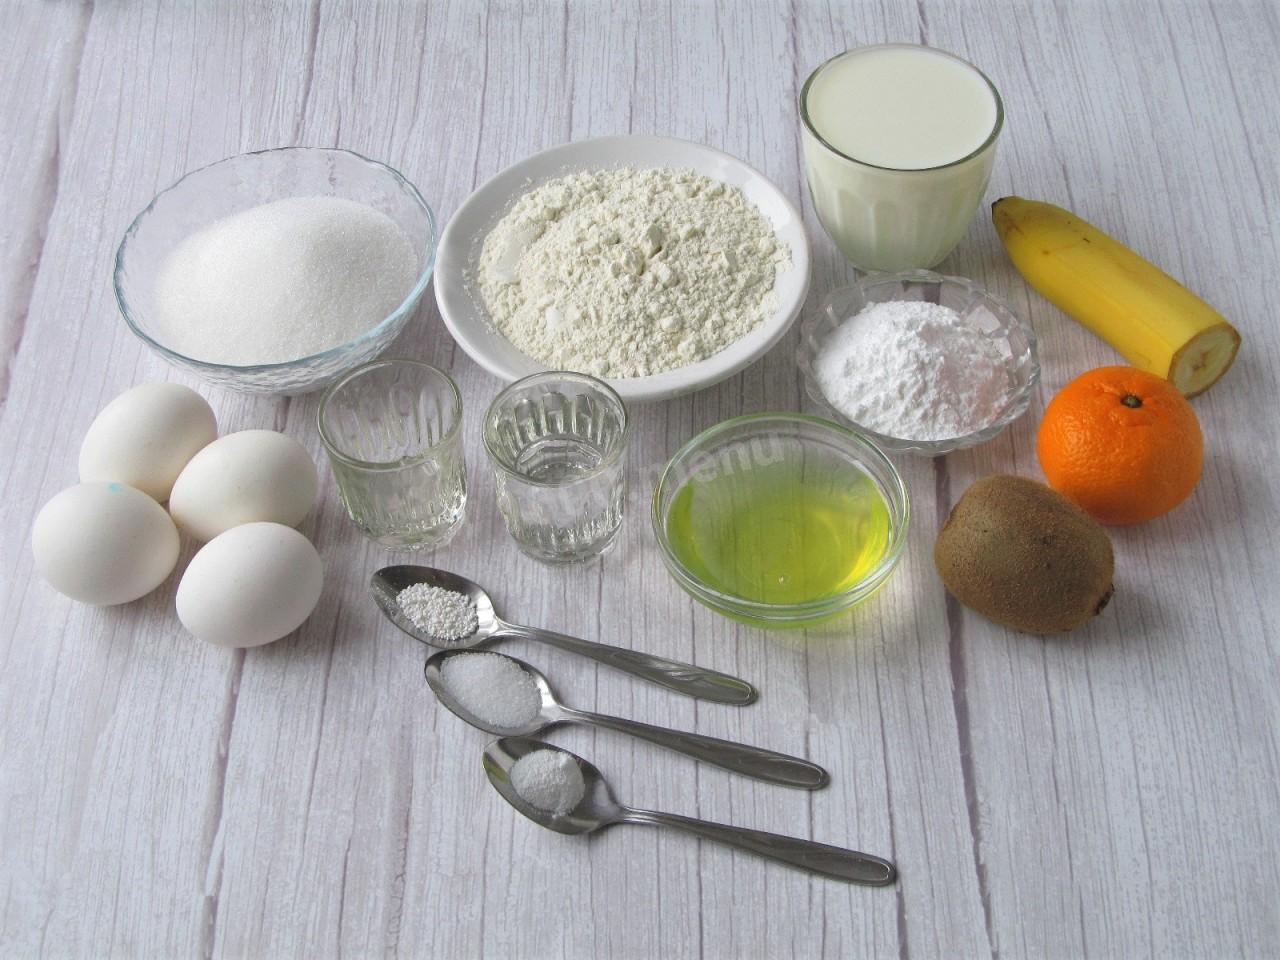
Gather everything you'll need for the Christmas tree sponge cake. For the base, I used a classic sponge.
-
Step 2:
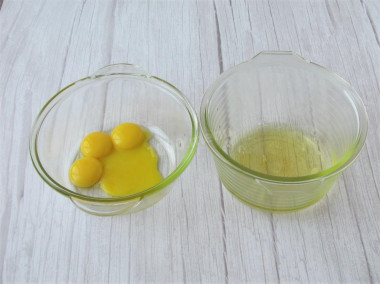
For the sponge, all the ingredients should be at room temperature. Carefully separate the eggs into whites and yolks.
-
Step 3:
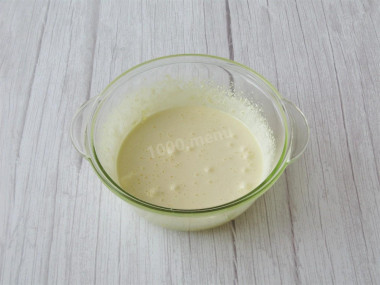
Beat the yolks with half the sugar on high speed until pale and fluffy.
-
Step 4:
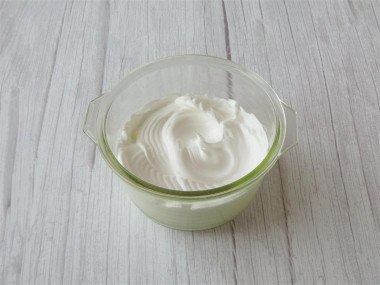
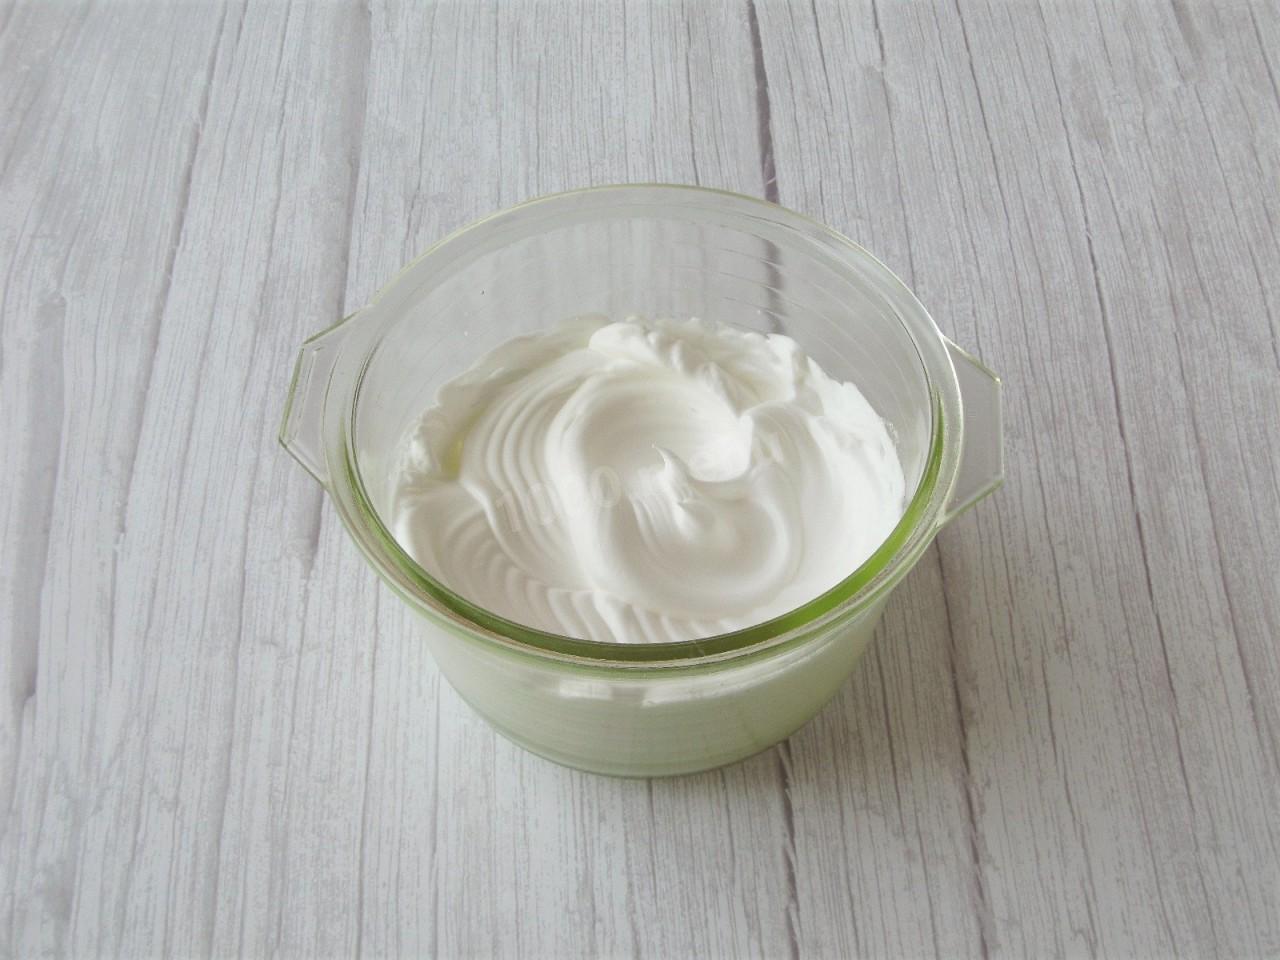
Wash and thoroughly dry the beaters. Whip the whites on low speed to soft peaks. Without stopping, add the remaining sugar a little at a time. Gradually raise the speed and beat to stiff peaks—the meringue should be firm and hold its shape.
-
Step 5:
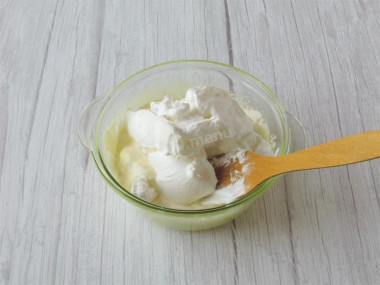
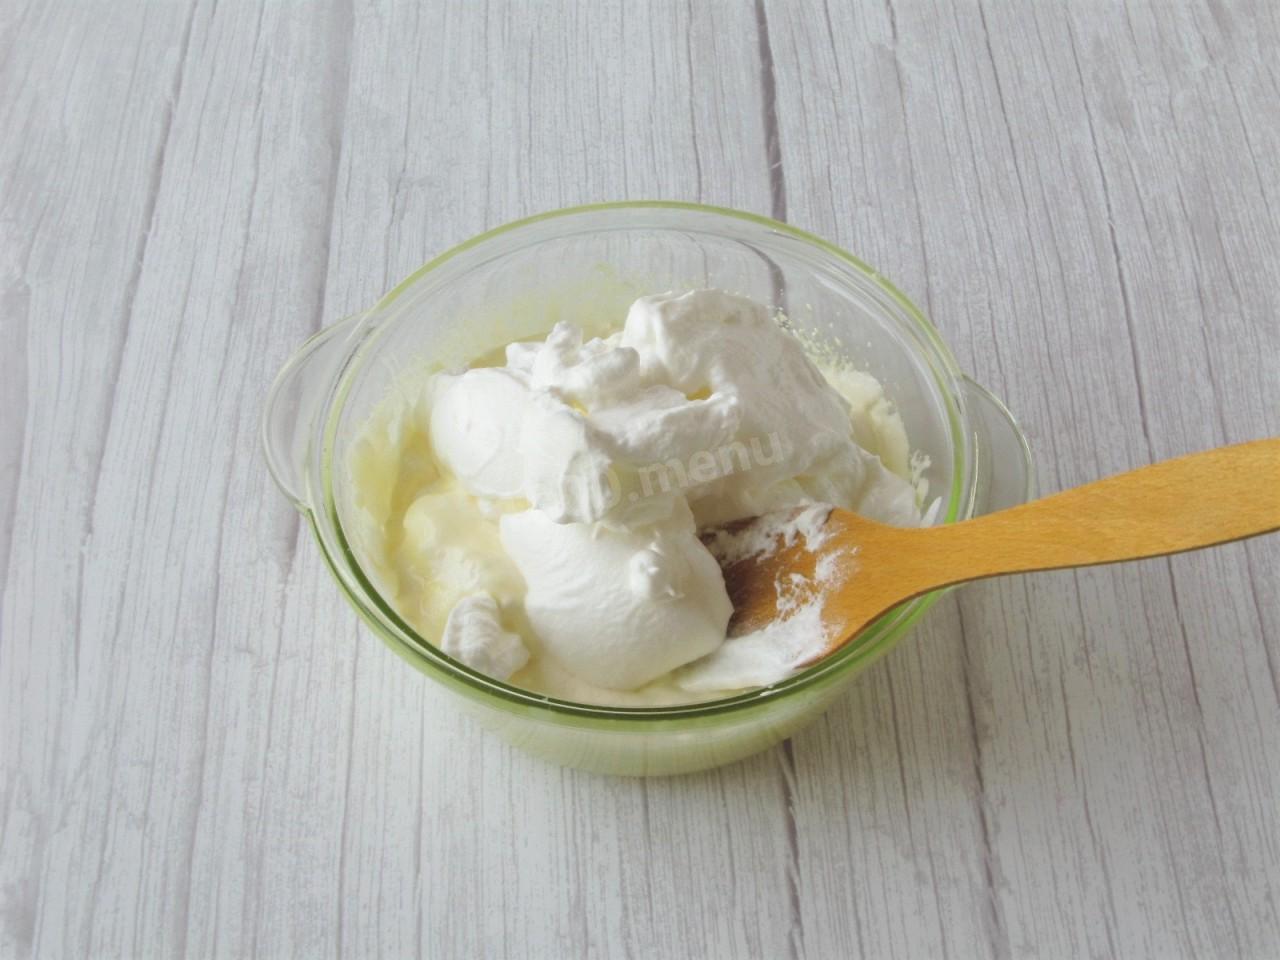
Fold the whipped whites into the yolks in two additions, gently folding from the bottom up with a spatula.
-
Step 6:
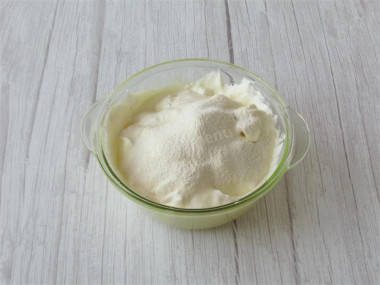
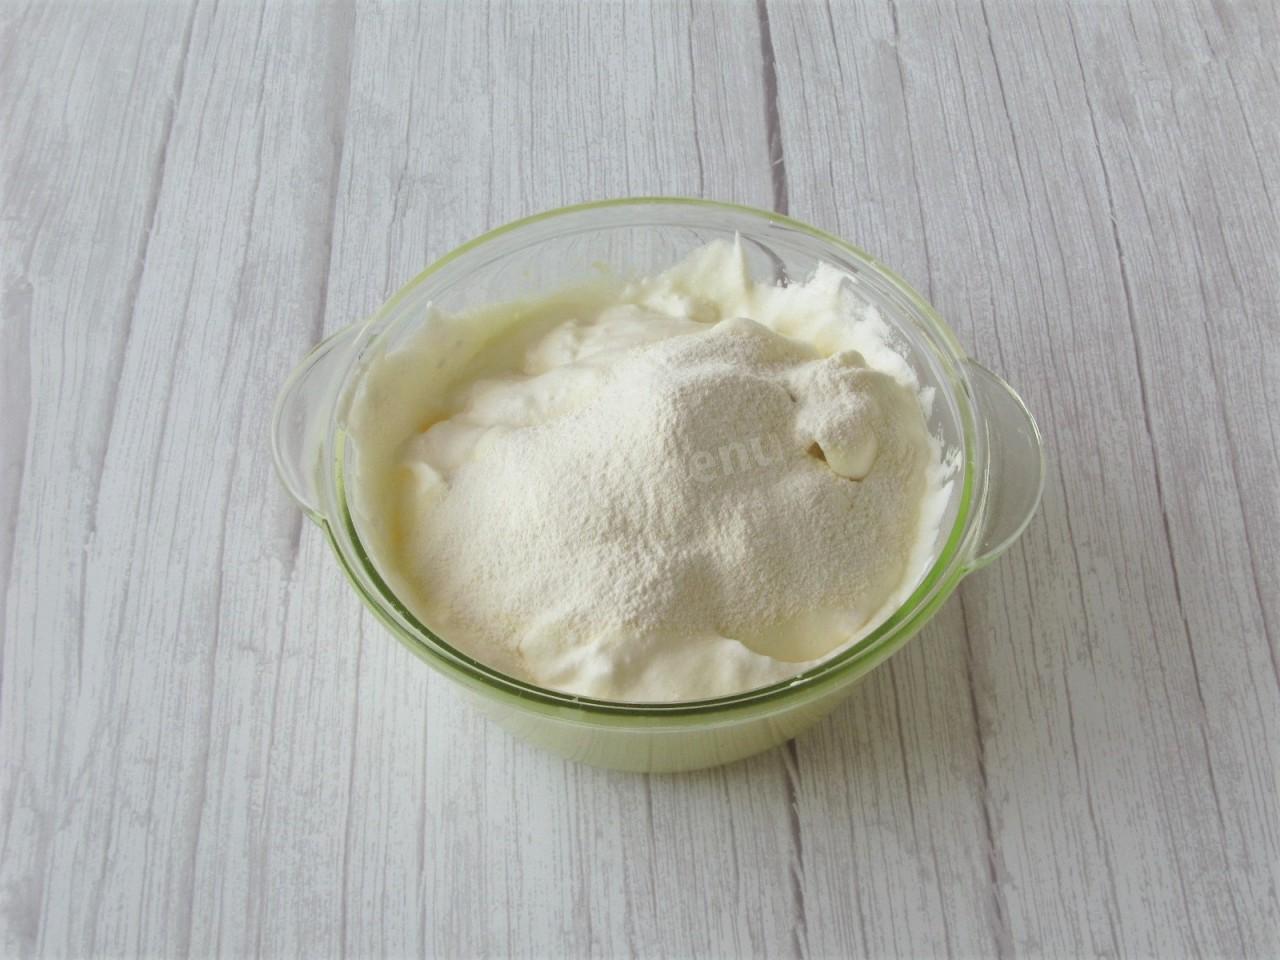
Sift in the flour. Fold it in the same way, from the bottom up, to keep the batter airy. Work gently but don't drag it out.
-
Step 7:
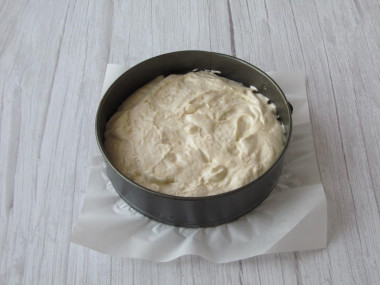
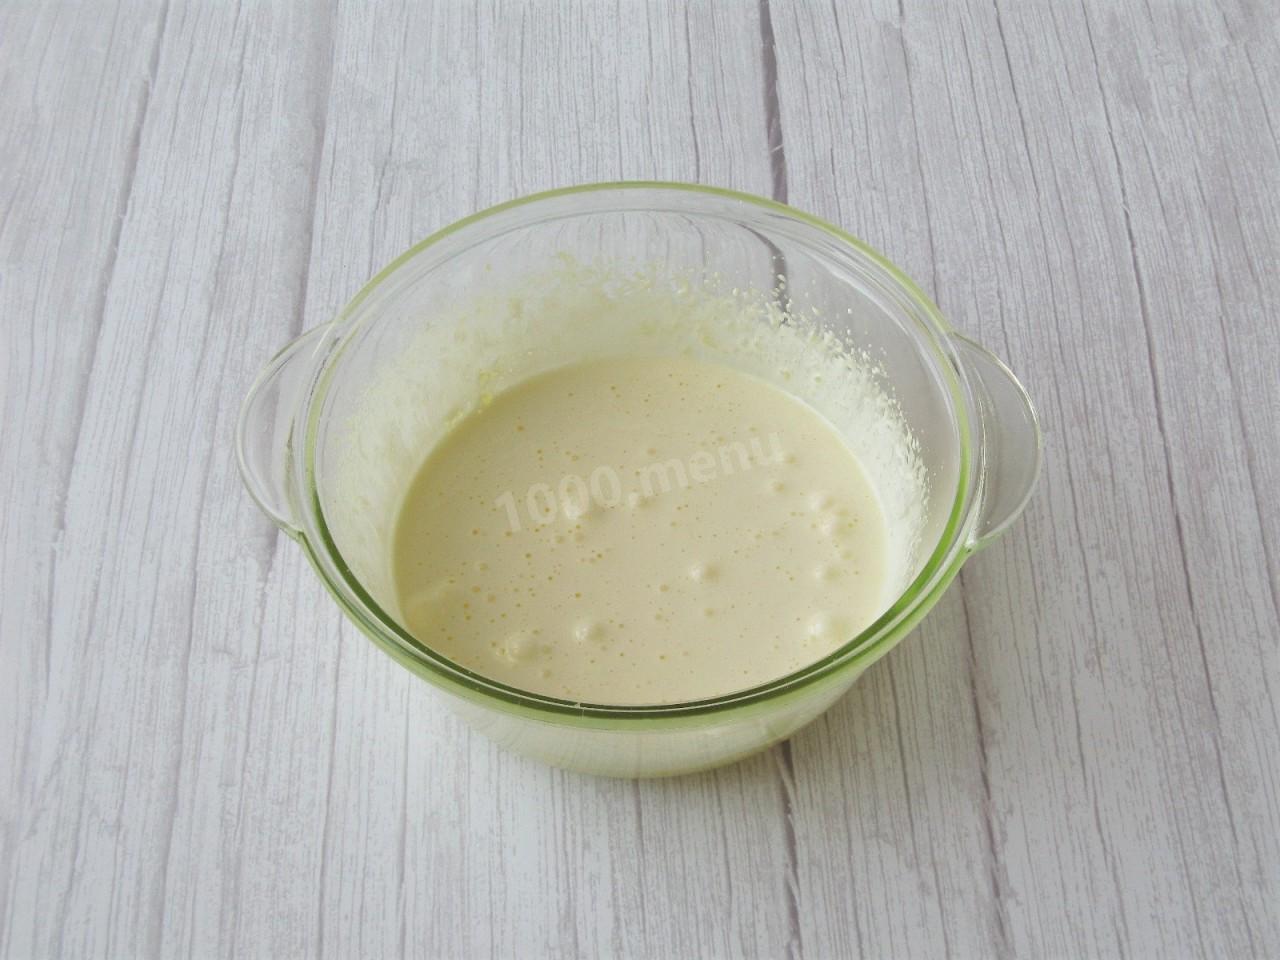
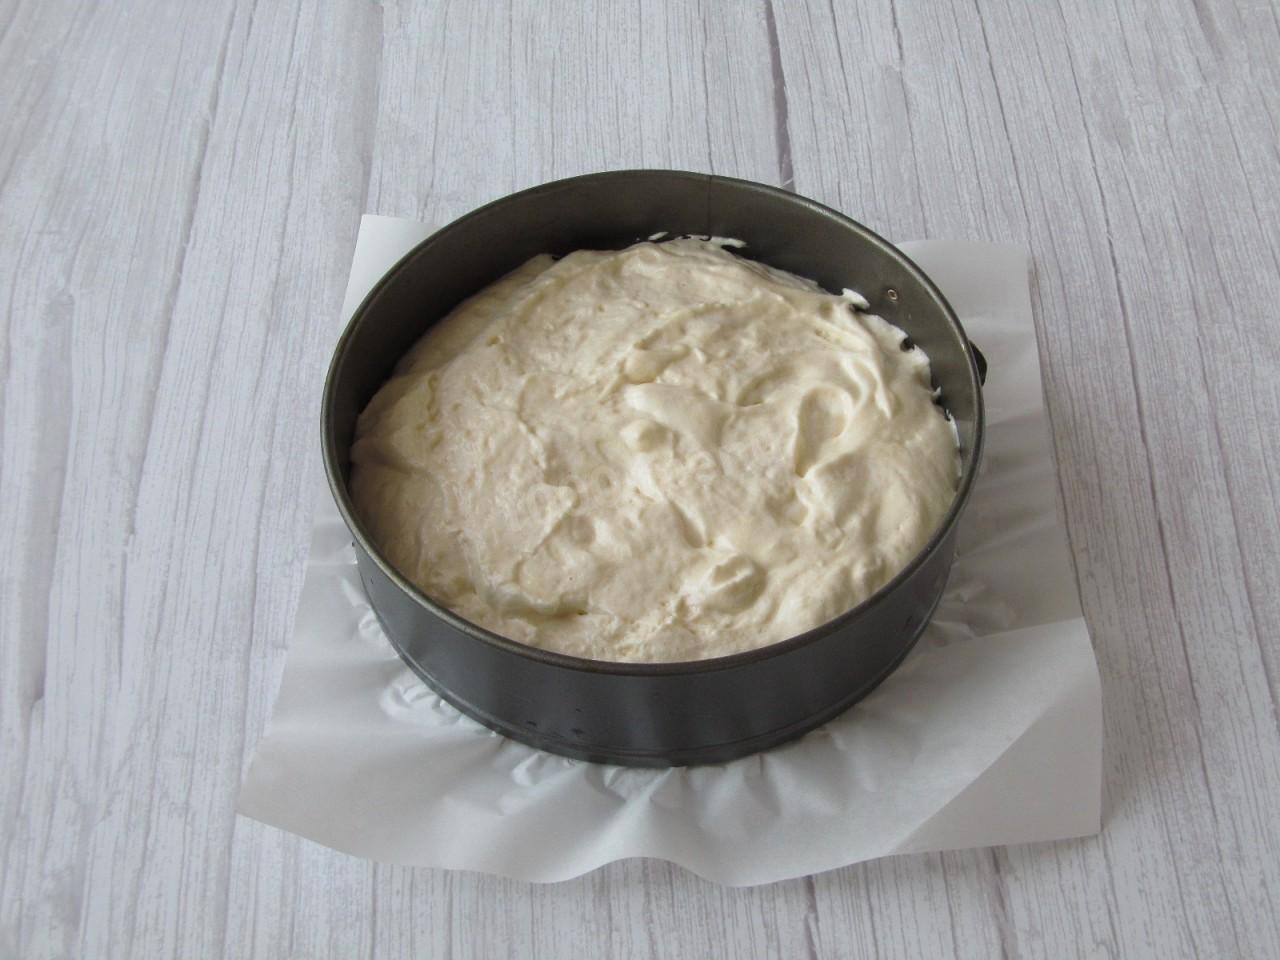
The batter should be smooth and airy. Line the bottom of the pan with greased parchment; there's no need to grease the sides. Pour in the batter and gently smooth the top.
-
Step 8:
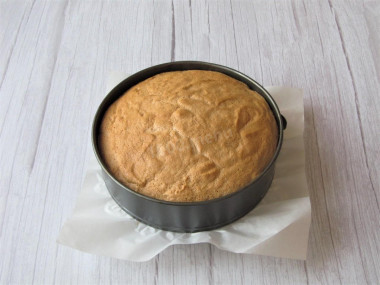
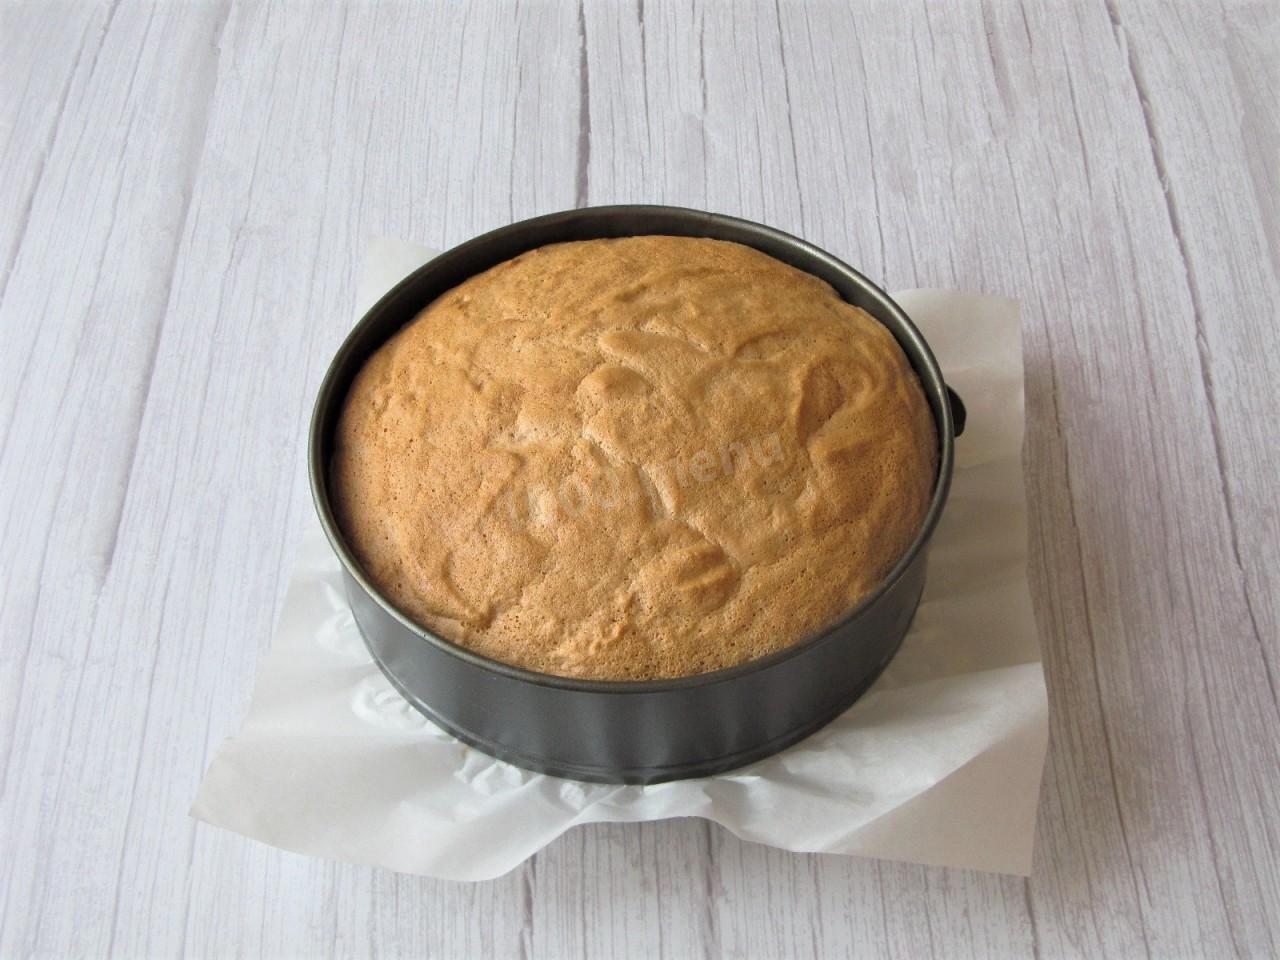
Bake in an oven preheated to 350°F (180°C) for 35 minutes, until golden and a skewer comes out clean. Don't open the oven for the first 25 minutes, or the sponge may sink. Let the cake cool, then remove it from the pan.
-
Step 9:
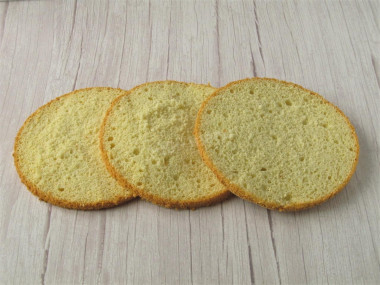
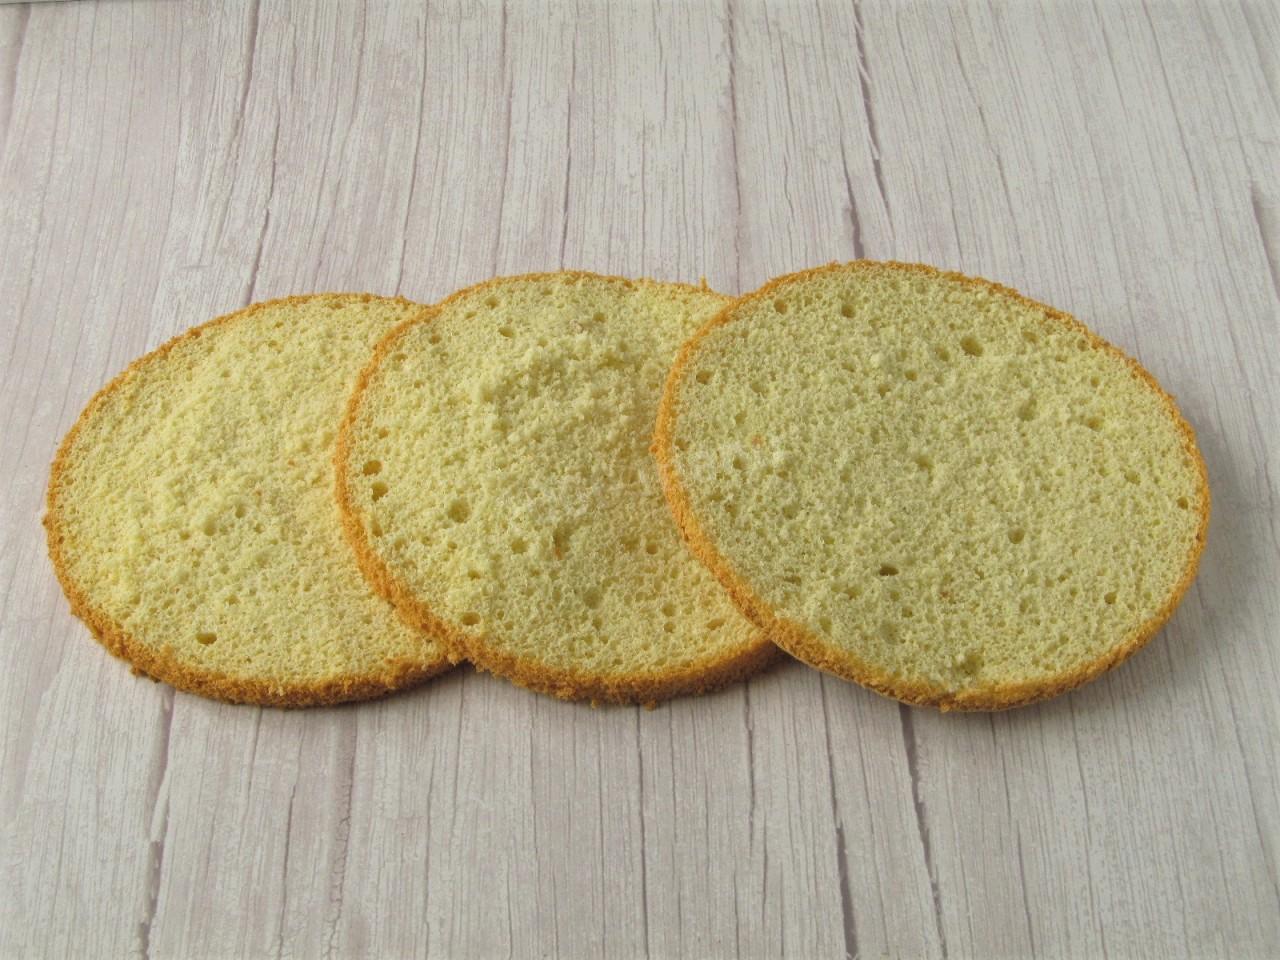
It's best to let the sponge rest for 10–12 hours so it firms up and crumbles less when sliced. Cut it into 3 layers with a sharp knife.
-
Step 10:
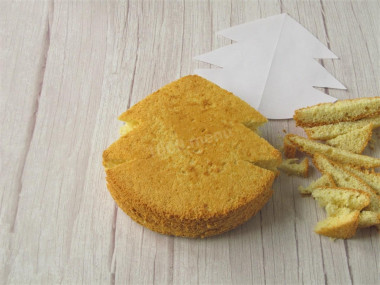
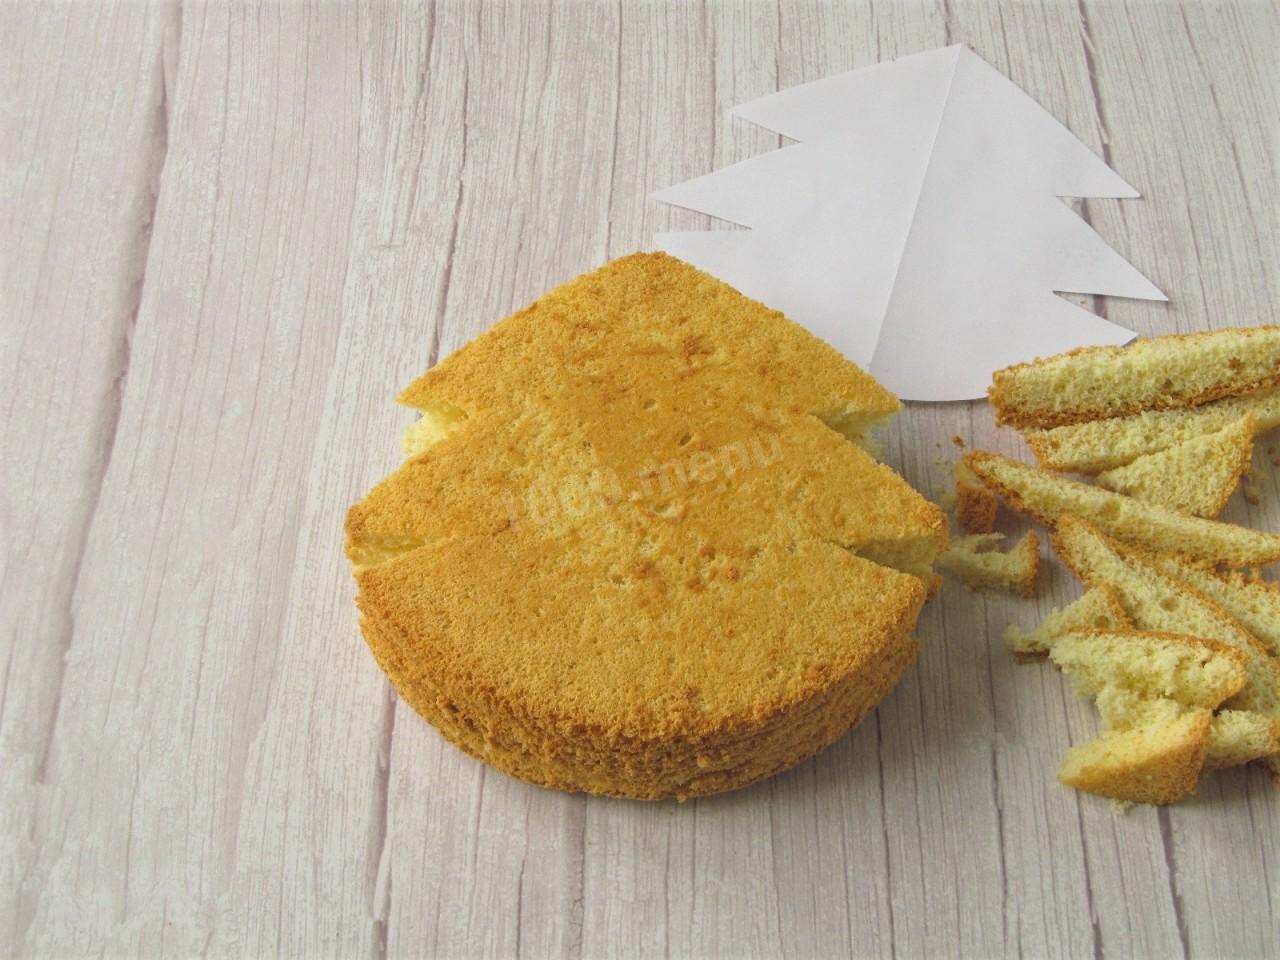
I flipped the sliced sponge upside down for a flatter surface. Using a stencil, cut out a Christmas tree shape.
-
Step 11:
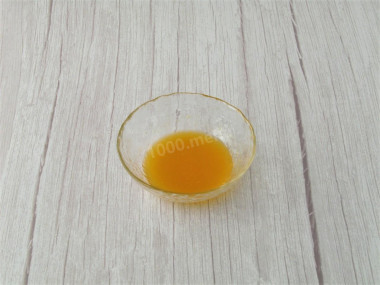
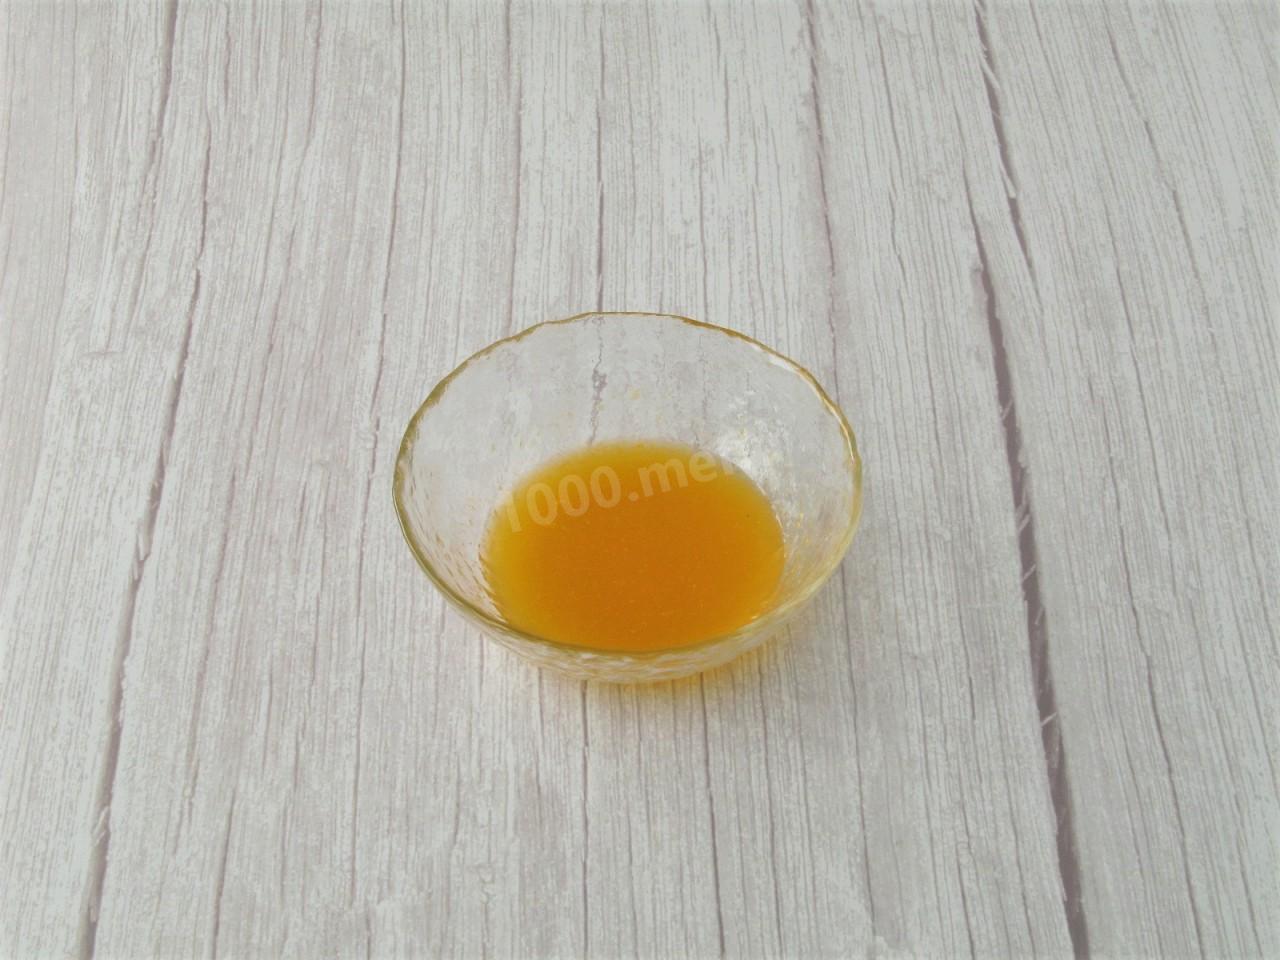
For soaking the layers, I made a tangerine syrup. Combine the water and sugar, bring to a boil over the heat while stirring, simmer gently for 1 minute, then take off the heat and let it cool. Wash and peel the tangerine and squeeze out the juice—I got about 50 ml. Stir the tangerine juice into the cooled syrup.
-
Step 12:
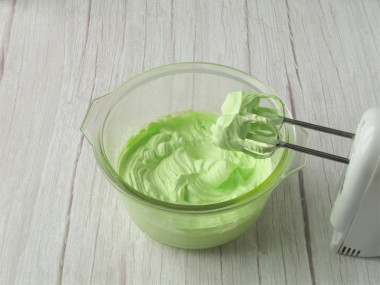
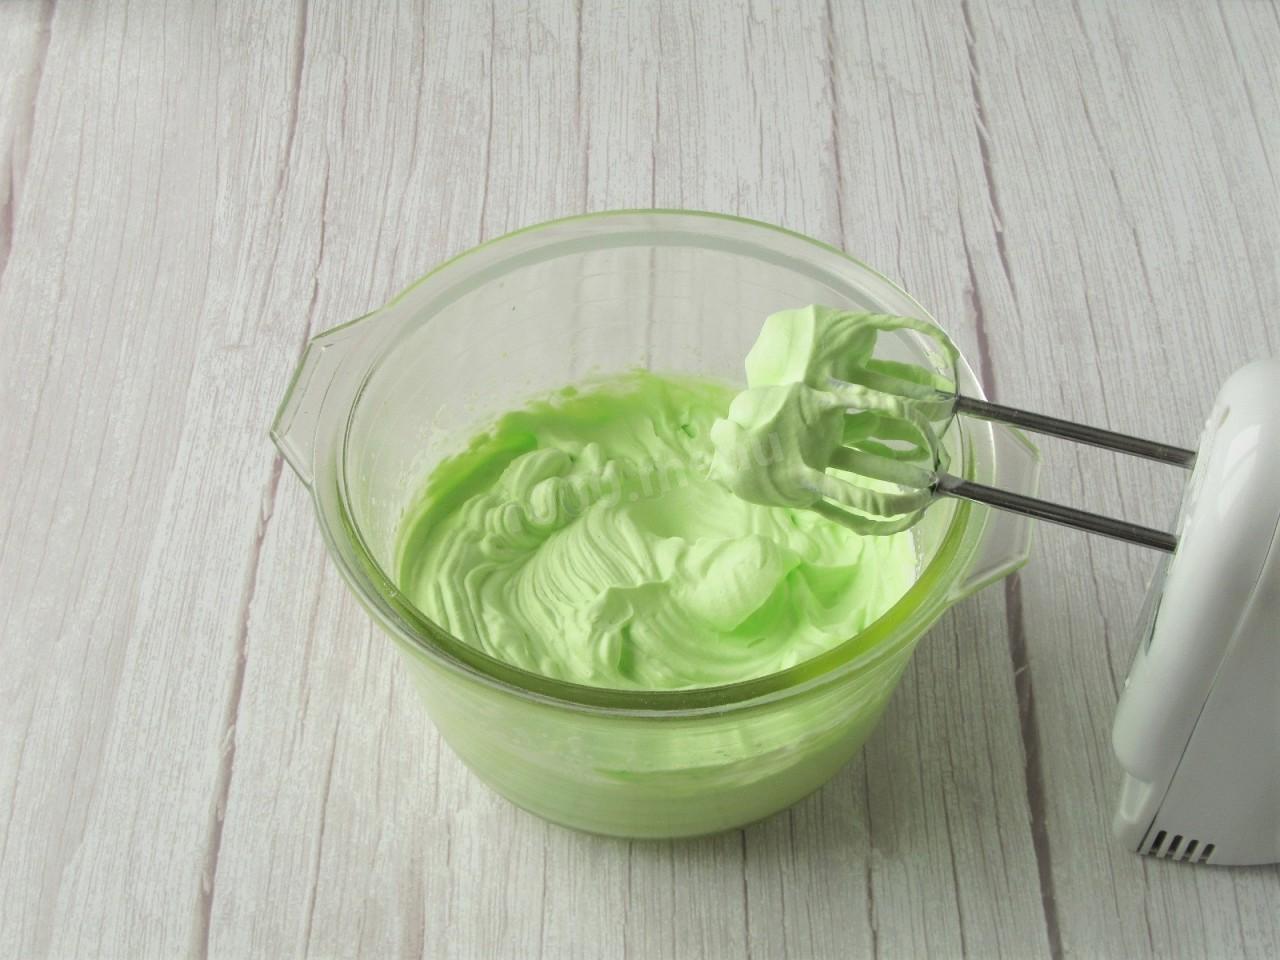
For the whipped cream, both the cream and the bowl should be well chilled. Pour the cream into a clean, dry bowl. Whip on low speed, gradually adding the powdered sugar mixed with vanilla. Beat for 3–4 minutes, then raise the speed to high and beat another 2–3 minutes. Add the green coloring near the end. The cream will thicken noticeably and hold its shape well.
-
Step 13:
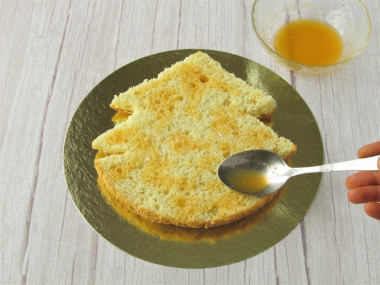
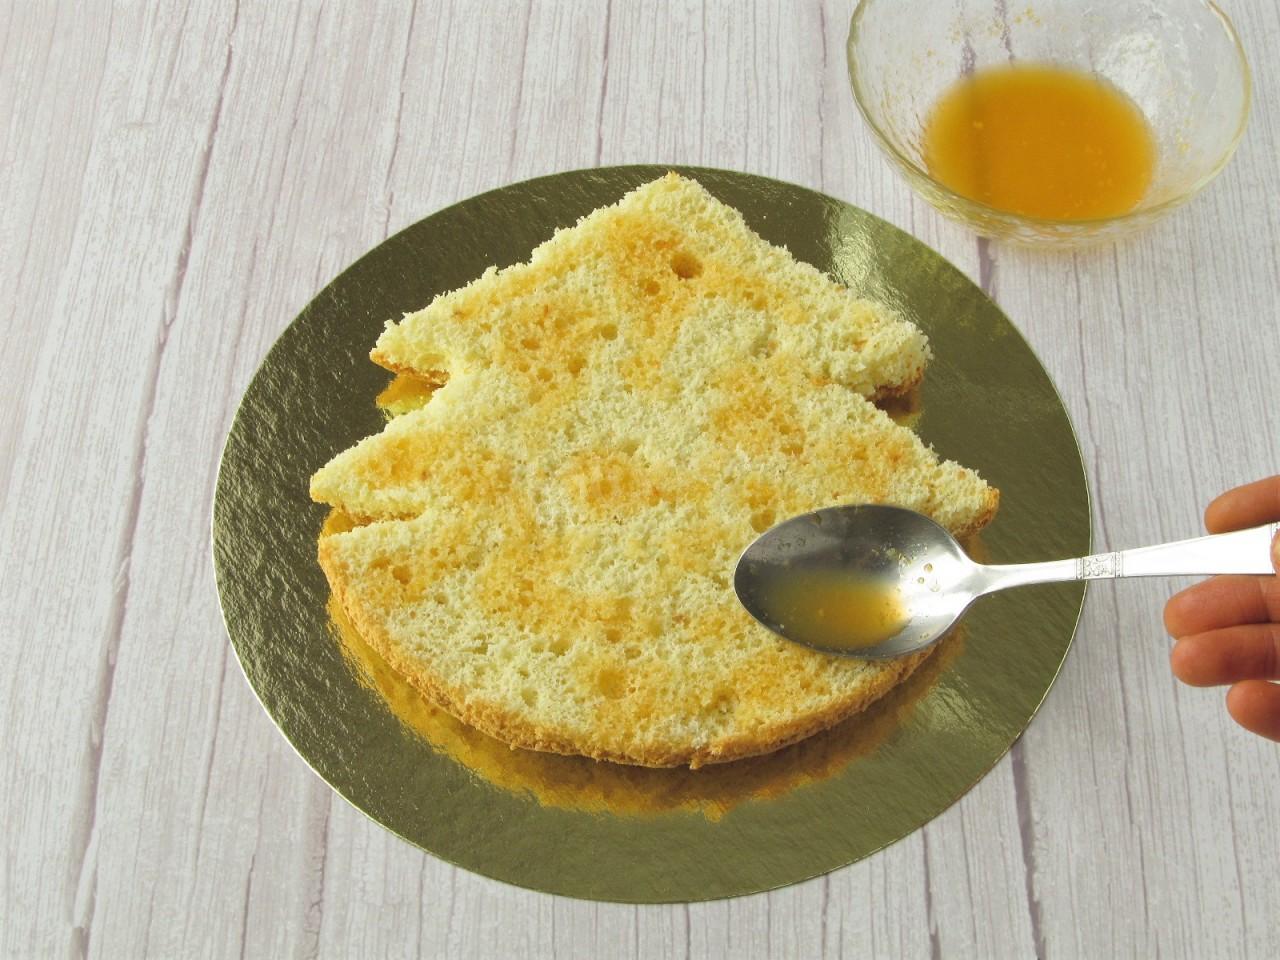
Brush the bottom layer evenly with the tangerine syrup.
-
Step 14:
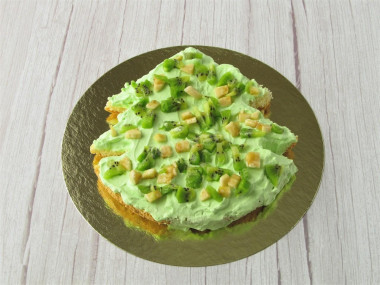
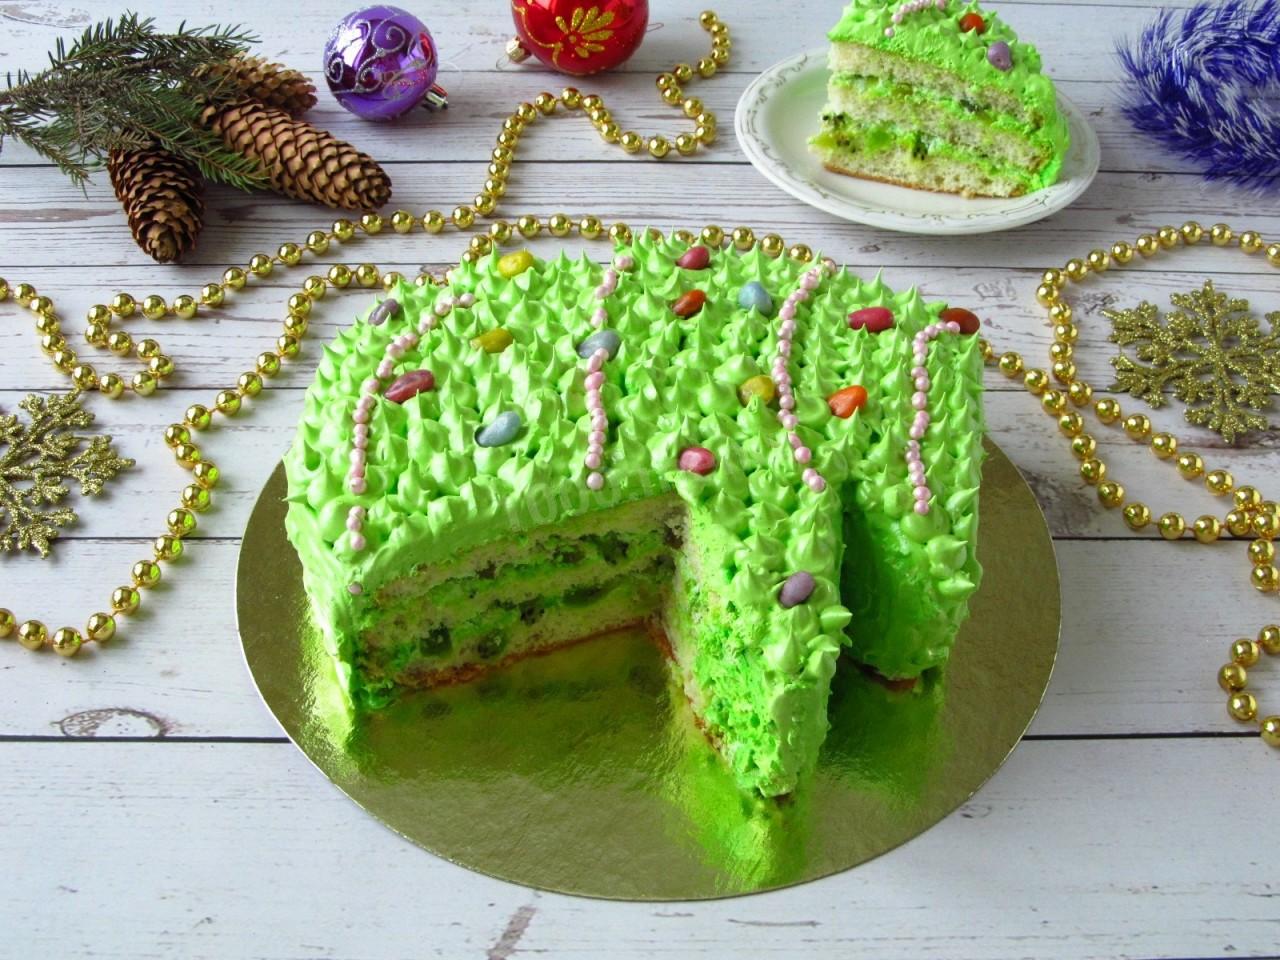
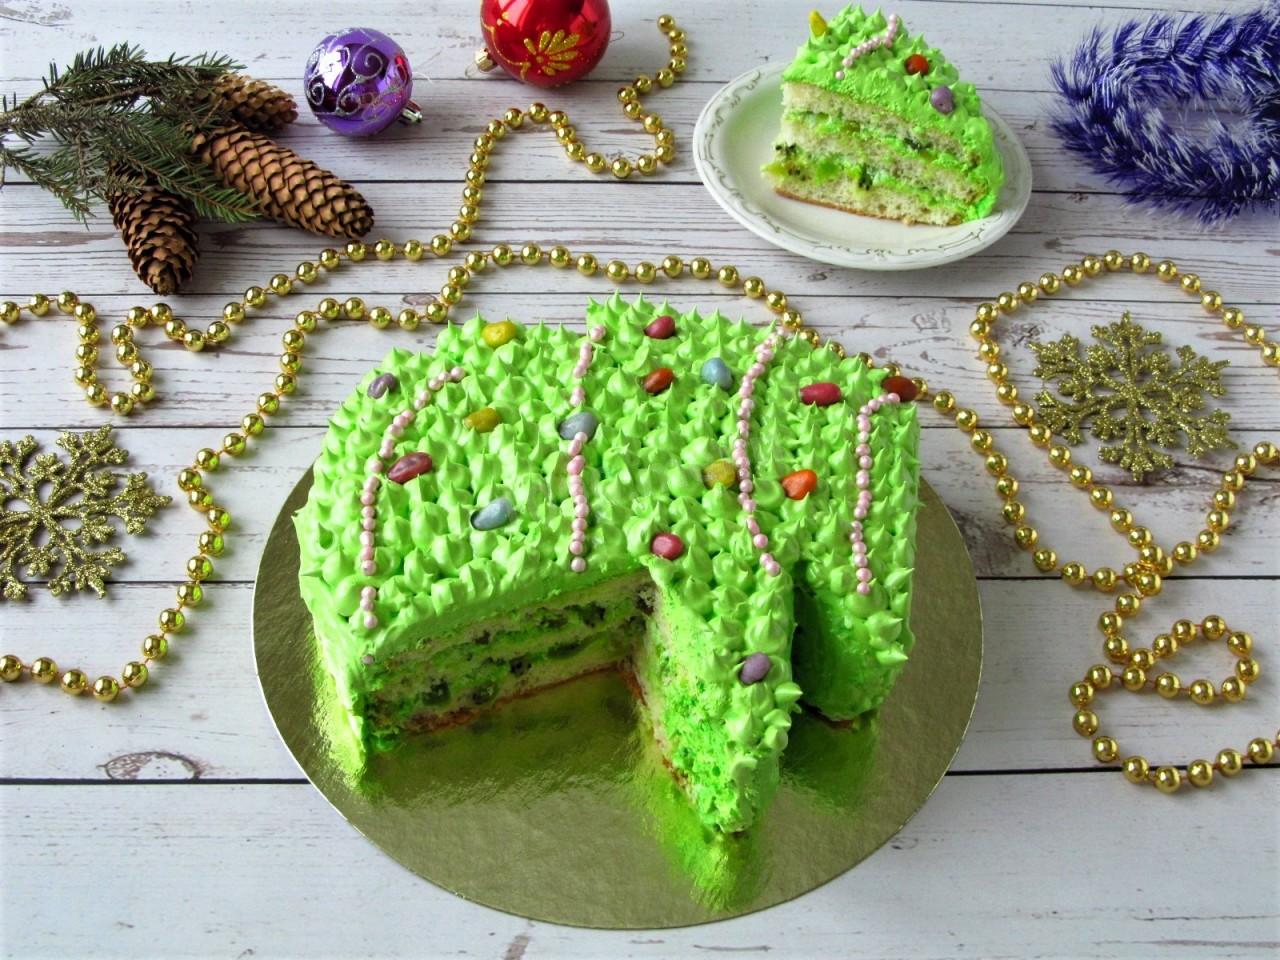
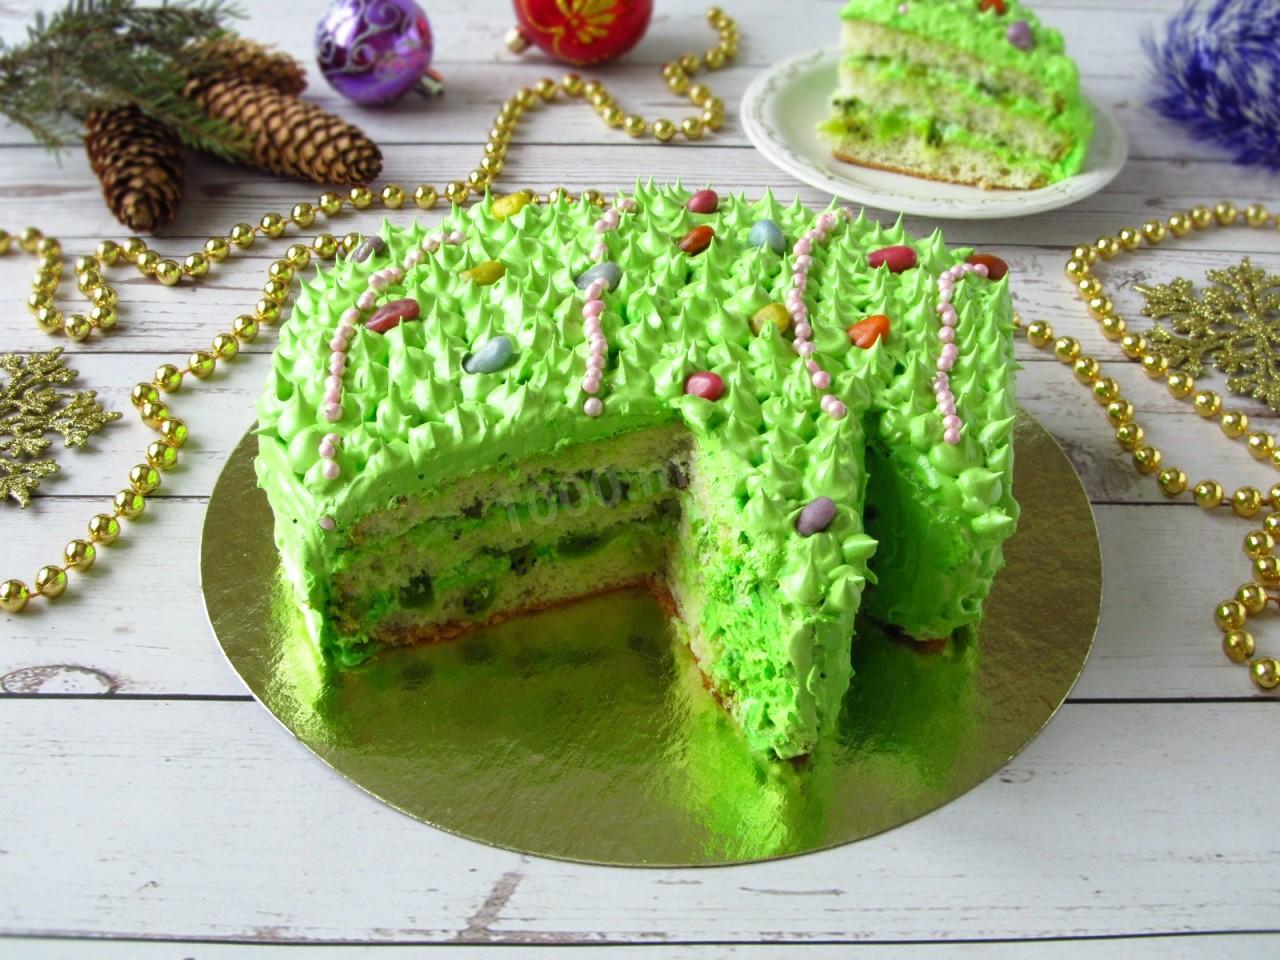
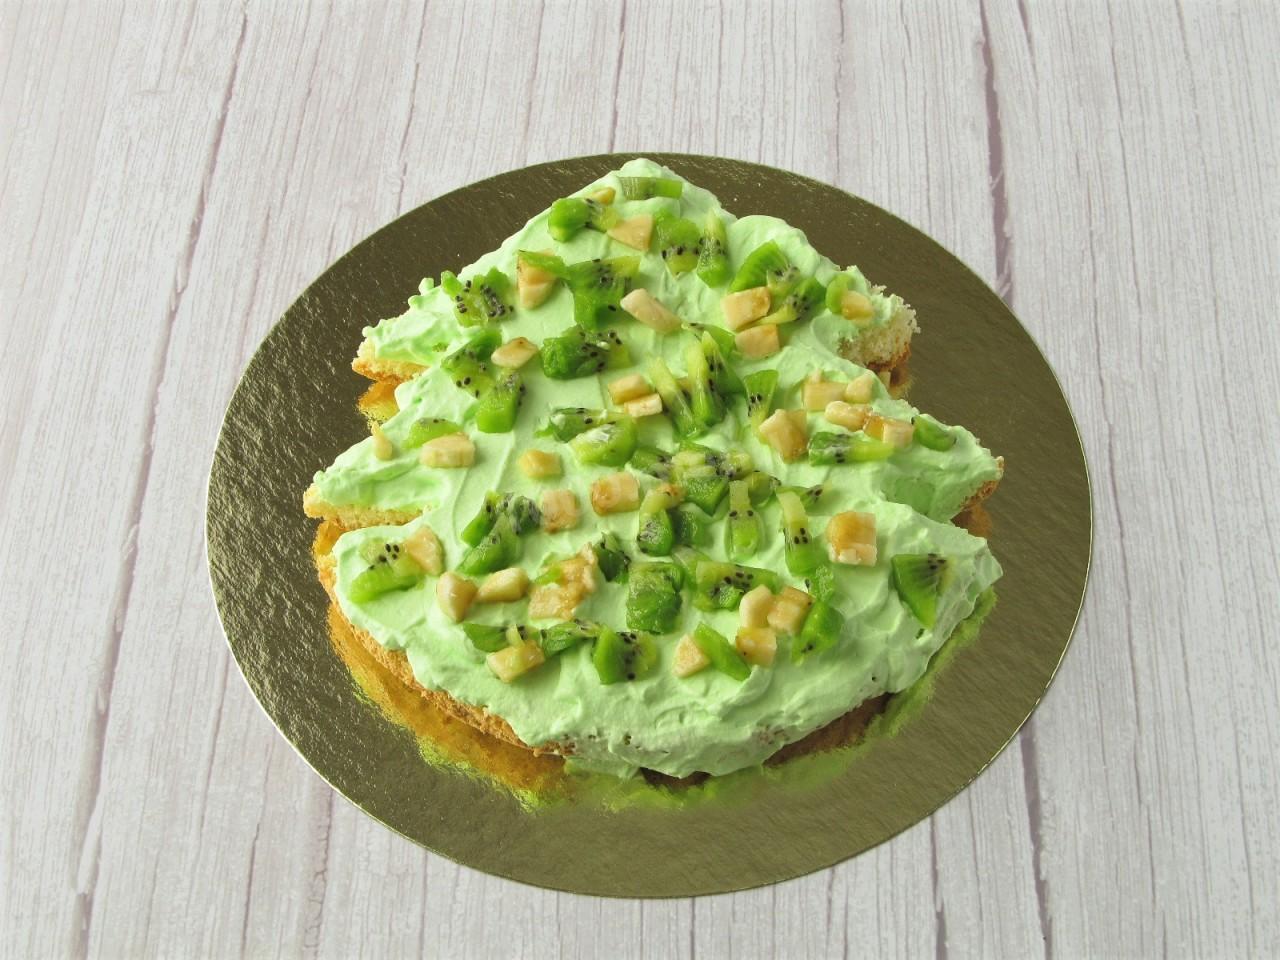
Spread with whipped cream. Peel and finely chop the kiwi and banana and scatter them over the cream.
-
Step 15:
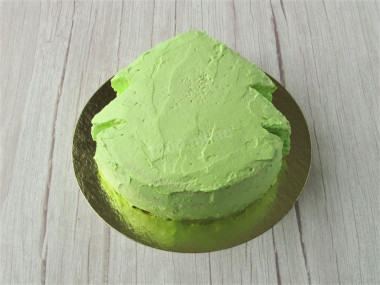
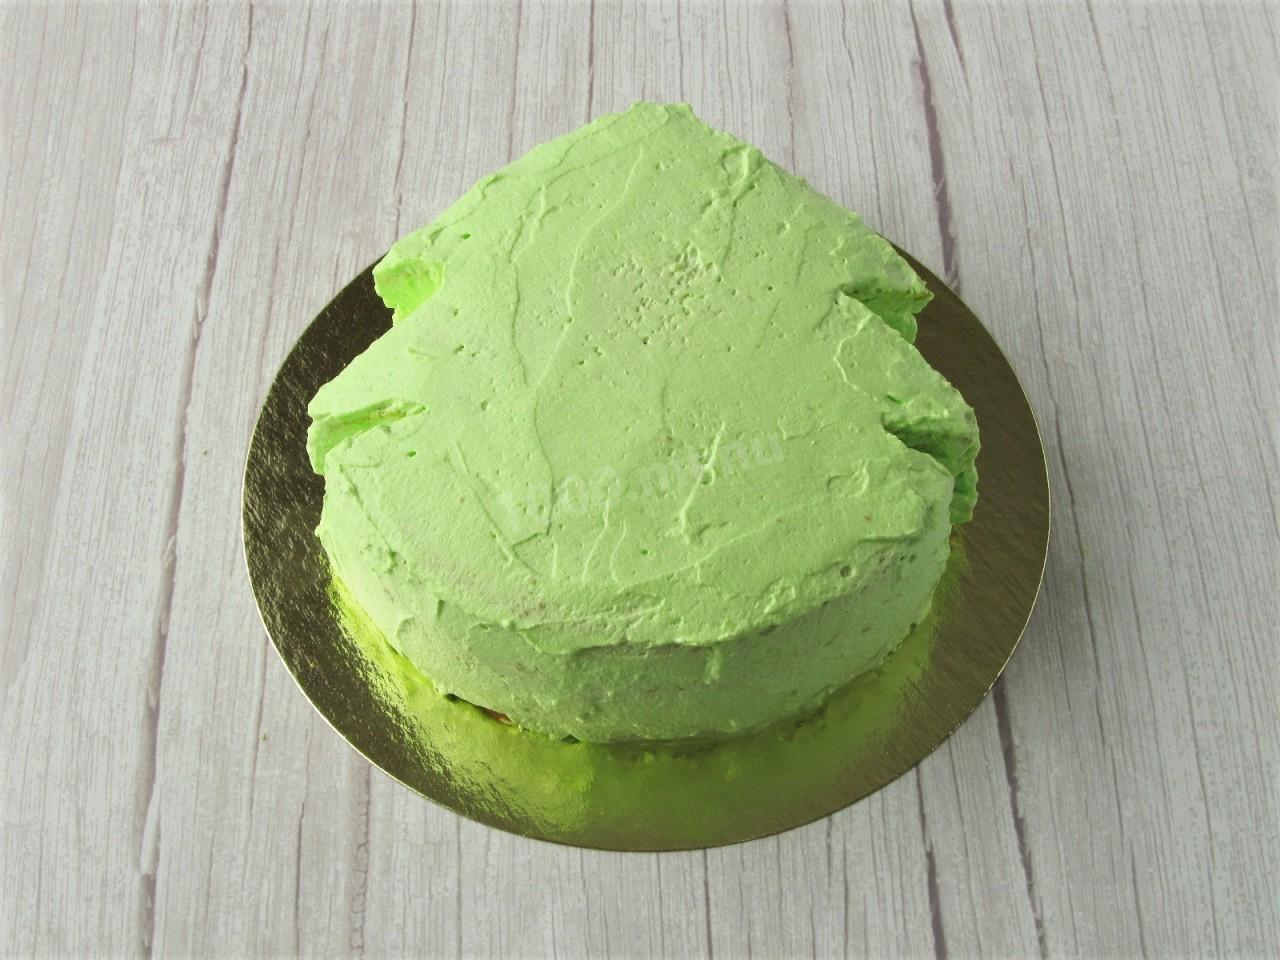
Top with the second layer and repeat steps 13 and 14. Cover the top and sides of the cake evenly with cream. Chill in the fridge for 3–4 hours so the cream sets.
-
Step 16:
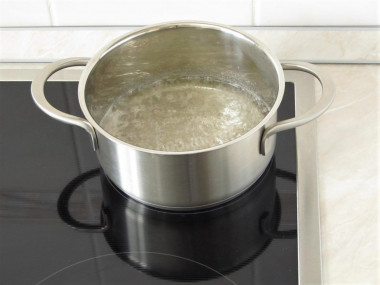
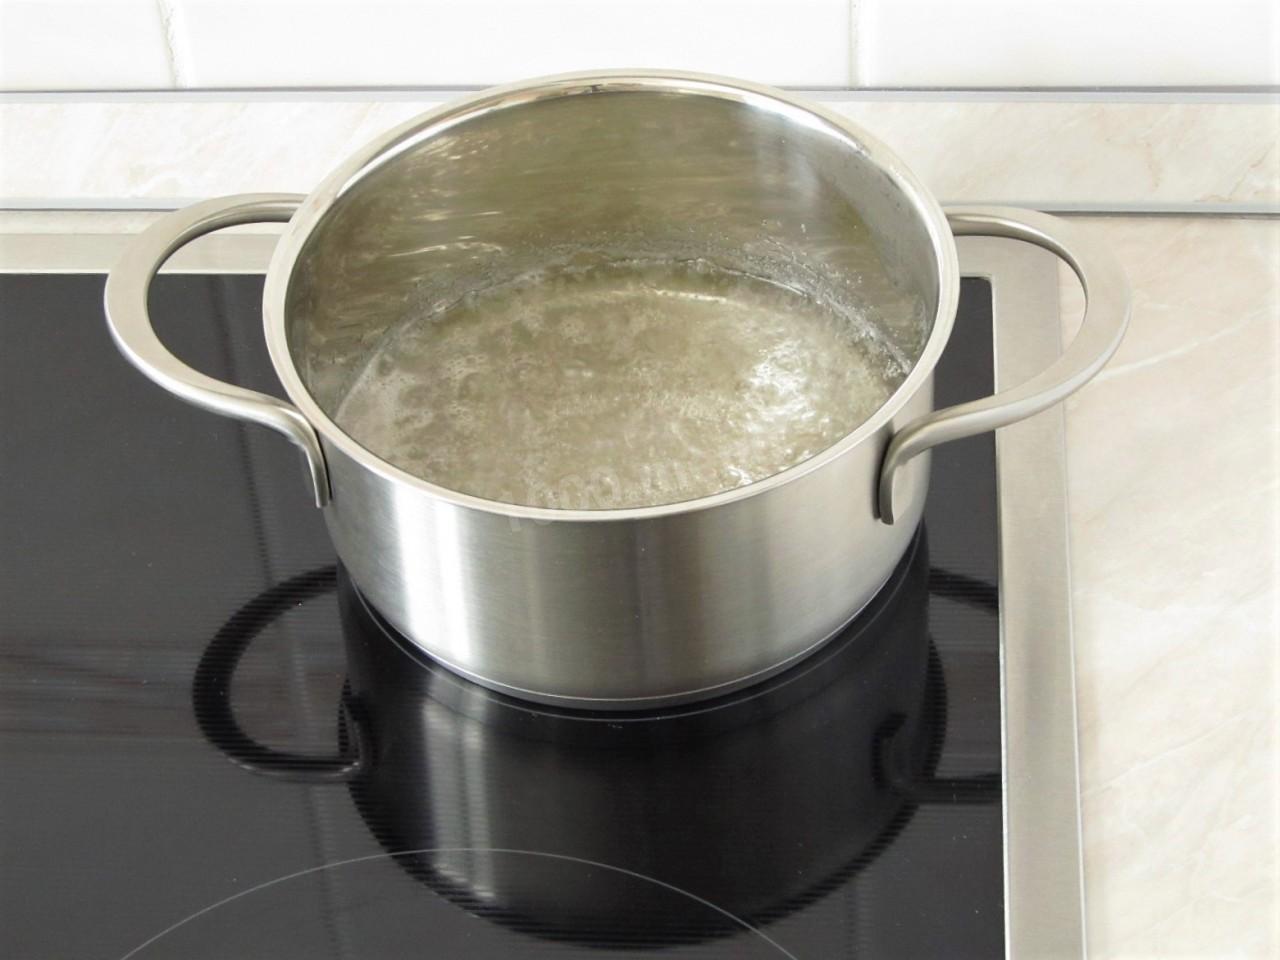
Make the Italian meringue. In a saucepan, combine the water and sugar, bring to a boil, and cook over moderate heat for about 4 minutes. Stir in the citric acid and cook another 3 minutes. The syrup should be pale or just barely yellow. To test it, drop a bit into cold water—if it rolls into a soft ball, it's ready.
-
Step 17:
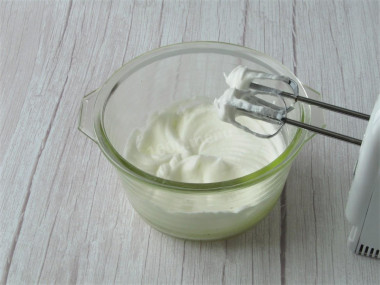
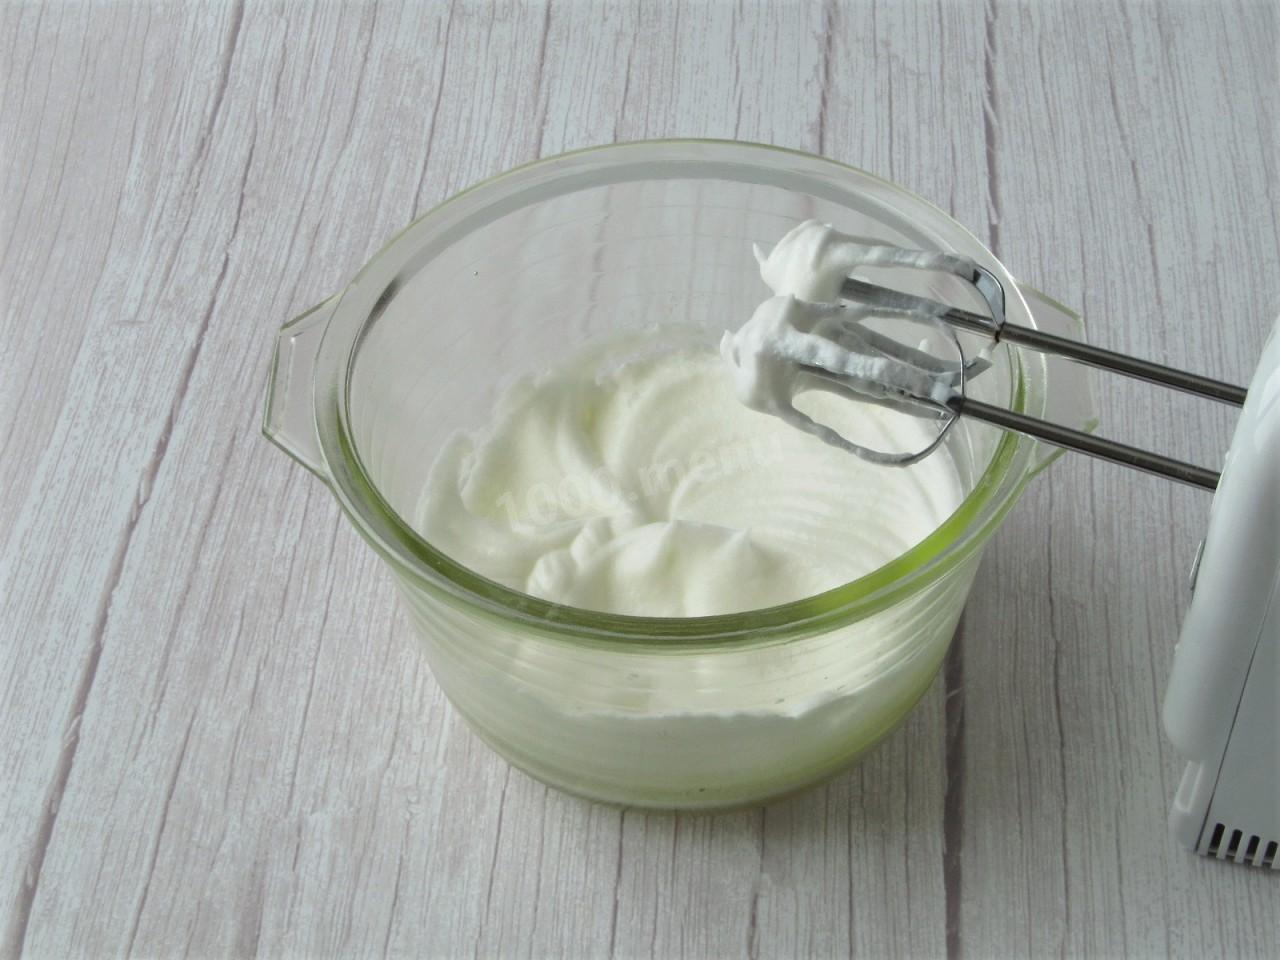
While the syrup cooks, start whipping the egg whites with a pinch of salt—first on low, then increasing the speed. Beat to stiff peaks.
-
Step 18:
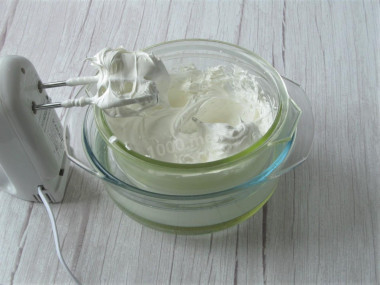
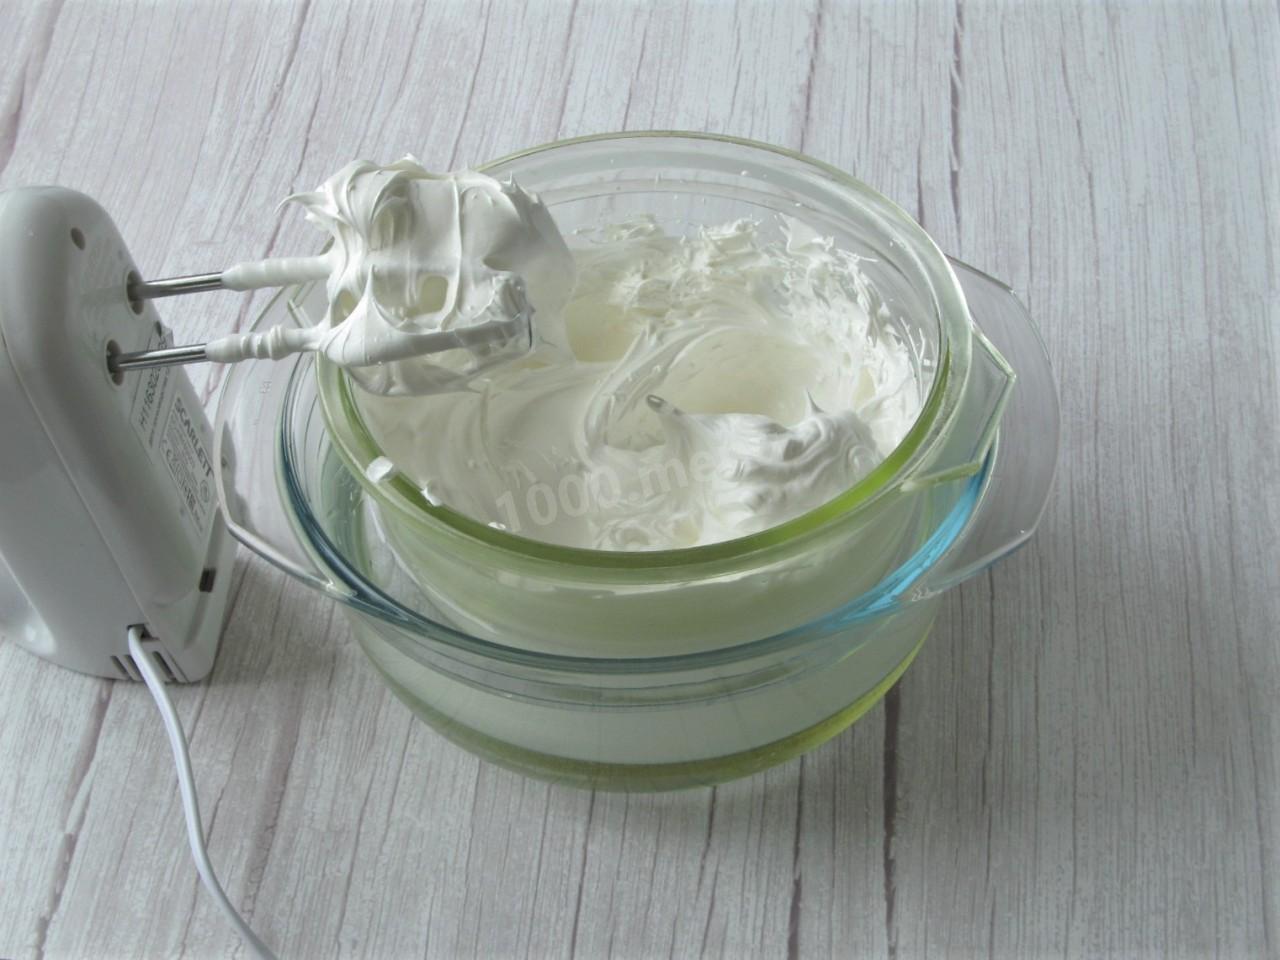
Pour the hot syrup into the whites in a thin stream, beating constantly. Aim it at the edge of the bowl so it doesn't hit the beaters or the sides. Beat on high until the whites are completely cool. To speed this up, I set the bowl inside a larger one filled with ice water. When the meringue looks slightly torn at the edges, it's done. Beating the whites with the syrup took me about 8 minutes.
-
Step 19:
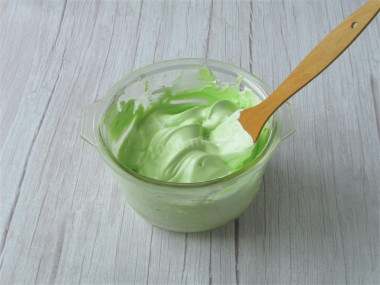
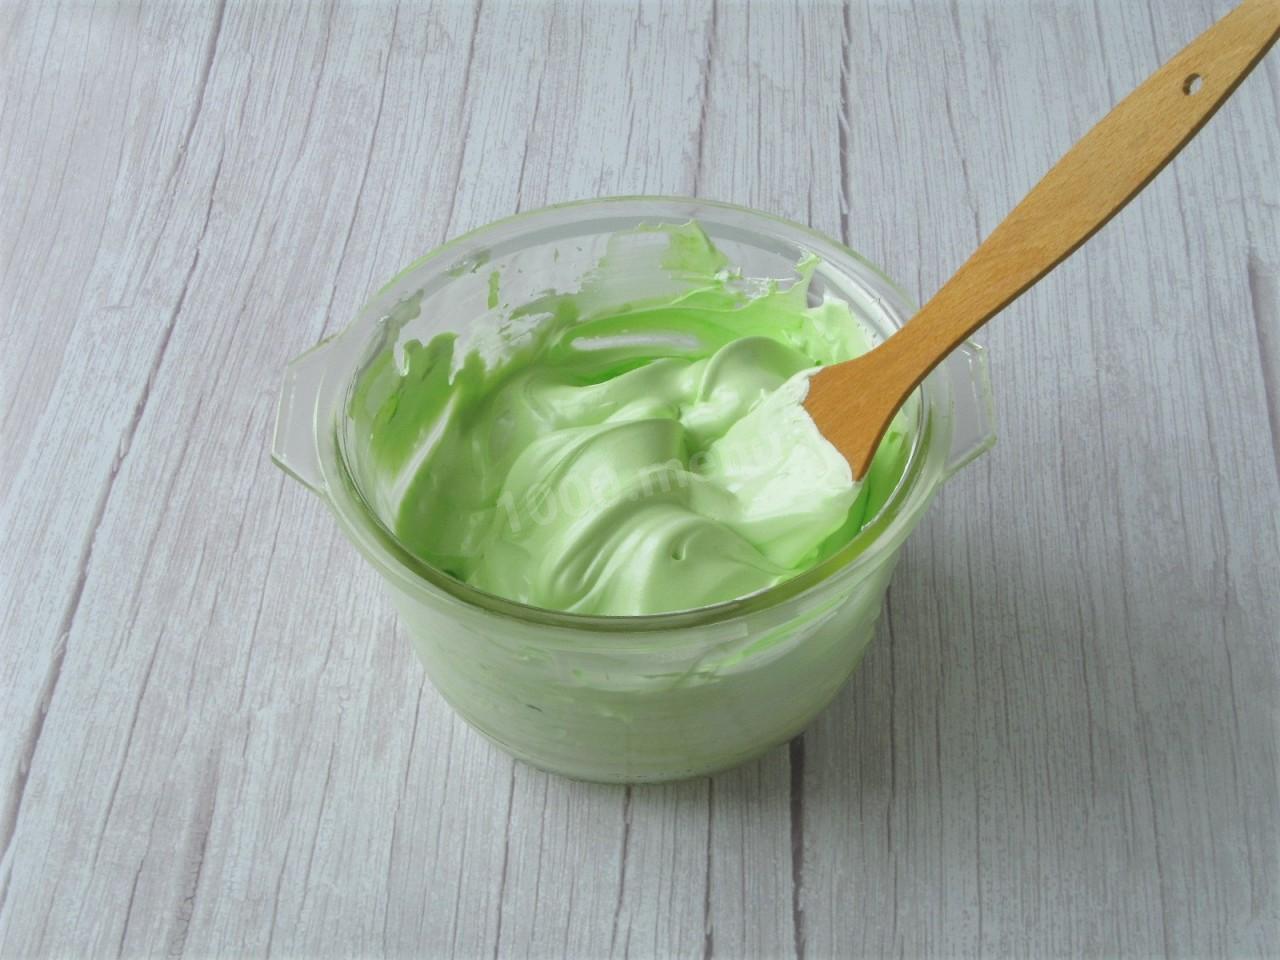
Stir green coloring into the finished meringue.
-
Step 20:
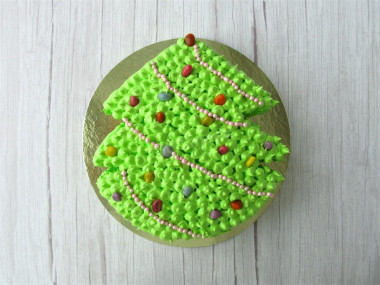
Using a piping bag, decorate the top and sides of the cake with the meringue. For the final touches I used colorful candy-coated chocolates and caramel beads. Chill the cake for 5–6 hours so it soaks through nicely. Happy holidays—wishing you joy, peace, and goodness in the new year!

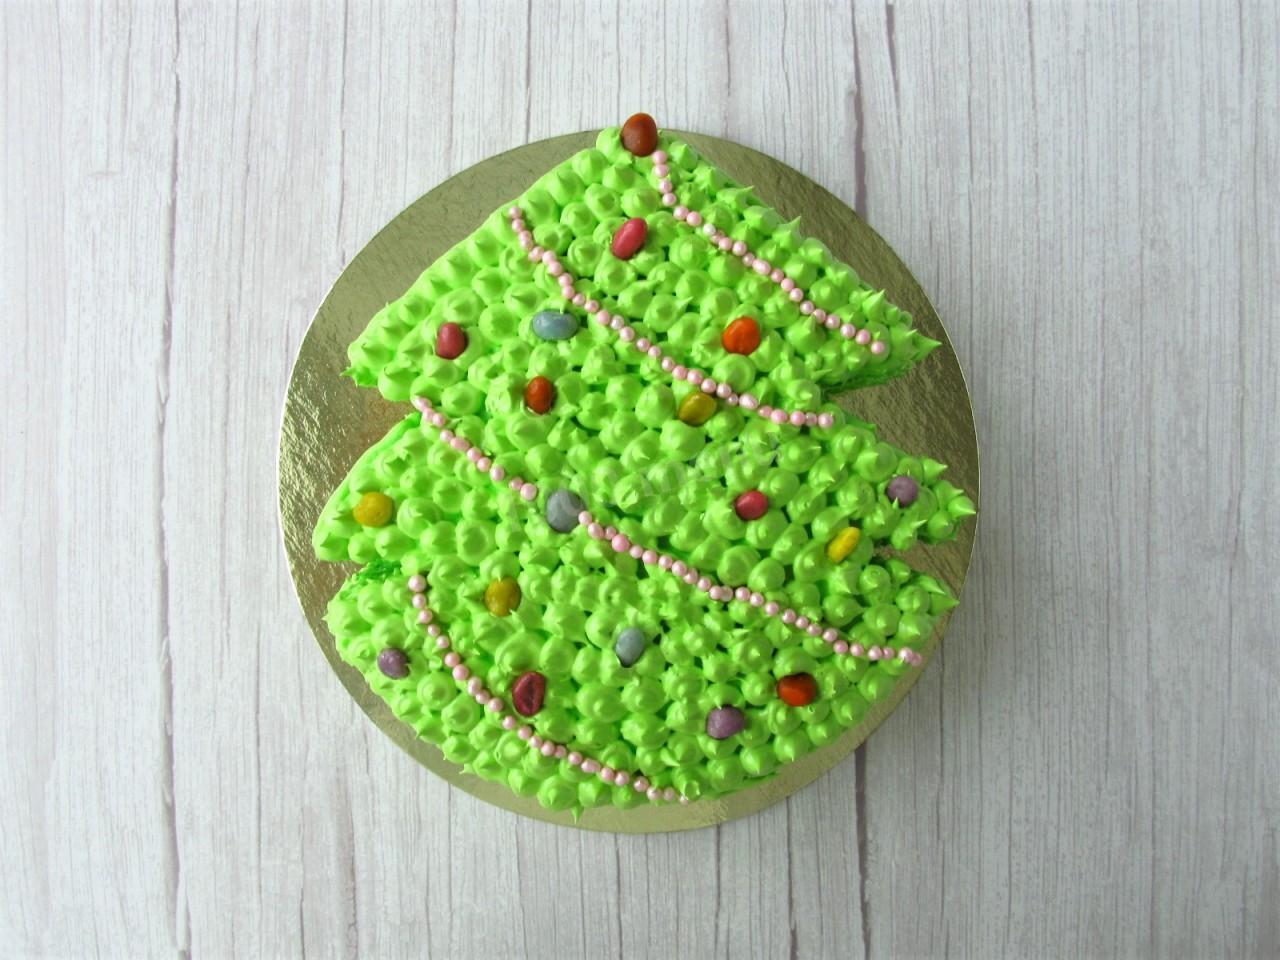
- For the cake base you could use honey, sour cream, or shortbread layers, and any frosting you like. To decorate, try M&M's, pieces of fruit jelly, or sprinkles shaped like snowflakes, confetti, and so on. Thanks to the cream and fruit, the cake comes out tender and delicious, and it soaks up plenty of flavor as it rests. A Christmas tree–shaped cake makes the holiday feel that much more magical, especially with kids around.
Caloric content of the products possible in the composition of the dish
- Chicken egg - 157 kcal/100g
- Egg white - 45 kcal/100g
- Egg powder - 542 kcal/100g
- Egg yolk - 352 kcal/100g
- Ostrich egg - 118 kcal/100g
- Bananas - 89 kcal/100g
- Tangerines - 33 kcal/100g
- Canned tangerines - 40 kcal/100g
- Kiwi - 48 kcal/100g
- Granulated sugar - 398 kcal/100g
- Sugar - 398 kcal/100g
- Vegetable oil - 873 kcal/100g
- Citric acid - 0 kcal/100g
- Salt - 0 kcal/100g
- Water - 0 kcal/100g
- Wheat flour - 325 kcal/100g
- Cream 35% - 337 kcal/100g
- Cream 40% - 362 kcal/100g
- Vanillin - 288 kcal/100g
- Powdered sugar - 374 kcal/100g
- Egg whites - 44 kcal/100g
- Food coloring - 0 kcal/100g
Similar recipes


- Festive table
- Cakes
- Eggs
- Dairy products
- Flour
- Fruit berries
- Sweet
- Spices seasonings spices
- Fats and oils
- Other
- Vanilla
- Lemon acid
- Salt
- Vegetable oil
- Water
- Food coloring
- Cooking
- Oven roasting
- Cooling
- New year's baking recipes
- Sponge cake
- Cream cake
- Birthday cakes
- New Year recipes
- Egg whites
- Сливки
- Wheat flour
- From bananas
- From mandarins
- Vegetarianism
- Recipes for lean dishes without butter
- Sugar