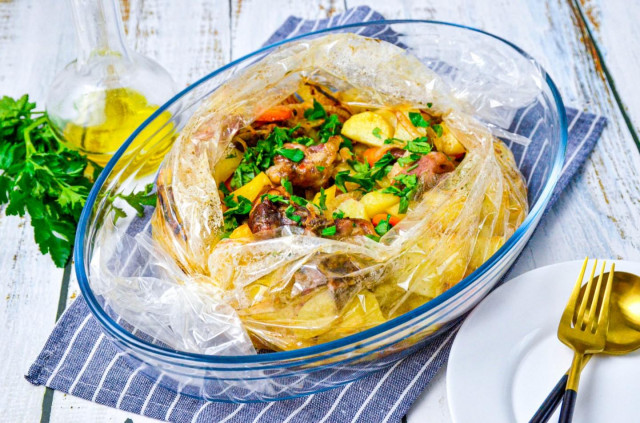
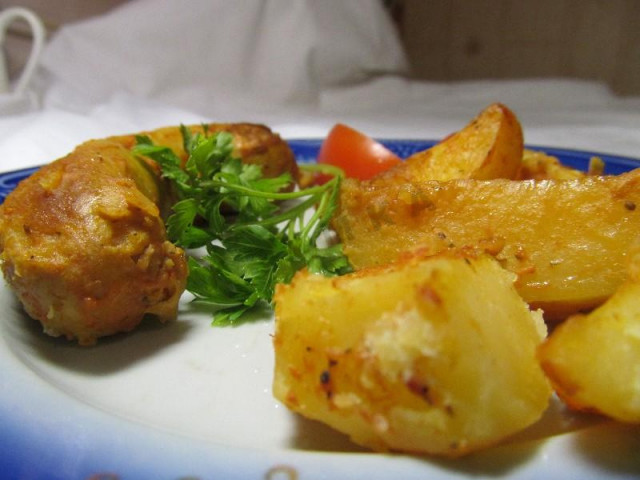
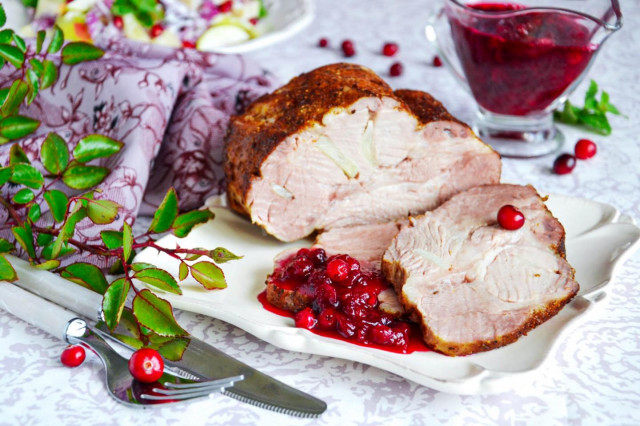
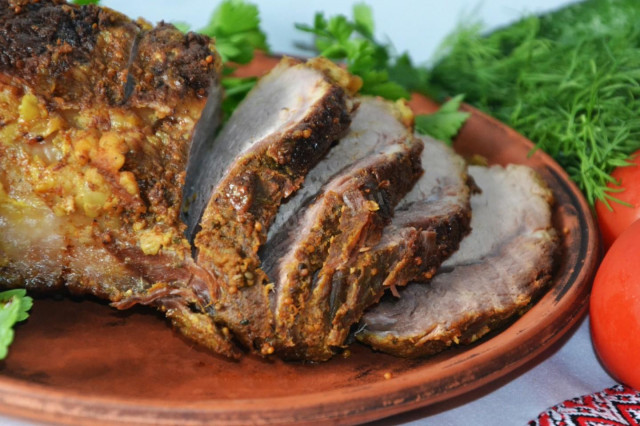

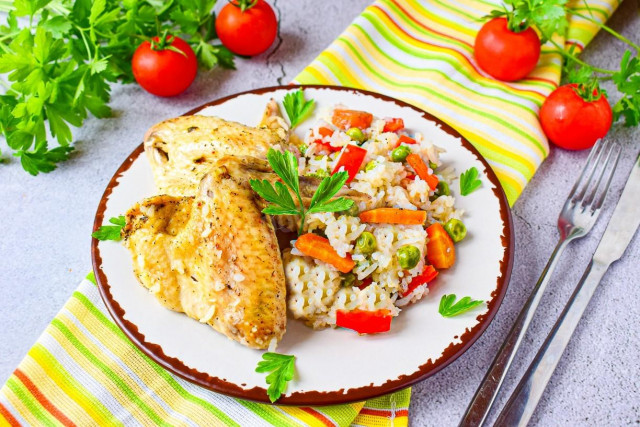
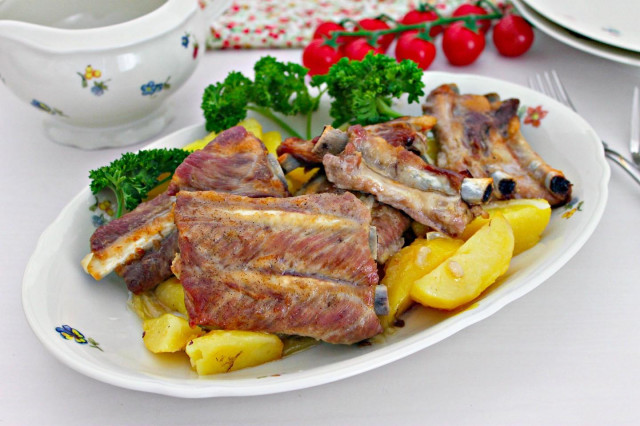
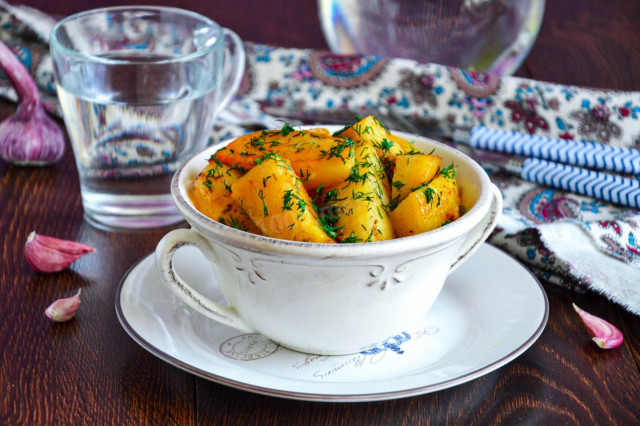
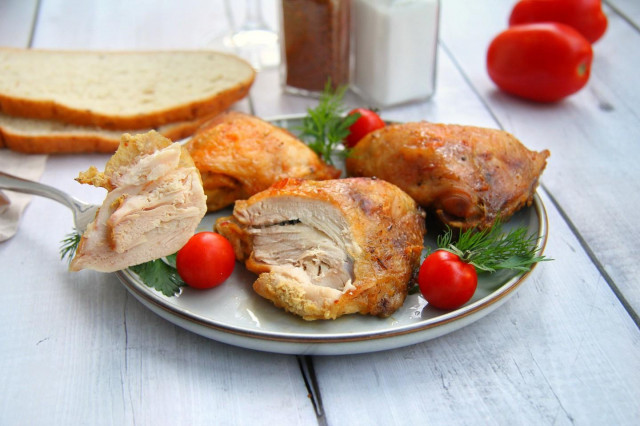

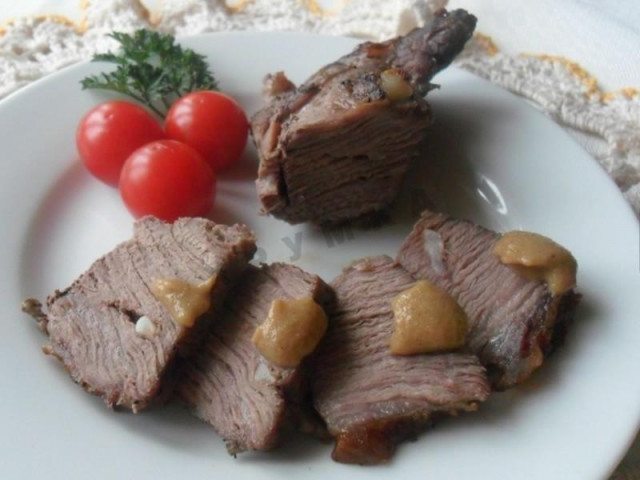
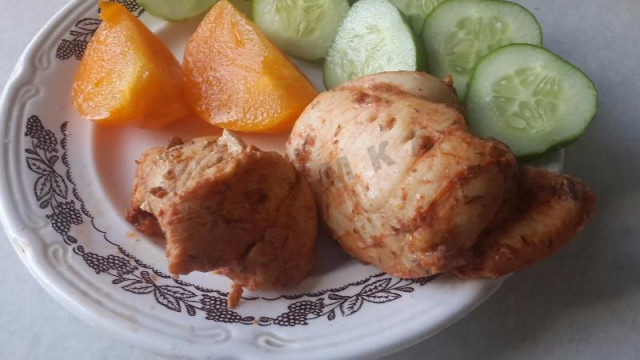
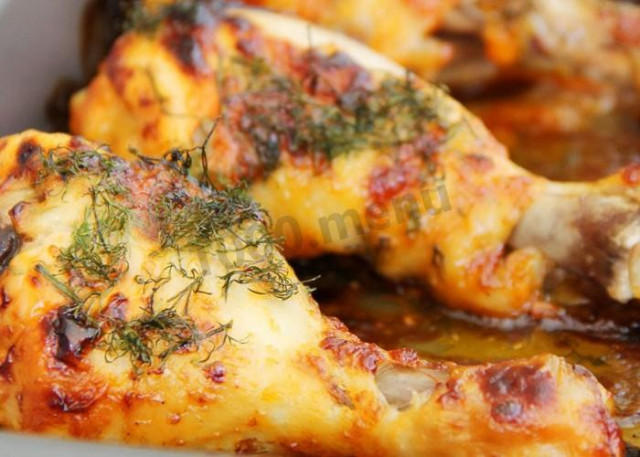
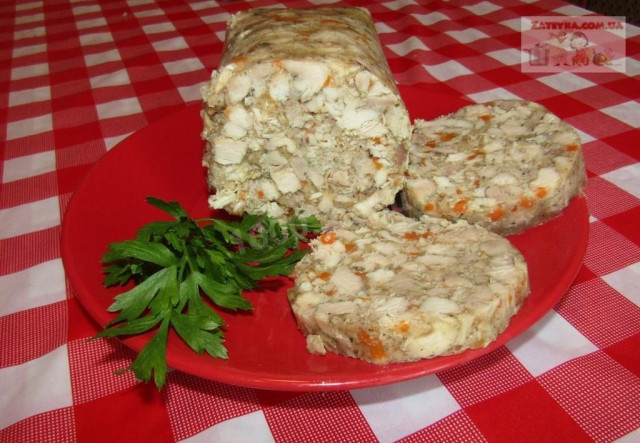
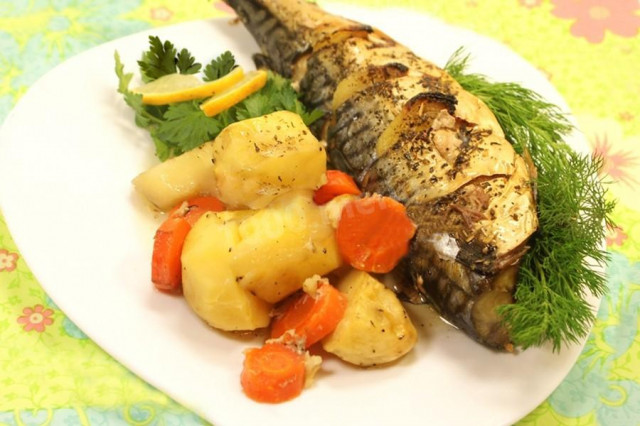
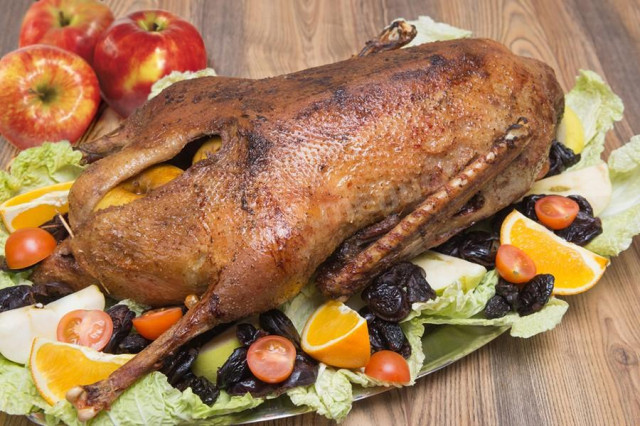
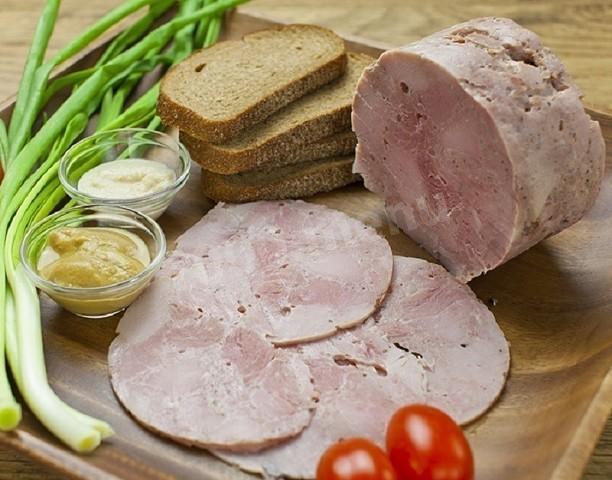
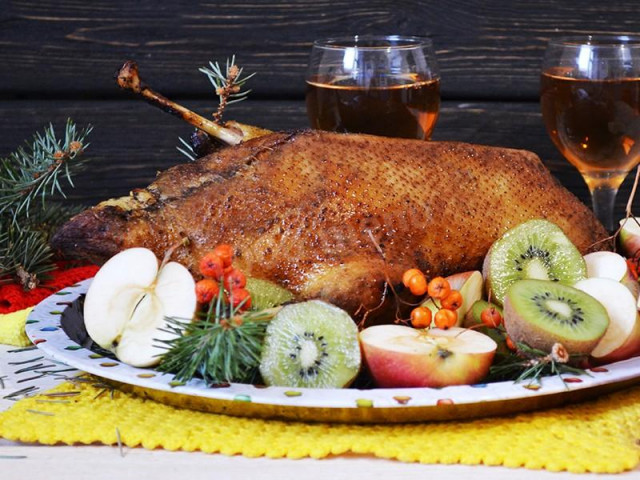
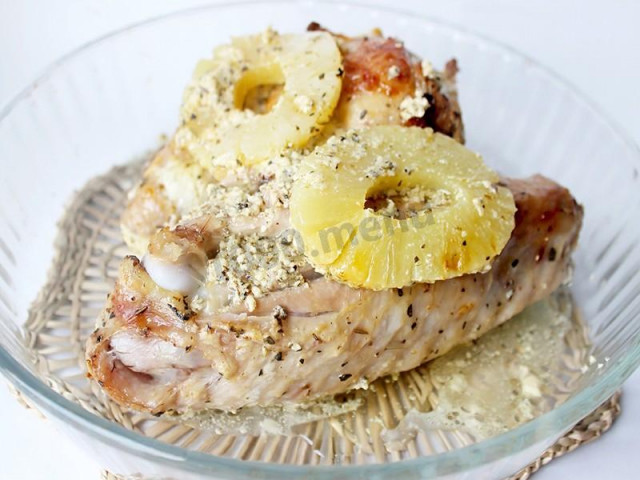
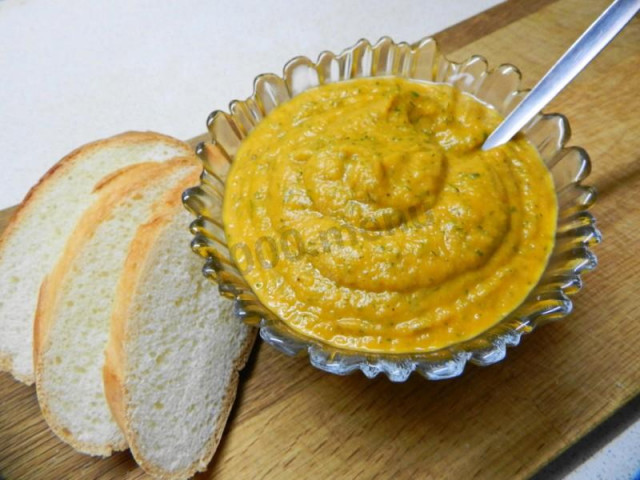
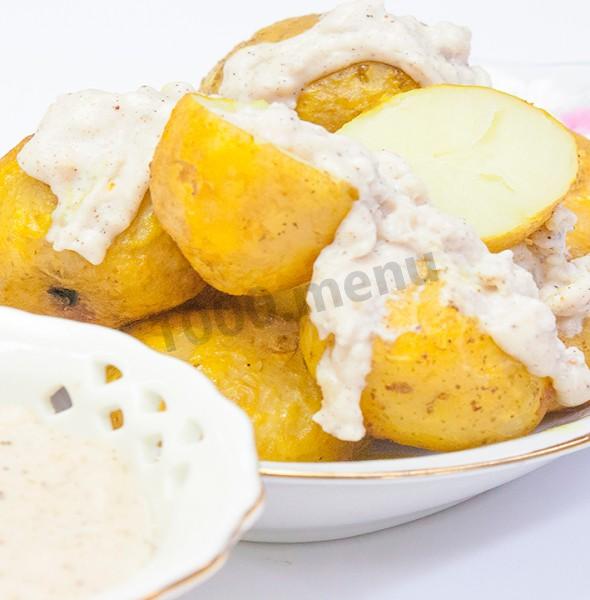
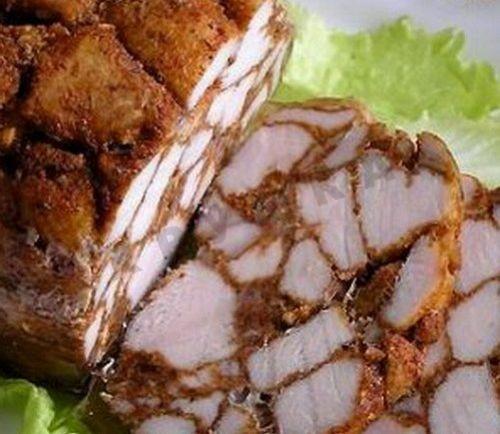
Heat treatment of vegetables, meat, fish, mushrooms and side dishes takes place in their own juices. Home cooks love recipes for oven dishes in a sleeve, because it simplifies the cooking process: – less vegetable oil is used, and you can skip the fat altogether – more benefit, fewer calories, and easier to wash up. – It keeps the food juicy and removes any risk of burning – all the ingredients gently braise. For a crust, the baking tray with its contents should be browned a little without the covering. How do you use a baking sleeve correctly? 1. Each pack comes with clips to fasten the ends – paper or plastic – for various kitchen appliances.
The five most commonly used ingredients in recipes:
| Product | Calories per 100g | Protein g per 100g | Fats g per 100g | Carbohydrates g per 100g |
|---|---|---|---|---|
| Potatoes | 80 | 2 | 0.4 | 18.1 |
| Carrots | 33 | 1.3 | 0.1 | 6.9 |
| Onion | 41 | 1.4 | 0 | 10.4 |
| Paprika | 289 | 14.8 | 13 | 18.3 |
| Bell pepper | 27 | 1.3 | 0 | 5.7 |
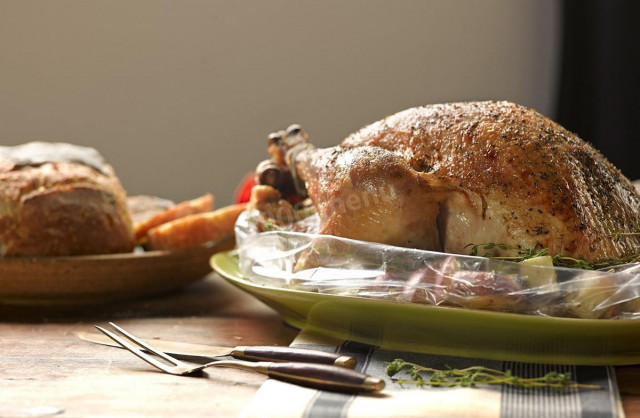
It's worth paying attention to compatibility. If you run out of clips, it's enough to tie both open ends in a knot or with thread. 2. So the material doesn't burst from the high temperature, you should first make a few small holes on the surface to let air and steam escape. And make sure the inflated bag doesn't touch the side or top walls. 3. Underneath there should be a metal sheet, a baking tray, a deep frying pan, or another vessel with a solid bottom. Don't place the sleeve with the food on a grill rack.